I klawed my way to da top, hurr-hurr-hurr!
– Kaptain Gron, Kommando Nob


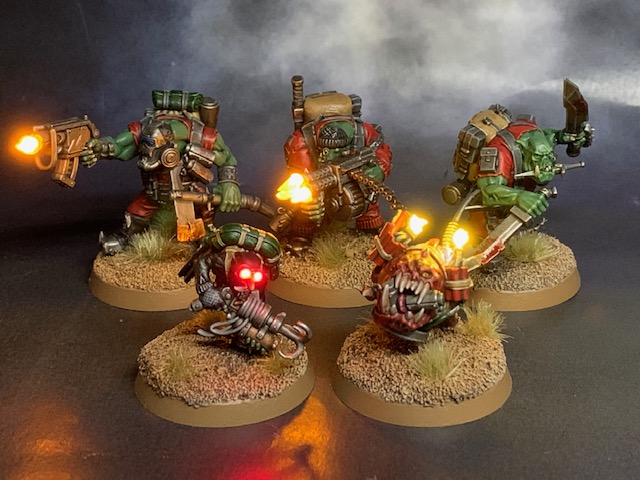
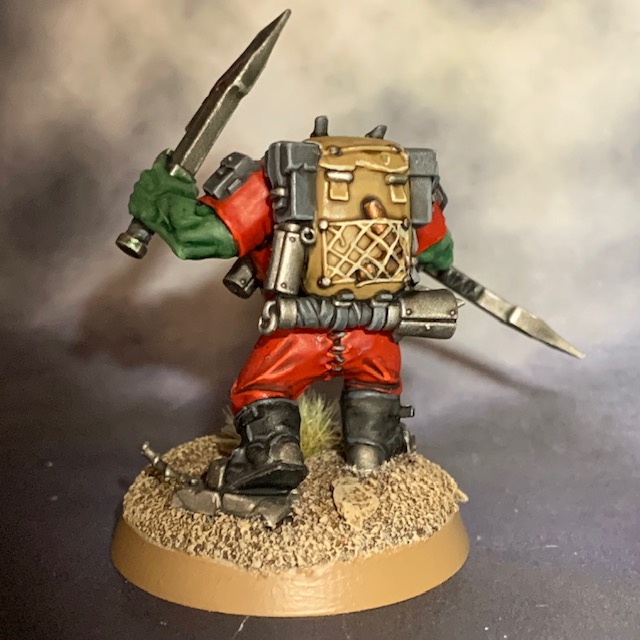
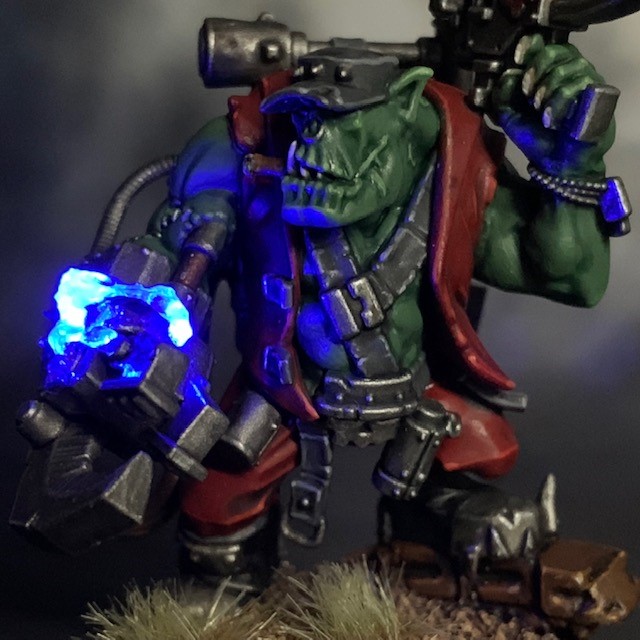
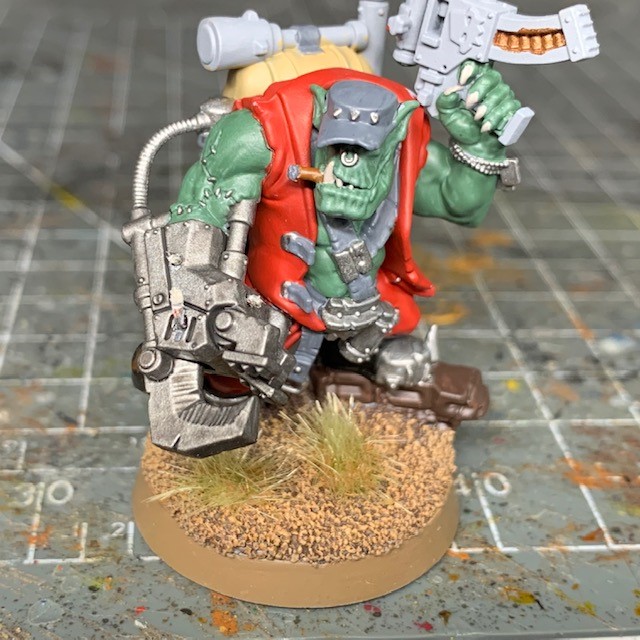
Next from the Octarius Kommando Kill Team Orks we have Kaptain Gron, Kommando Nob. This is a fantastic sculpt and originally I was going to leave it untouched. However I have been mulling over the idea of attempting to create an “crackling electrical surface discharge” effects with LEDs on a power fist or power klaw, and this seemed like the perfect opportunity to give it a whirl! I did also consider making the backpack radar dish rotate, but in the end decided that would be a little too much effort!
Painting & Assembling
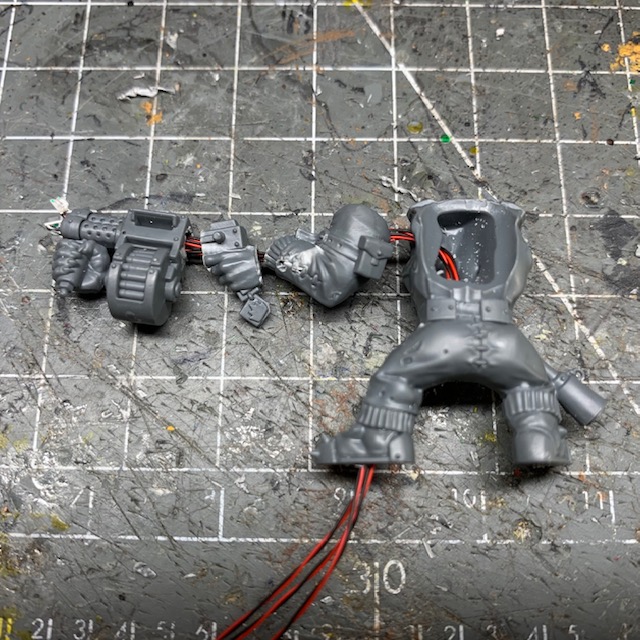
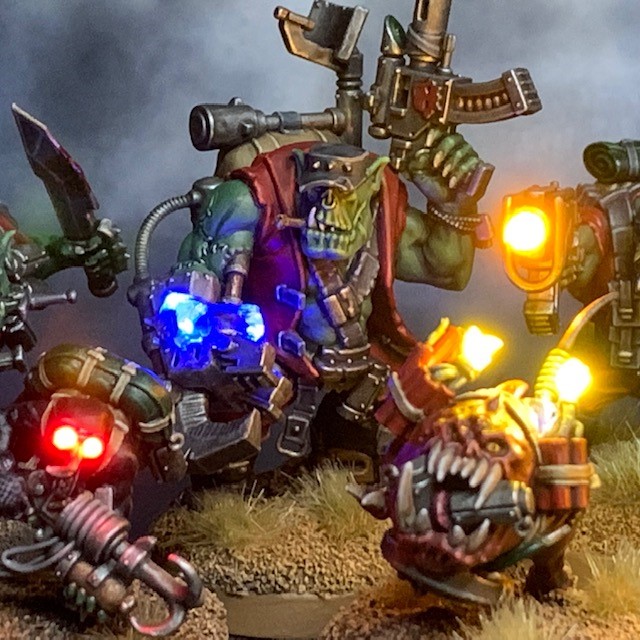
So how did I make the crackling electrical discharge effect on the power klaw?


- I drilled through the model’s leg, torso and arm to add three Blue Ultra Nano SMD Chip LED (3V) from the website Small Scale Lights. They are all connected in parallel with a 3V coin cell battery, 10Ω resistor and switch in the base. For more information on hiding batteries in miniature bases, see my LED Eye Lens tutorial.
- Next I applied Water Splash Effect Gel, available from Green Stuff World, to begin creating the path of the electrical “arc”.
- Once the initial application of gel has dried – which may take several hours – I applied the next layer, increasing the length of the “arcs”.


- I continued to apply layers of gel until I was happy with the shape of the “arcs”. As you can see, I joined them up to make it look like the electricity was arcing between different points on the power klaw.
- Once the final layer of gel was dry, I applied a thin layer of Citadel Guilliman Blue glaze, just to make the electrical effect look a little more interesting when the LEDs are switched off. Unfortunately this colour is discontinued now, but a thinned-down coat of Citadel Contrast Talassar Blue would have the same effect.
- Jobs a good ‘un, boss!
I’m not sure if the crackling electrical discharge effect I was picturing in my head has fully translated to the model, but it was a fun experiment anyway! In terms of painting, I stuck to the retro-inspiring Blood Axe Kommando scheme I mentioned in my previous post. Even though Kaptain Gron is the leader of the team I still stuck to the limited colour palette. I think this helps to give the whole unit a more cohesive look on the tabletop.
That’s it for this week. More Octarius Orks soon, plus some more Badab campaign, Armies on Parade revisited and something a bit different! See you all again soon.