I don’t like to ‘ave more boyz than I ‘ave fingers. Makes it ‘ard to keep track of da sneaky gitz!
Kaptain Gron, Kommando Nob
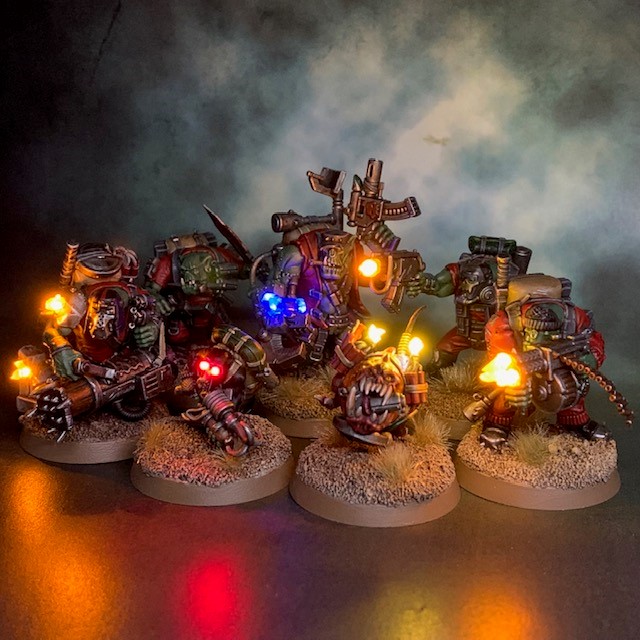
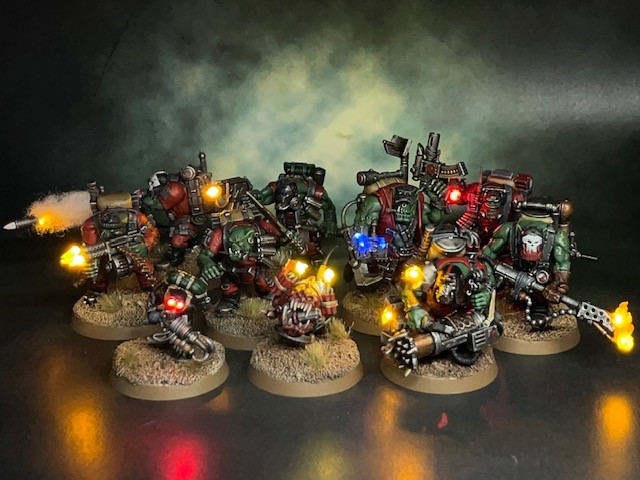
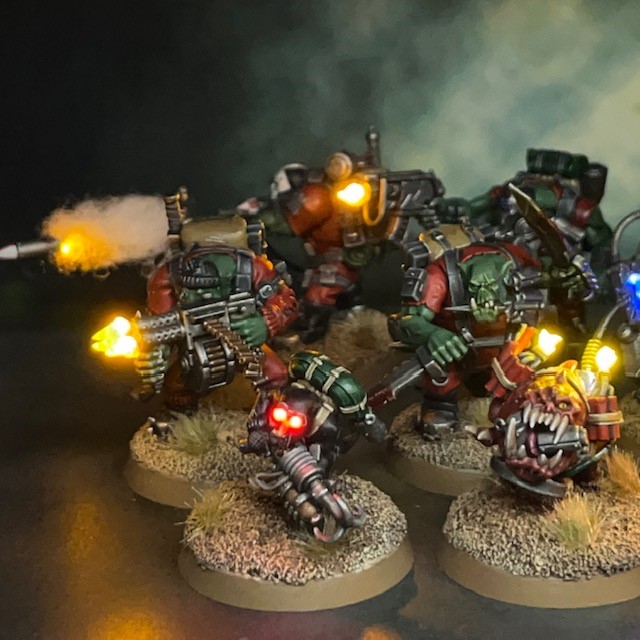
At last I’ve finished the Ork Kommando Kill Team, only seven months after picking up the Octarius boxed set! It’s very satisfying to finish a project, and to clear part of the “Shelf of Shame”. Part One of this project – looking at the first half of the Kill Team – can be found here. Gron and his boyz are based on the characters that appear in my short story ‘The Dark Stabba‘ on Cold Open Stories. At the start of this project I’d only pictured maybe six or seven of the models in this set having LEDs, but once I got going I kept seeing more and more opportunities for illumination. In the end only a single miniature didn’t get the LED treatment.
Kaptain Gron, Kommando Nob


Kaptain Gron, the illustrious Nob of Gron’s Kommando Boyz, sports a power klaw crackling with barely contained energy. I used three blue LEDs and acrylic gel to create the lightning effect on the klaw. You can read more about the creation of the Kaptain Gron model here.
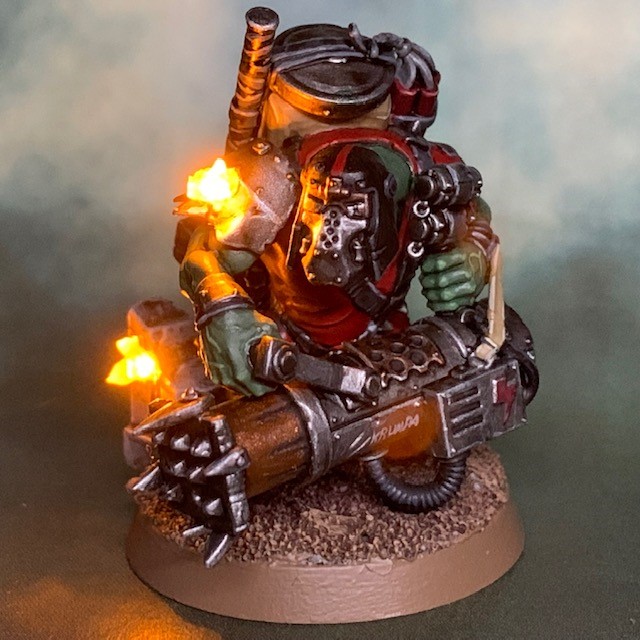
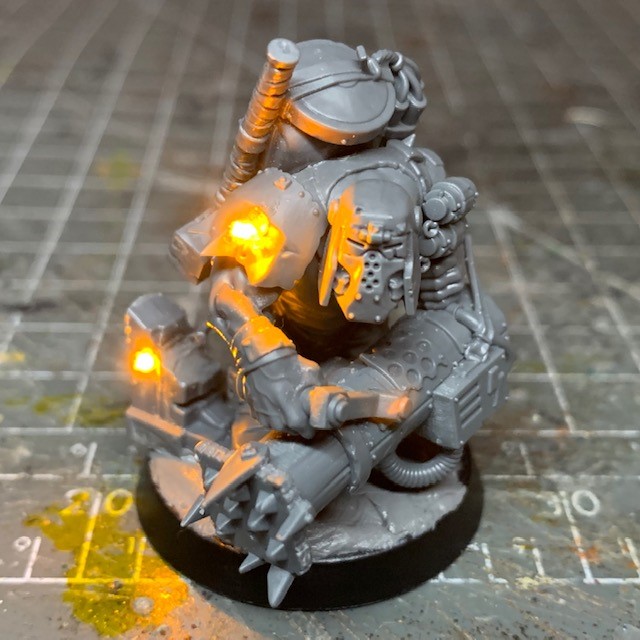
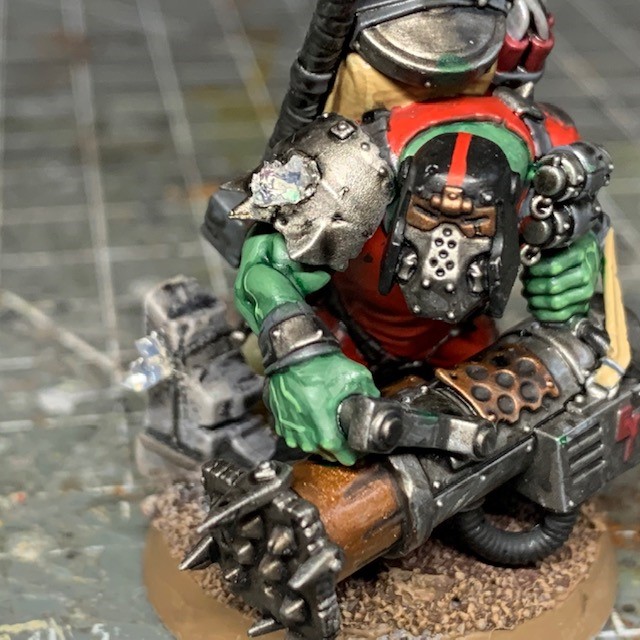
“Krumpa” Zog, Kommando Breacha


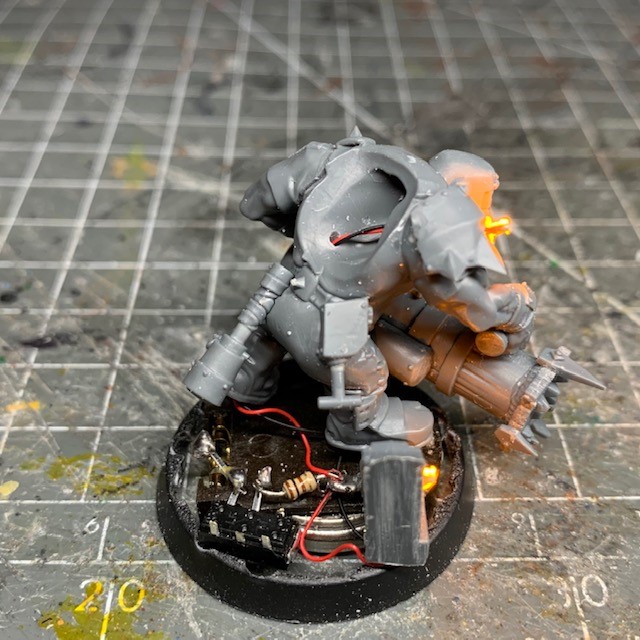
“Krumpa” Zog is the team’s breacha. For this model I used two yellow SMD chip LEDs to create the bullet ricochet effect on his armour and the ruins on his base. You can read more about how “Krumpa” Zog was made here.
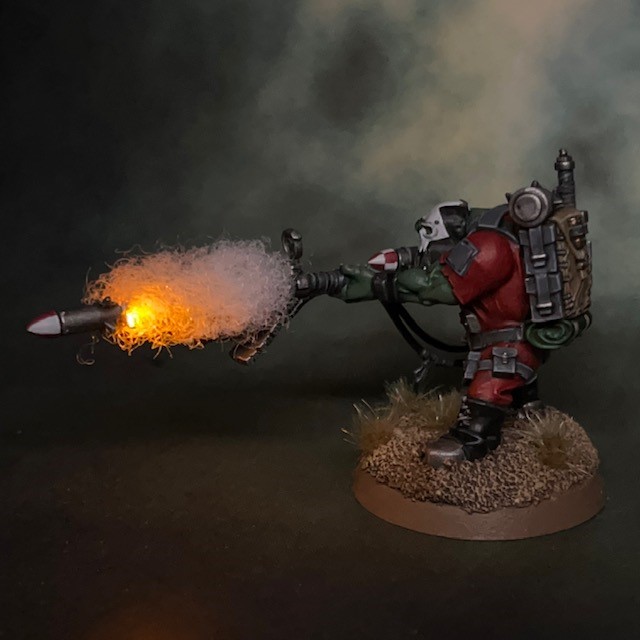
Dregshak, Kommando Rokkit Boy
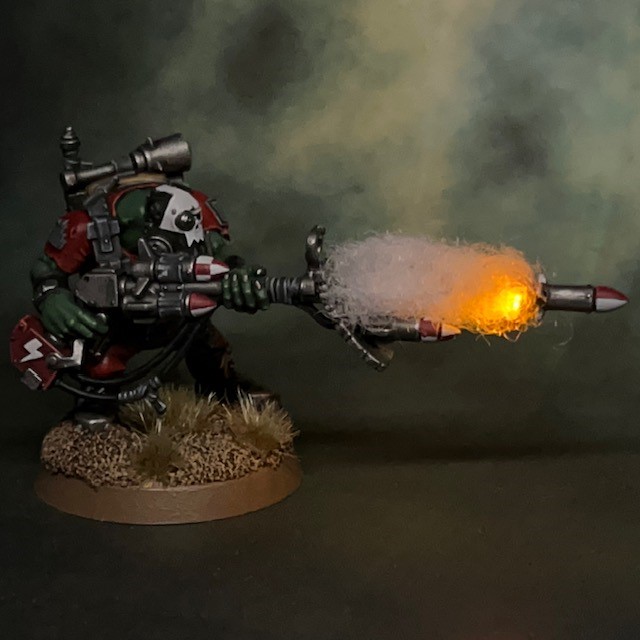
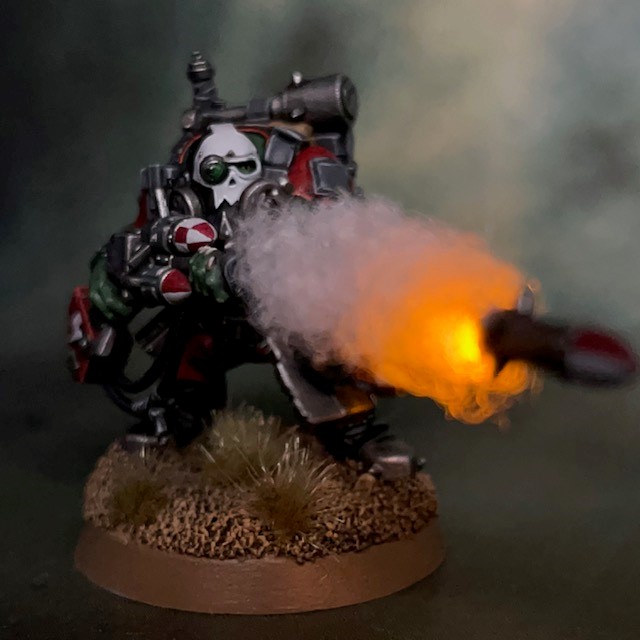
Dregshak is the team’s Rokkit Boy and demolitions expert. As long as he gets to blow something up, Dregshak considers it a successful mission, regardless of any other outcomes! You can read more about how Dregshak was created here, and a full photo tutorial on how to recreate the “LED Rocket Launcher” effect on my LED Miniature Tutorials page here.
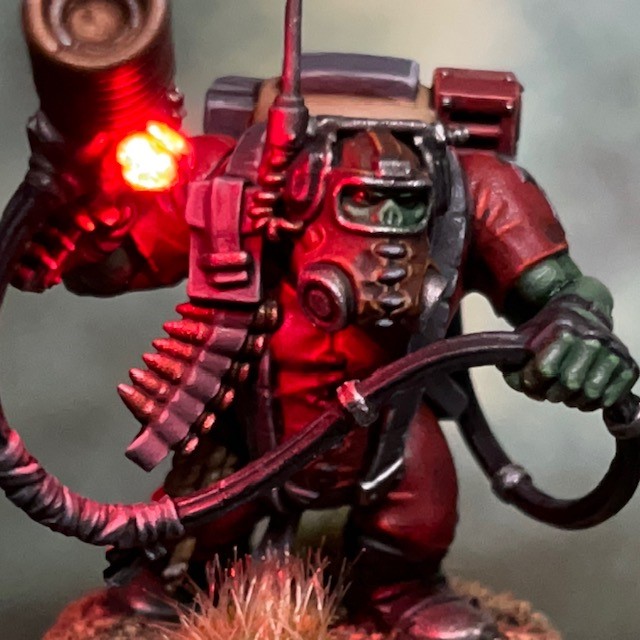
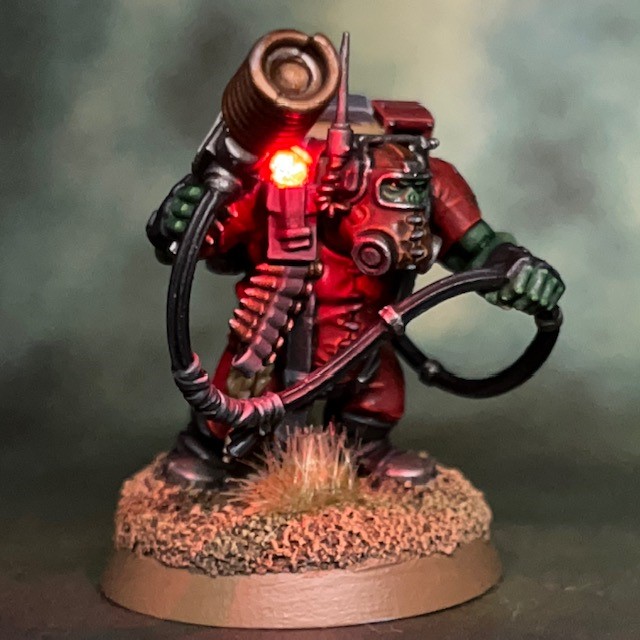
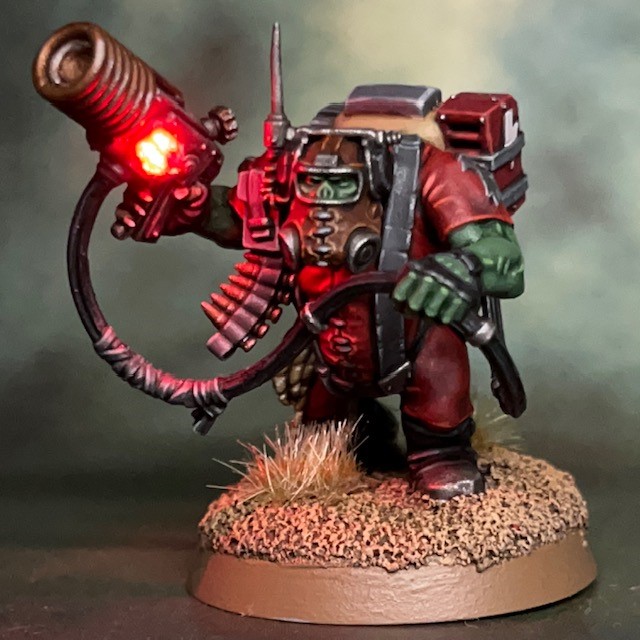
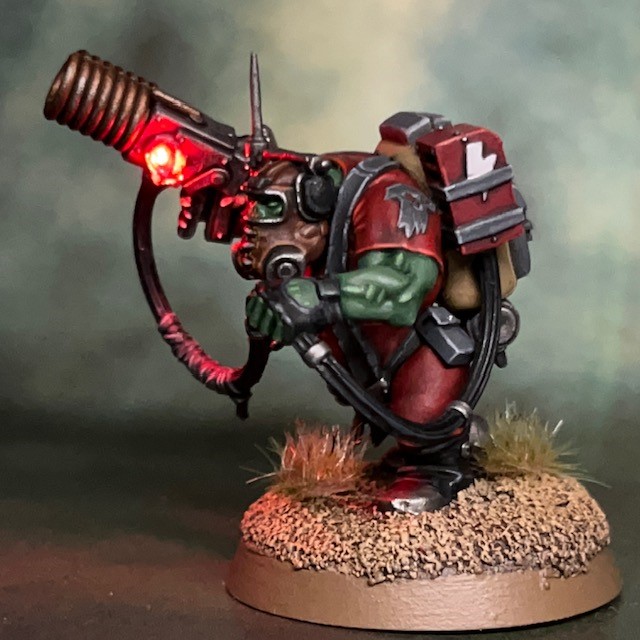
Rotkop, Kommando Comms Boy


Rotkop is the team’s Comms Boy and electronic know-wots expert. He handles all the “tek-nee-cal” problems on the mission that Gron is far too busy and important to concern himself with. You can read more about Rotkop and his LED shokka pistol here.
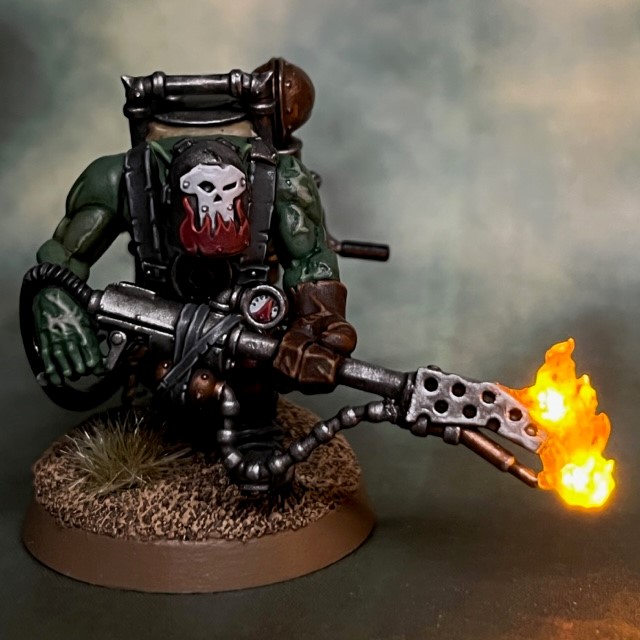
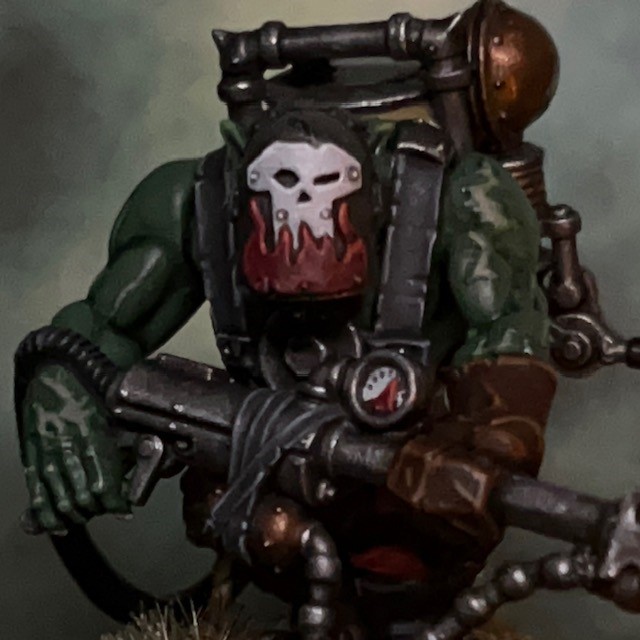
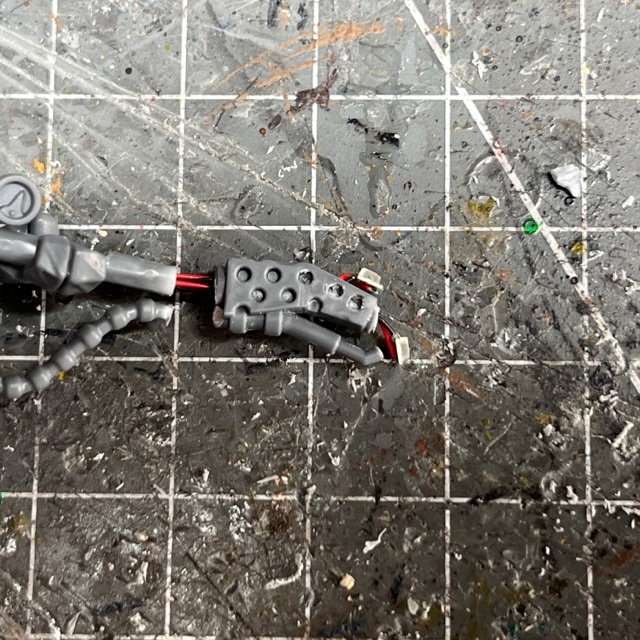
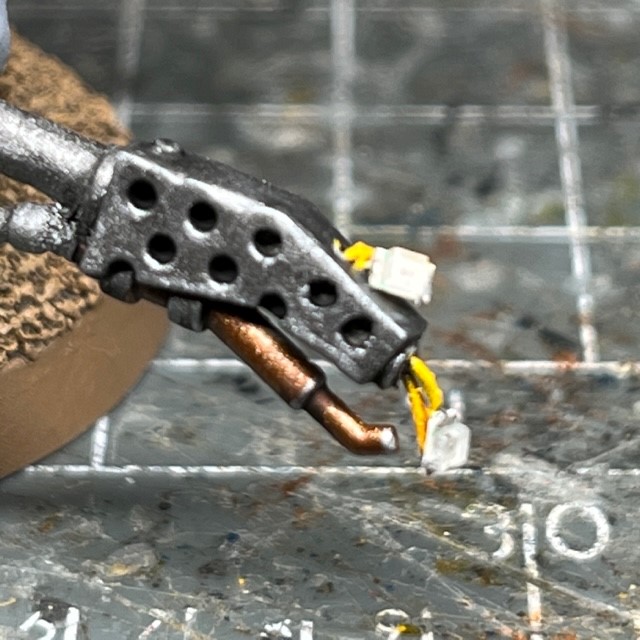
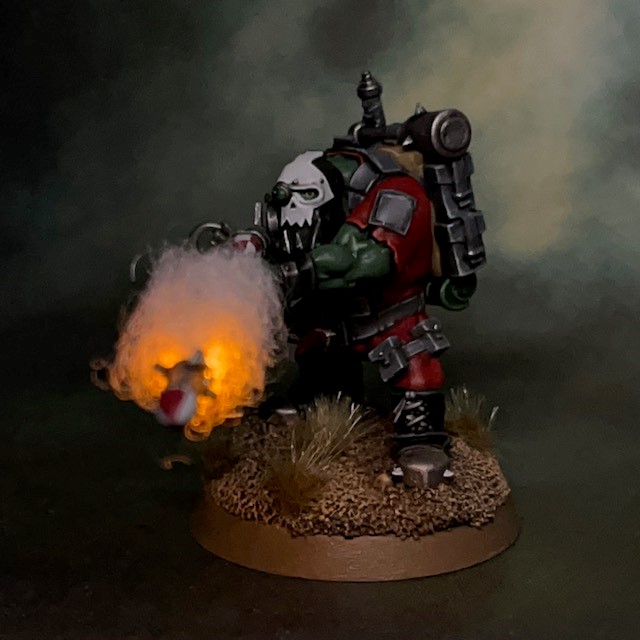
Slagskraga, Kommando Burna Boy

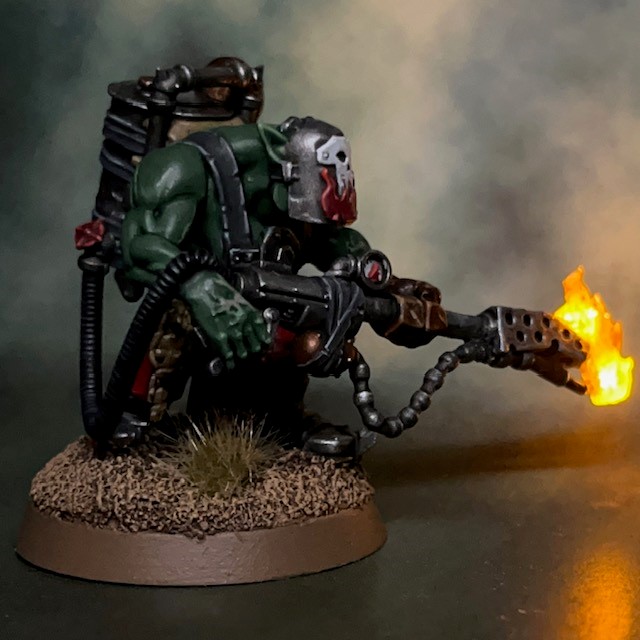
Slagskraga likes fire a little too much, and he love to share that passion with any ‘Umies that cross his path. You can read about Slagskraga and his LED burna here.
Painting

As I always say when I discuss my painting recipes, this is partially so people can see how I painted my models and duplicate it if they like the colour scheme, and partially as a record for myself if I ever revisit the project! I’ve mentioned in a previous post why I chose these particular colours. All paints are Citadel unless stated otherwise, and applied over a grey undercoat.
Red Fatigues
- Mephiston Red base coat
- Agrax Earthshade shade
- Evil Sun Scarlet highlight
- Wild Rider Red fine highlight
Grey Webbing
- Mechanicus Standard Grey base coat
- Nuln Oil shade
- Dawnstone highlight
- Administratum Grey fine hightlight
Khaki Packs
- Zandri Dust base coat
- Agrax Earthshade shade
- Tallarn Sand highlight
- Screaming Skull fine highlight
Brown Leather
- 50:50 Rhinox Hide/Doombull Brown base
- Agrax Earthshade
- Doombull Brown layer
- Skrag Brown highlight
- Tallarn Sand fine hightlight
Squig Skin / Battery Packs
- Khorne Red
- Nuln Oil shade
- Wazdakka Red highlight
- Wild Rider Red fine highlight
Ork & Squig Teeth
- Rakarth Flesh base
- Reikland Fleshshade shade
- Pallid Wych Flesh highlight
- White Scar fine highlight
White Masks
- Corax White base
- Nuln Oil shade
- White Scar highlight
Ork Skin
- Waaagh! Flesh base
- Biel-Tan Green shade
- 50:50 Waaagh! Flesh / Warboss Green layer
- Warboss Green highlight
- Skarsnik Green highlight
- 50:50 Skarsnik Green / Emperor’s Children highlight (on prominent scars only, e.g. Burna Boy)
There we go, another project done and dusted! I hope you’ve all enjoyed seeing the progress of this Kill Team over the last few months. That’s all for today, and enough Orks for the moment. See you again soon for something a little different!