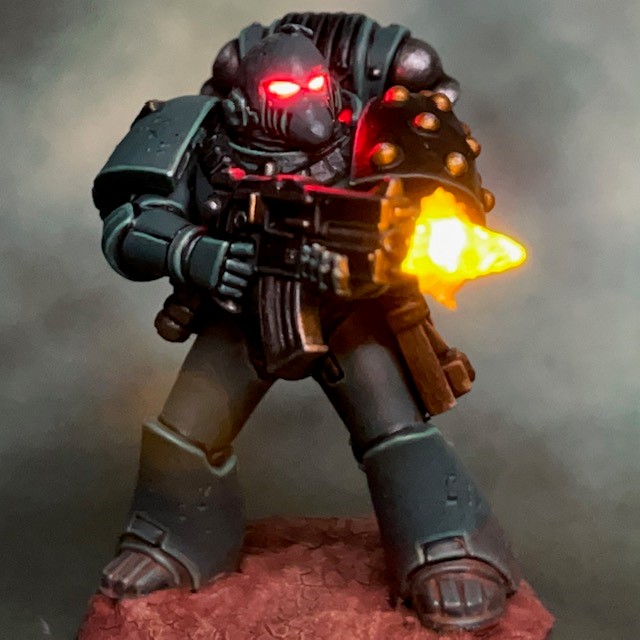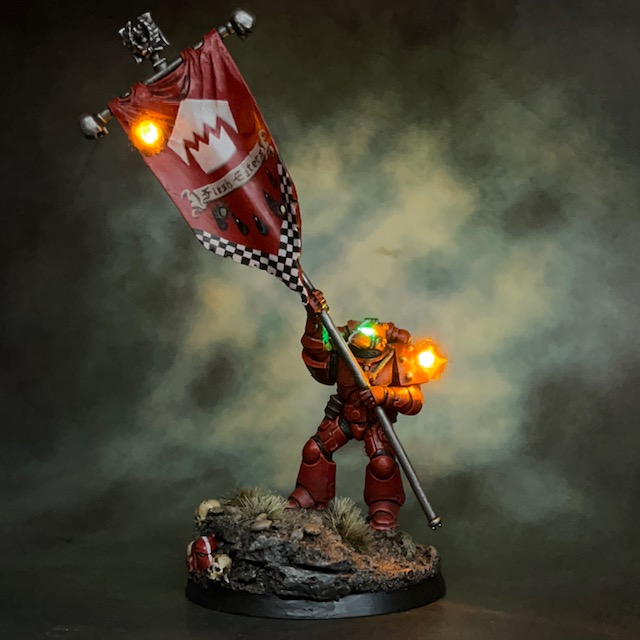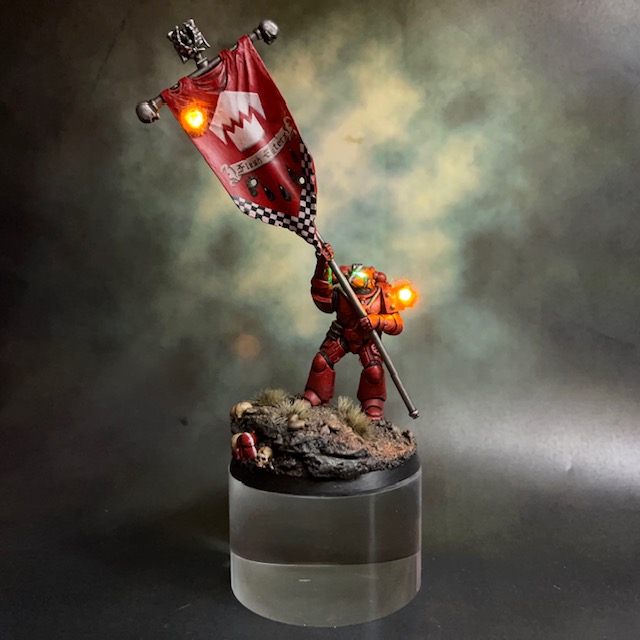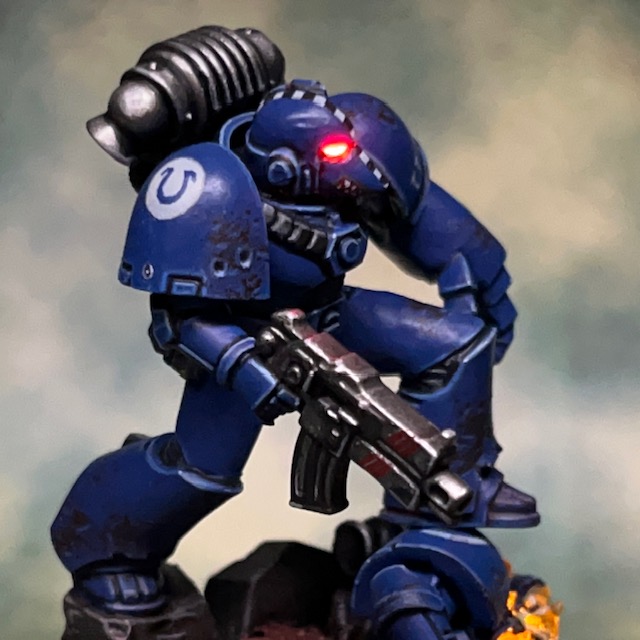
Allow me to present the Ultramarine Veteran Sergeant, my entry to the ‘Warhammer 40,000 Single Miniature’ category at this year’s Golden Demon. So now you know why I haven’t posted many new miniatures since the end of February!


The Road To Golden Demon
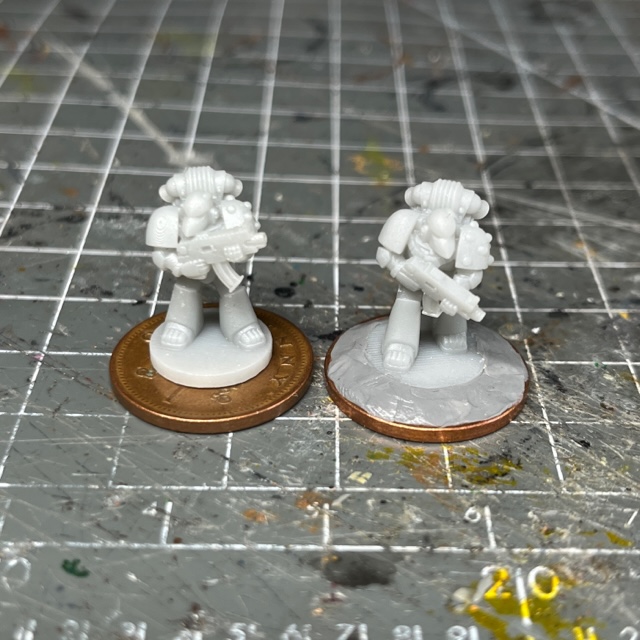
I originally started on a different model for the single miniature catergory, but after a few rounds of testing I couldn’t quite get the LED effects to look how I wanted, so I shelved that project and decided to have a re-think. Then, while browsing old rule books for inspiration, I rediscoved the classic art shown below, and was suddenly inspired!
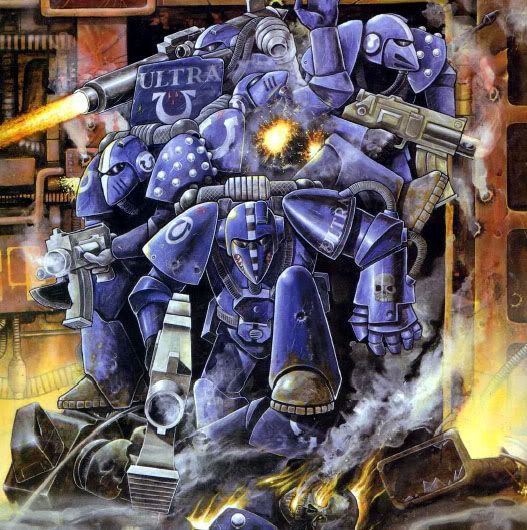
This art was reused a number of times, on everything from colour inserts, book covers, and even on the box art of the short-lived Ultramarines board game. I think it is one of the iconic pieces of Rogue Trader art, so I decided to give it a modern reimaging – with a little added LED magic of course. I did briefly consider planning the whole unit as a ‘Warhammer 40,000 Squad’ category entry, but decided that was a little ambitious in the time available. I decided to concentrate on the veteran sergeant at the front of the unit, as he is definitely the most recognisable part.
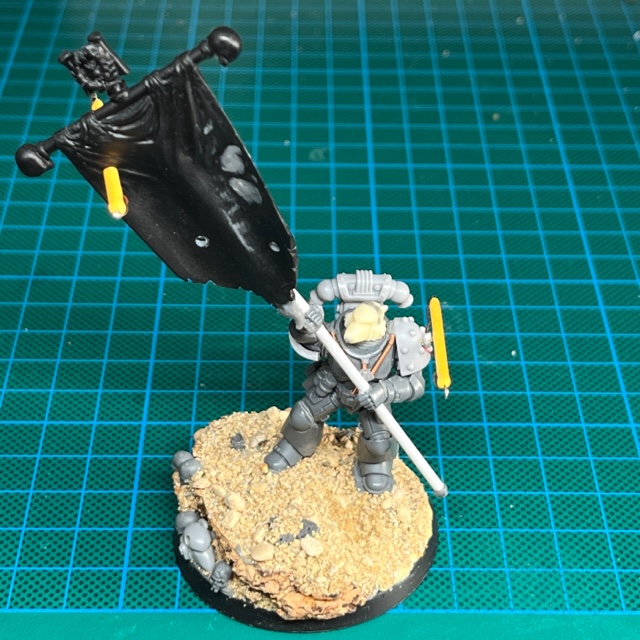
Painting & Modelling
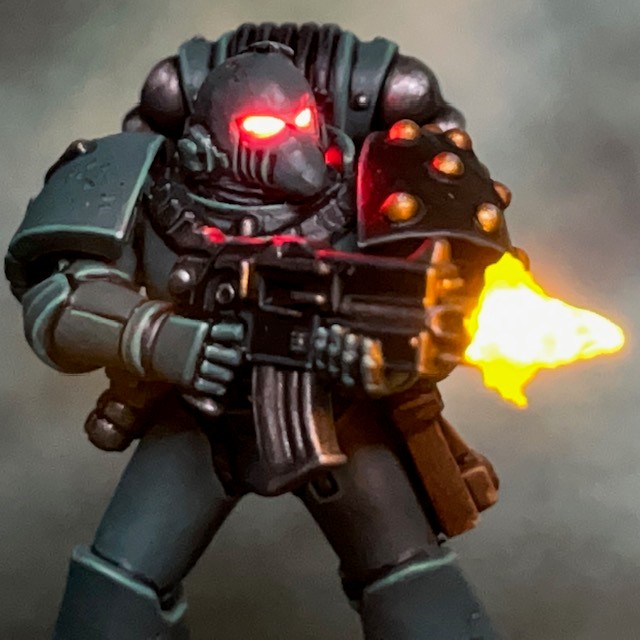
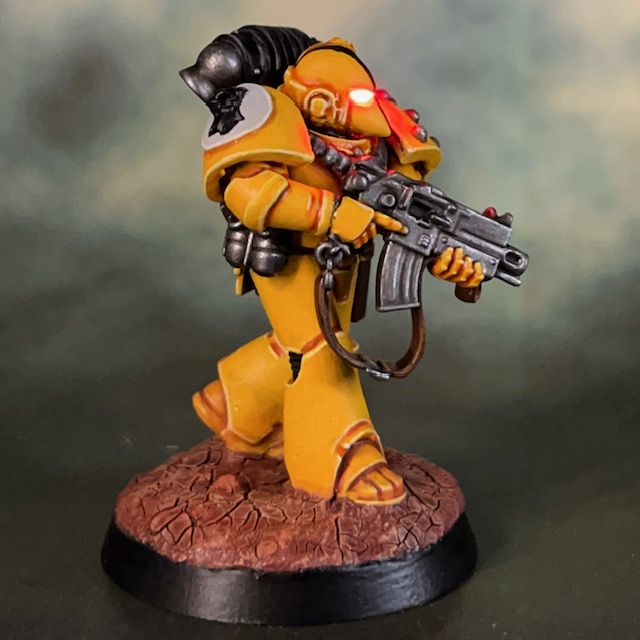
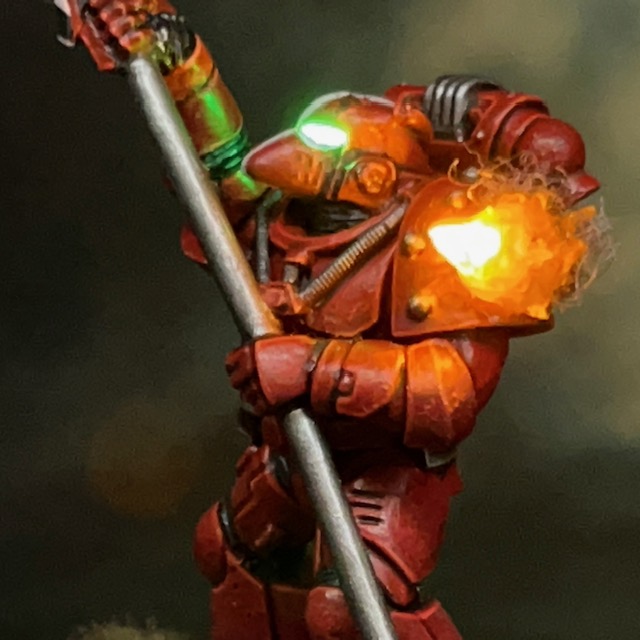
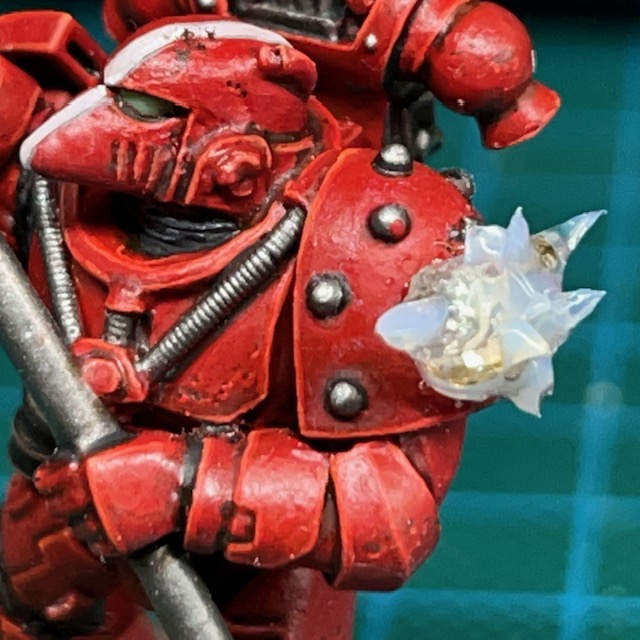
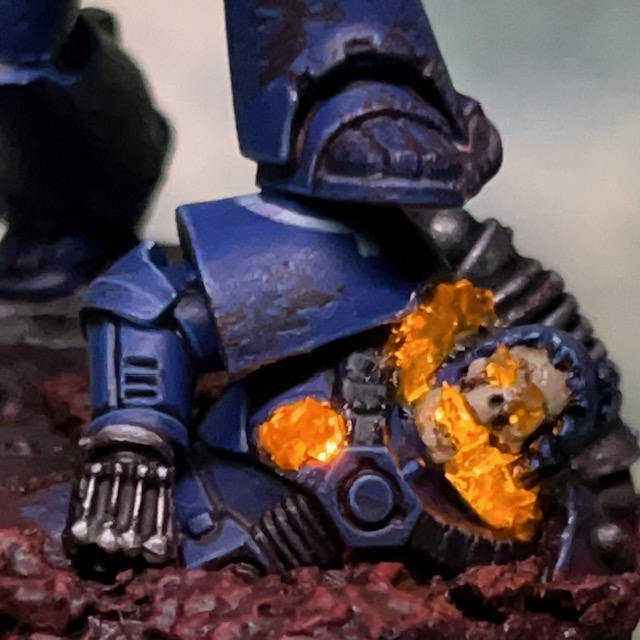
Both the sergeant and his fallen comrade are made almost exclusively from the Legion MkVI Tactical Squad kit, with a couple of minor exceptions. The power fist came from my bits box, and I think it’s from an older version of the Space Marine Tactical Squad sprue, and I chose it because it was a closer match to the art. The skull in the fallen marine came from the Citadel Skulls set. The LED helmet eye lenses are achieved using the technique described in my LED Eye Lens Tutorial. I did the same thing for the fire inside the casualty’s skull, only in this case I used an LED from a LED Tea Light to achieve that flickering fire effect. The flames themselves are sculpted from acrylic gel. Both LEDs are connected in parallel and operated by a single switch and coin cell battery. I’ve tested it, and fingers-crossed the battery will last for 48 hours in the Golden Demon cabinets!


My recipes for the Ultramarines blue armour and the silver metallics are below, if anyone is interested. The whole model was undercoated Chaos Black.
- Ultramarine Armour
- Macragge Blue basecoat
- 50:50 Kantor Blue:Abaddon Black shade
- Altdorf Blue highlight
- Calgar Blue fine highlight
- Fenrisian Grey fine highlight on top edges and corners
- Blue Horror dot highlight
- Silver Metallics
- Leadbelcher basecoat
- Nuln Oil shade in deepest recesses
- Gryph-Charger Grey shade
- Ironbreaker specular highlight
- Runefang Steel edge highlight
- 60:40 Runefang Steel: White Scar edge highlight on sharp edges and corners
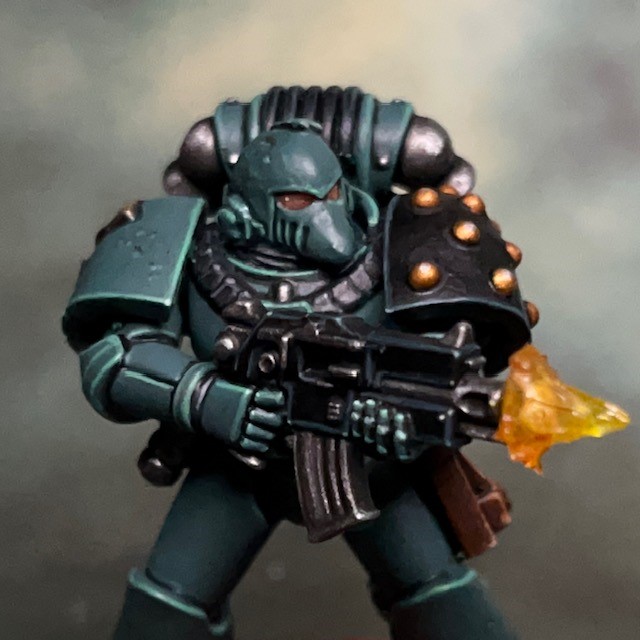
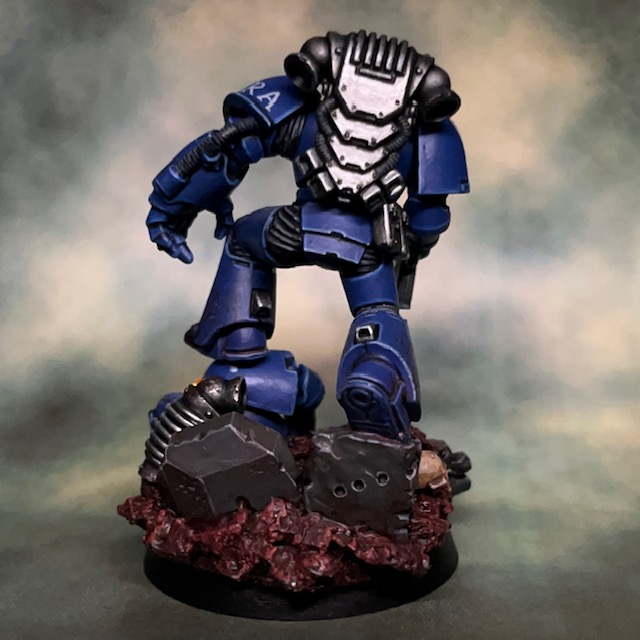
This model included quite a lot of freehand, much of which you can see above. My biggest tip for this type of freehand is to “sketch” the words or shapes with thinned Administratum Grey, and then go back and fill it in more firmly with Corax White. I try to avoid using White Scar, as it’s just to bright. I normally then finish off with a thin glaze of the base colour over the freehand – in this case that’s Macragge Blue. This helps to dull it down a bit and make the insignia look weather-worn and faded. As an aside, while studying the word ‘ULTRA’ on his shoulder, I noticed the font used in the artwork was Times New Roman! It’s good to see some things never change, even in the grim darkness of the far future!
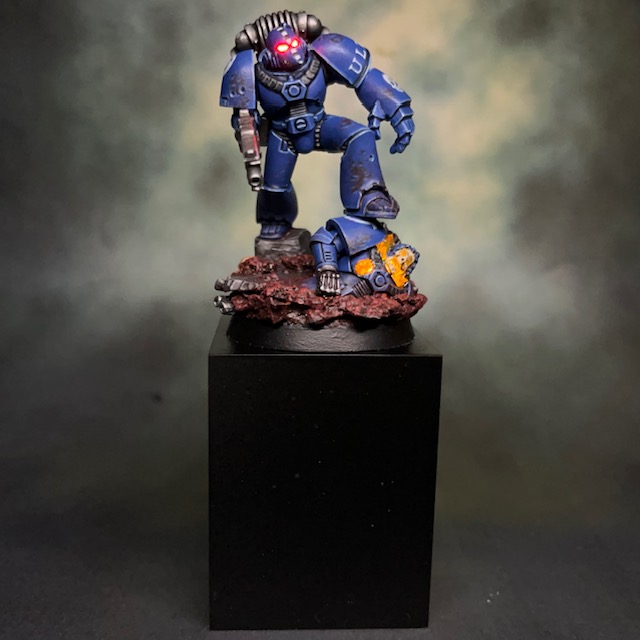
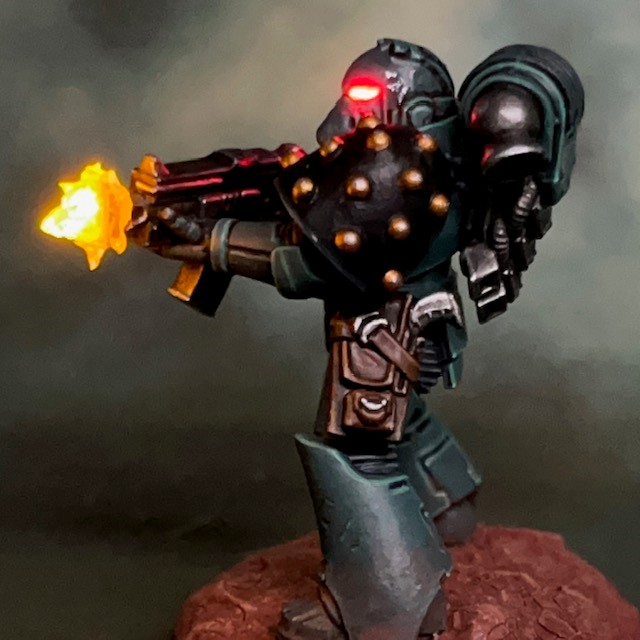
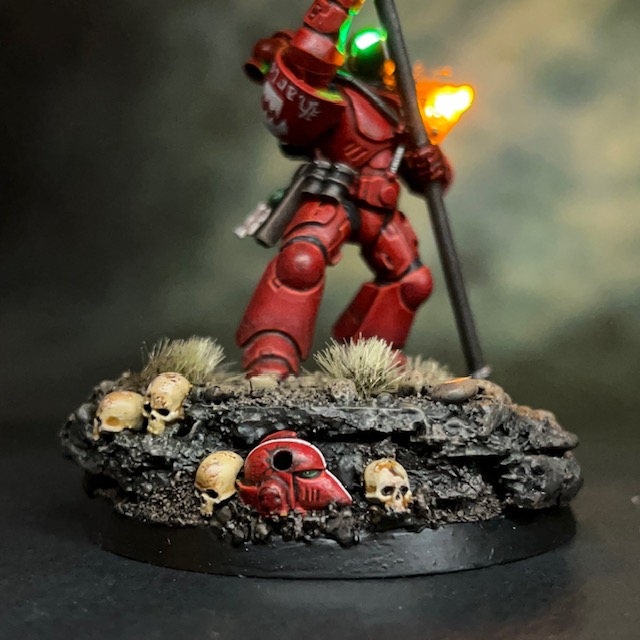
I think it’s also worth discussing the base. Not a lot of the ground is visible in the artwork, so I felt I had essentially free reign. I’ve always interpreted this picture as showing the Ultramarines breaching a wall or fortification, and I’ve tried to echo that feeling with the way the veteran sergeant is clambering over the fortifcations and even his fallen battle brother. There’s no time to commend his soul to the Emperor, the breach is not yet secured!
The ground in the artwork is a red-brown, and I decided to skew red. This was to enchance the “retro” nature of the model, and call back to some of the weird battlefields you saw in White Dwarf in the late 1980s, before everything became uniform green flock grass in the early 90s. Dark red is also quite an 80s colour by itself. This is also why I chose a square plinth for the model, rather than a round one, to further enhance that retro vibe. Now I think about it, I kind of wish I’d put the miniature on a square base!
- Red Rock Base
- 50:50 Rhinox Hide:Gal Vorbak Red basecoat
- Seraphim Sepia shade
- Gal Vorbak Red drybrush
- Wazdakka Red drybrush
- Wild Rider Red drybrush
- Trollslayer Orange drybrush
That’s it for today, but I should mention that this is the first of two Golden Demon entries that I will be submitting this year, so there will be more from me again soon. As always, thanks very much for reading, and please don’t forget you can also follow my work on social media at Twitter, Mastodon and Instagram.