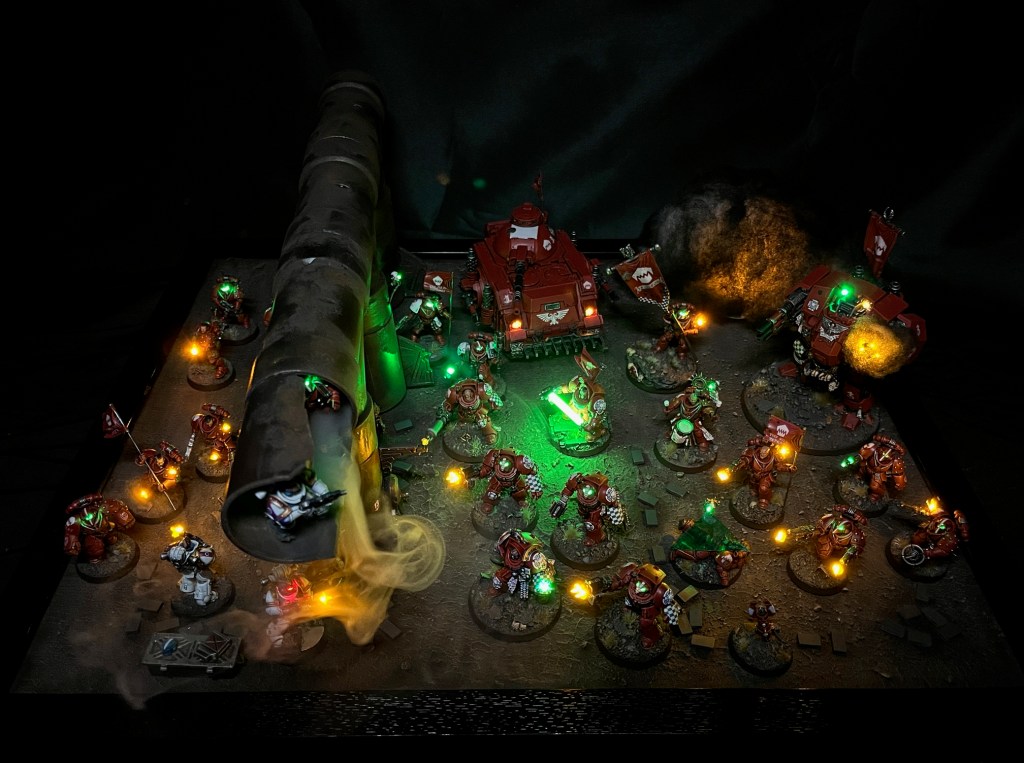
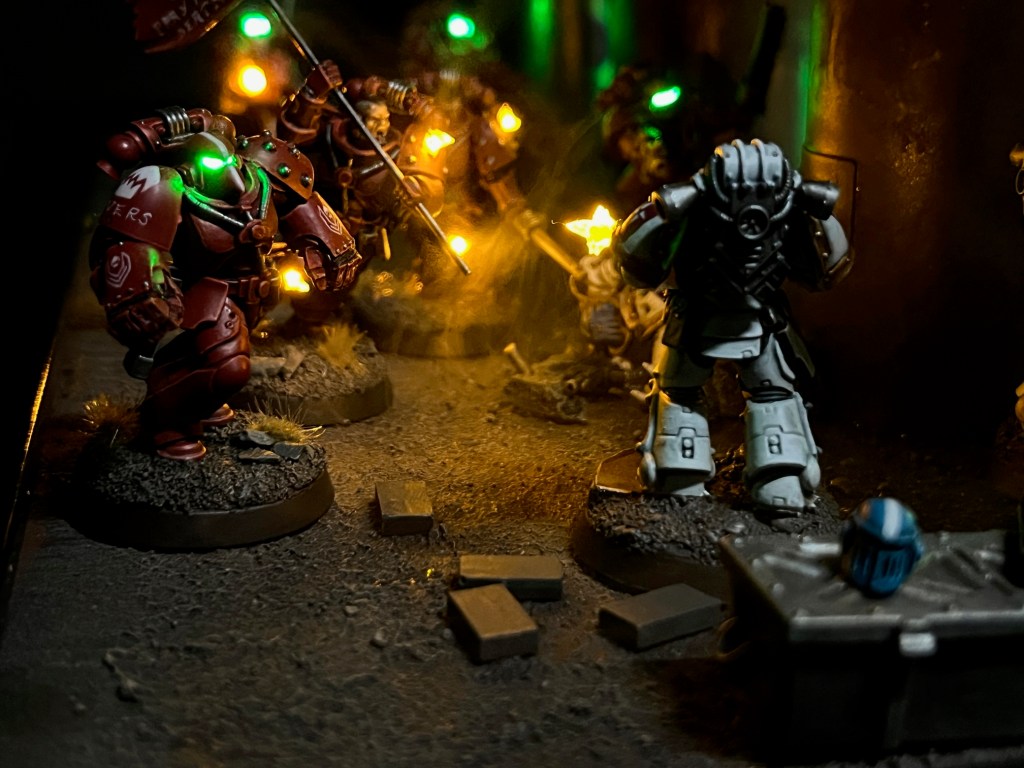
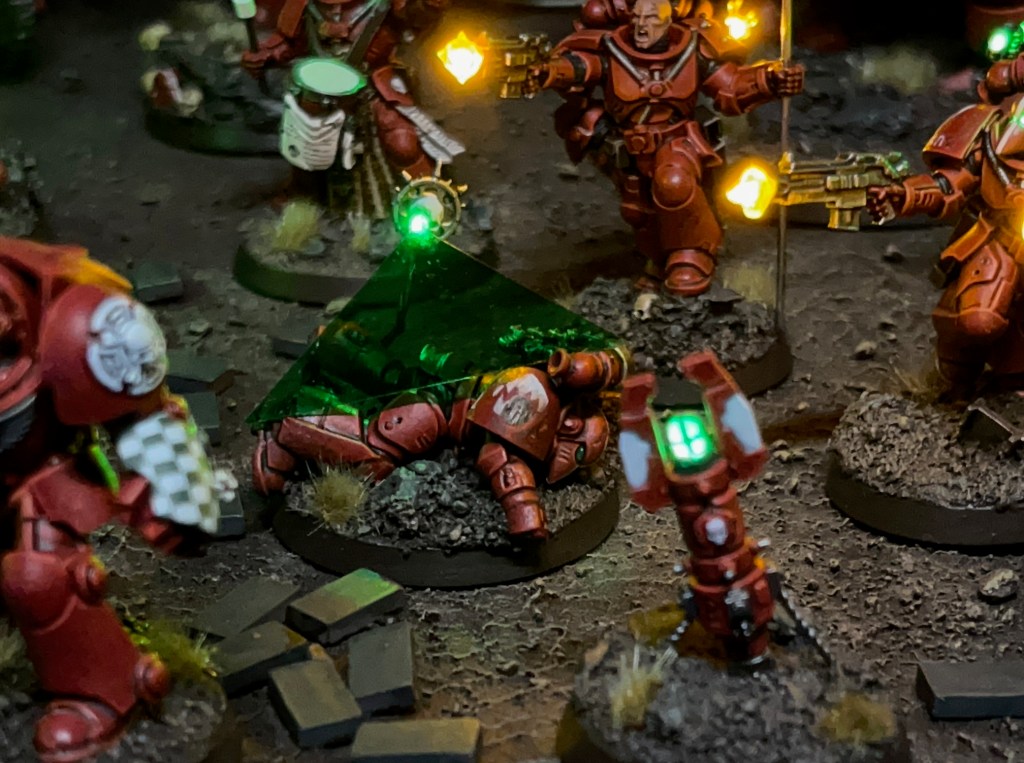
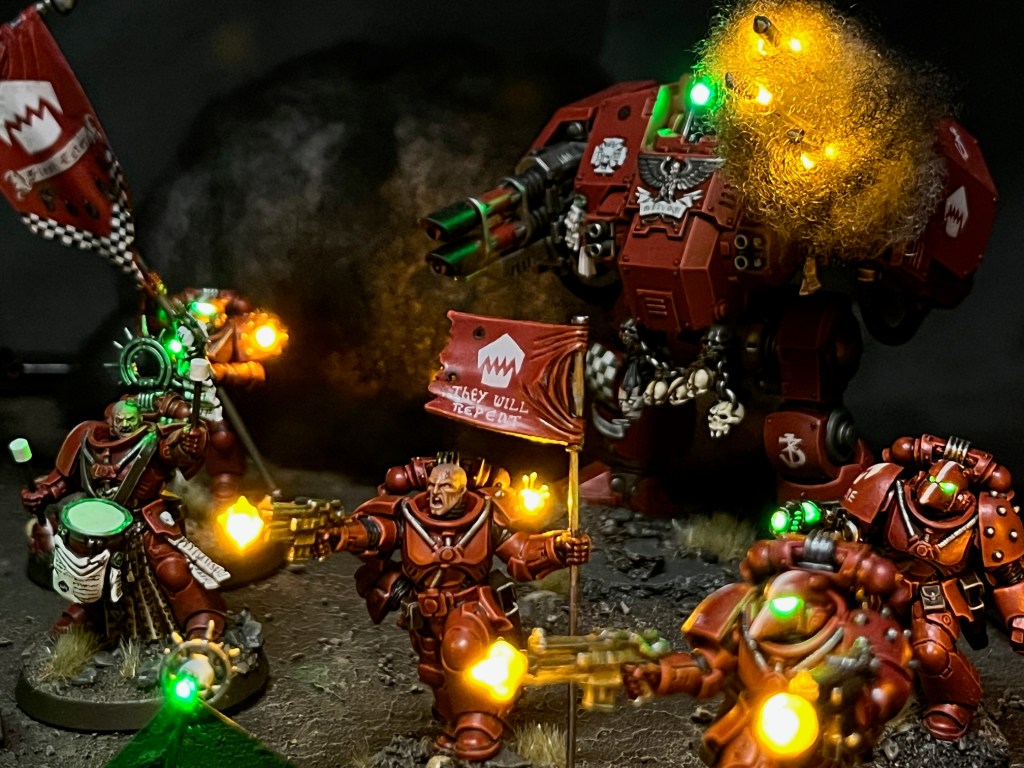
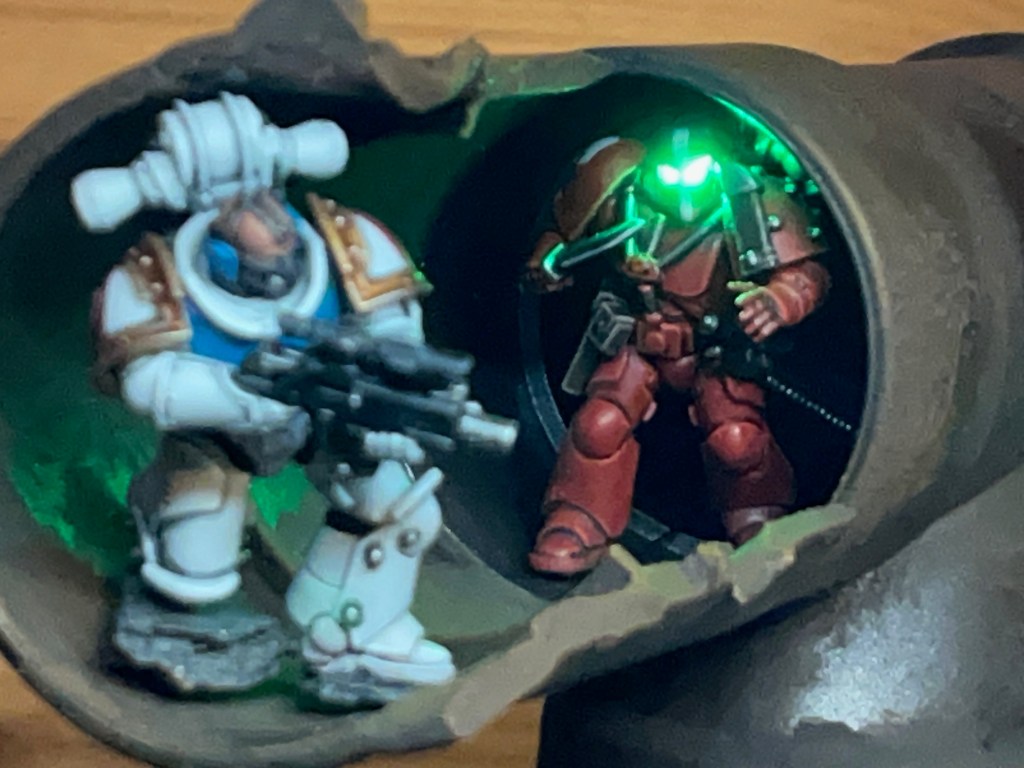
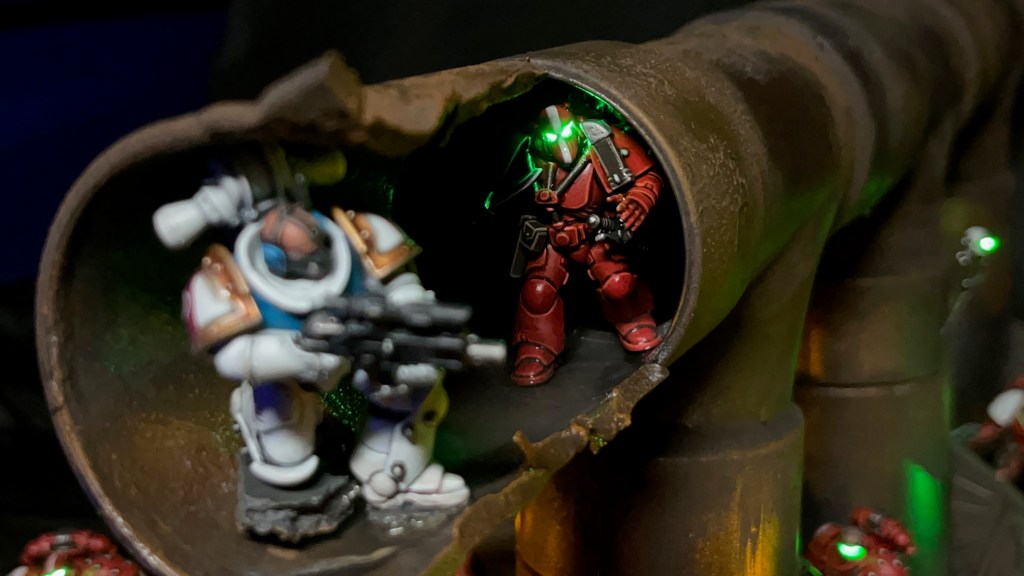
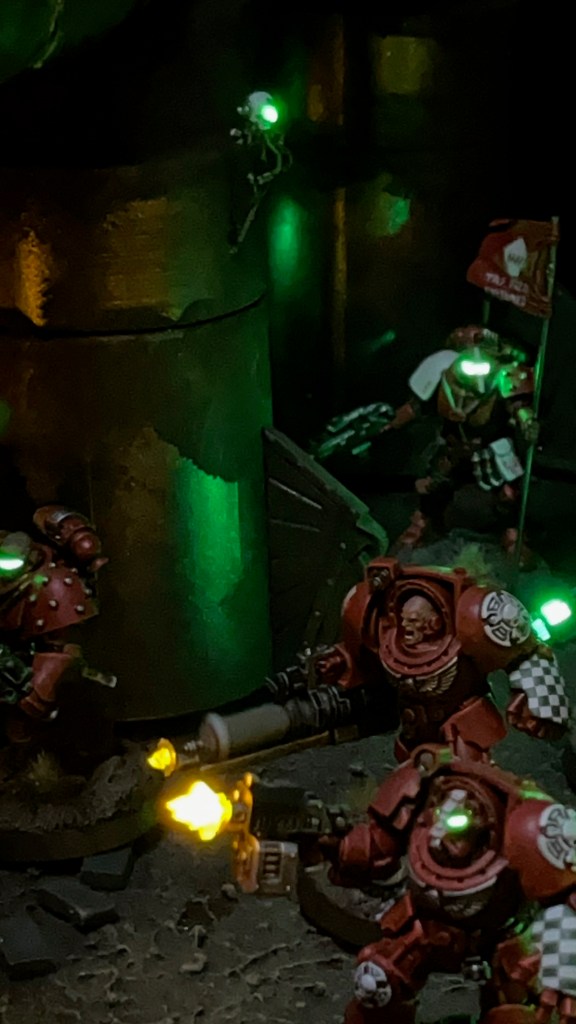
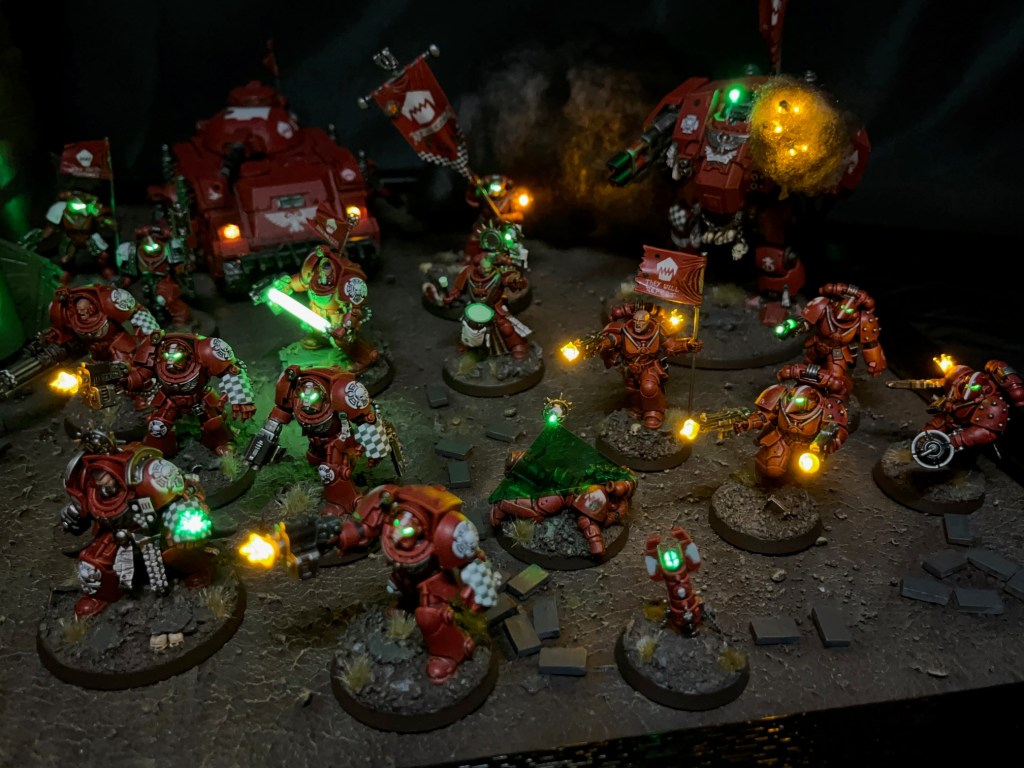
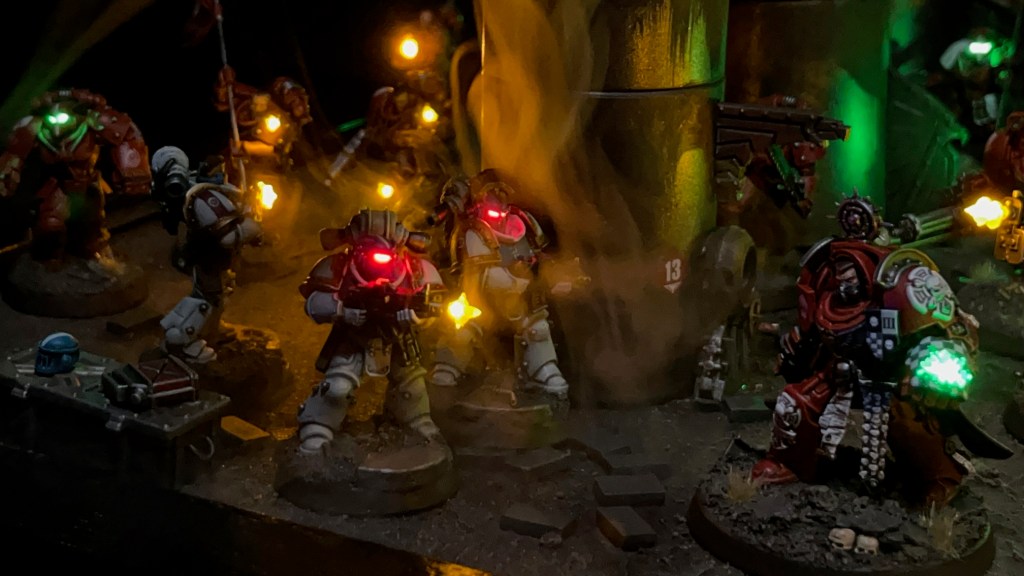
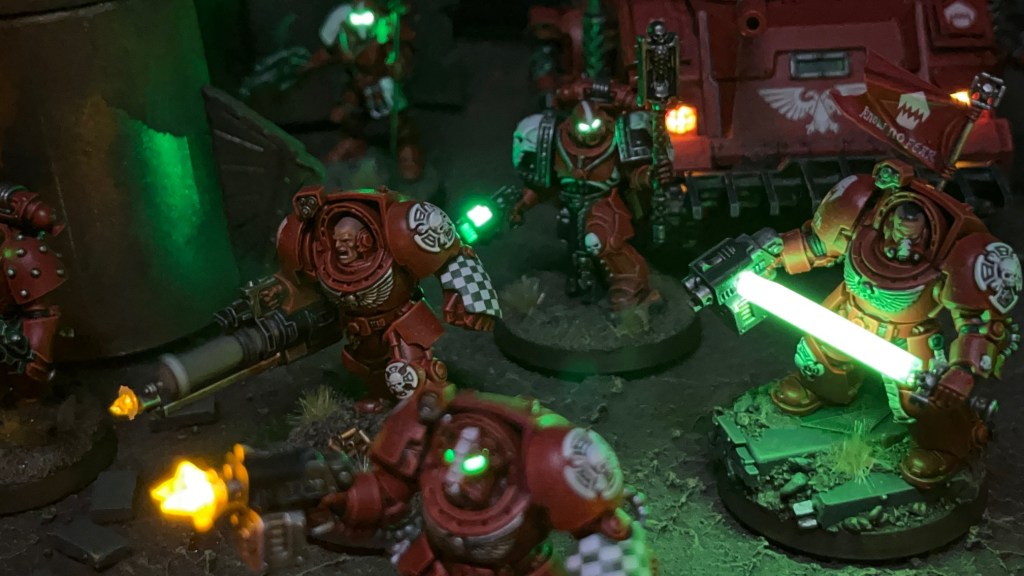
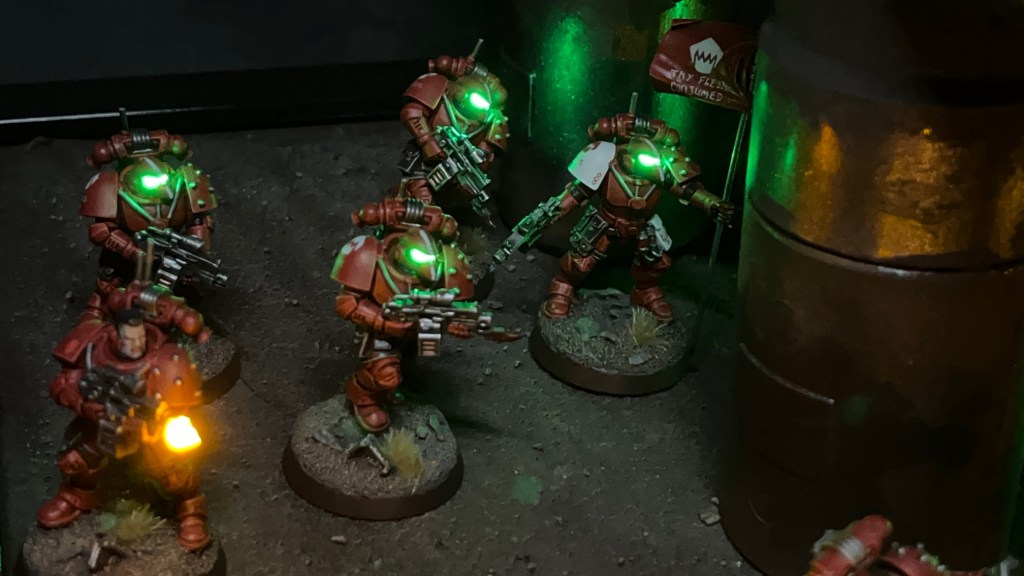
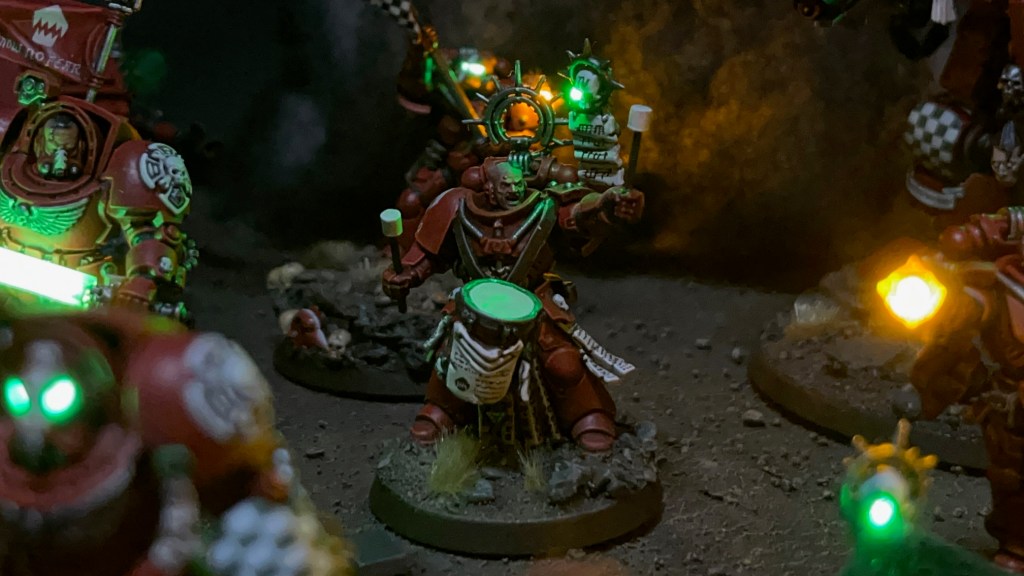
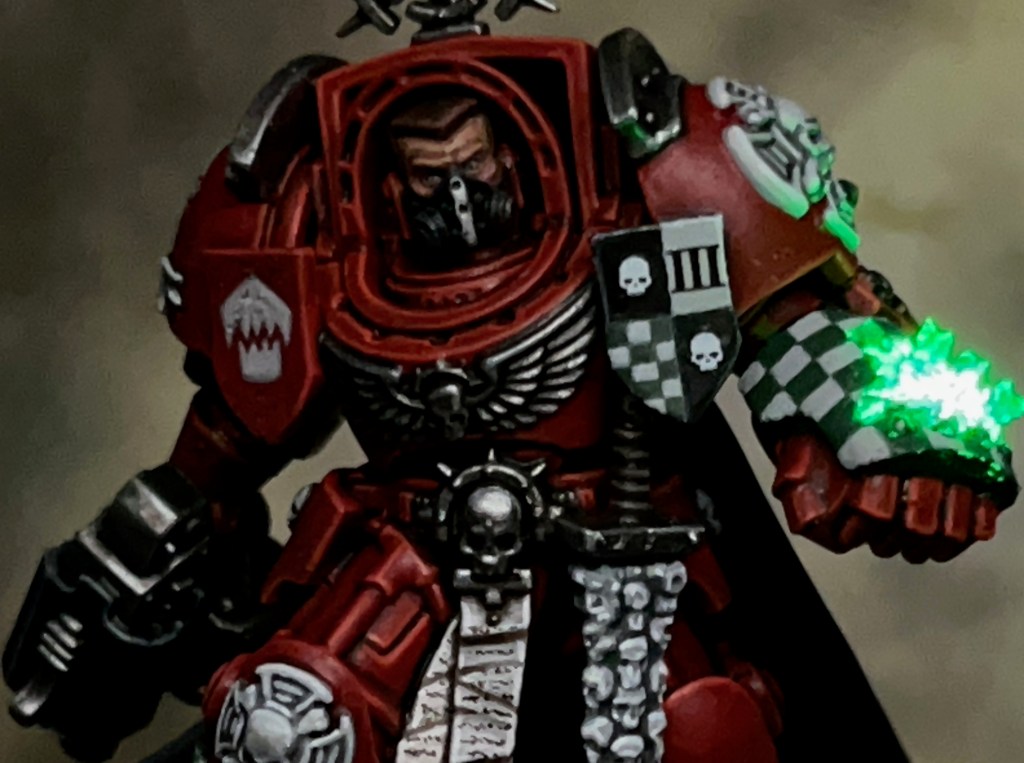
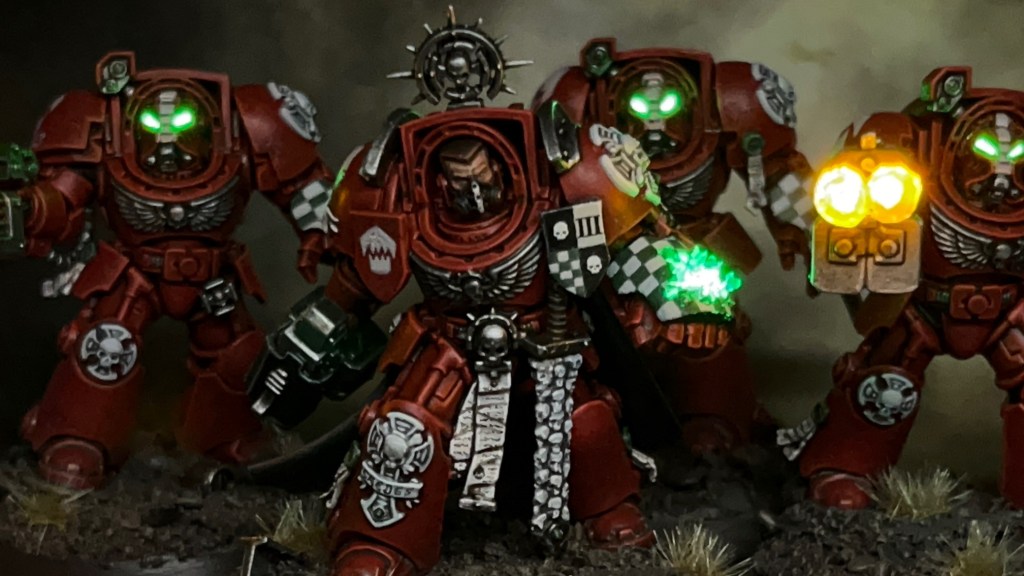
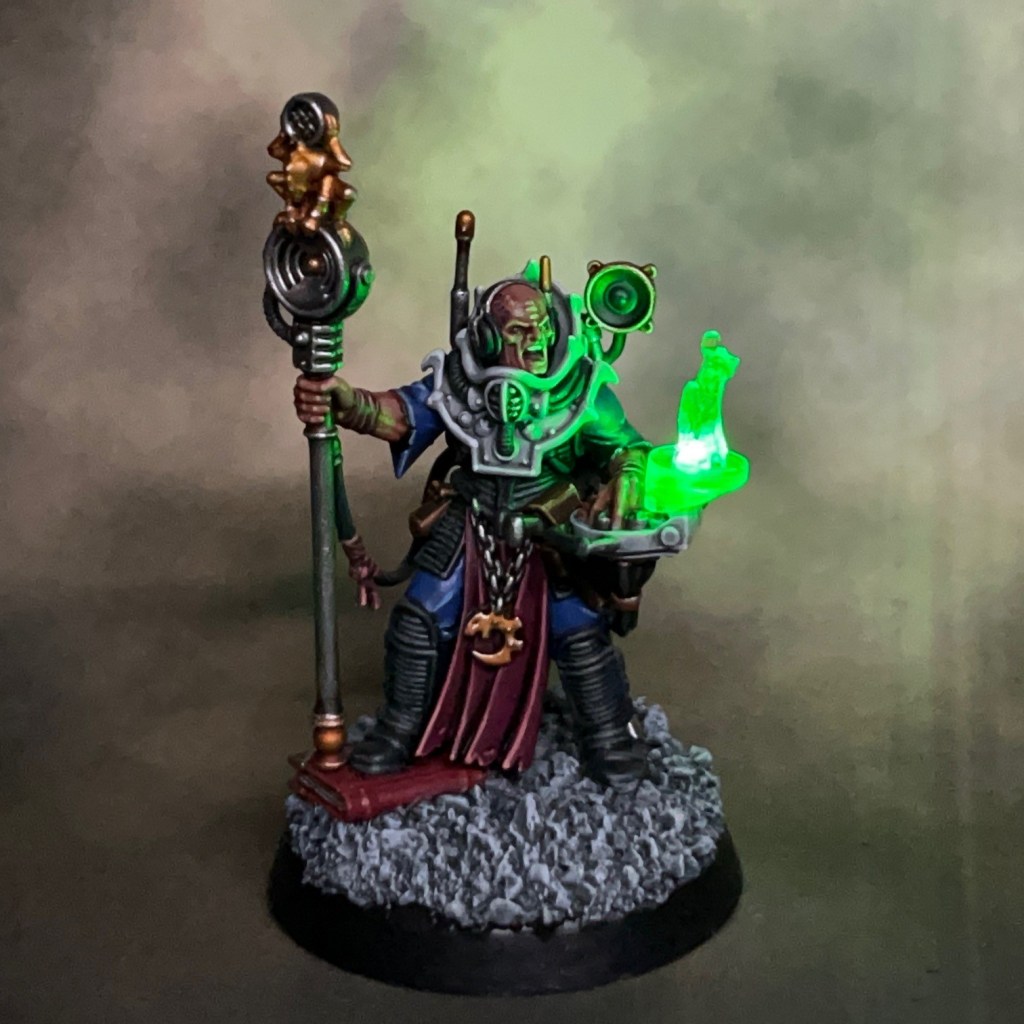
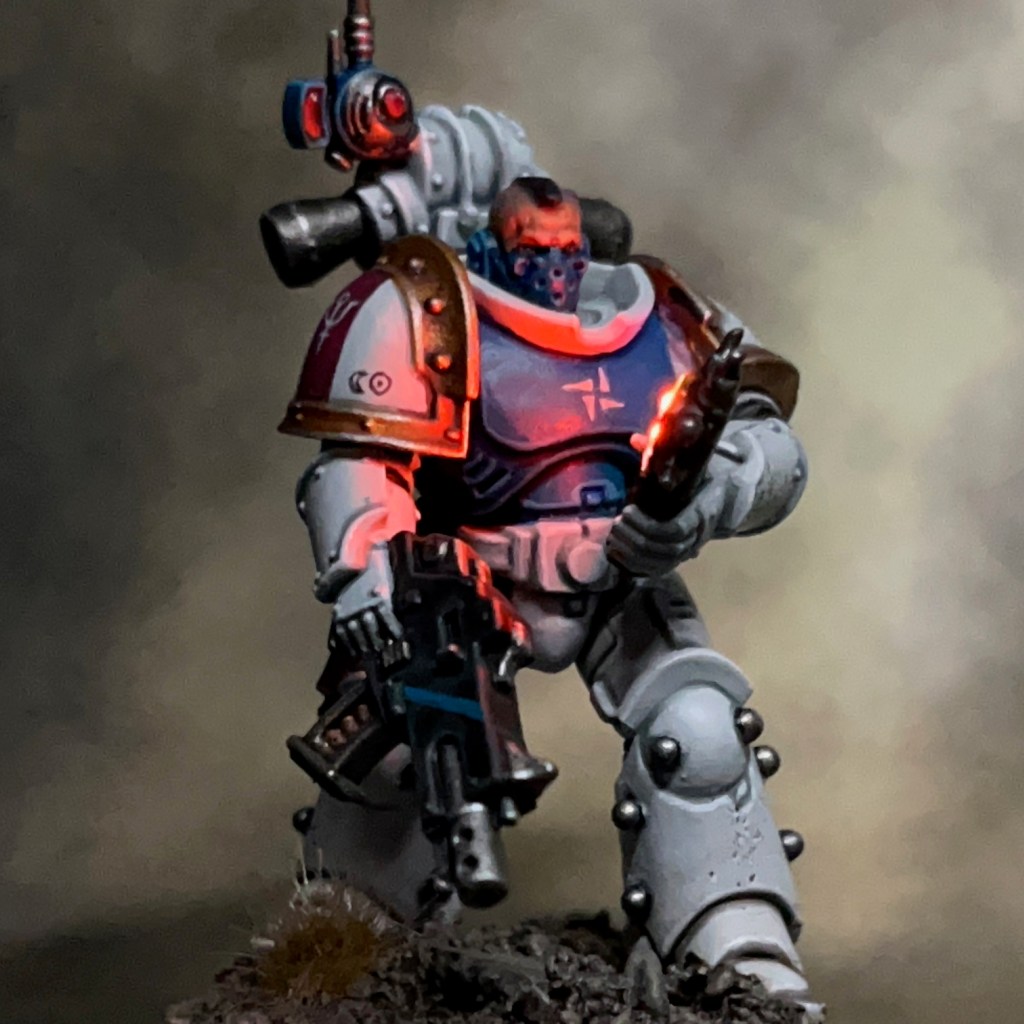
This week I’ve added to my small squad of Silver Stars with a new vox operator. The Silver Stars are the mysterious chapter leading the Partisan forces in the War of the False Primarch. Although I’m fighting on the side of the Orthodox forces in this campaign with my Flesh Eaters, I have been slowly putting together a small force of Silver Stars to add a bit of flavour to my army display boards. This marine was intended to join his brothers on my ‘Ambush at Pipeline 13’ Armies on Parade board, but I ran out of time to finish him before the deadline.


Modelling
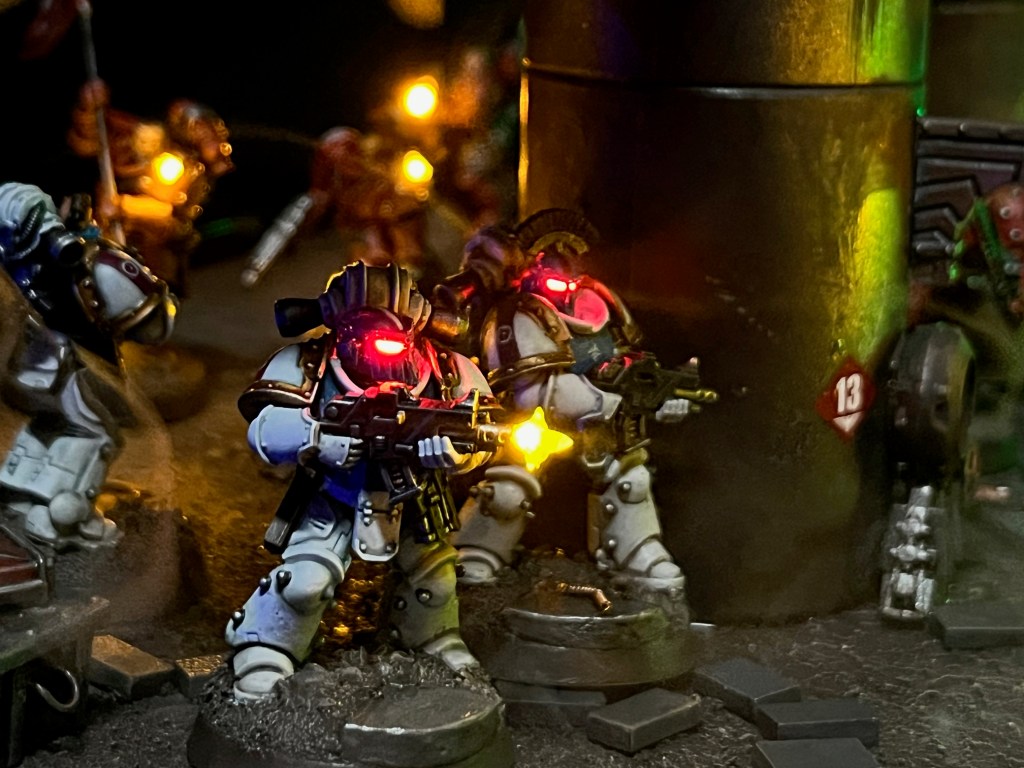
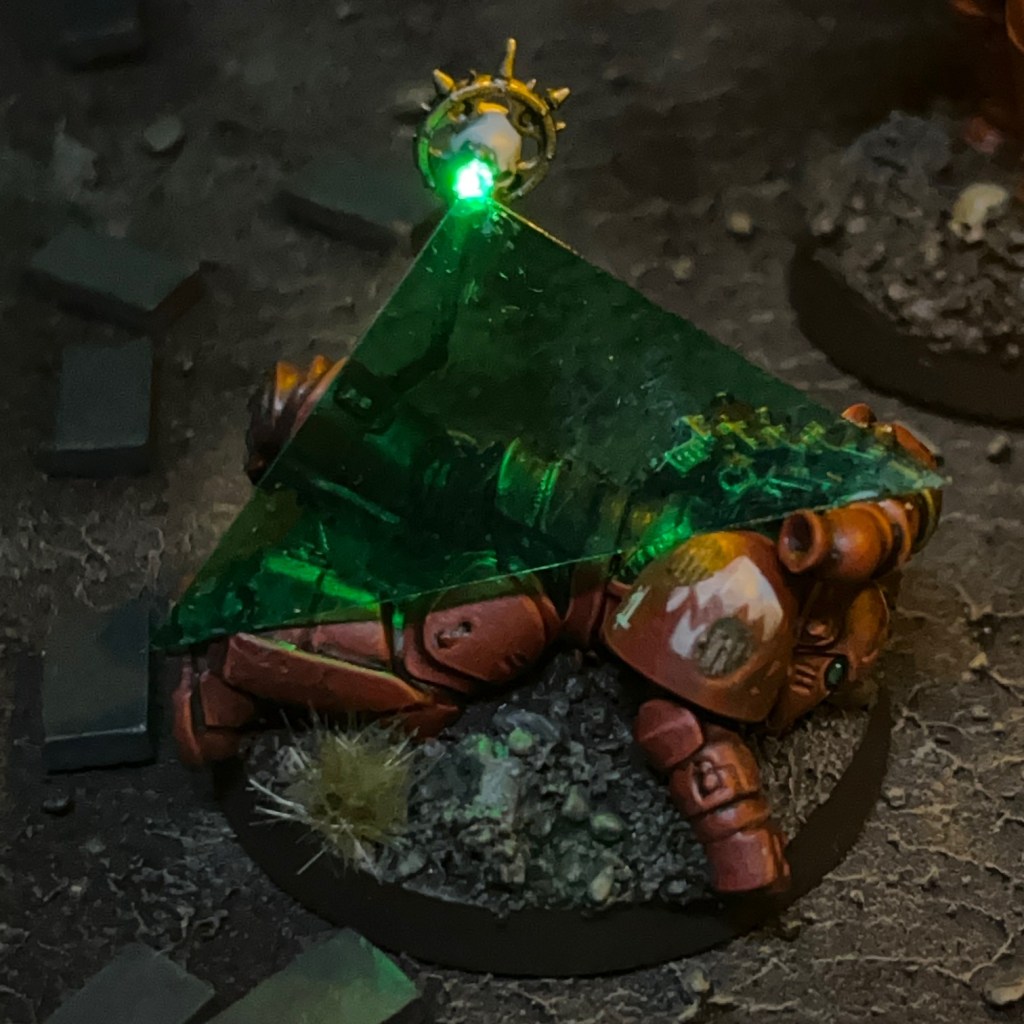
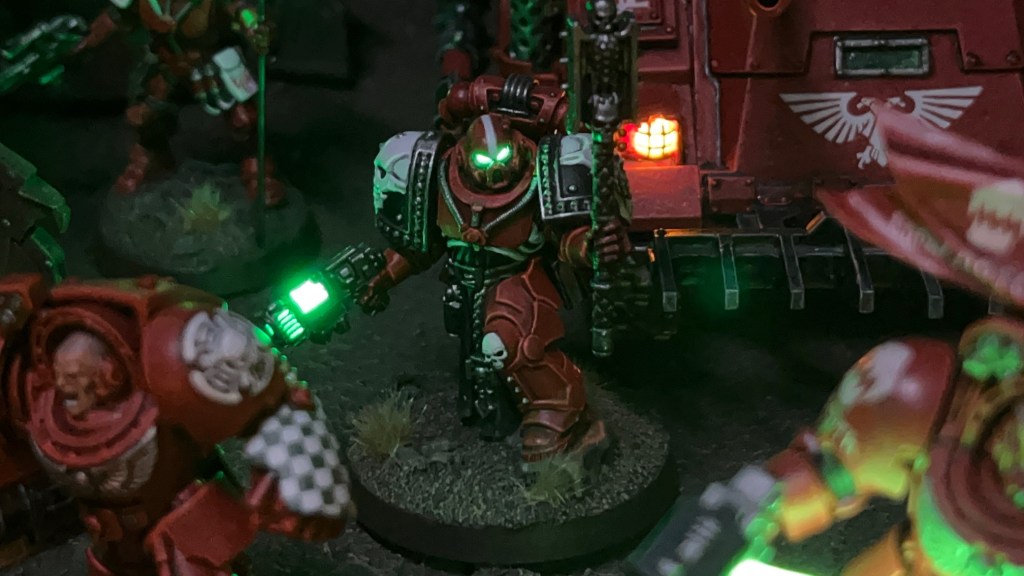
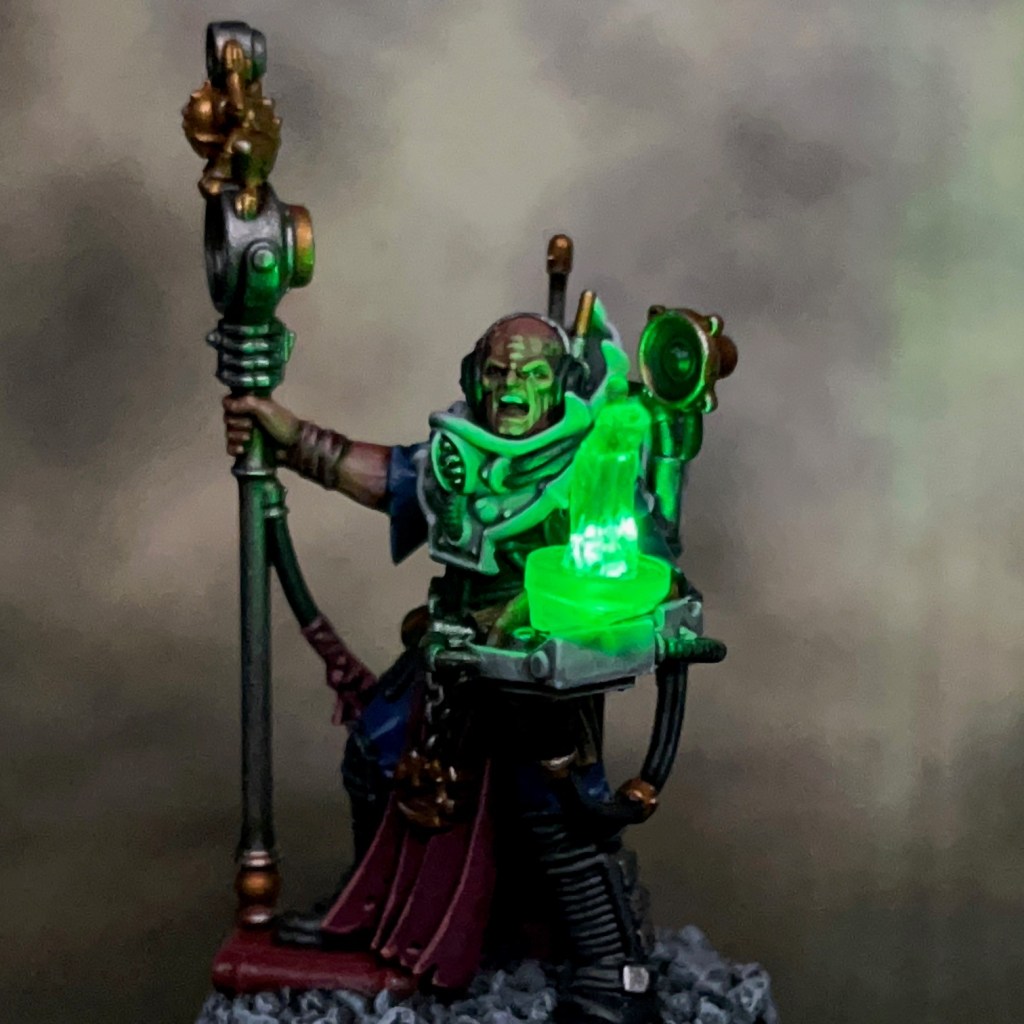
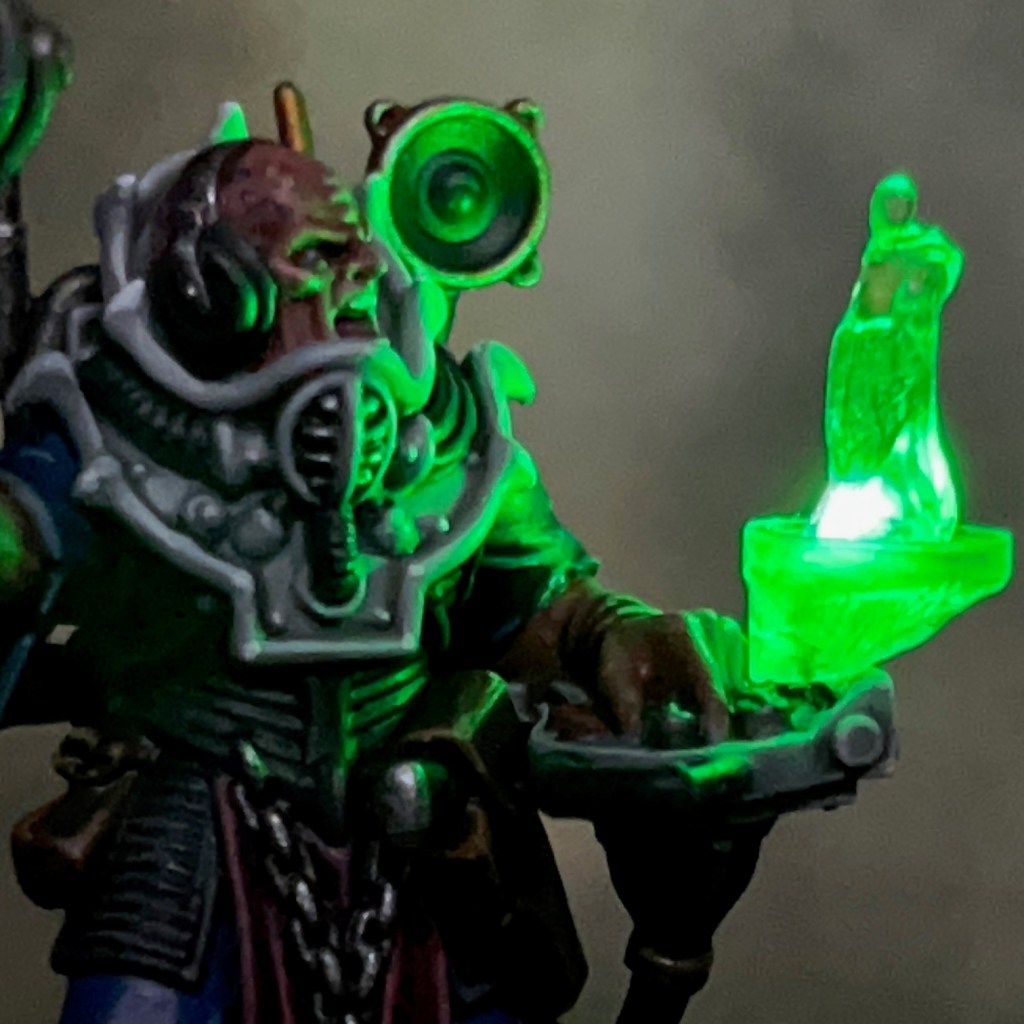
My aim with this model was to show a lit auspex screen. Readers who have been following my work for a while may remember a similar miniature in the past which was my Lamenter Comms Specialist.
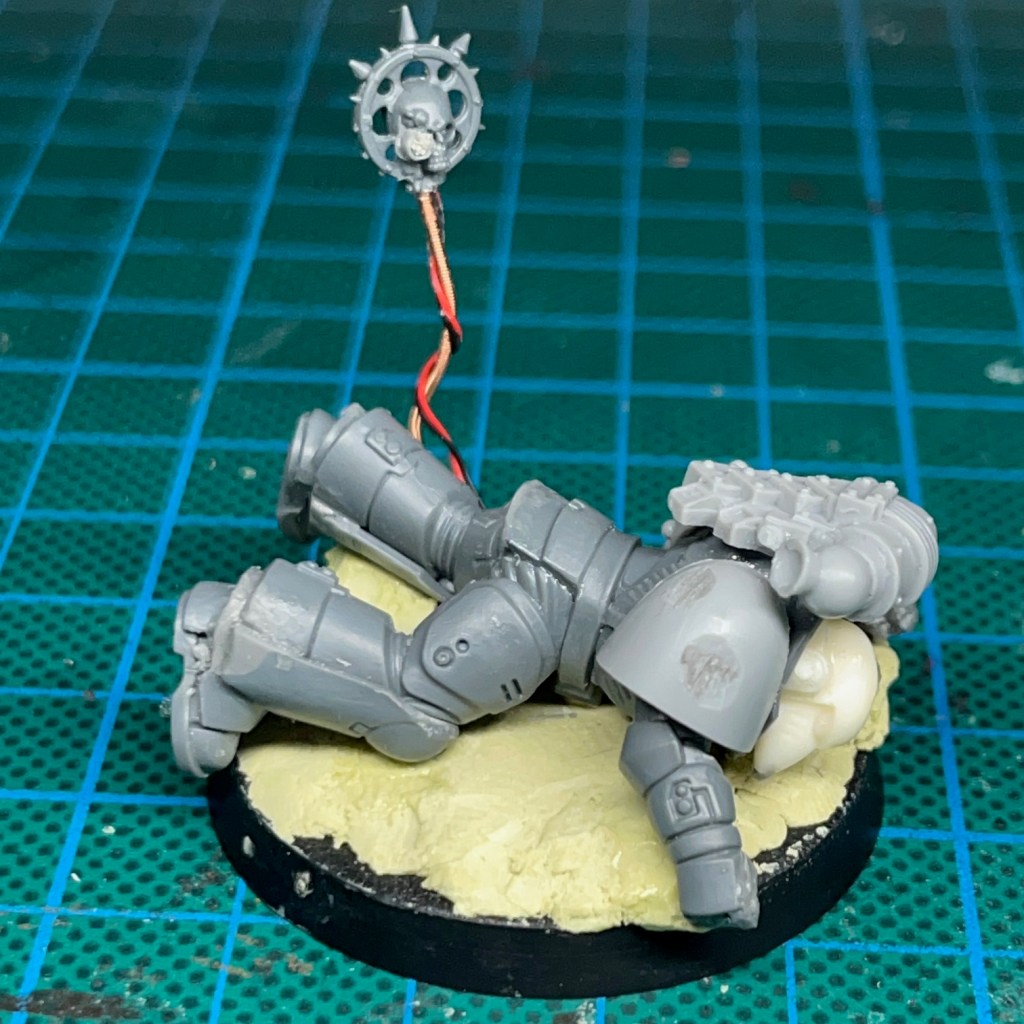
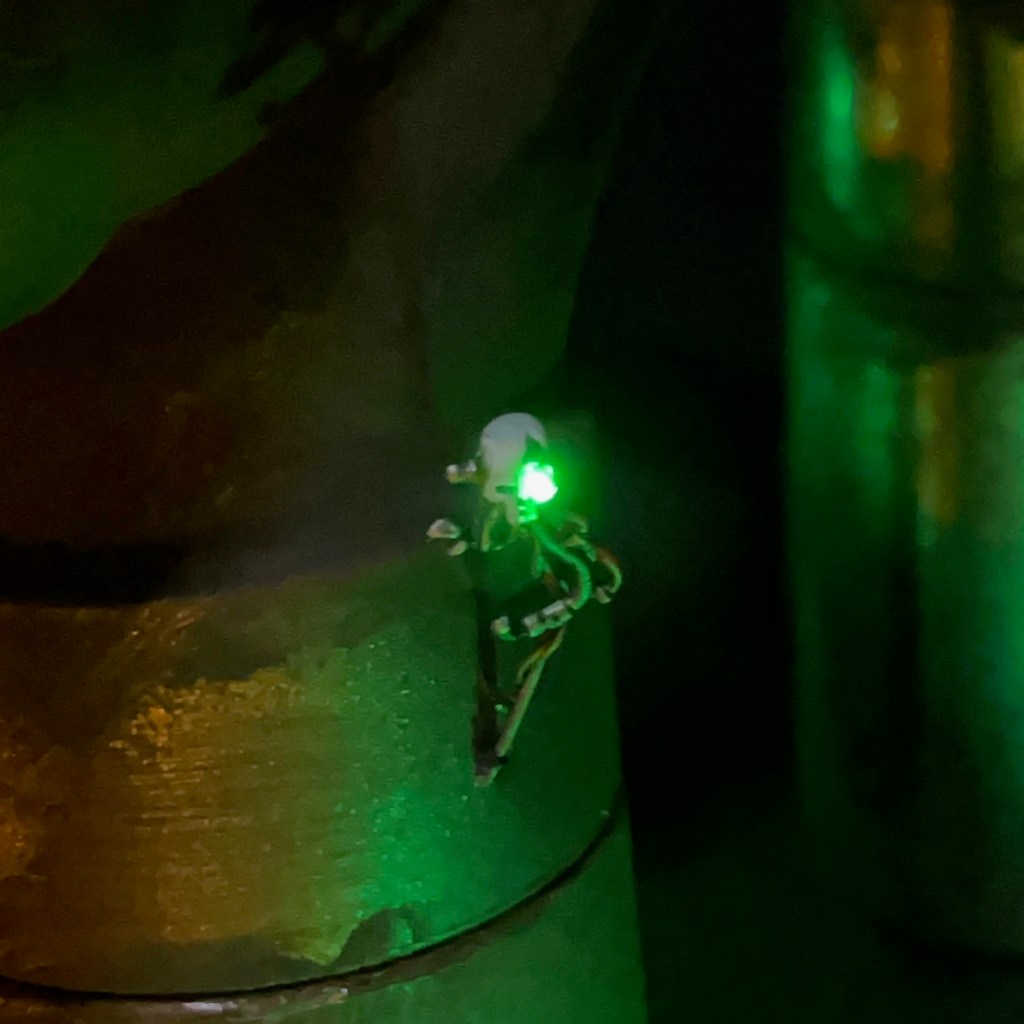
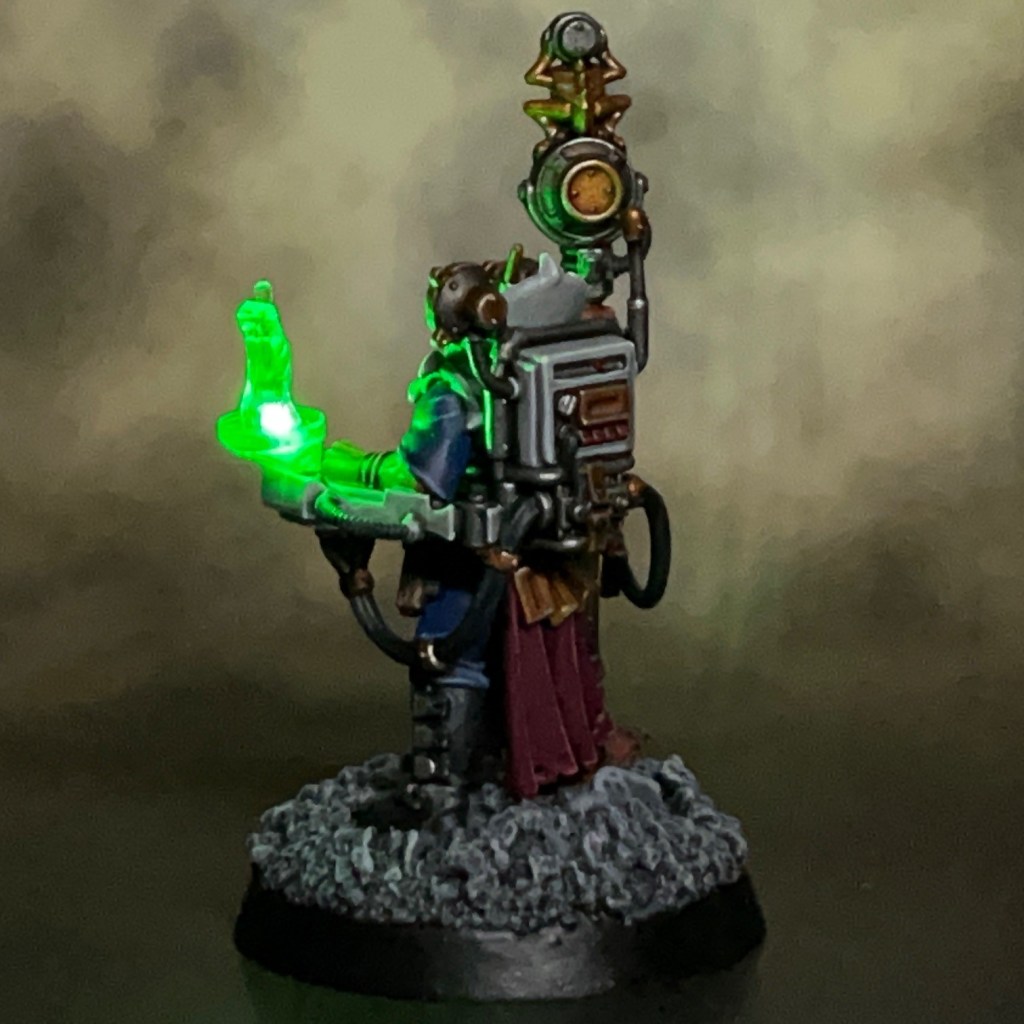
When compared to my standard LED tutorials, this is closest to my Simple LED Muzzle Flare tutorial, only with an auspex screen instead of a muzzle flare. The LED wires run through the hand, arm, torso and left leg to join up with the resistors, switch and single CR2023 battery hidden in the base. The LEDs used are two Green Stuff World 1mm ‘Warm White’ LEDs connected in parallel. Two adjacent LEDs are intended to give the impression of two separate ‘pings’ on the screen. After hollowing out the auspex and inserting the LEDs, I used the ever-reliable Acrylic Splash Gel to fill in the screen. Once this was dry I painted two coats of with Citadel Spirit Stone Red, as this is a slightly gloss glaze and helps the screen to look good when the LEDs are switched off. Finally I added some additional lines to the screen using Citadel Wild Rider Red.


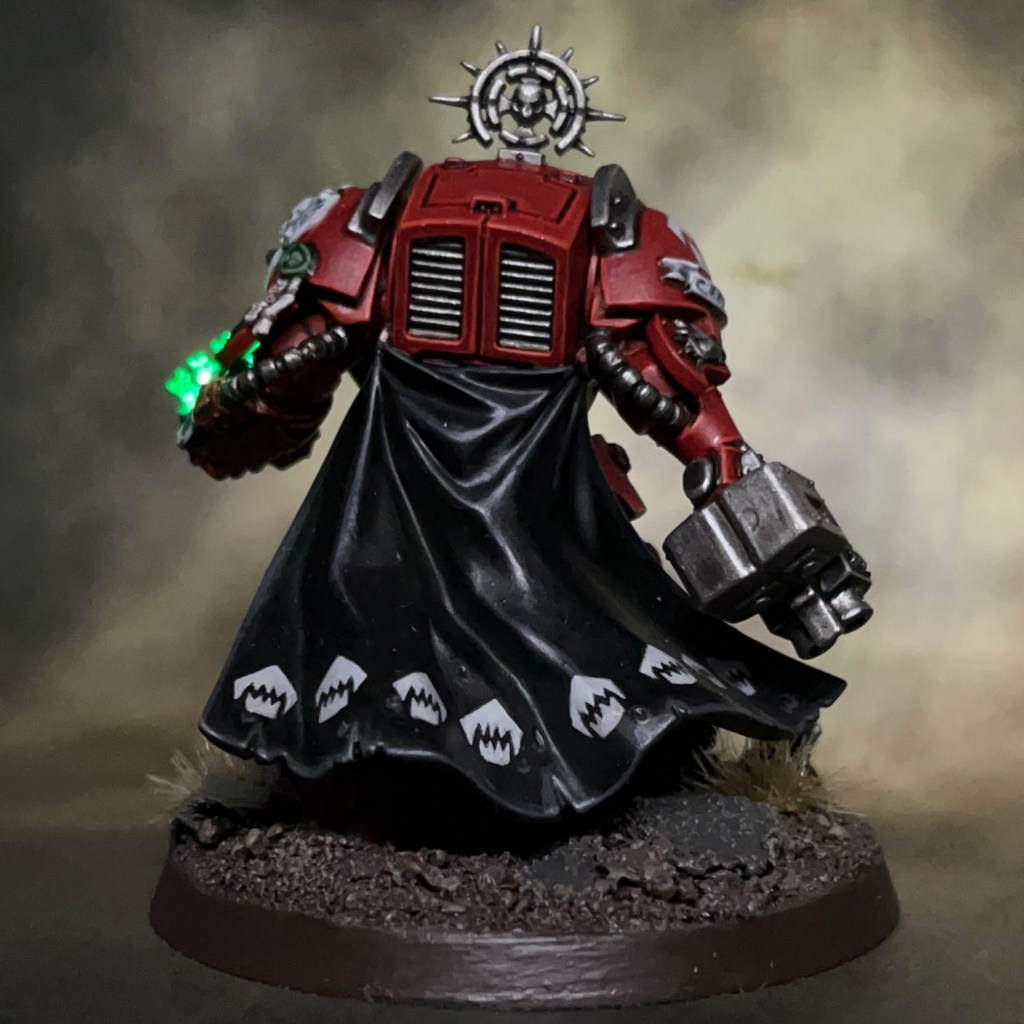
As with the previous Silver Stars, this marine is built using a Primaris marine body and legs. The arms, pauldrons, backpack, bolter and holstered pistol are from the previous version of the plastic Legion MkIII Tactical Squad set. To give the legs a more “antiquated” look, I added Mixed Micro Glass Balls from Green Stuff World as armour studs. The head is from the Legion MkVI Tactical Squad sprue, as are the antenna and vox elements of the backpack. This all helps to make the provenance of the Silver Stars armour intentionally unclear.


Painting
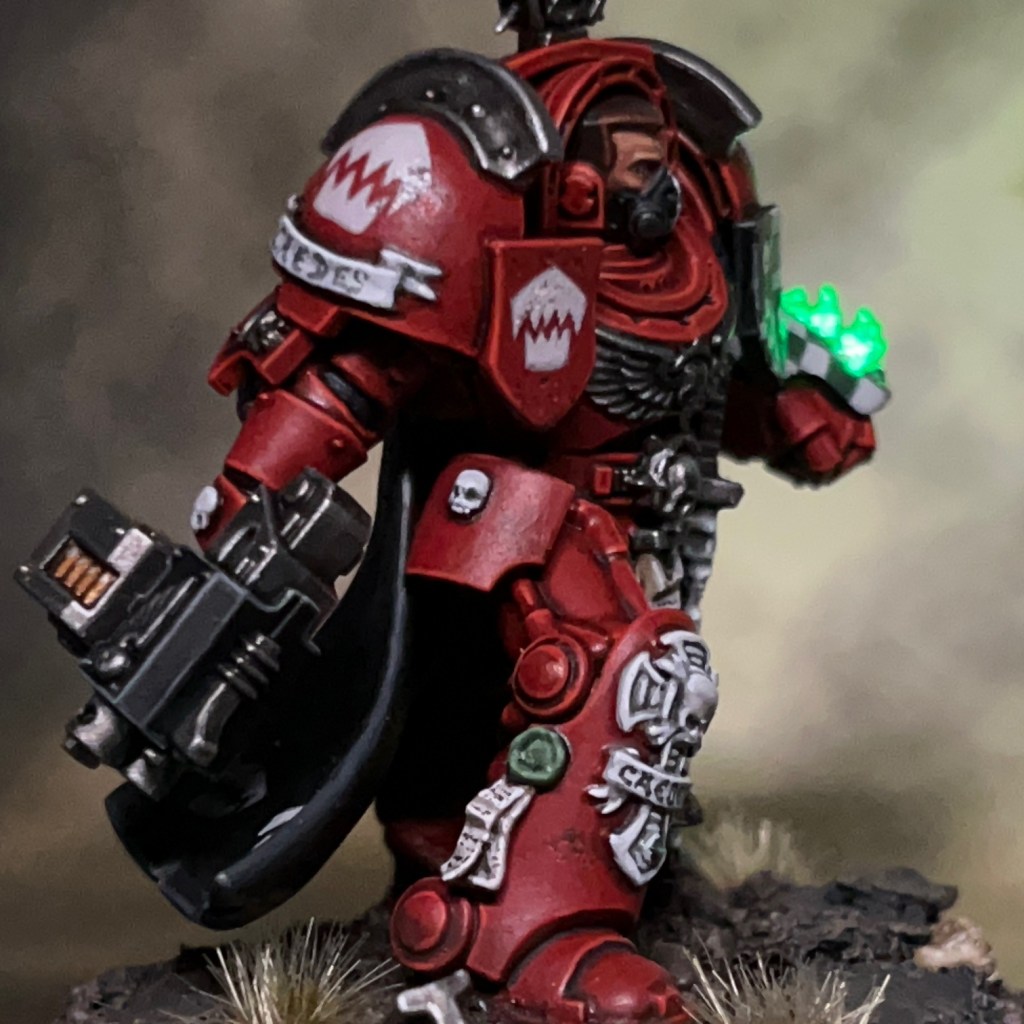
With the time pressure of Armies on Parade out of the way, it was nice to actually take my time over painting a Silver Stars marine! If you’re interested in the paint recipes I used, you can find a detailed list in this previous post. As I had more time, I refined my freehand process for the insignia. Details are below, all paints are Citadel unless specified otherwise.
- White Insignia on Rose Band
- Thinned Administratum Grey layer to produce rough outline of insignia
- Corax White layer
- 3:1 Screamer Pink:Lahmian Medium thin glaze
- White Insignia on Blue Field
- Thinned Administratum Grey layer to produce rough outline of insignia
- Corax White layer
- 3:1 Sotek Green:Lahmian Medium thin glaze
- Dark Insignia on White Field
- Slightly thinned Rhinox Hide layer
- 3:1 Ulthuan Grey:Lahmian Medium thin glaze


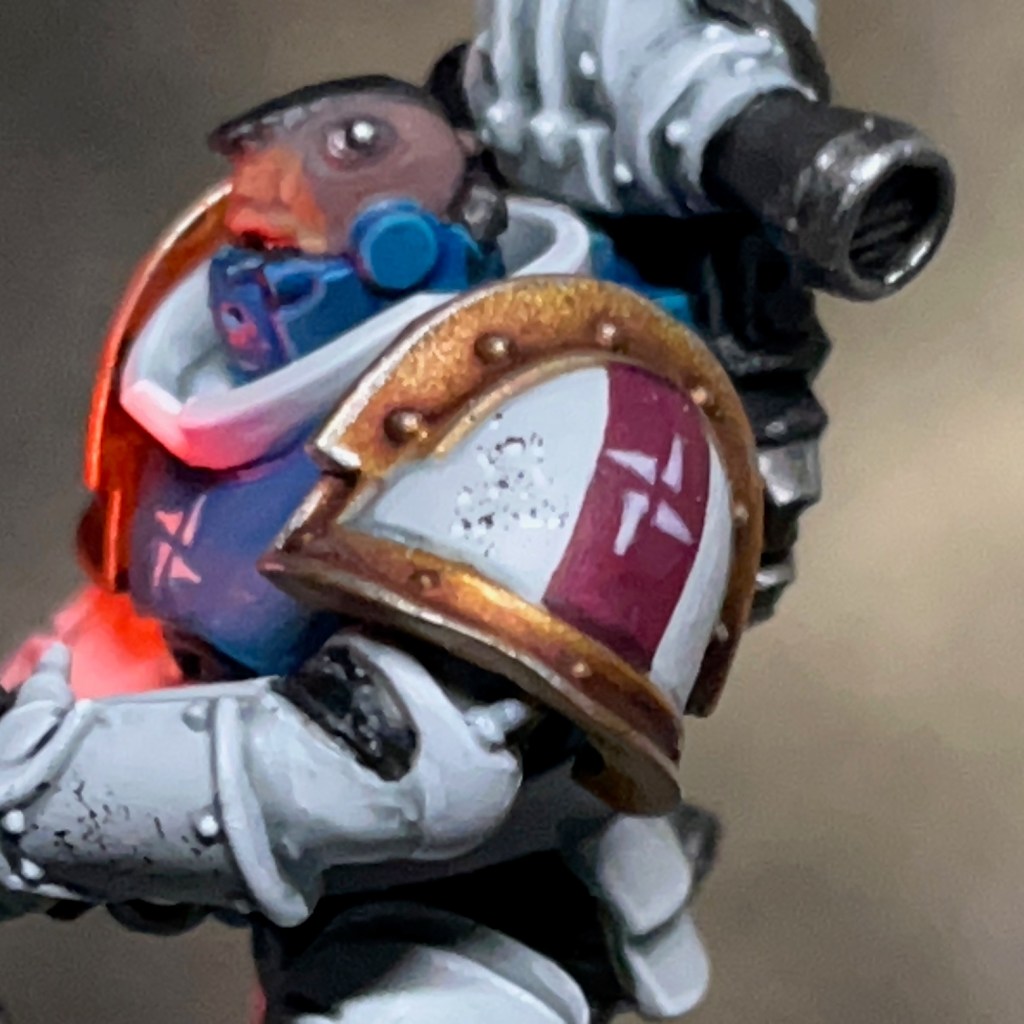
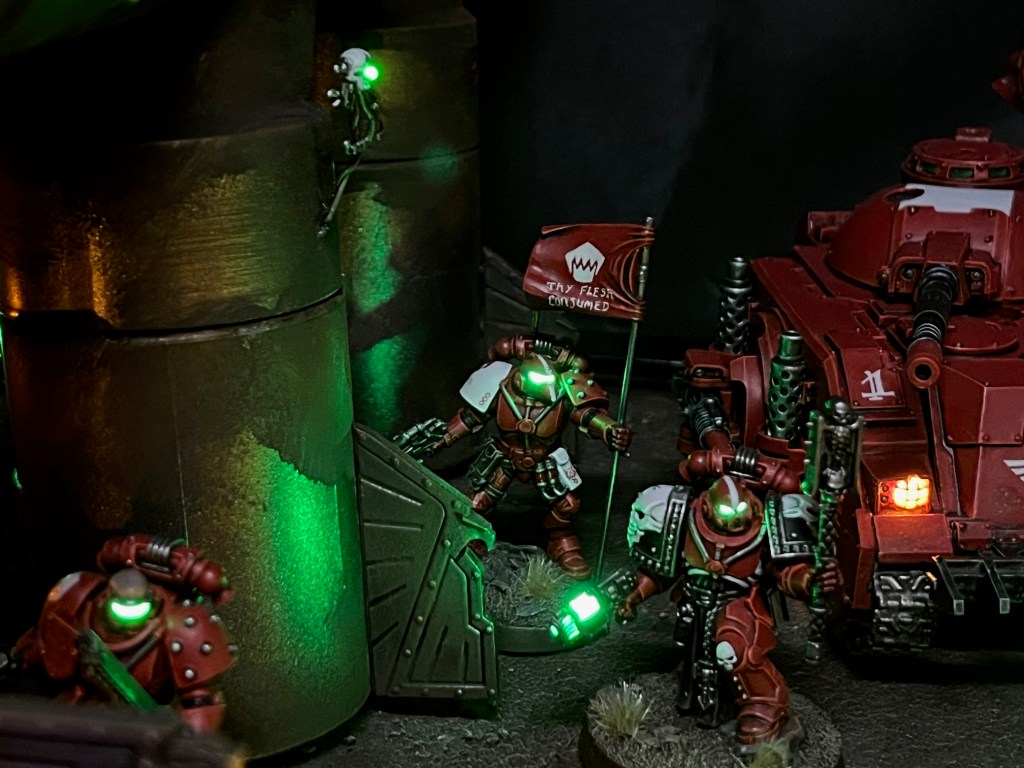
This vox operator is from the unit dubbed ‘Squad Antimony’ by Orthodox codifiers during the War of the False Primarch – their actual squad designation remains unknown! The Silver Stars heraldry is quite different from other chapters, and they make use of alchemical and astrological symbols, as well as cuneiform numbers. You are very unlikely to find conventional High Gothic text or numerals on their armour. If you’d like to read more on this then Apologist has an excellent article on Silver Stars markings and heraldry.
That’s all for today, I hope you’ve enjoyed this insight into my latest Silver Star marine. I have a few more Silver Stars on the way soon, so stay tuned! As ever, thanks very much for reading, and please remember you can also find me sharing my work on Instagram, Threads, Twitter/X, Bluesky and Mastodon.