Sometimes you need to look the enemy in the eye, and sometimes you need to trust in your wargear.
Brother Castiar, Flesh Eaters
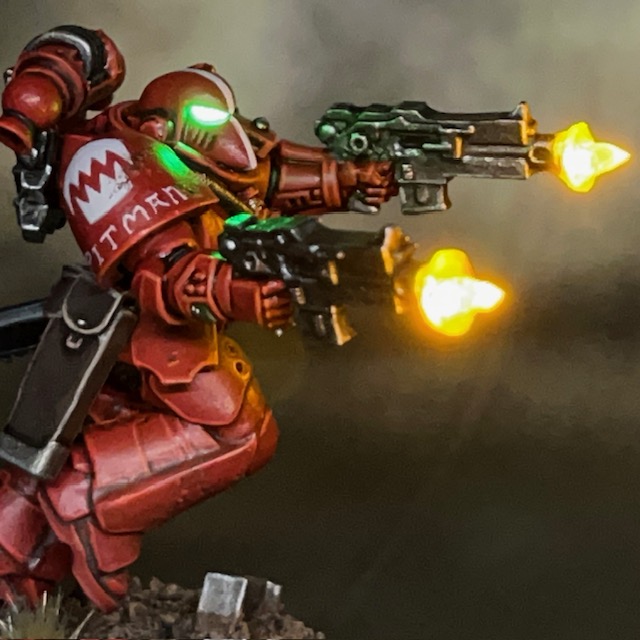
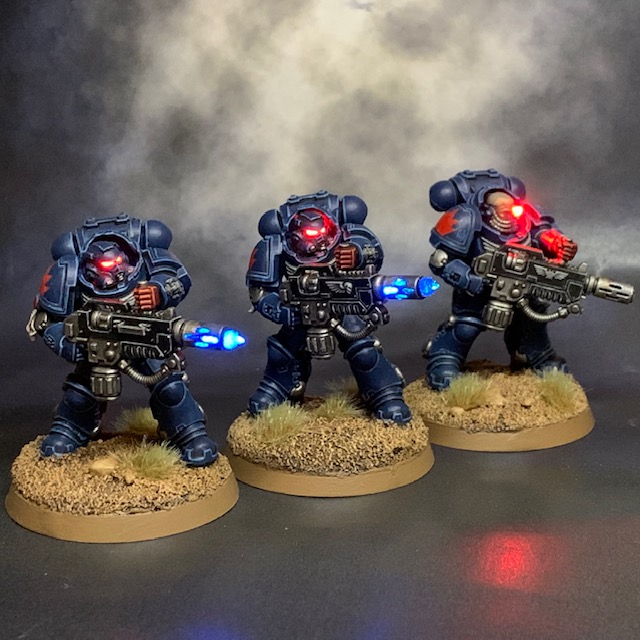
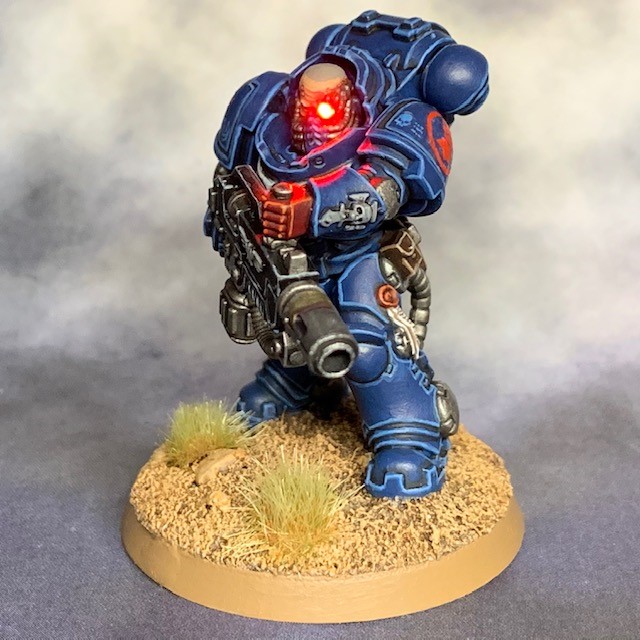
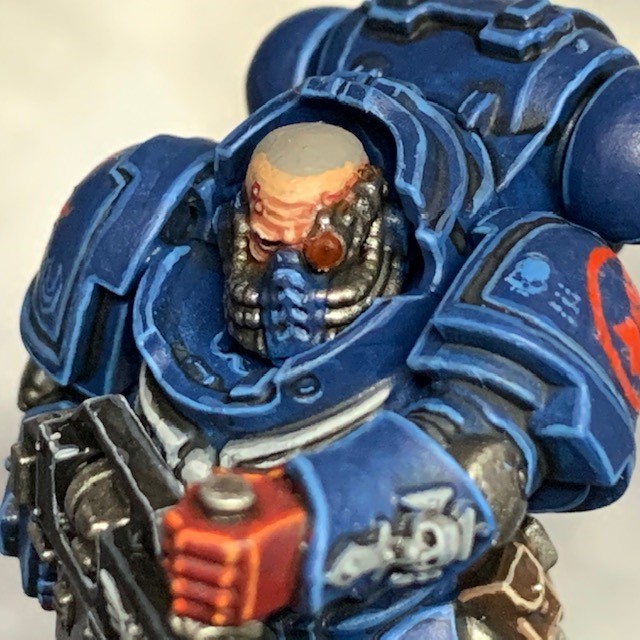
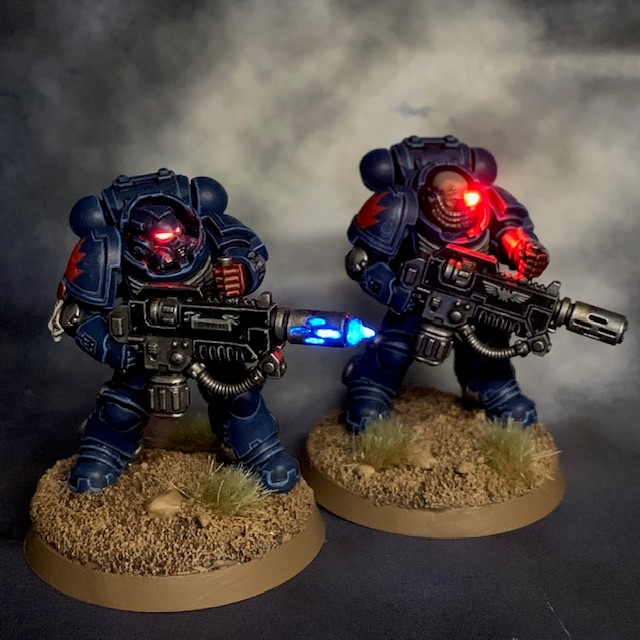
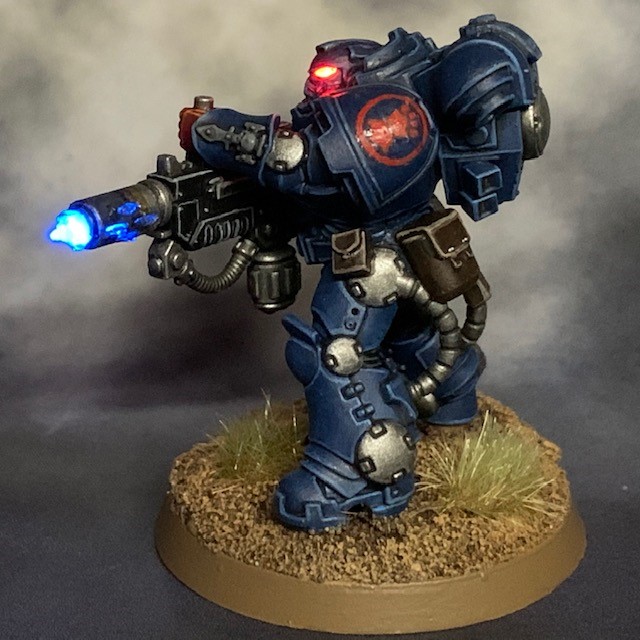
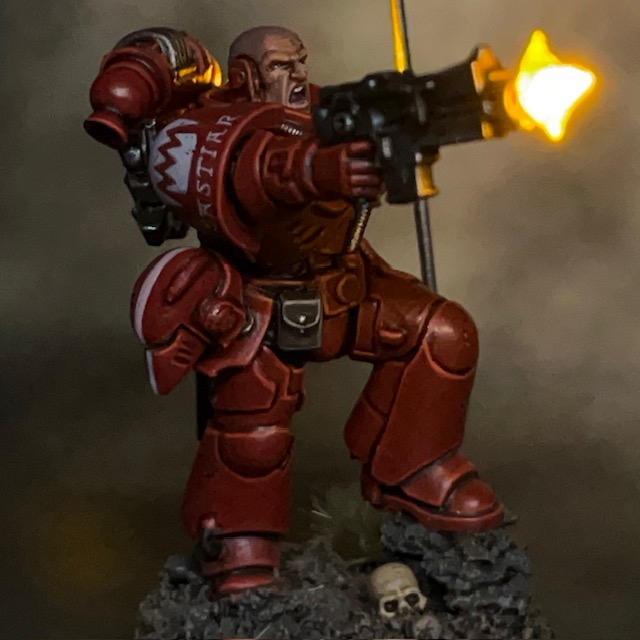
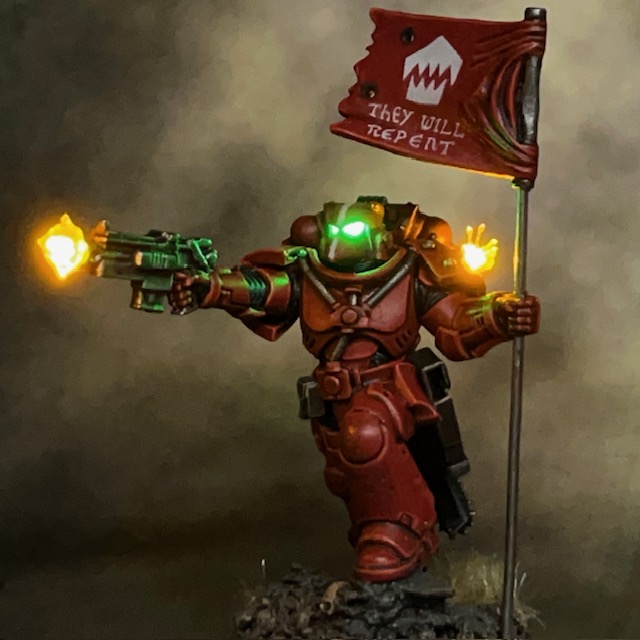
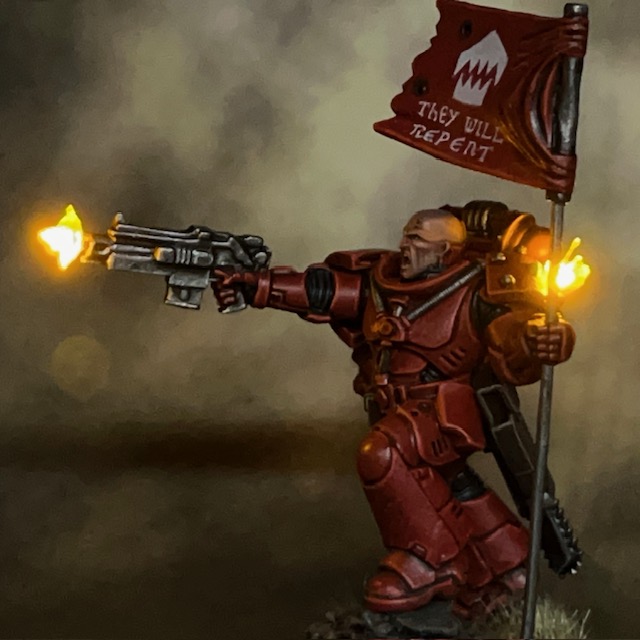
I’m back again with the next addition to my Flesh Eaters Space Marines project. Brother Castiar is the fourth member of my second Assault Intercessor squad, along with Brother Pitman, Brother Oram, and Sergeant Byrne. As well as the usual LED muzzle flare and bullet impact effects, Castiar also has a choice between a bare head or helmet that can be easily swapped during a game.


Modelling
I had built a similar effect before with my Crimson Fists Captain, although in that case he couldn’t wear the helmet ‘mag locked’ to his belt. It’s a technique I’ve been meaning to revisit for a while and refine into a short-form tutorial. The base miniature is an Assault Intercessor from the Indomitus box – yes, I’m still working my way through that!

Swappable Helmet Tutorial
1. This tutorial builds on the techniques used in my LED Eye Lens tutorial. To prepare your miniature and base, first complete Steps 1-10 of that tutorial.

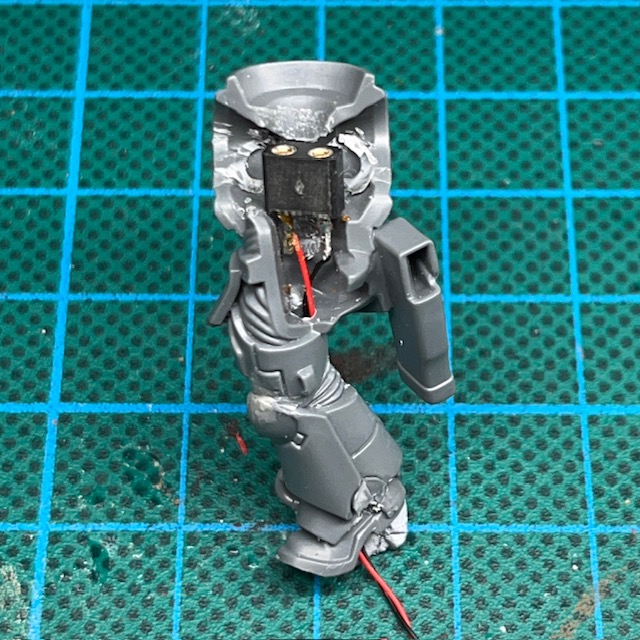
2. This technique uses IC sockets (above left) as sockets for LED legs. They are just the right size for the legs of 1.8mm LEDs to easily fit in and out. IC sockets are often manufactured in long rows or squares, but you can easily cut them down into pairs but cutting in between individual sockets with a craft knife. For this tutorial you will just need a single pair of sockets. IC sockets are available on Amazon here or from electronic component suppliers like RS here.
Assuming you’ve followed Steps 1-10 of my LED Eye Lens tutorial, you can now solder the two legs of the IC socket to the two wires inside the torso of your miniature (above right). Solder one wire to each leg. It doesn’t matter which way round you solder the wires, just remember which side was positive and which was negative.

3. Now complete Step 11 – 14 of my LED Eye Lens tutorial to prepare the helmet (above left). Make sure you consider the polarity of the LED legs with respects to the polarity of the IC socket before you fix the LED into place. At this stage I’ve also started using modelling putty to sculpt the flexible ‘rubber seal’ between the helmet and the armour. If you make sure the putty covers the entire underside of the LED this also helps prevent unwanted light spilling out from the bottom of the helmet.
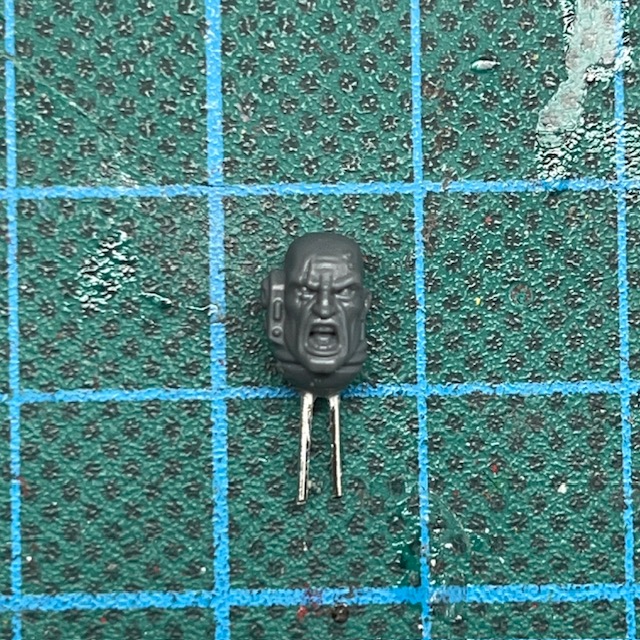
You will also need to prepare the bare head (above right). Use off-cuts from you LED legs to give the bare head legs of its own, then it can easily plug into the same IC socket. Make sure that the metal legs are not touching each other, otherwise you risk short circuiting the battery when the bare head is insert. There’s also no reason that the bare head can’t simply be a replaced with a different LED helmet instead.
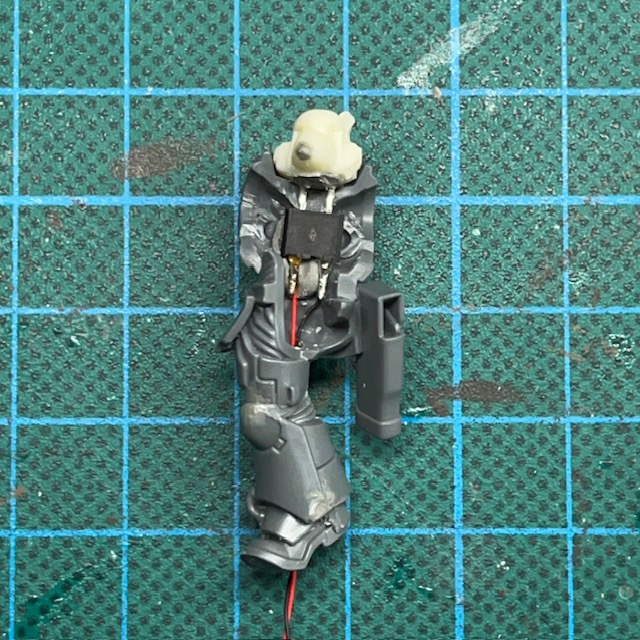

4. Make sure the LED legs are the right length so they fit comfortably through the neck hole and into the IC socket, while also sitting as flush as possible with the top of the torso. Once you are satisfied with the position, fix IC socket in place with glue and/or modelling putty (above left).
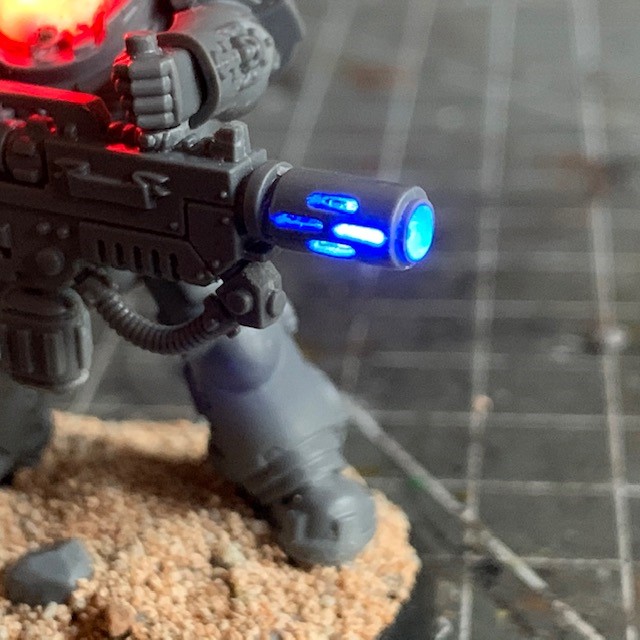
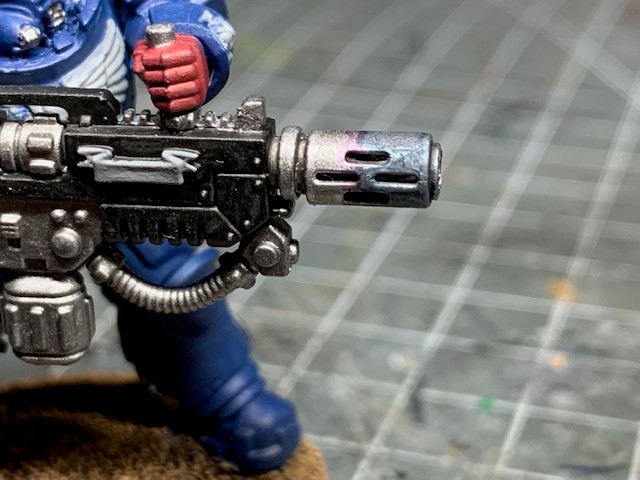
You may also want to add additional LED effects, for example LED Muzzle Flares or LED Plasma Weapons. If you do, this is the point at which to do it. Additional LEDs can be connected in parallel with the connections to the IC socket on the base (above right).
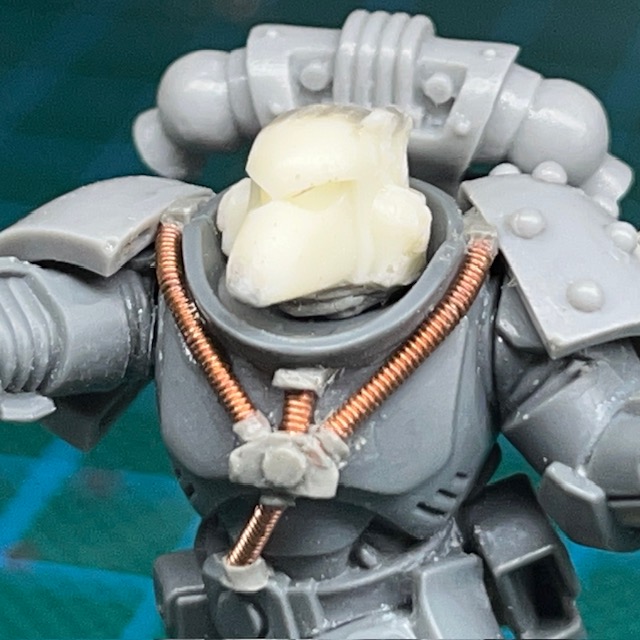
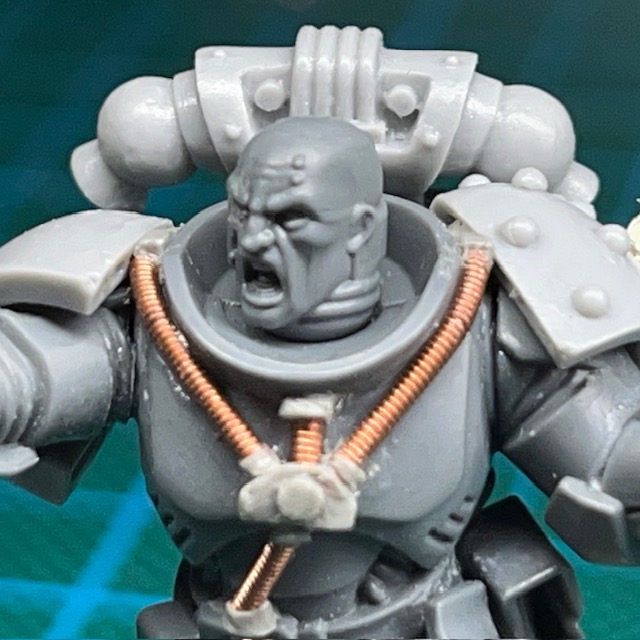
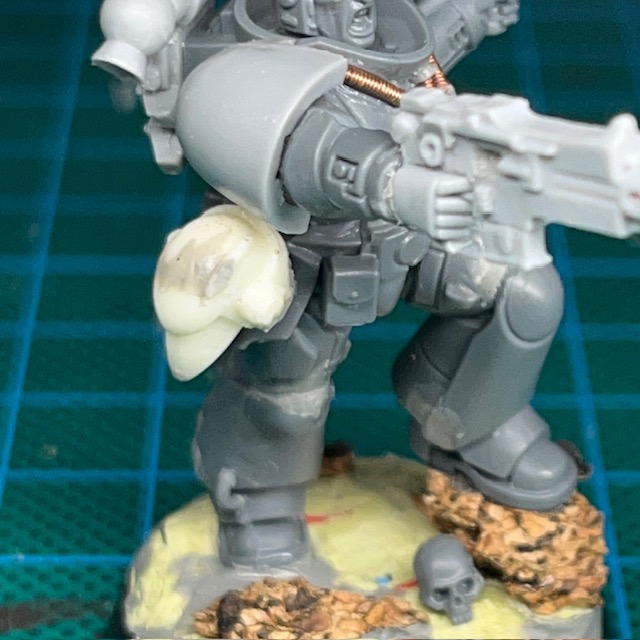
5. Assemble the rest of the miniature, and then make sure the both heads have a good fit with the torso. If there are gaps, you may need to use more modelling putty to sculpt additional detail to fill the gap, like the ‘rubber seal’ around the neck. (above).
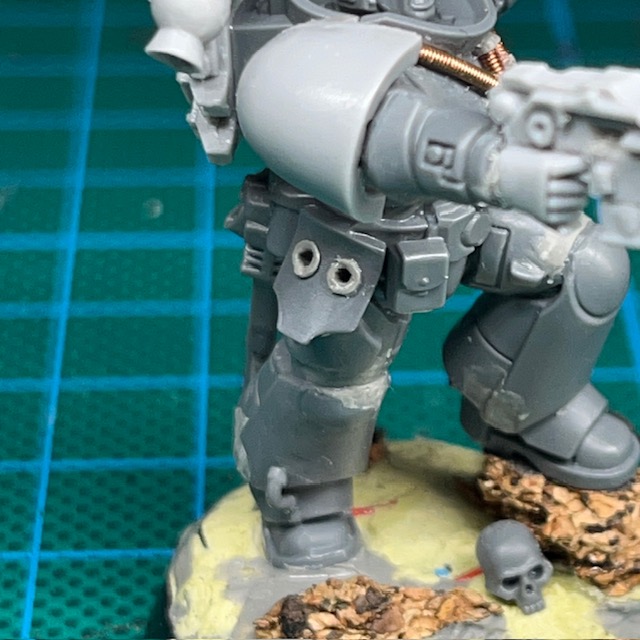
6. This step is optional, but if you want to include the ability to ‘mag lock’ the helmet on the belt, you will need to drill two holes in the waist or hip of the miniature (above left). Make sure the holes are deep enough so that the helmet sits flush with the hip (above right). A 1mm drill bit should be the ideal size for this. After drilling the holes, I added a small ring of modelling putty to make them look similar to the other sockets and access ports you sometimes find on Space Marine armour. Just be careful not to drill through any wires that may be inside the leg! These holes do not need any electrical connections as the helmet is ‘powered down’ when mag locked to the waist, so is not expected to illuminate in this postion.
Painting
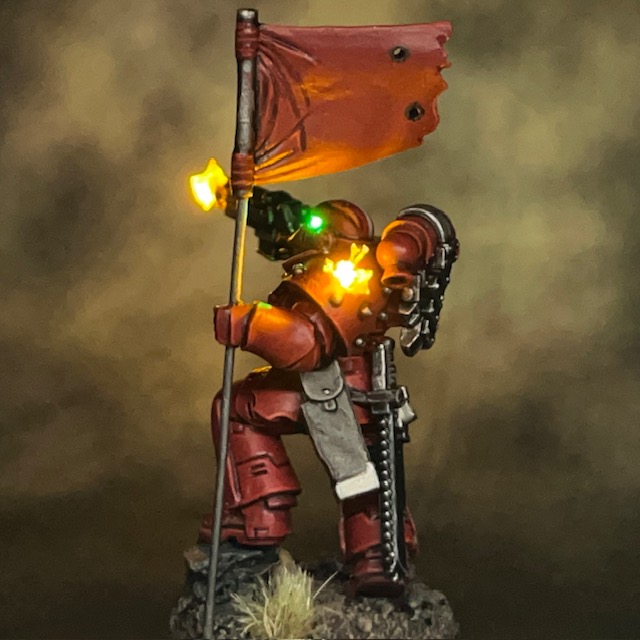
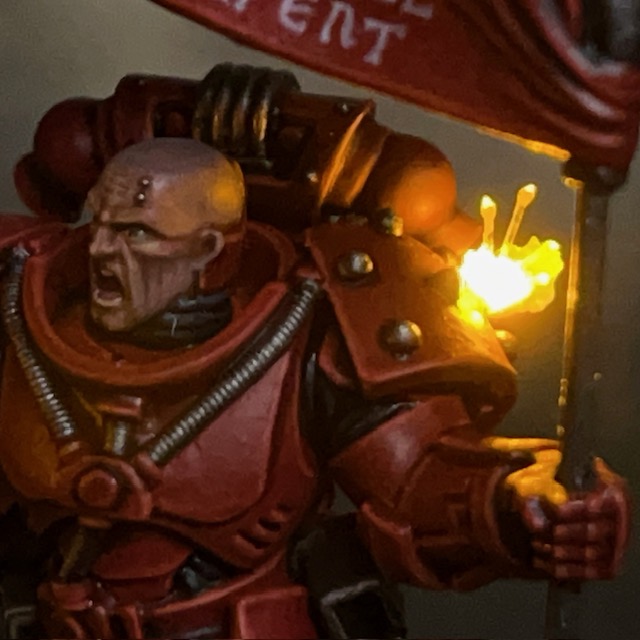
When painting this miniature I stuck with my usual recipes. I used my standard recipes for Flesh Eaters red armour and my recipe for Space Marine pale skin. Something that’s worth noting, I always apply a thin glaze of Biel-Tan Green to the resin in the helmet eyes so they have a green tint even when switched off. This is especially important for this miniature, where the helmet will feasibly be on display on the waist while powered down.
There’s a minor Easter Egg in the slogan Brother Castiar’s banner. Ostensibly, ‘They Will Repent’ is a threat and a promise to his Partisan enemies in the War of the False Primarch. But also – as with the banner on the Infiltrator squad – it’s also a reference to a level in the original Doom. Of course the level name is itself a biblical reference, so I guess it’s a nested Easter Egg, if you’ll excuse the pun!

That’s all for today. It’s been a while since my last blog post, but rest assured I’ve been working on lots behind the scenes, and I have plenty more to show soon. Thanks very much for reading, and please remember you can also find me sharing my work on Instagram, Threads, Twitter/X, Bluesky and Mastodon.