Heresy is like a sword. If you don’t cut it then it will cut you.
Brother-Sergeant Naismith
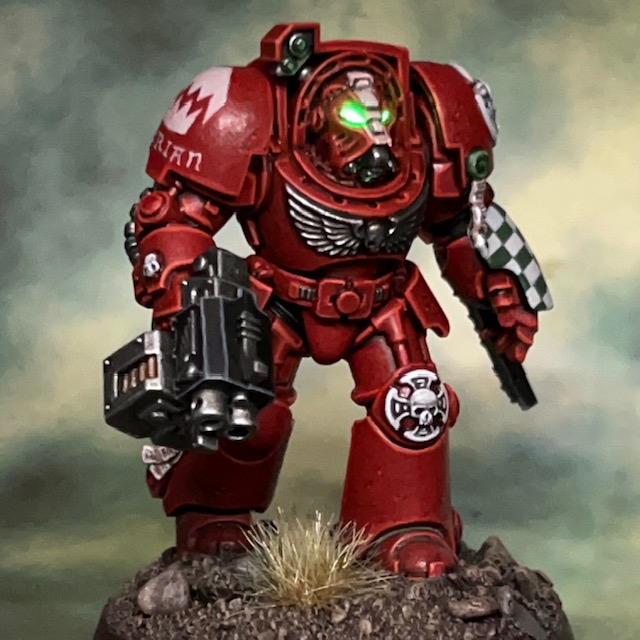
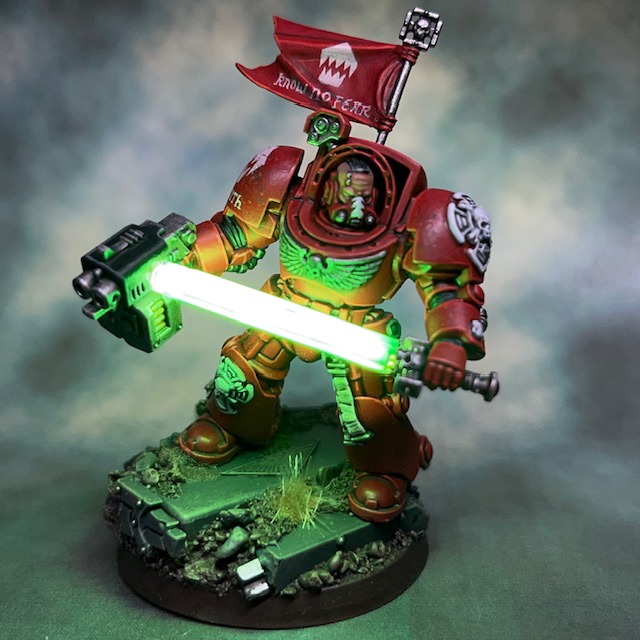
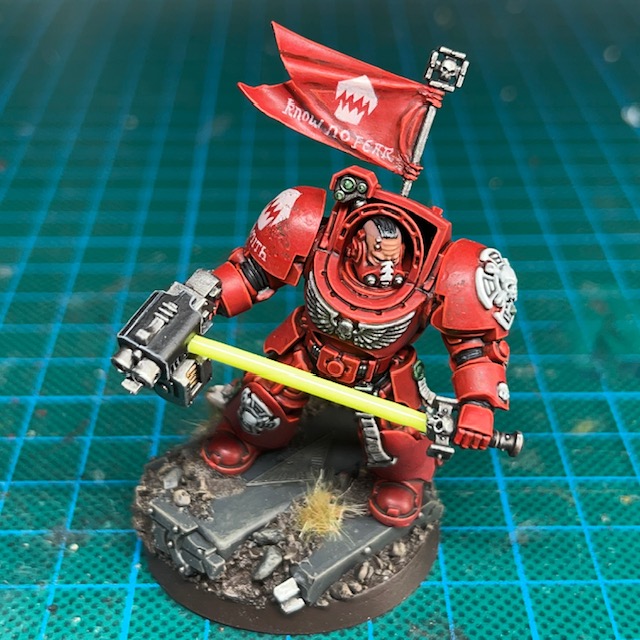
I’m back with the final model in the Warhammer 40,000 ‘Leviathan’ Terminator squad – Brother-Sergeant Naismith, a Flesh Eaters Terminator with filament LED power sword! This model took quite a bit of work as it was my first attempt at a completely new power sword technique.


Modelling
The best way to make an LED power sword is something that has been troubling me since I first started putting LEDs into miniatures almost ten years ago. To my mind, the biggest issue is achieving an evenly illuminated blade. I know many of my fellow miniature LED enthusiasts like to put the LED in the hilt of the sword, facing upwards into a transparent blade to achieve power sword or lightsabre effects. I mean absolutely no disrespect to any of them as it’s a great technique that takes a lot of skill to achieve! But the drawback of this technique that I personally don’t like is that the sword blade appears brighter near the hilt and dimmer at the tip. This effect can often appear dim in bright ambient light.
So, for many years I’ve been trying to figure out a convincing and reliable way to evenly illuminate the entire blade. In the meantime, I did come up with the solution of using millimetre-sized chip LEDs embedded in the blade to simulate the power field generators, which you can read about in my LED Power Weapon Tutorial. However, I think I may have finally found a better solution with filament LEDs.
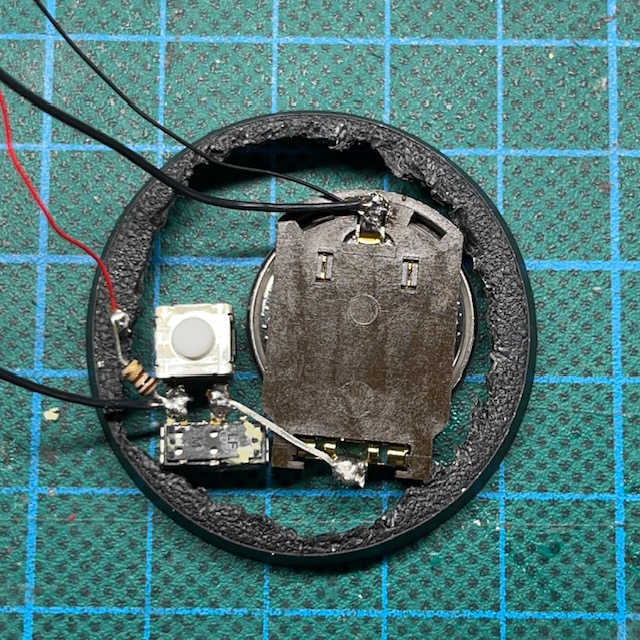
Filament LEDs are long and thin with a single connection at either end. I’ve used them before on other projects, most notably “Burn Traitor!”. These types of LEDs are often used in lightbulbs or similar applications and are available in a variety of colours and voltages. I get mine from a UK seller on eBay. The type used here was a 38mm 12V ‘yellow-green’ LED. I went with 12V to ensure plenty of brightness, but this meant having to switch to a single 12V MN21 battery rather than trying to fit four of my normal 3V CR2032 batteries in the base, which wouldn’t have been physically possible.
As I’ve said before, if you are attempting this yourself then please remember filament LEDs are extremely fragile! They are built around a thin strip of plastic that holds an array of sub-millimetre LEDs. This strip of plastic cannot take any real amount of bending or pressure and will snap at the least provocation. If you are using them in a project, I’d strongly recommend buying twice as many as you need, just in case of accidents.
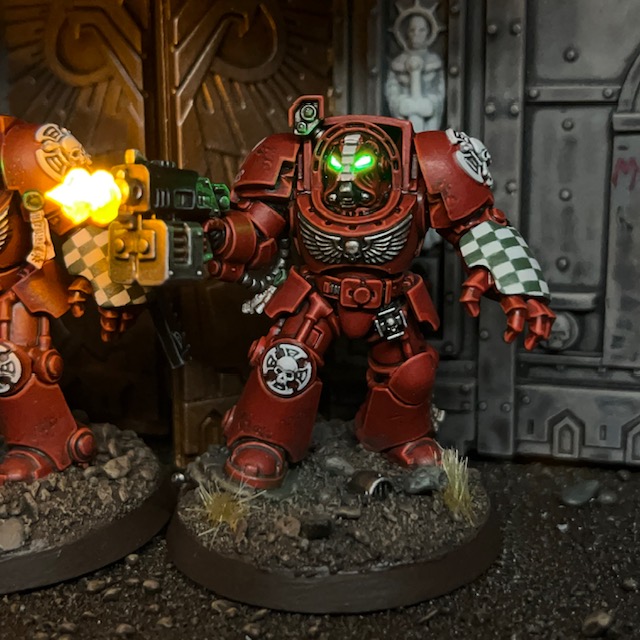
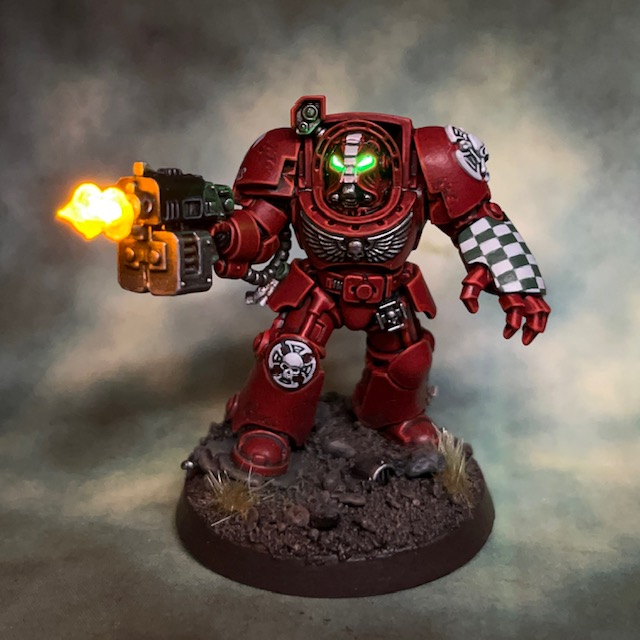
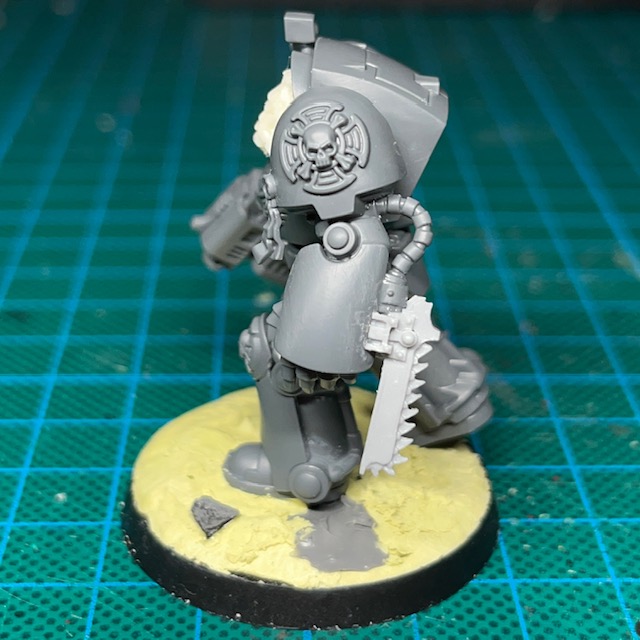
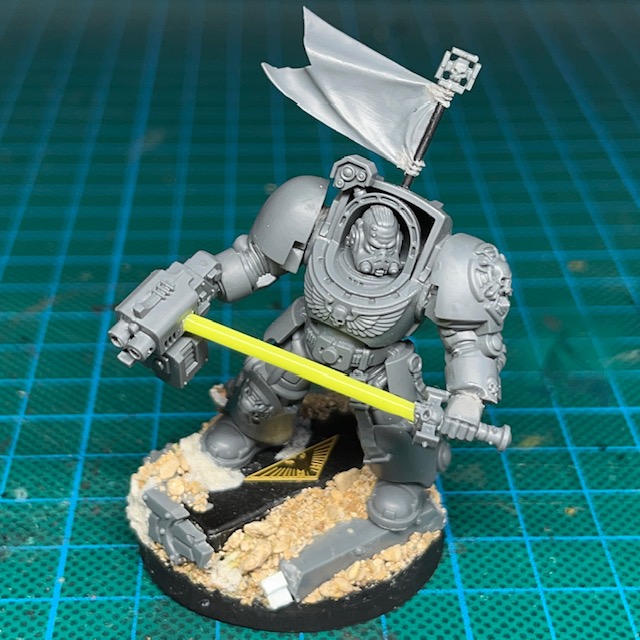
The circuit is extremely simple. One end of the filament LED is hidden in the hilt, the other is concealed in the storm bolter. A wire runs down through each arm to connect to the battery holder and switch in the base. You can see the battery holder in the picture above – it’s the black rectangle in the base. Because this is a lot larger than my normal battery holders, it made the base quite tall. I decided to turn this problem into a feature and make it look like the sergeant was striding down some steps as he prepares to swing his sword. Hopefully this adds to the dynamism of his pose.


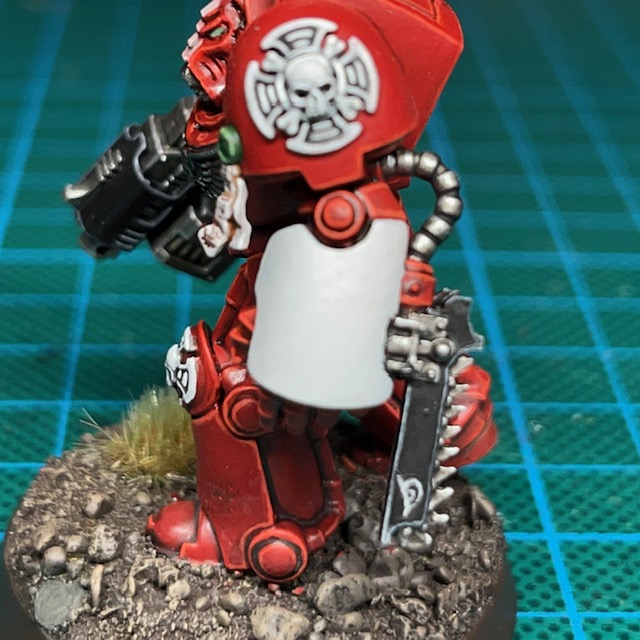
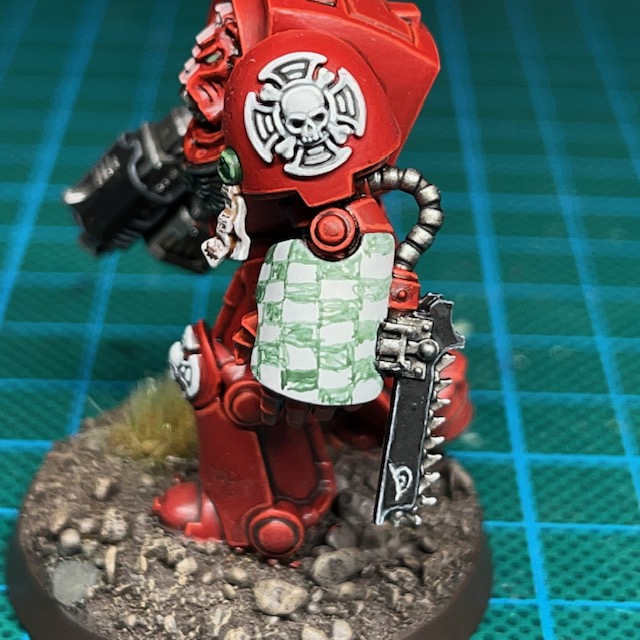
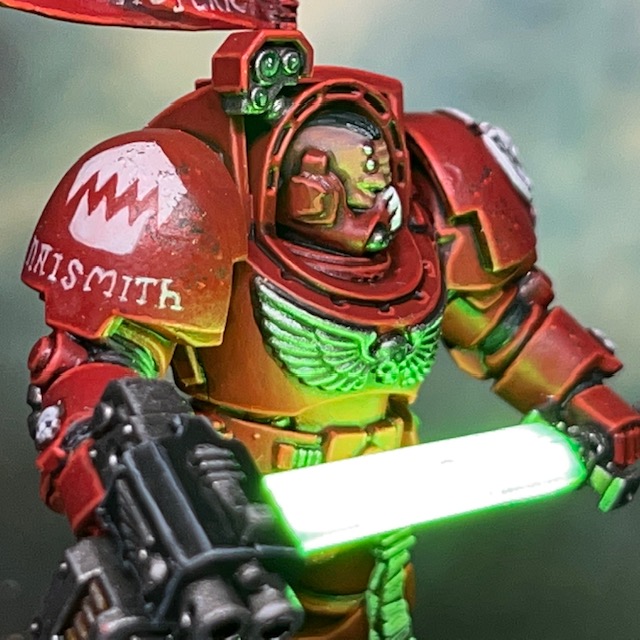
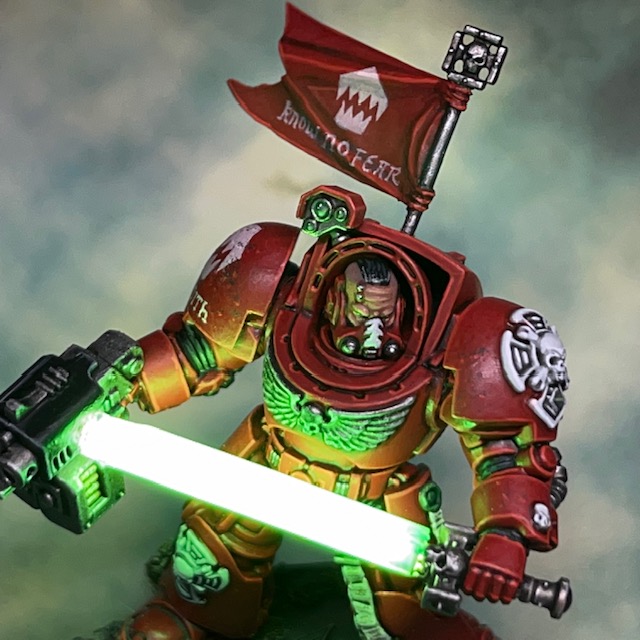
To conceal the filament and give it a sword shape, I covered it with thin strips of plastic. The filament is so bright that it shines through the plastic, which also diffuses the light in a pleasing way. I then gave the sword blade three or four thin glazes of Citadel Hexwraith Flame technical paint to make the blade look interesting if the LED was switched off. After the above pictures were taken, I decided I wasn’t happy with the tip of the blade and used a scalpel to carefully shave it into a more pointed end. Hopefully in the illuminated pictures it looks like the tip of the sword is just held near the storm bolter, rather than being driven into it!
This model was something of an experiment and making it was mostly about teaching myself the technique, so I haven’t put together a full tutorial yet. I do plan to use this method again for other models though, so next time I will take some step-by-step photos.
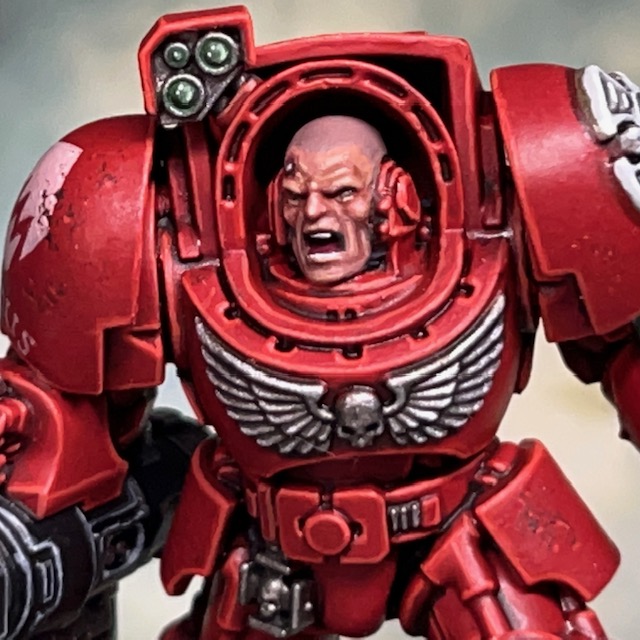
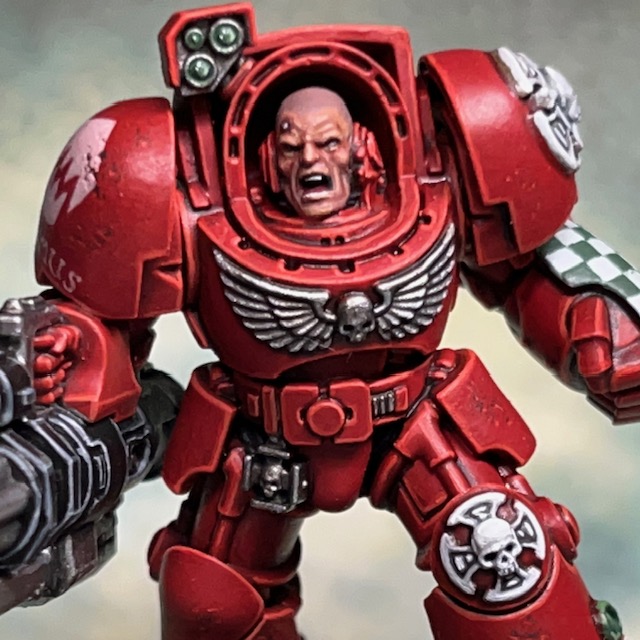
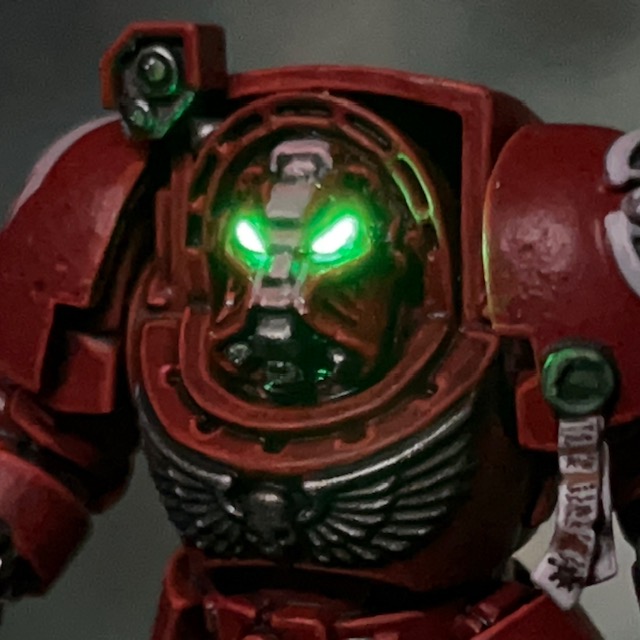
I chose to use the unhelmeted head for two reasons. Firstly, it meant I didn’t have to worry about illuminating the helmet eye lenses while working with a different battery type. Secondly, I knew a bare head would look more dramatic when underlit by the blade.
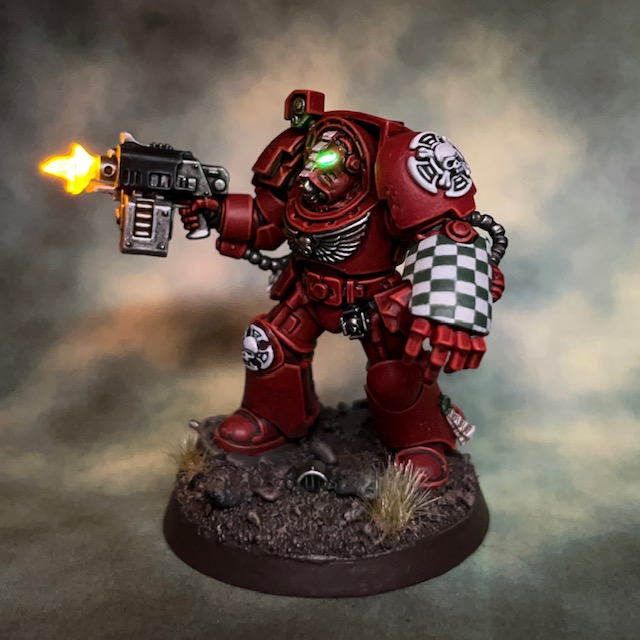
The other thing I should mention about this model is the banner. All the units in this army are carrying a flag, and I wanted the Terminators to have one too. But it seemed a waste to dedicate a Terminator to holding a flagpole in their power fist, so I decided to add the flag as a back banner to the sergeant. But rather than the traditional hanging back banner shape, I kept the flag design used by the other units, for consistency.
Painting
As with the rest of the Terminator squad, I painted Brother-Sergeant Naismith using my normal Flesh Eaters armour and Terminator iconography recipes. As mentioned above, the power sword blade was given three or four thin glazes of Citadel Hexwraith Flame technical paint. LEDs aside, thin glazes of Hexwraith Flame over a white basecoat is a great way to produce a quick, cheap and cheerful powered blade effect.

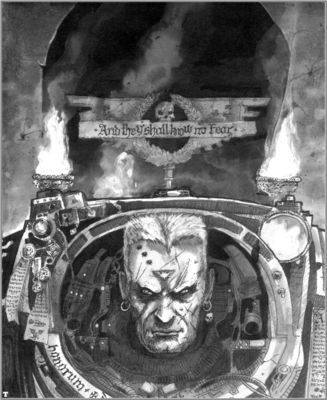
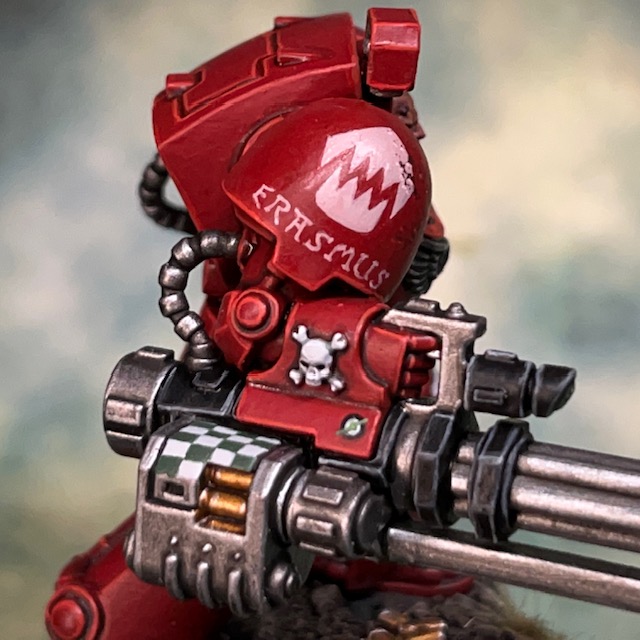
For the banner slogan, I decided to keep it simple and go with ‘Know No Fear’. This is a classic Space Marine motto, and echoes the classic John Blanche Terminator artwork shown above. The Brother-Sergeant’s name is a nod to veteran Citadel miniature scultpor Bob Naismith, who I believe had a hand in the original Terminator prototype designs. I decided that Sergeant Goodwin would be too on the nose!
Now that I’ve finished the sergeant, that’s the entire Terminator squad complete! I’m sure I’ll be back again soon with some group pictures of the unit. Then of course it’s getting everything ready for Armies on Parade. In the meantime, thanks very much for reading today’s post, and please don’t forget you can also follow my work on social media at Instagram, Threads, Twitter/X, Bluesky and Mastodon.