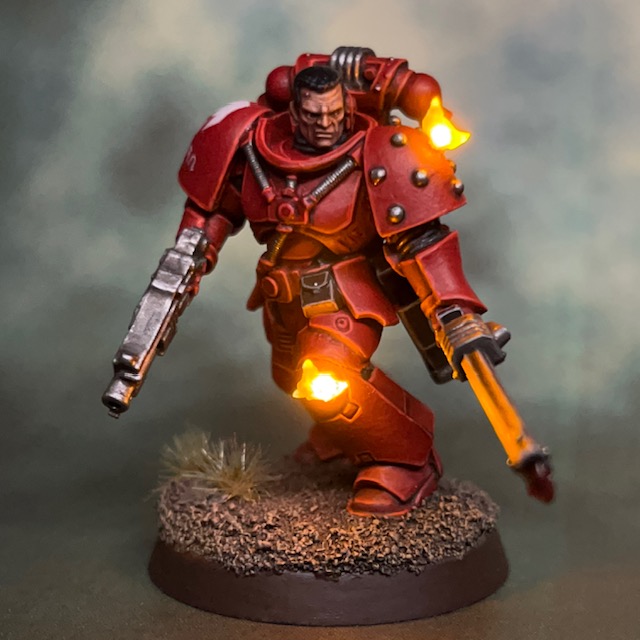
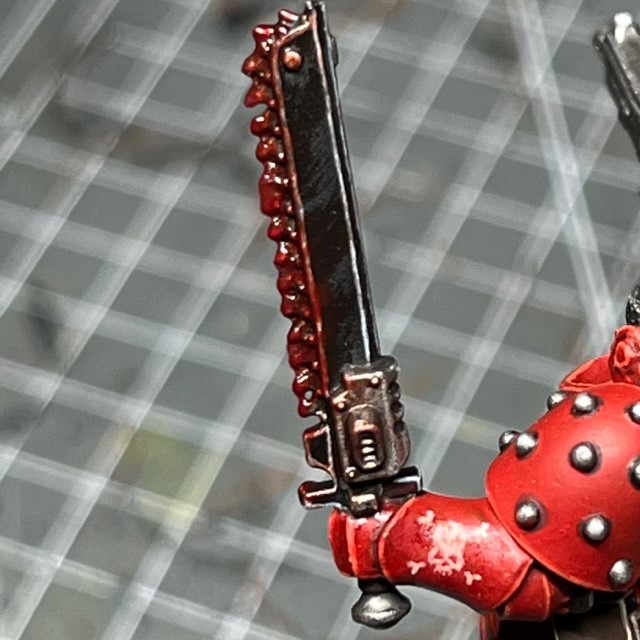
My Flesh Eater project continues this week with Brother Dunn, a chainsword-wielding Assault Intercessor equipped with an LED infra-visor and the fifth member of Assault Squad Levers.


Building & Painting
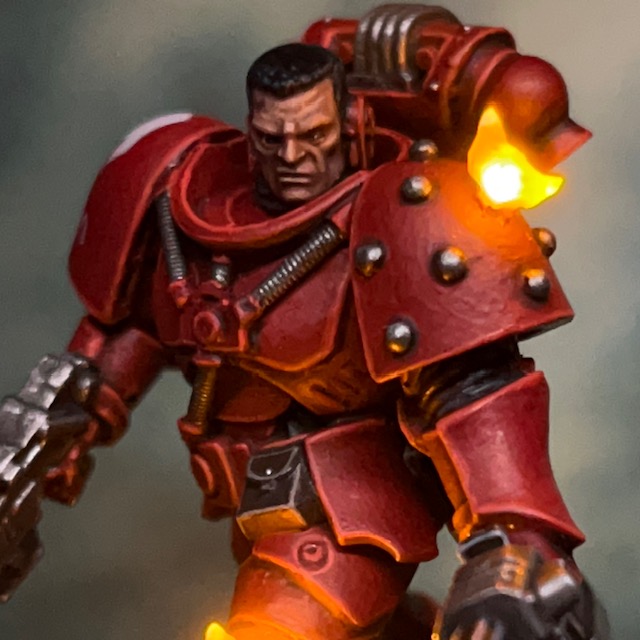
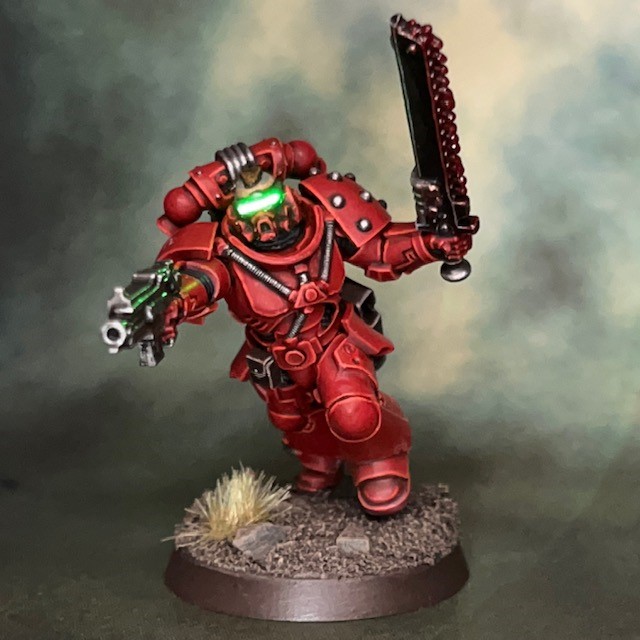
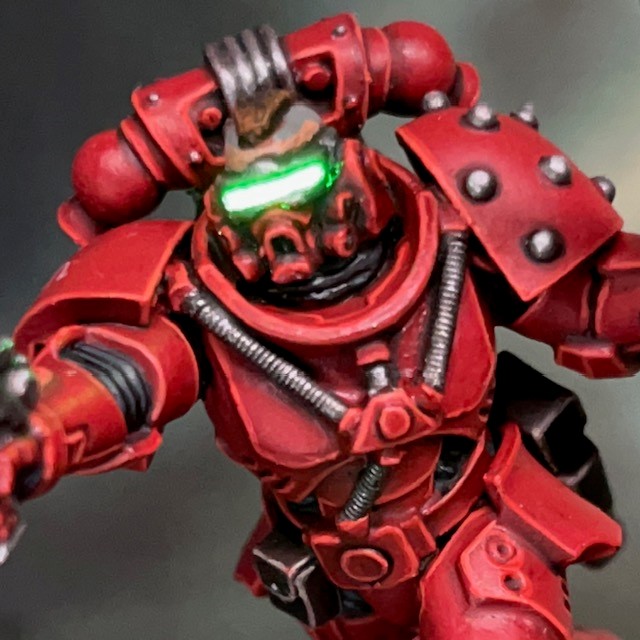
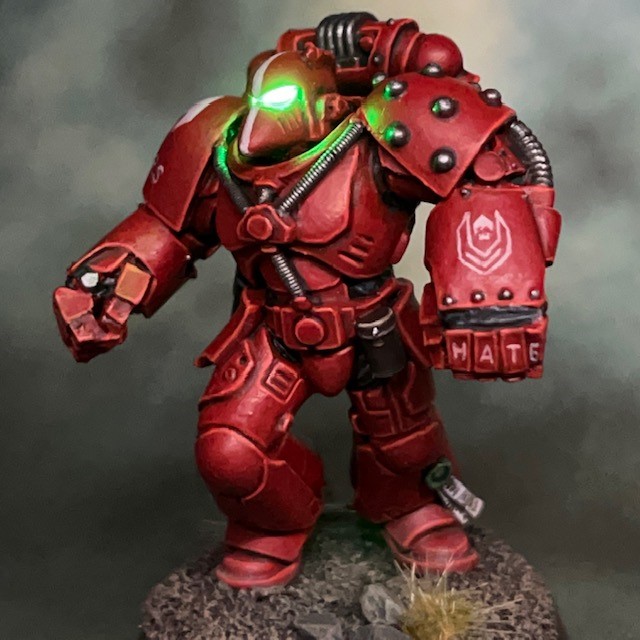
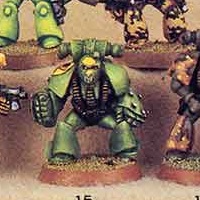
The design of Brother Dunn is intended to capture the look of Assault Marines with infra-visors and was inspired by the classic Rogue Trader Assault Marine art and model, as seen in this previous article about Brother Talon. I’ve recreated this Rogue Trader-era look using the head of a Space Marine Primaris Incursor and the techniques described in my LED Eye Lens tutorial. The only difference worth noting is that I used a TruOpto 1.8mm Green LED instead of the red LED described in the tutorial. The base model is a Primaris Assault Intercessor that I have modified to wear MkVI armour, in keeping with the War of the False Primarch theme for my Flesh Eaters army.


In this holo-pict we can see Brother Dunn of the Flesh Eaters sporting personal heraldry on his tilt shield. Astartes are granted personal heraldry on ascending to the rank of veteran, or in some cases for acts of extreme personal valour. We can assume the latter is likely the case with Brother Dunn as he is clearly a member of a line unit. The shield displays the classic ‘severed gorgon’s head’ heraldic device. The meaning of heraldry chosen by Astartes is often very personal. We might guess that the defeated gorgon represents the False Primarch, the Abomination himself, and the forward-facing central snake could perhaps be the notorious ‘Vox Volnoscere’? This would then likely mean that the five blood drops dripping from the gorgon’s neck symbolise the Pentarchy of Blood, of which the Flesh Eaters were an integral part. Can his heraldry therefore be read as a direct taunt to the Partisans, or perhaps an oath that Brother Dunn himself would see fulfilled?
Of course, the chances are equally good that Brother Dunn simply chose an image from ancient texts that would appear frightening to his enemies, and there is no deeper meaning than that!
Extract from ‘A Treatise on the War of the False Primarch’ by Scribe Howtopher Buxcraft
The personal heraldry on this model was a bit of an experiment, and I’m fairly pleased with the way it turned out. The tilt shield is a moulded-on part of the torso for this model, so I had to include it. I started by painting another Flesh Eaters symbol in Corax White, but I didn’t like the way it drew the eye away from the model’s face. So I decided to do a freehand design in Evil Sunz Scarlet and Wild Rider Red, my two red highlight colours. This way the heraldry does not immediately draw the eye to it, but there is something rewarding to find when the eye does get there. The gorgon head theme is partially inspired by a John Blanche drawing of a marine with similar heraldry, but I think it fits well with the theme, as detailed above.
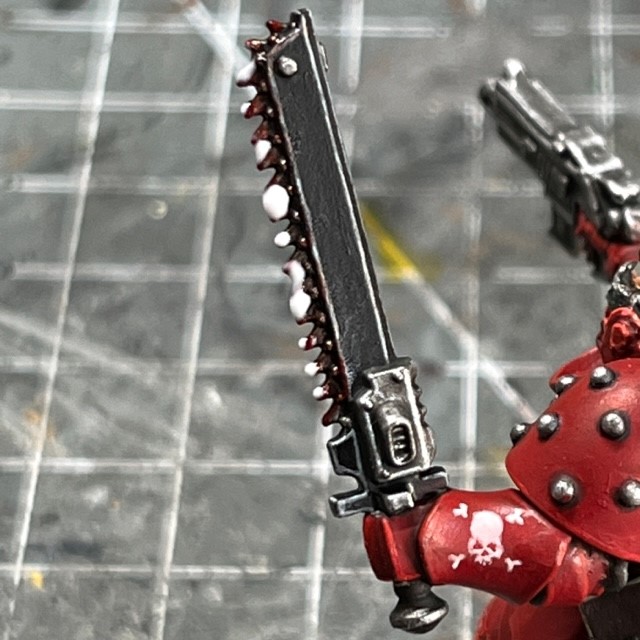
The only other thing of note is the bolter. Rules-wise, I will use Brother Talon as a Primaris Assault Intercessor, so he is equipped with a heavy bolt pistol. I didn’t want to spoil the MkVI aesthetic though, so instead I used an Umbra-pattern bolter with a shortened magazine as a visual representation of the heavy bolt pistol.
That’s all for today, and that’s also it for Assault Squad Levers! I’ll be back again soon with some group shots of the unit. Then it will be time to think about some officers to lead this army! As ever, thanks for reading, and please don’t forget you can also follow my work on Twitter and Instagram.