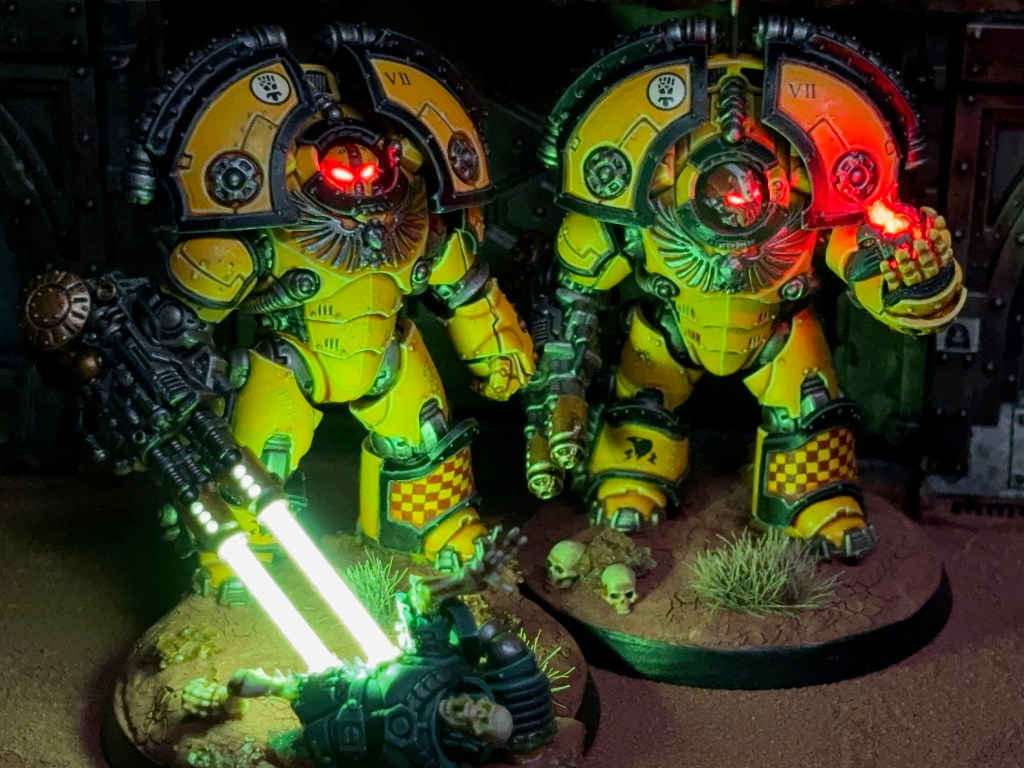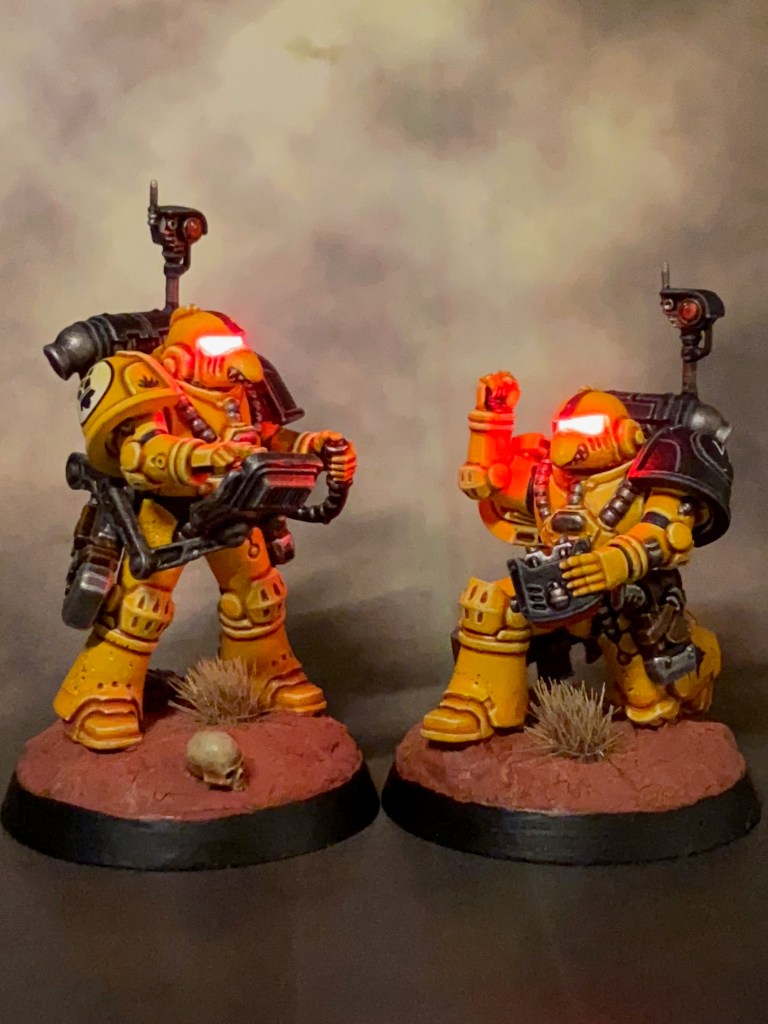
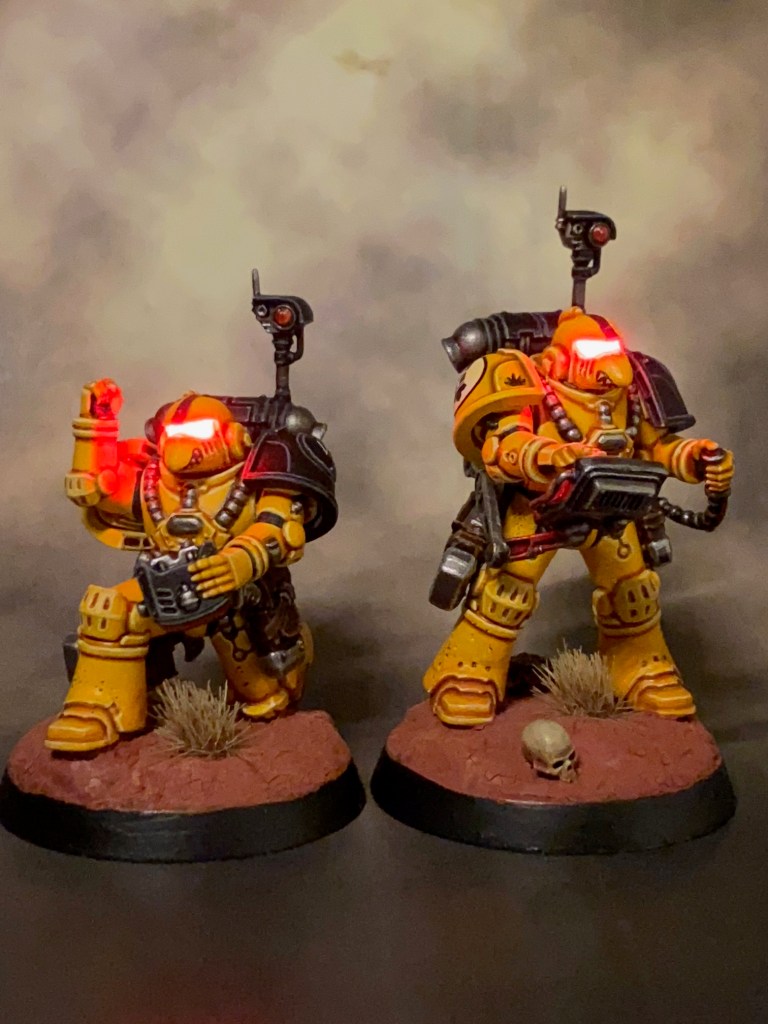
I’m back this week with progress on my Imperial Fists in the Age of Darkness project. I’ve finished the two crew for my Gravis Heavy Bolter Rapier – the Rapier Carriage itself will follow shortly. I’ve been really busy with ‘real life’ so far in 2026, so these are my first finished miniatures of the year!
Modelling
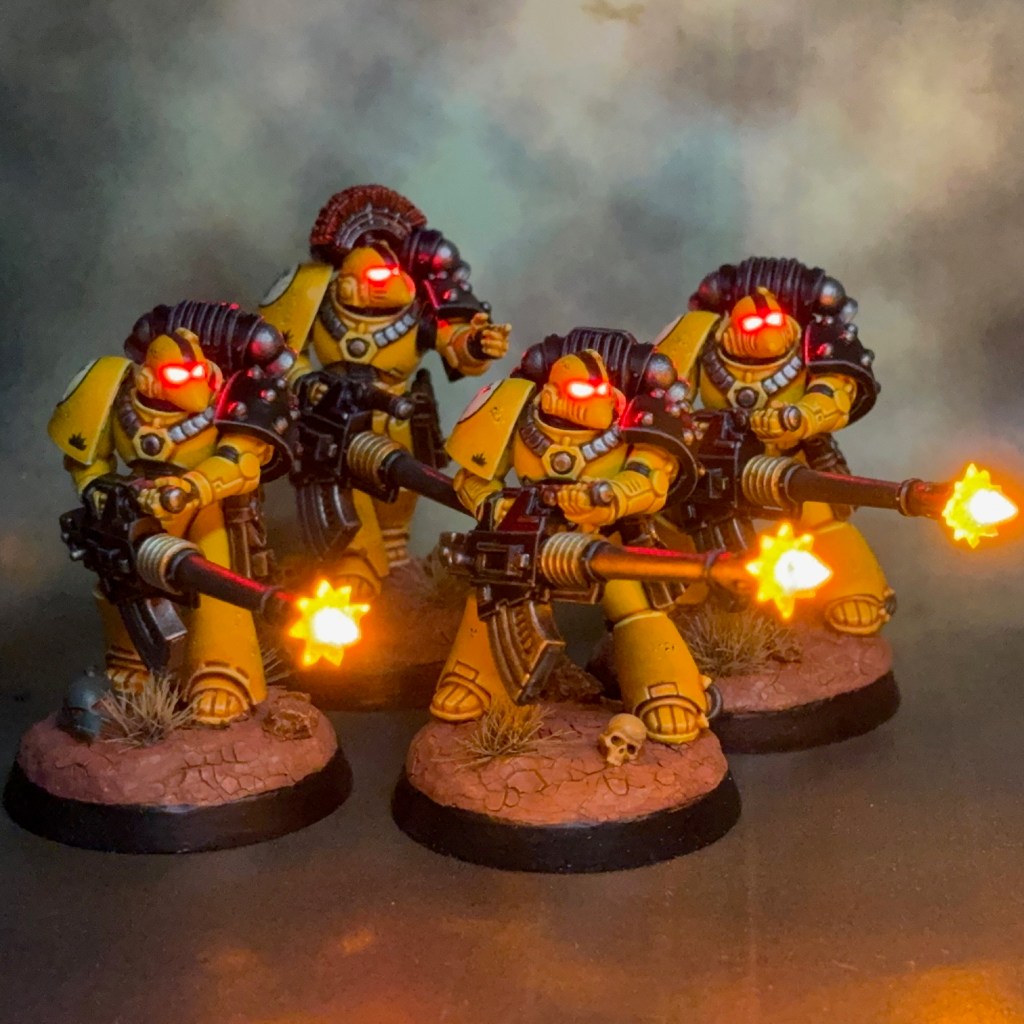
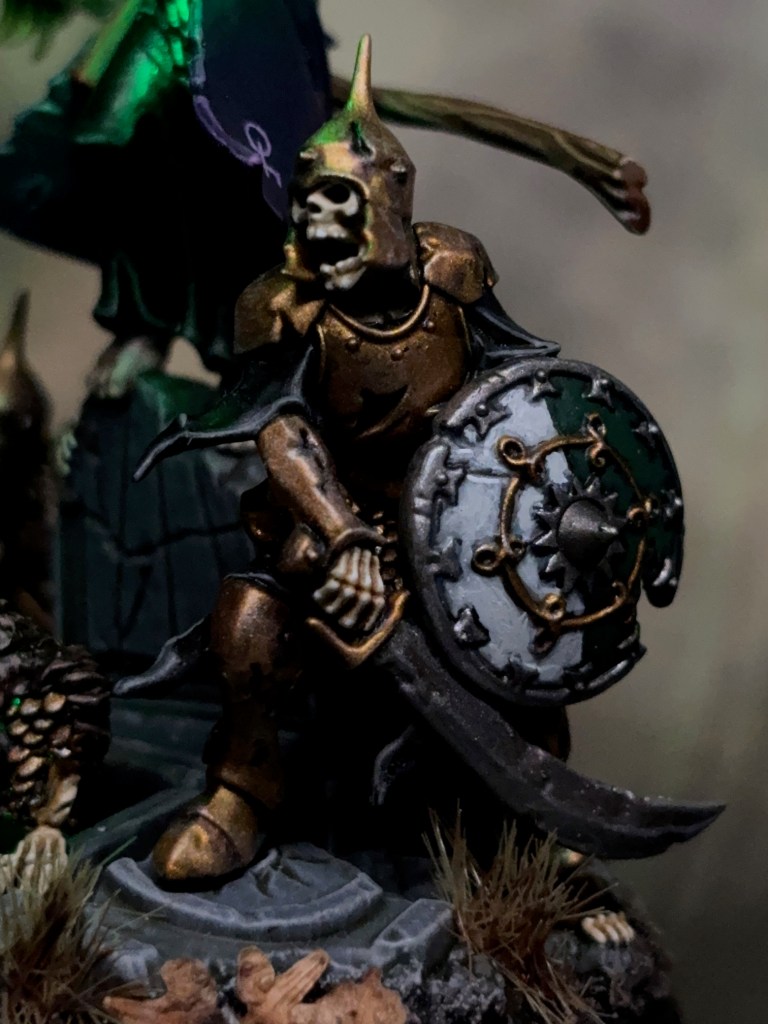
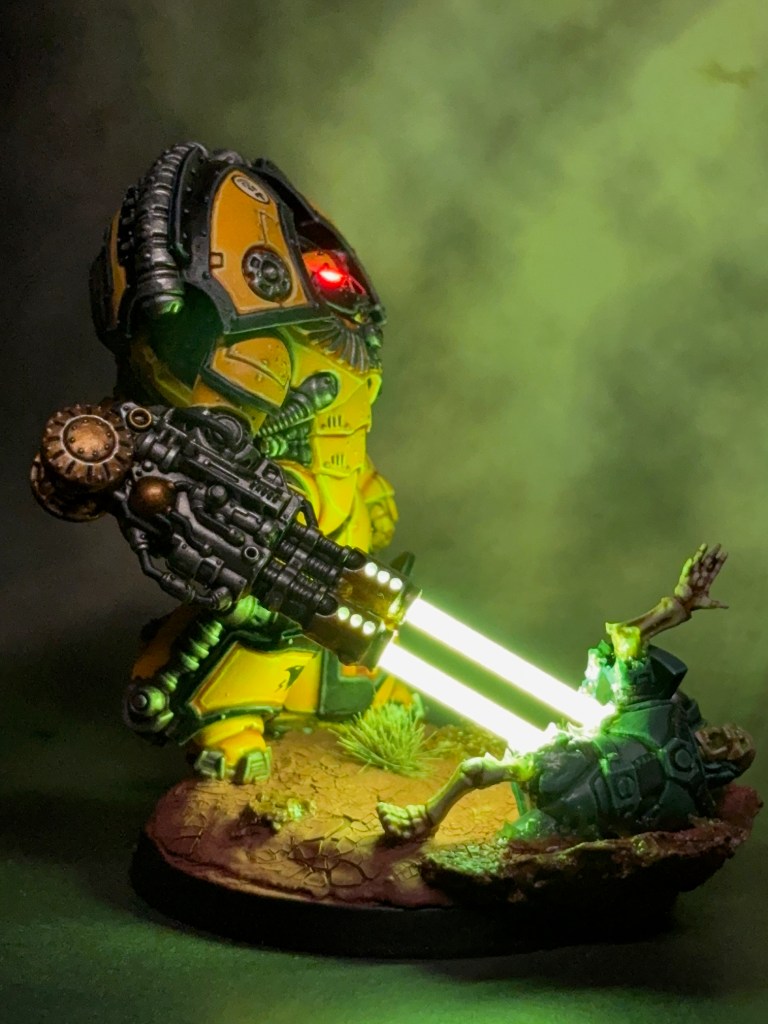
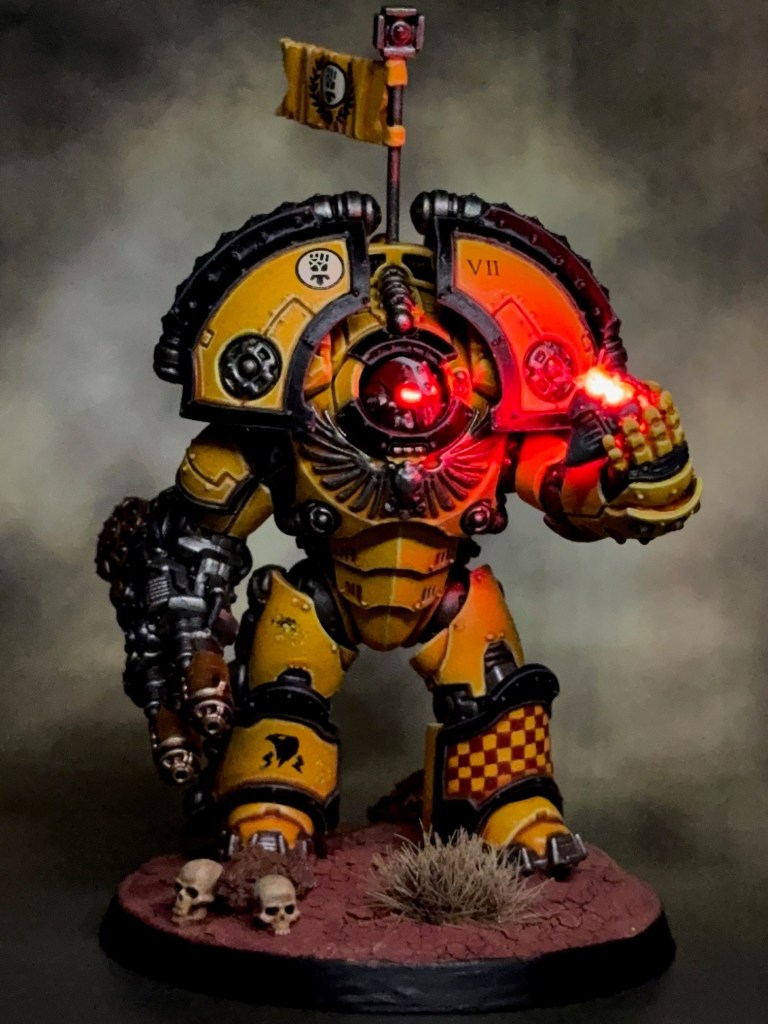
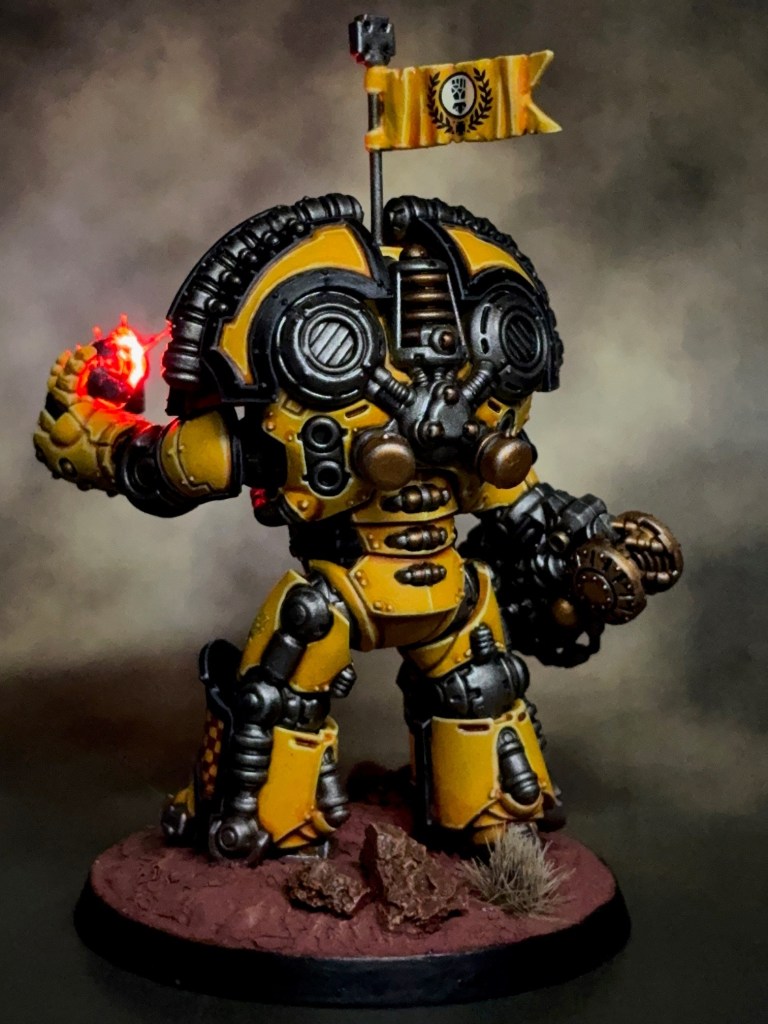
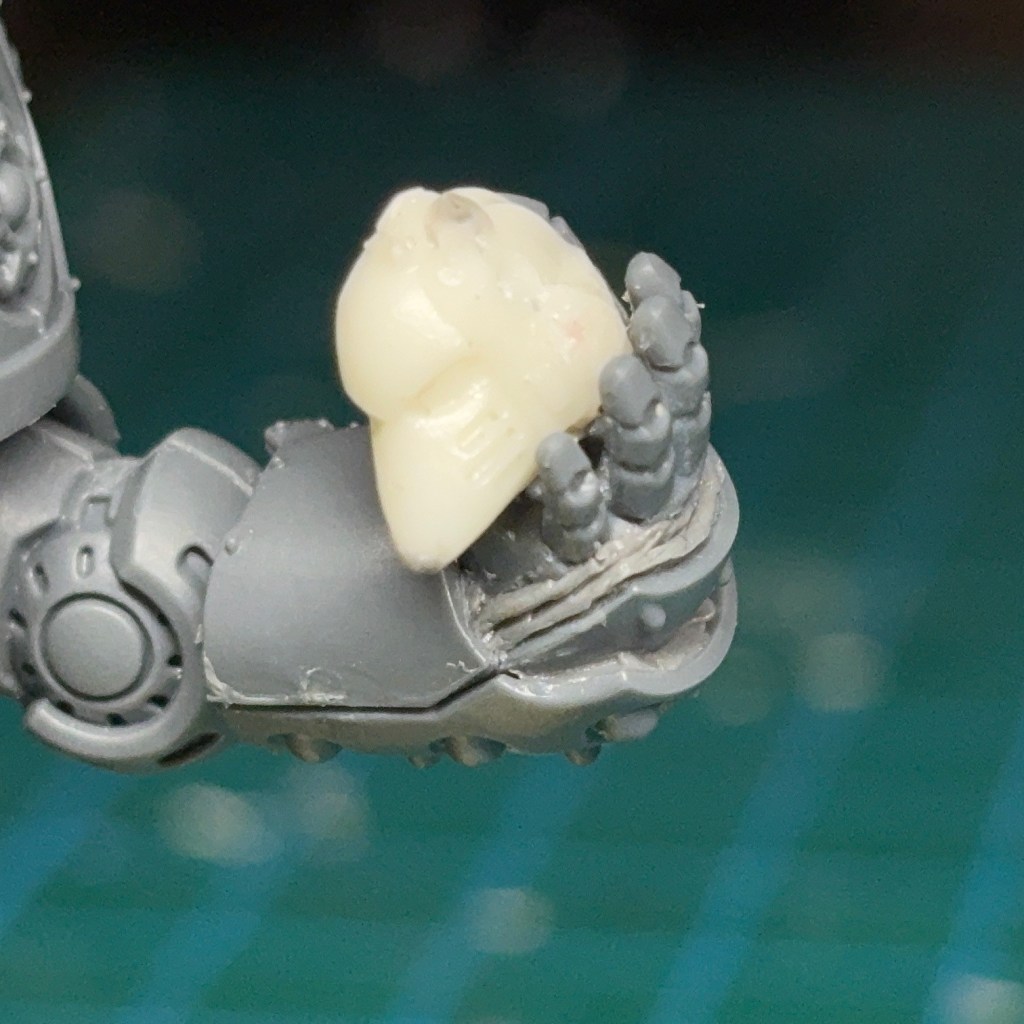
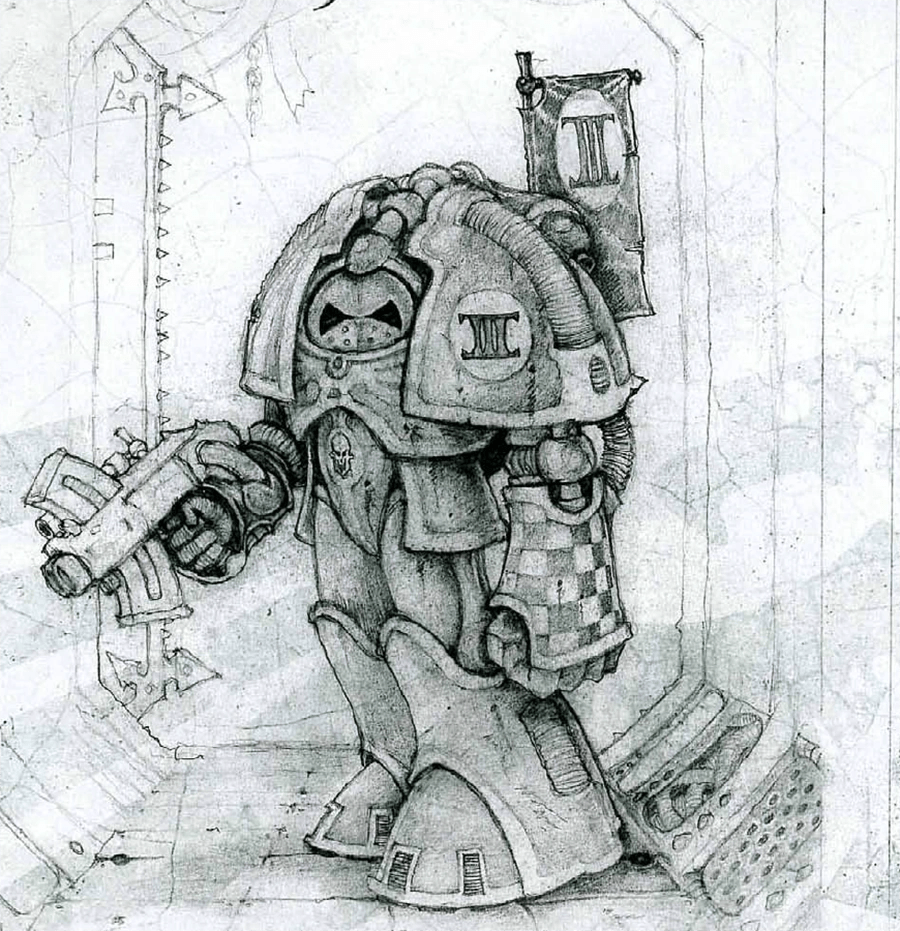
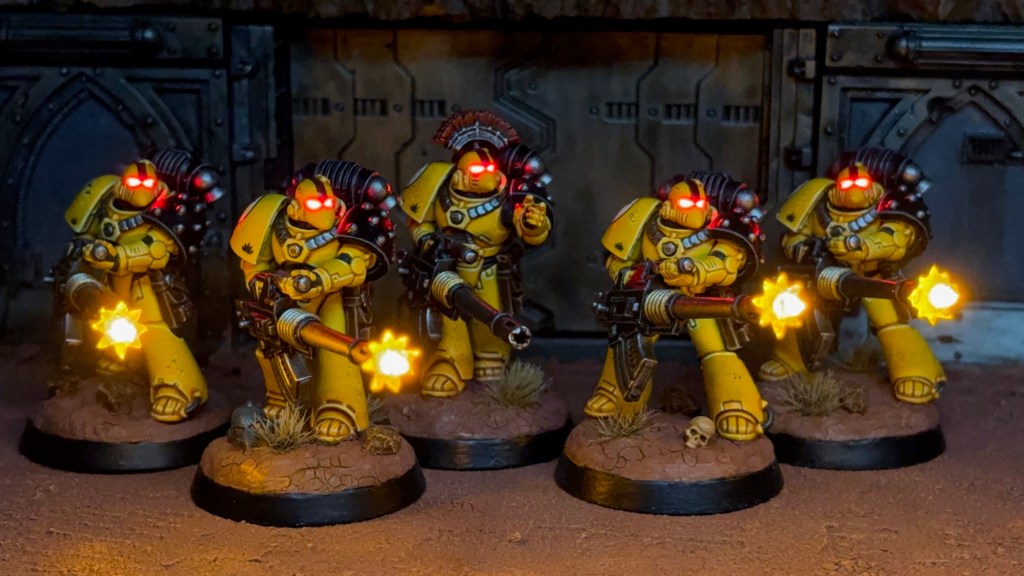
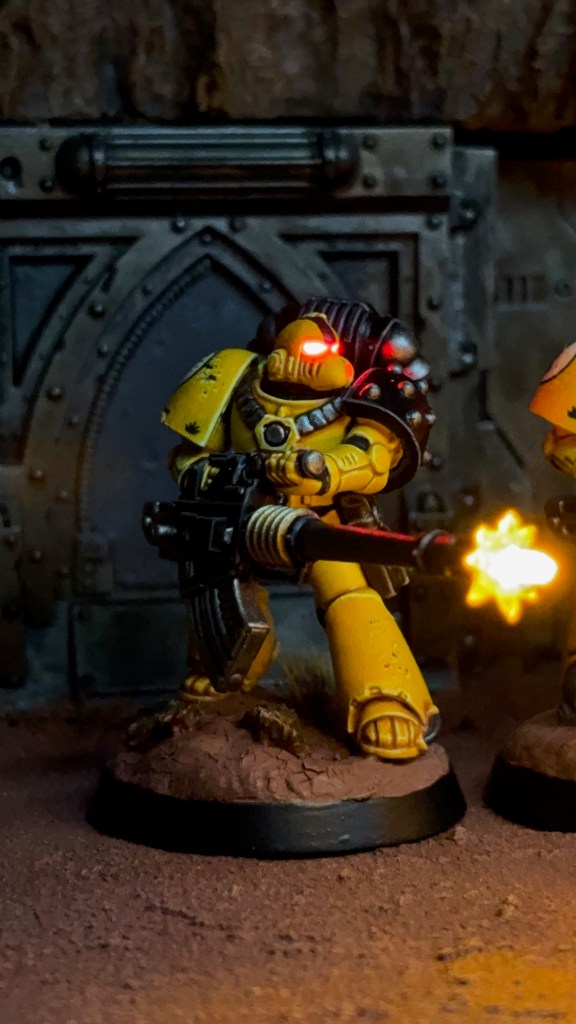
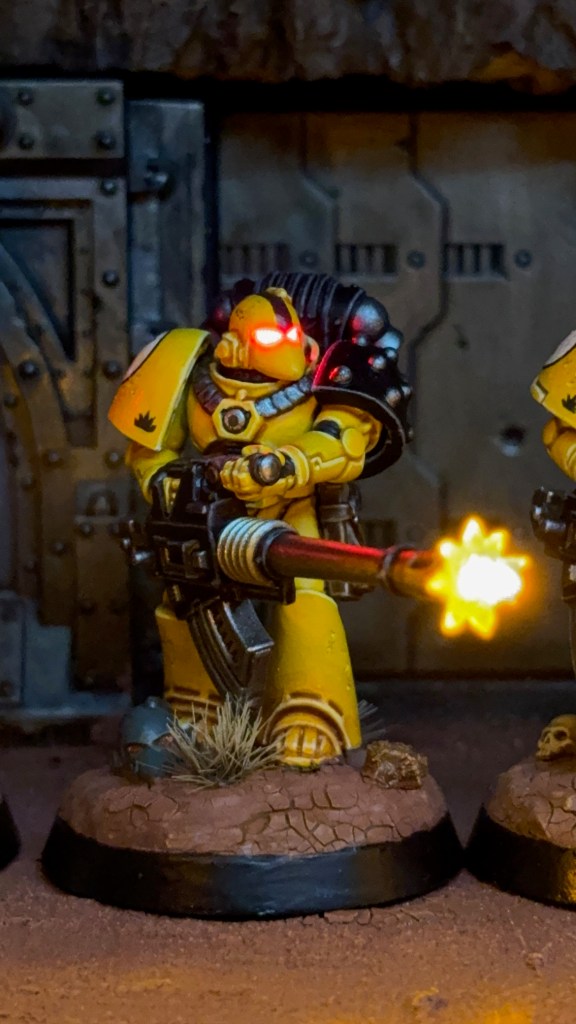
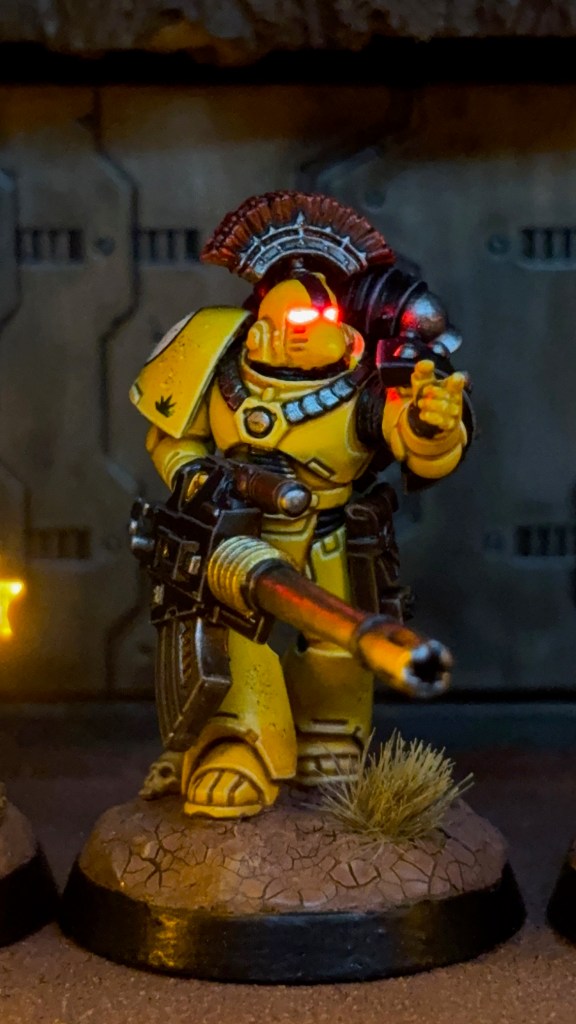
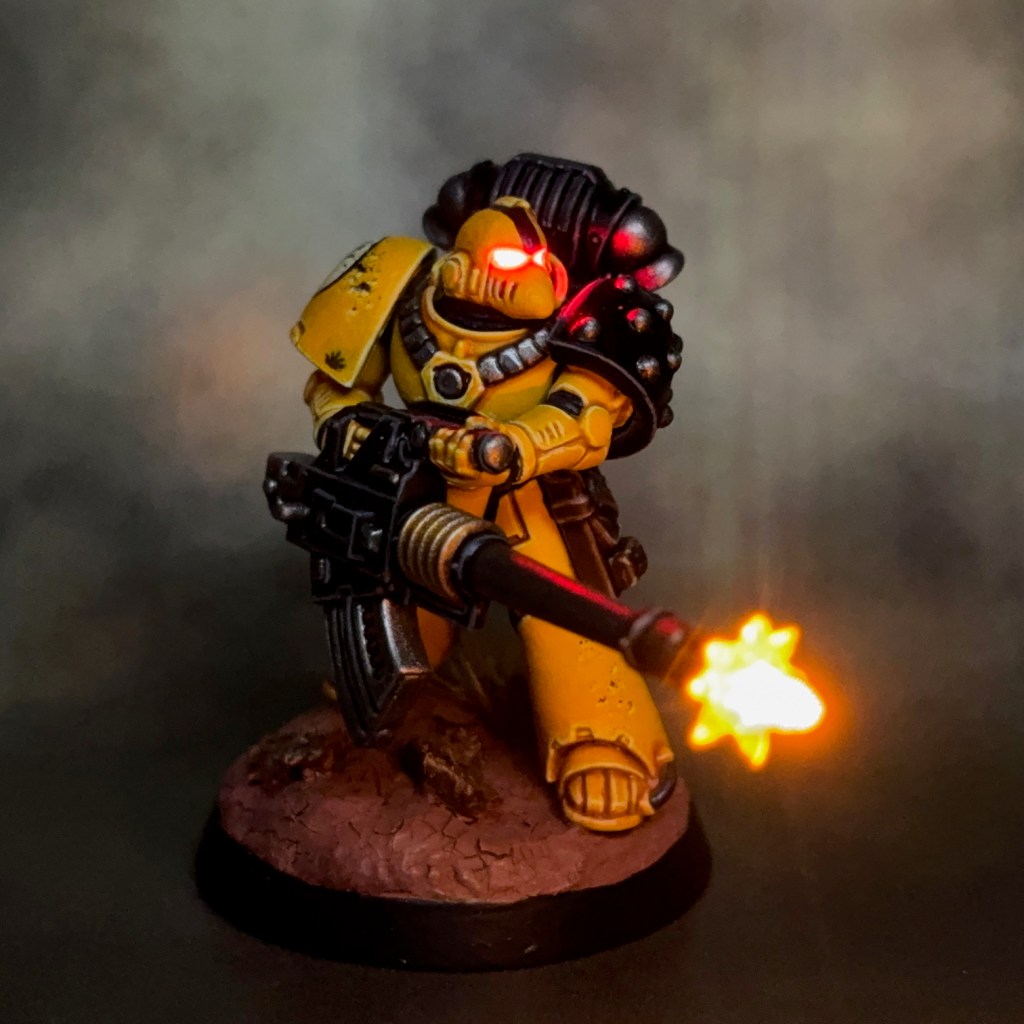
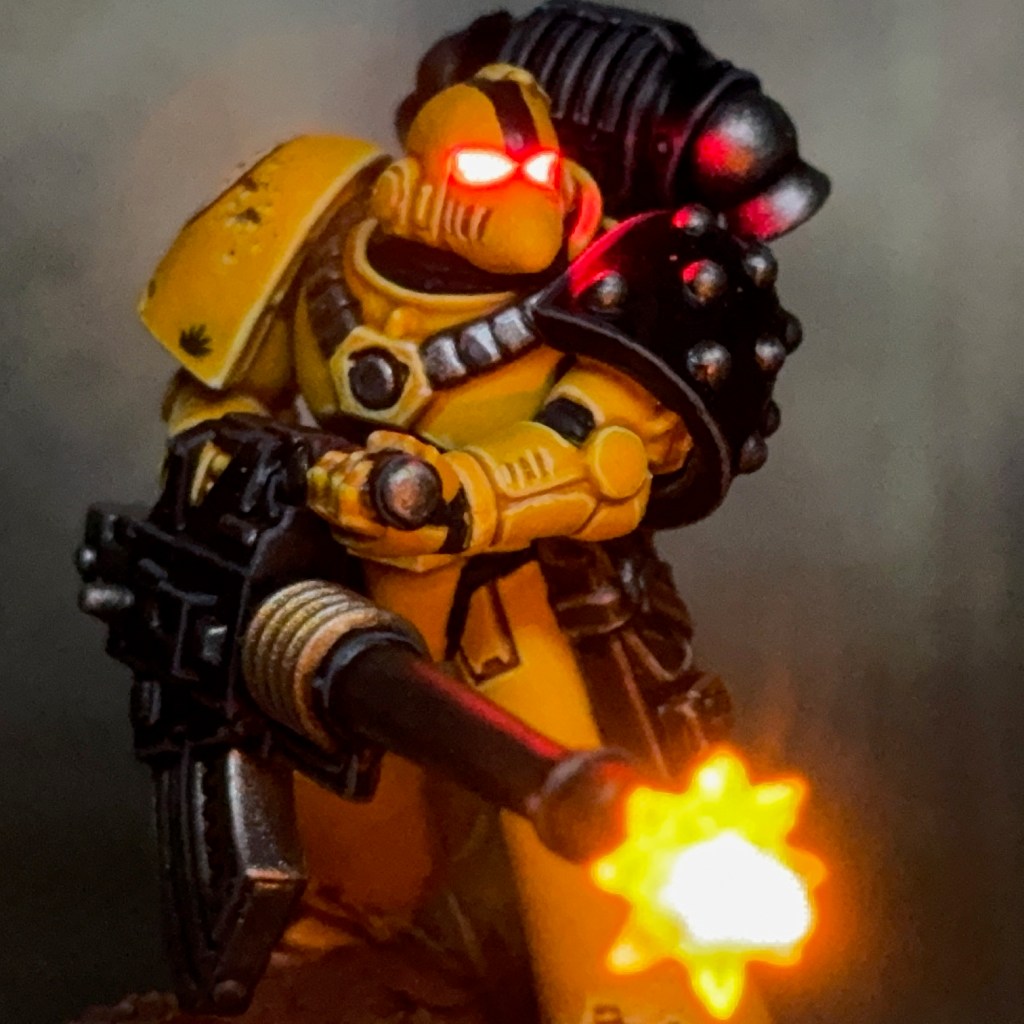
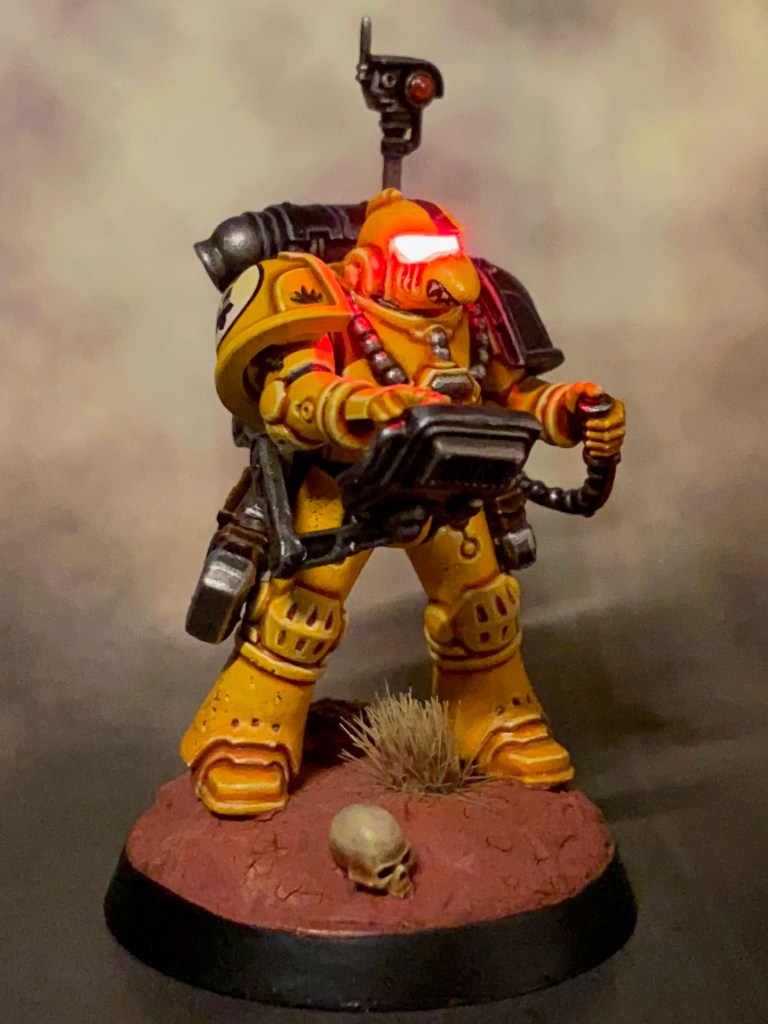
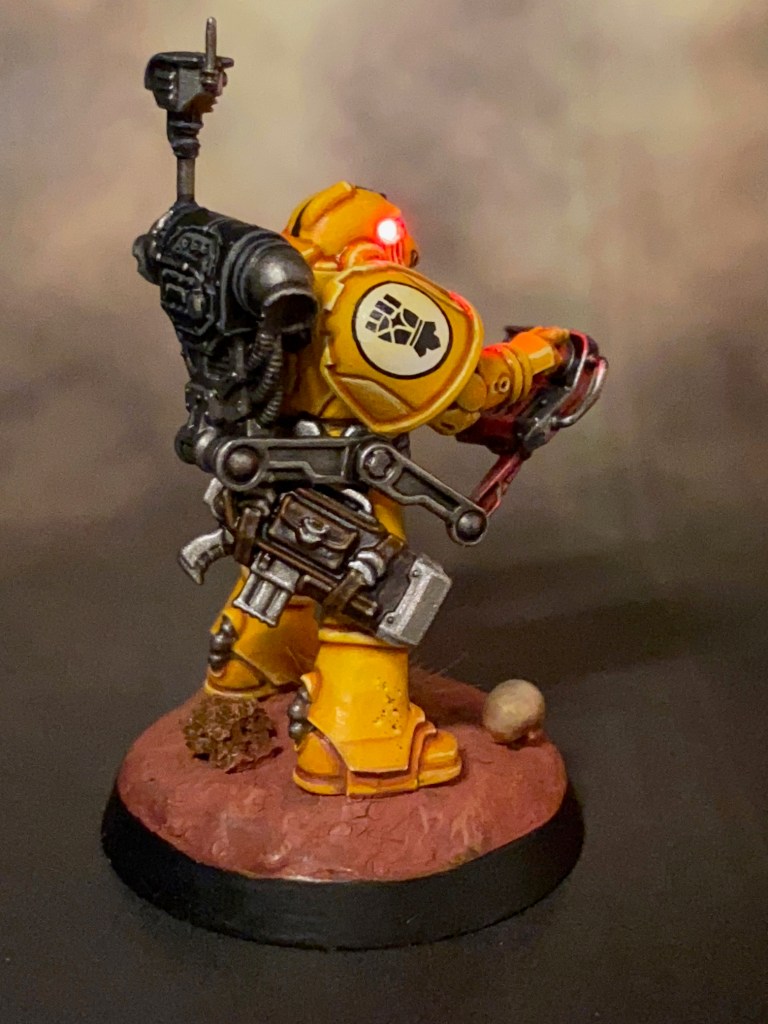
The design of the power armour of the Rapier crew owes a lot to the influence of the classic LE2 Imperial Space Marine from the dawn of Warhammer 40K. You can particularly see the design echoes in the chest cables, knees, and greaves. However, the helmet of the standard Rapier crew is a lot closer to that of the MKIV Techmarine. So I decided to swap this out for the helmet from the ‘Imperial Space Marine (2016)’ miniature, which is also heavily based on the LE2 Marine. You can find some more thoughts on this historic mark of Space Marine armour in this post from my Flesh Eaters project.
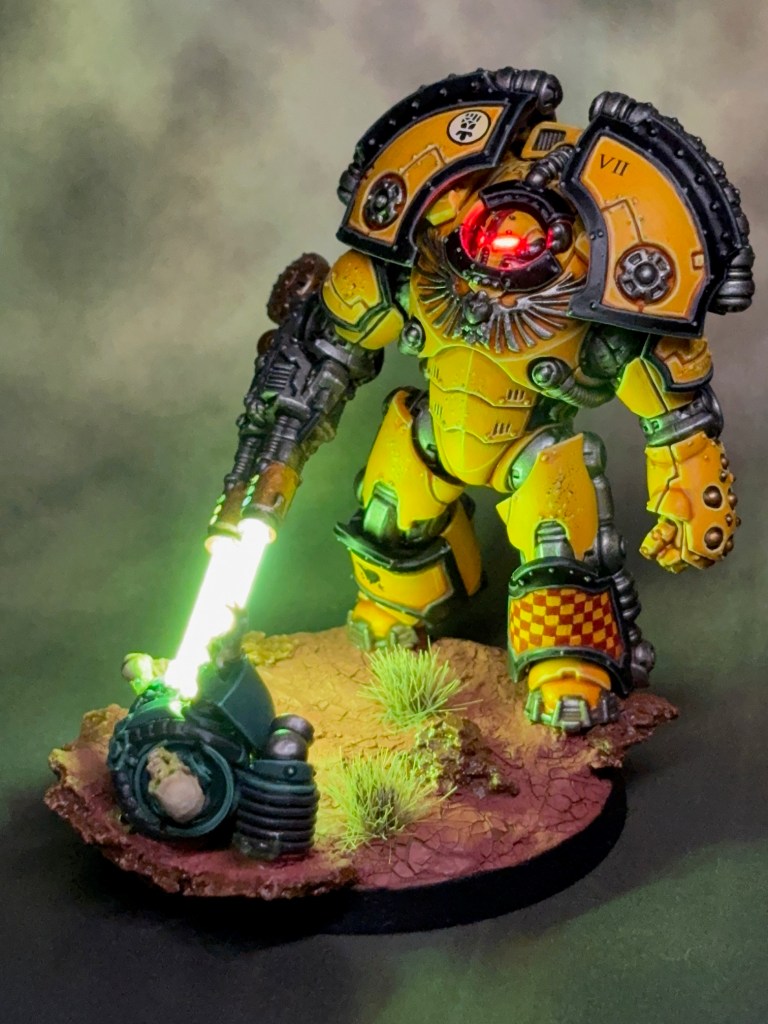
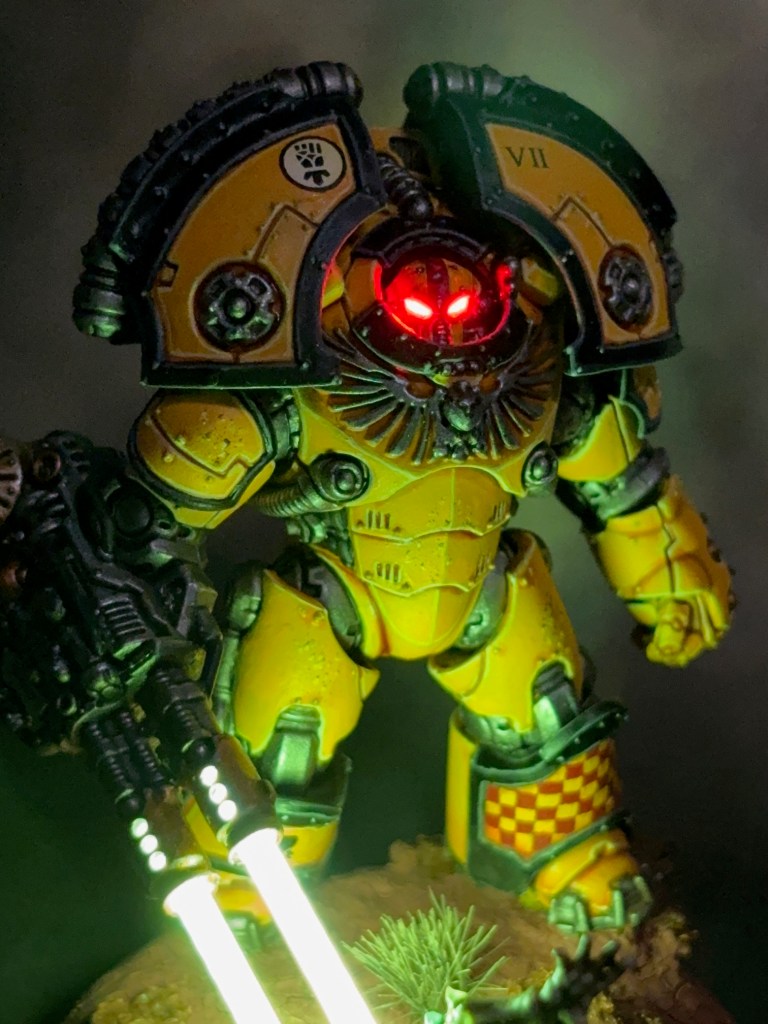
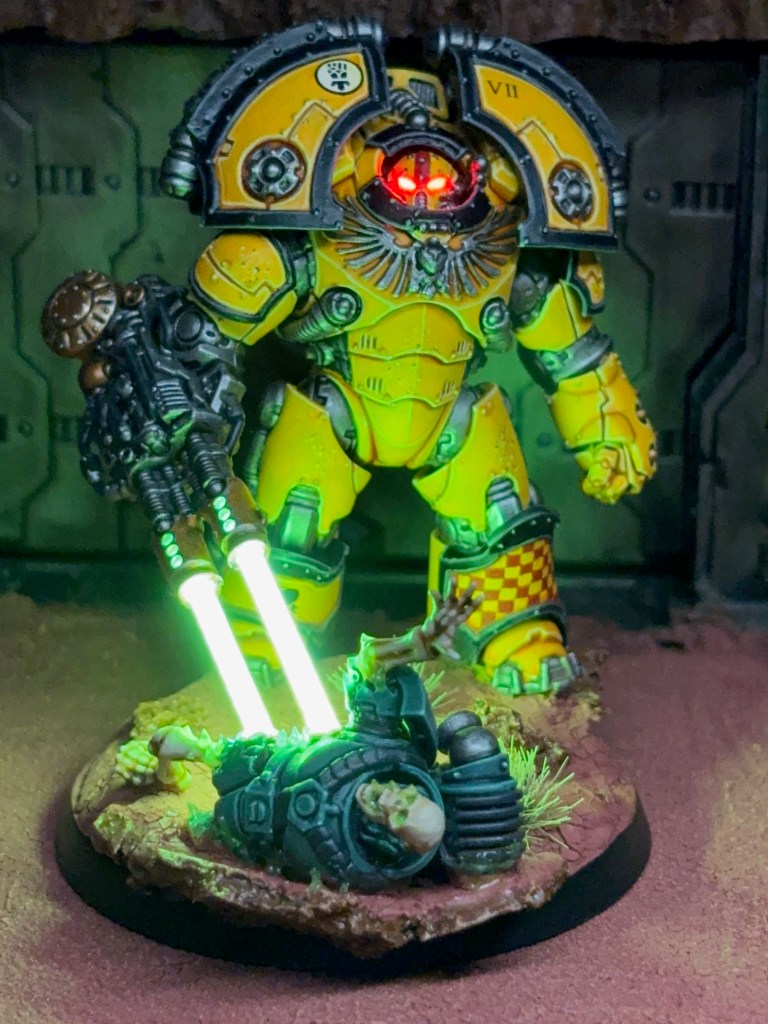
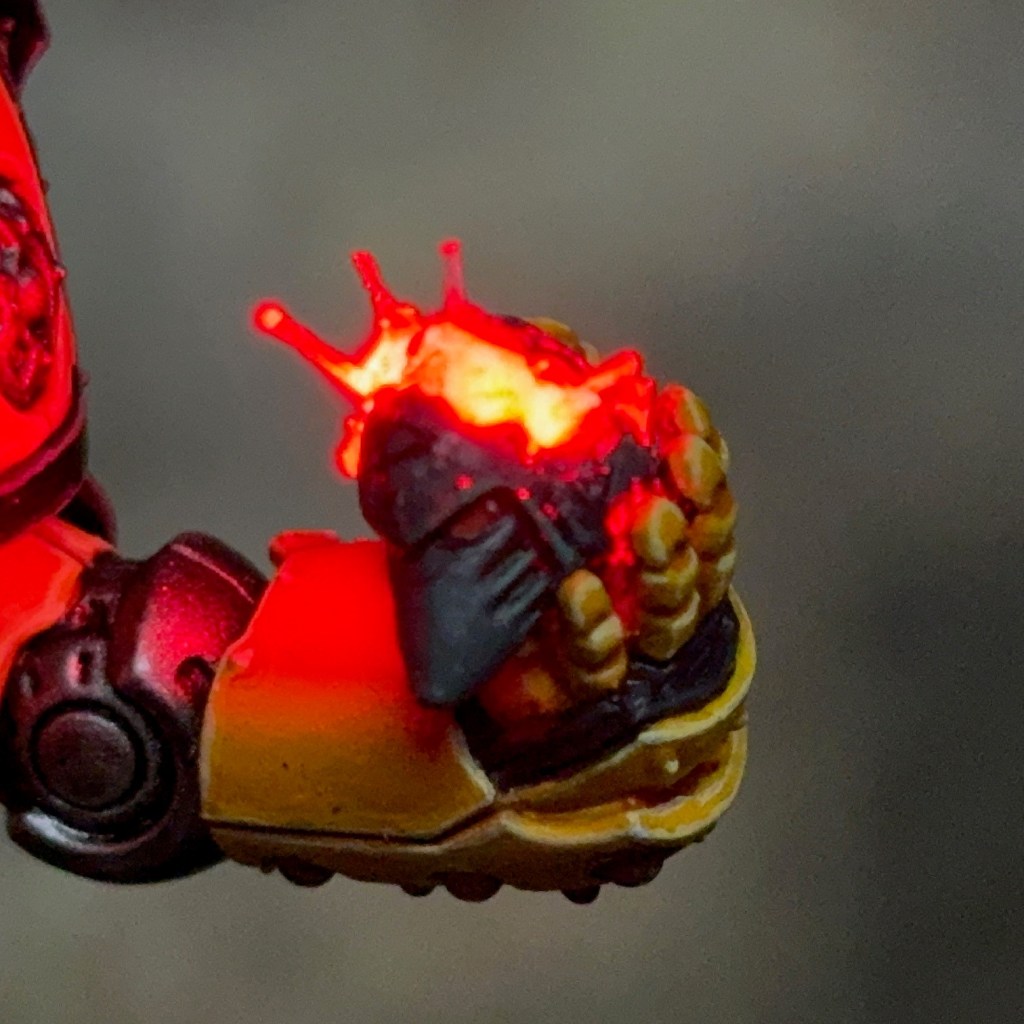
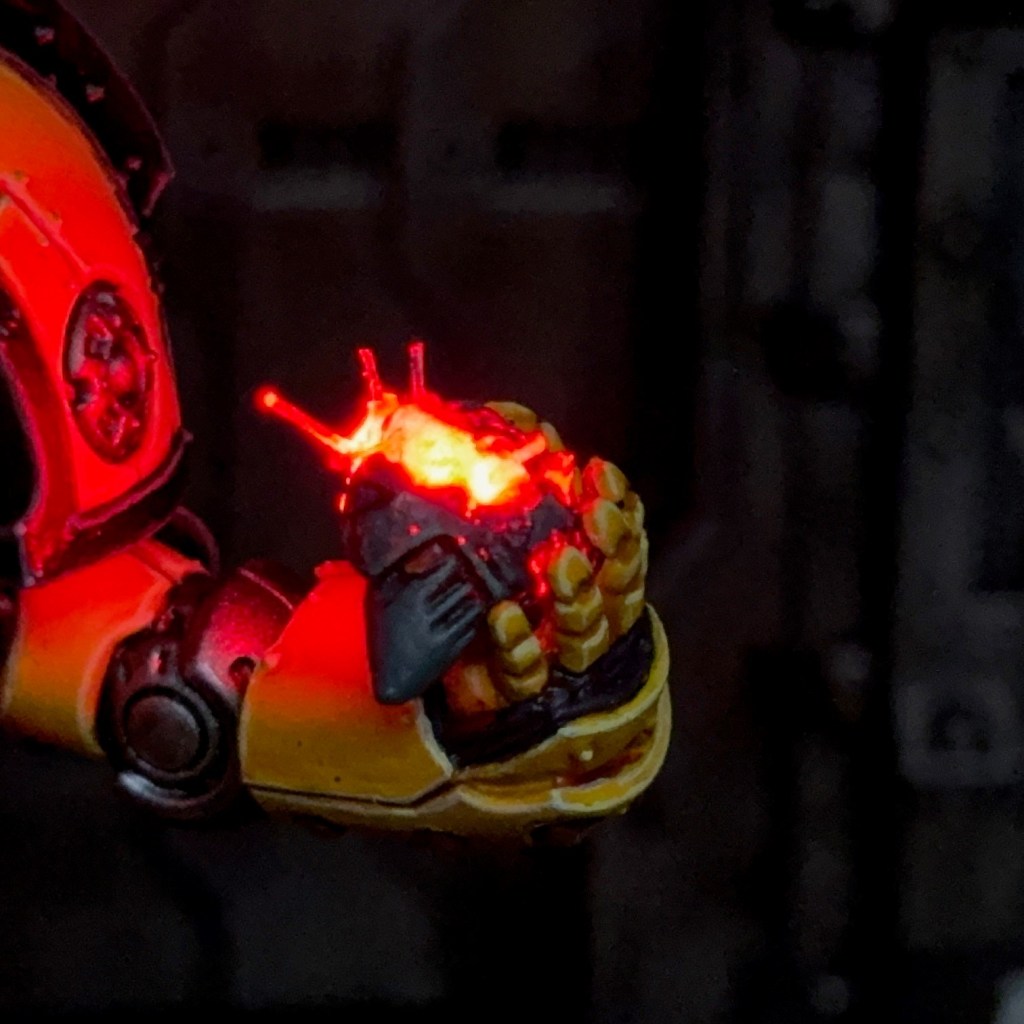
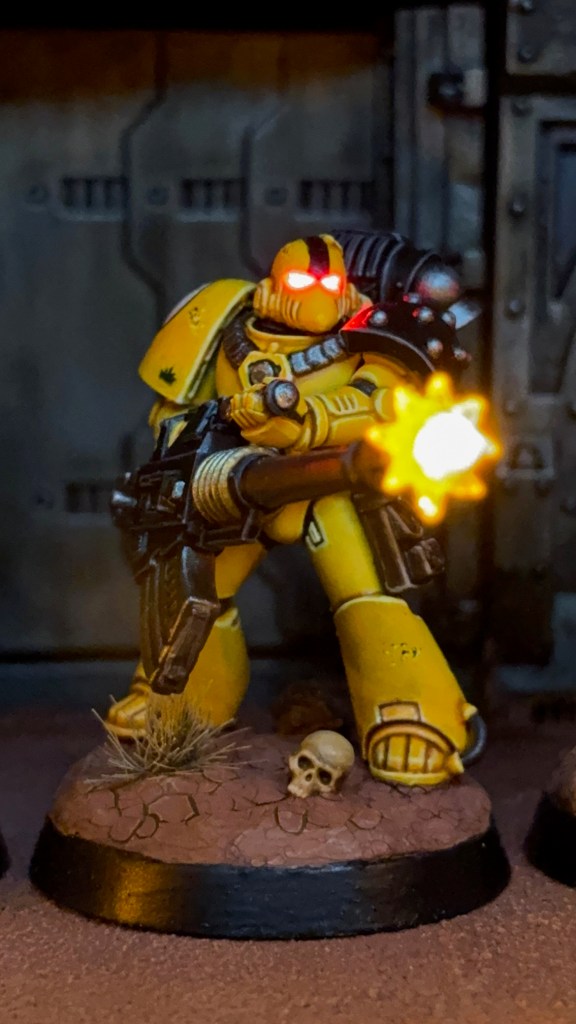
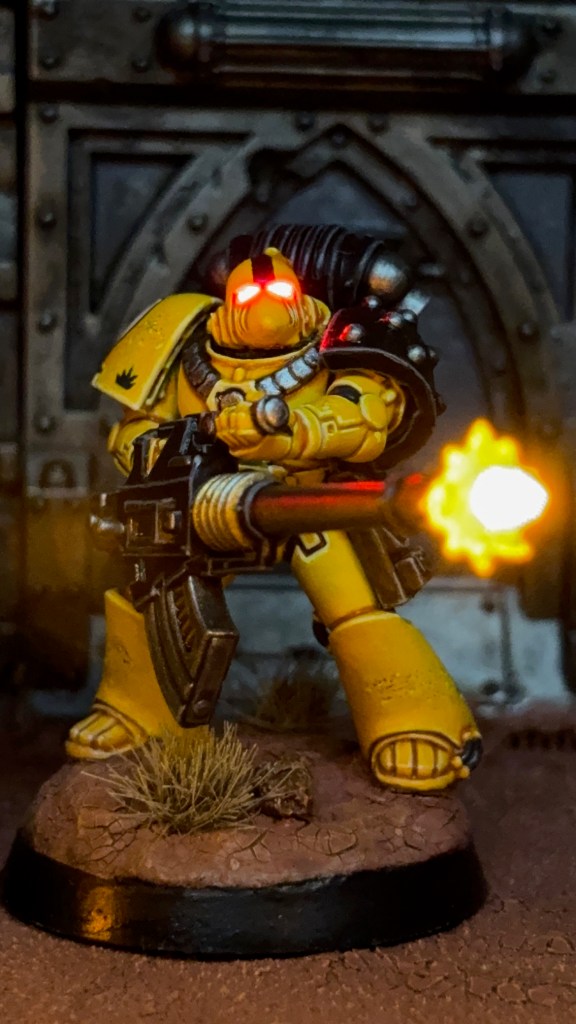
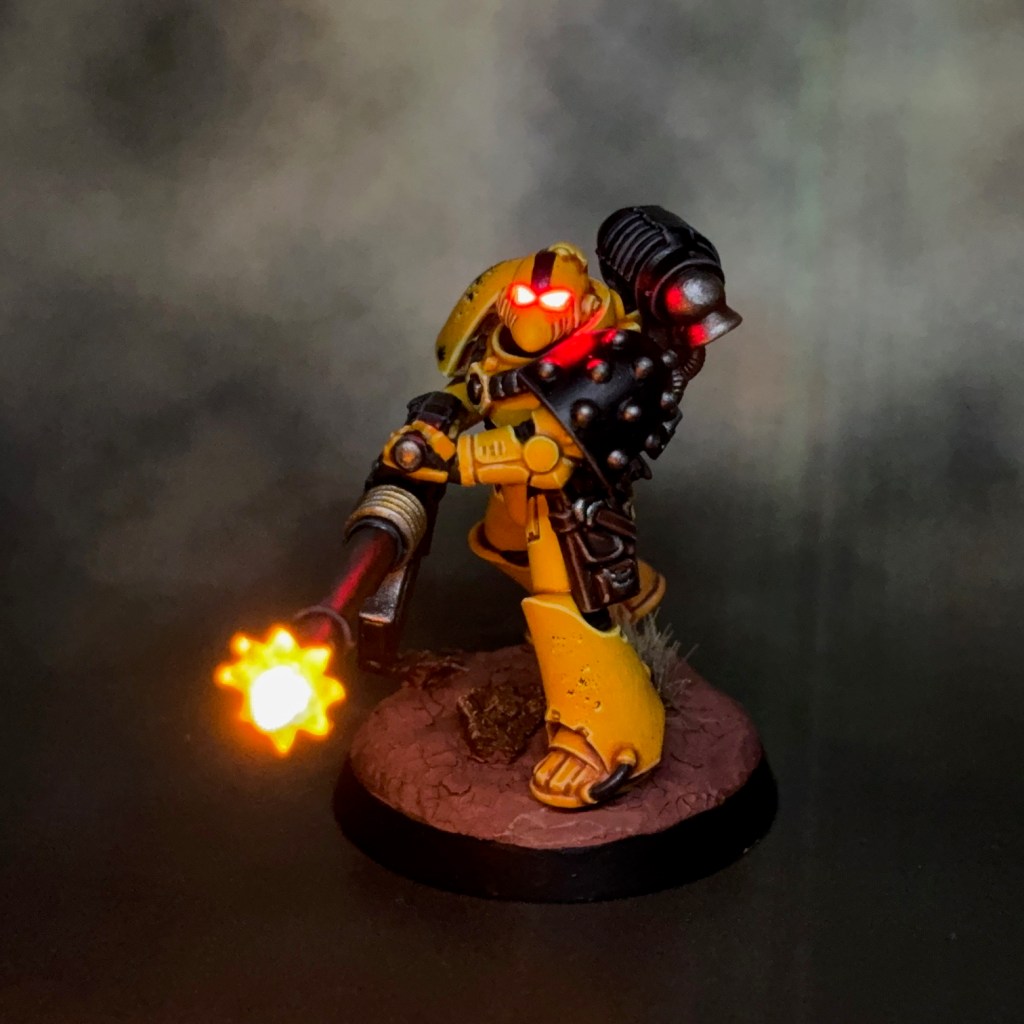
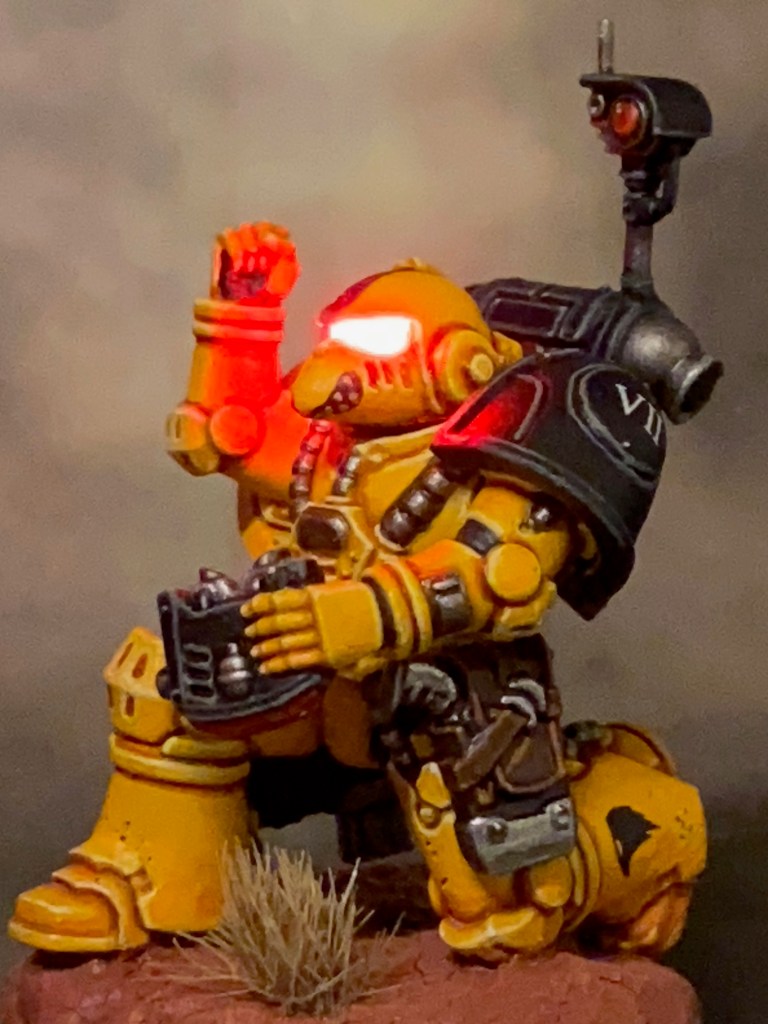
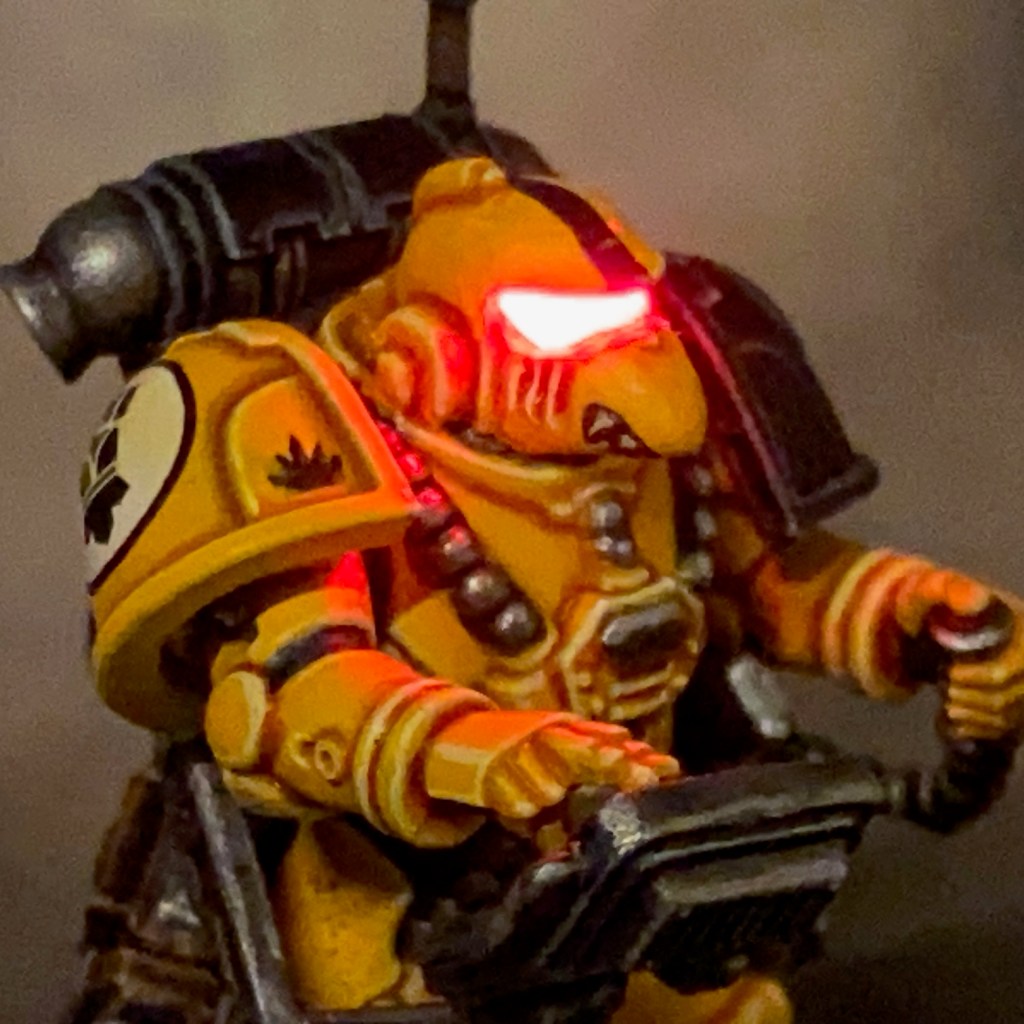
The LED helmet effects were created using the techniques and materials described in my LED Eye Lens Tutorial. The kneeling crew member pose made my life easier there was less vertical leg to drill through.
I did consider illuminating the control panel on the armature, as I have done with other similar devices here, here, and here, but decided against it for two reasons. Firstly, this effect works best when dramatically illuminating a bare head, rather than a helmet that is itself illuminated. Secondly, the Imperial Fists are a gaming army rather than display pieces, so I have to draw the line on time consuming LED effects somewhere!
Painting
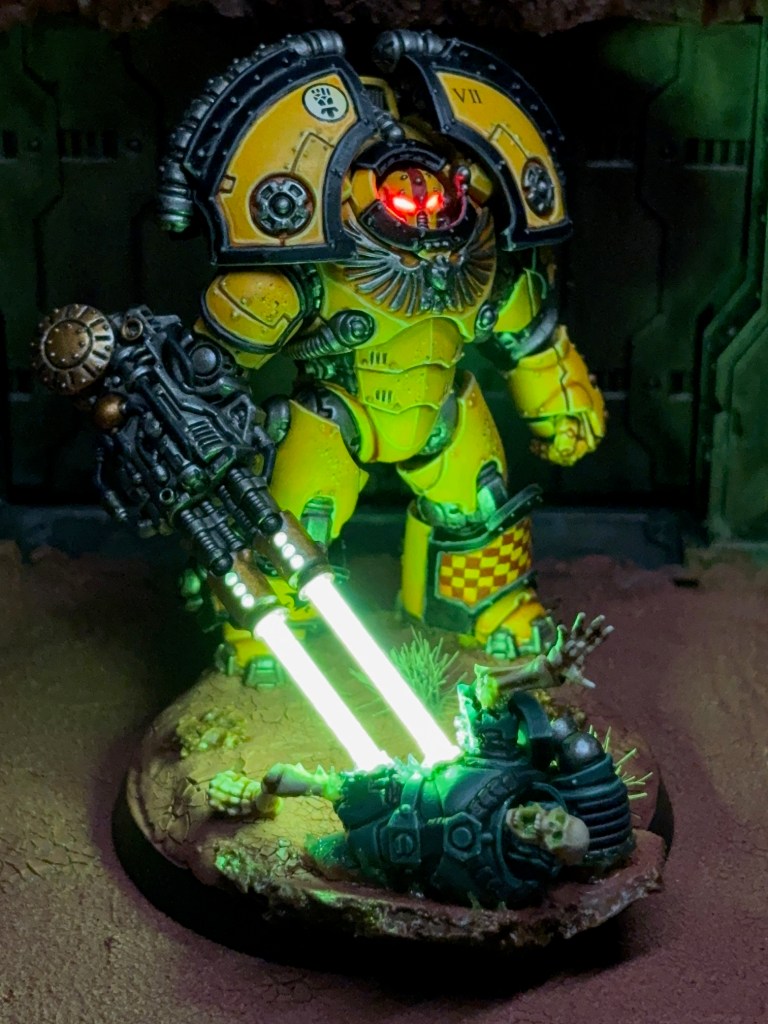
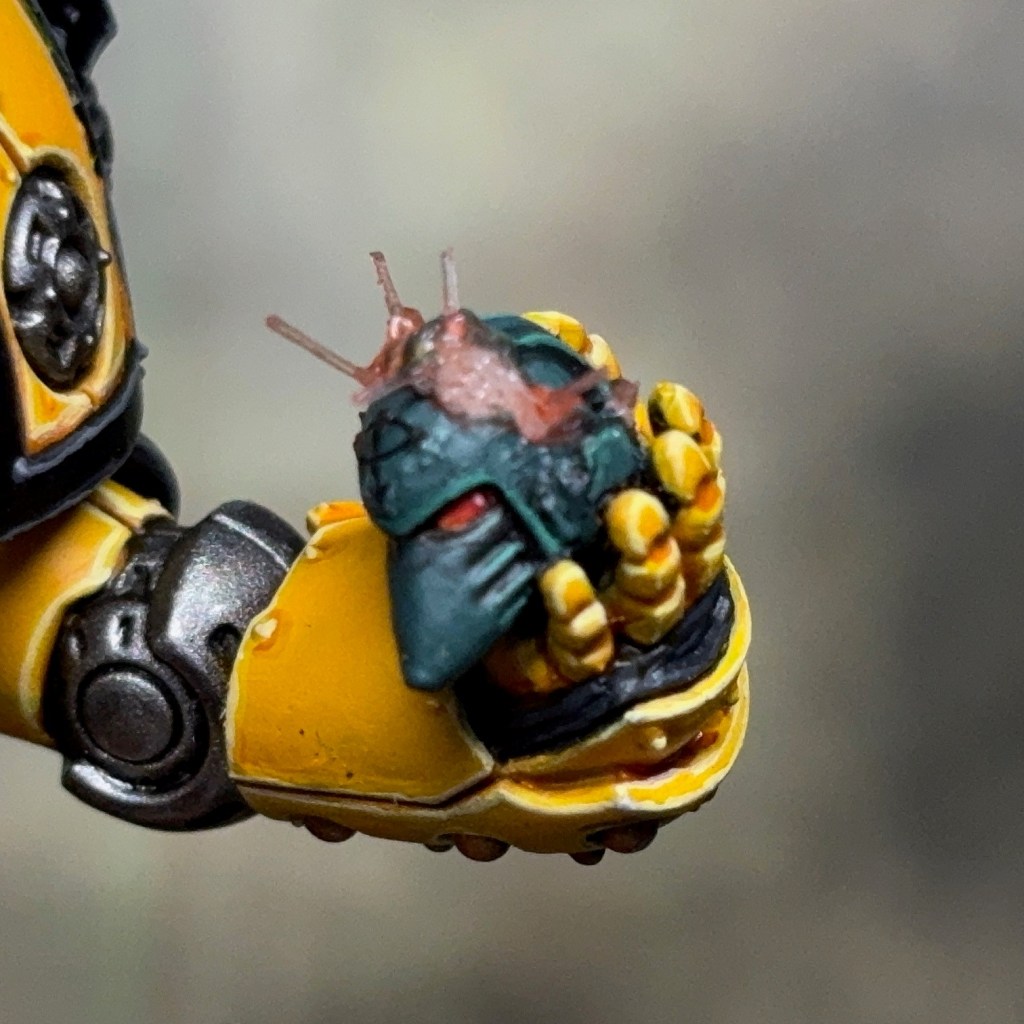
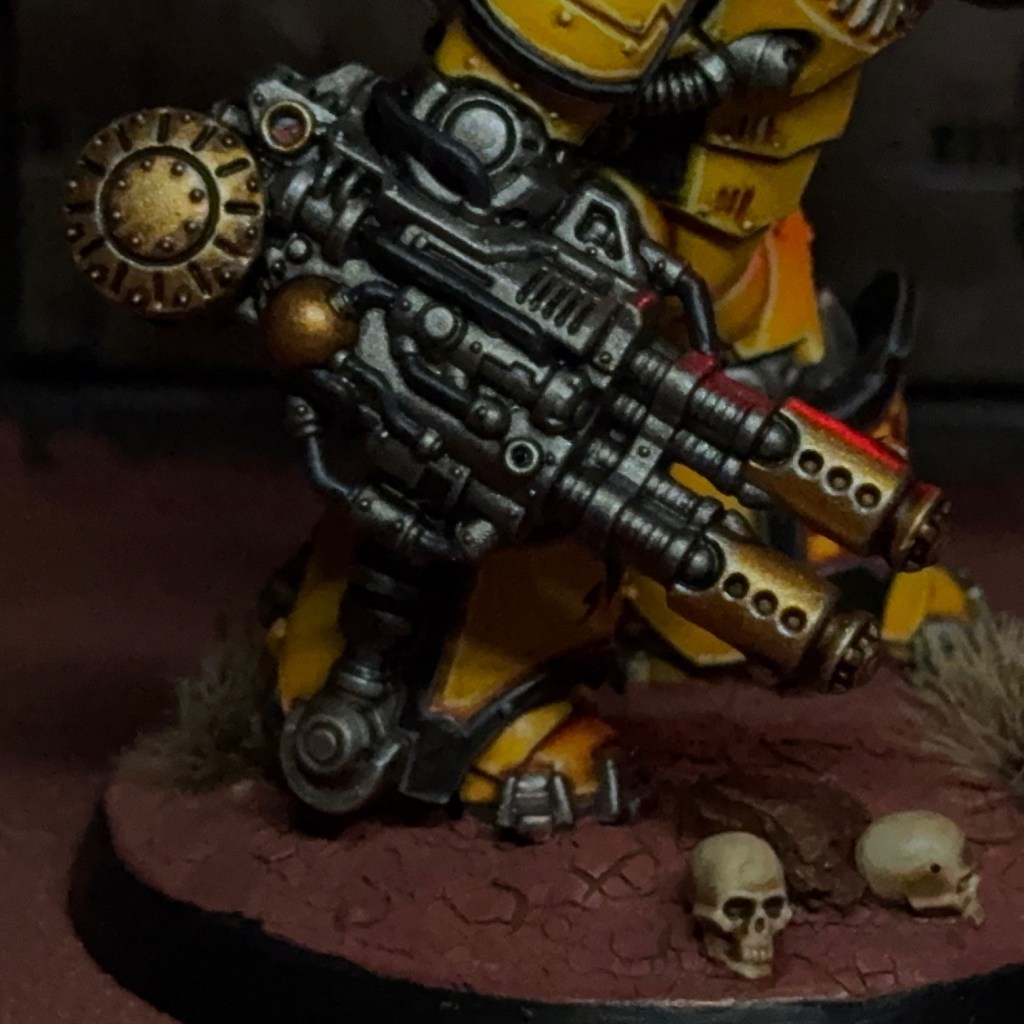
This miniature was painted as described in this post. Additionally, I used the recipe below for the passive optics like the backpack sensor and the binoculars. I made the deliberate choice to depict them as passive sensors, as I felt that illuminating them would draw the eye away from the important areas of the miniature without really adding anything.
- Red Optics
- Mephiston Red base coat
- Agrax Earthshade shade around edges
- Evil Sunz Scarlet edge highlight
- Wild Rider Red fine edge highlight
- Skull White dot highlight in top left
- Mephiston Red thin glaze
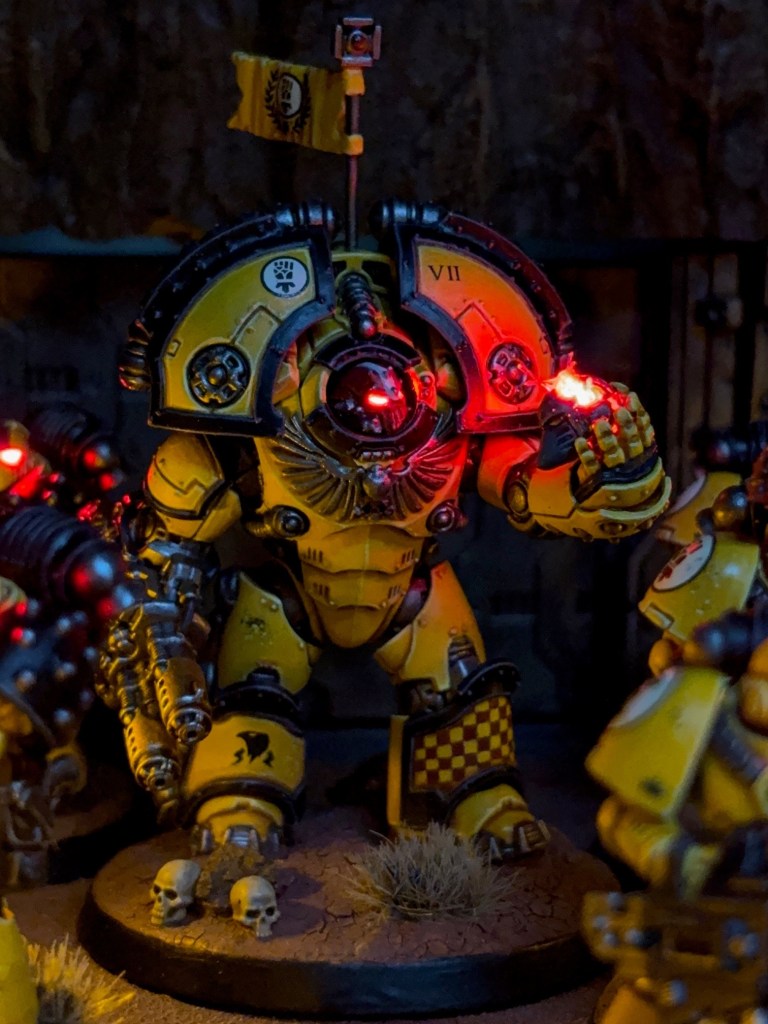
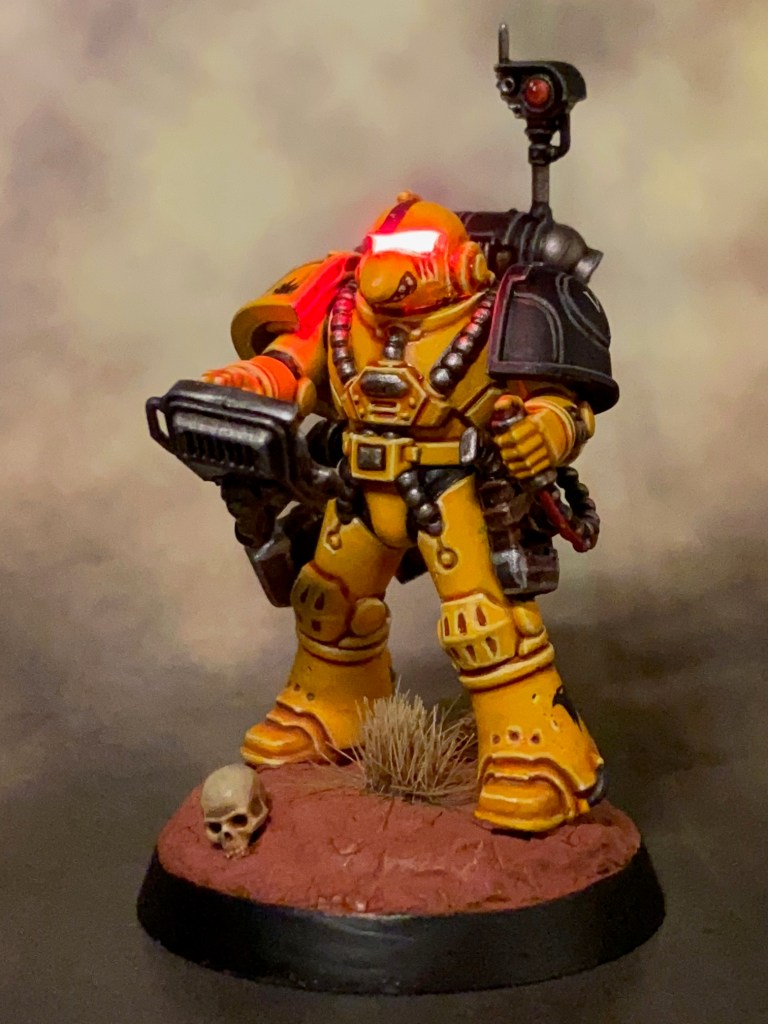
Once I’d decided that the crew would be wearing an ancient and rare pattern of armour, I decided it was therefore likely that they were also veterans. This in turn made me think they deserved some unusual heraldry.
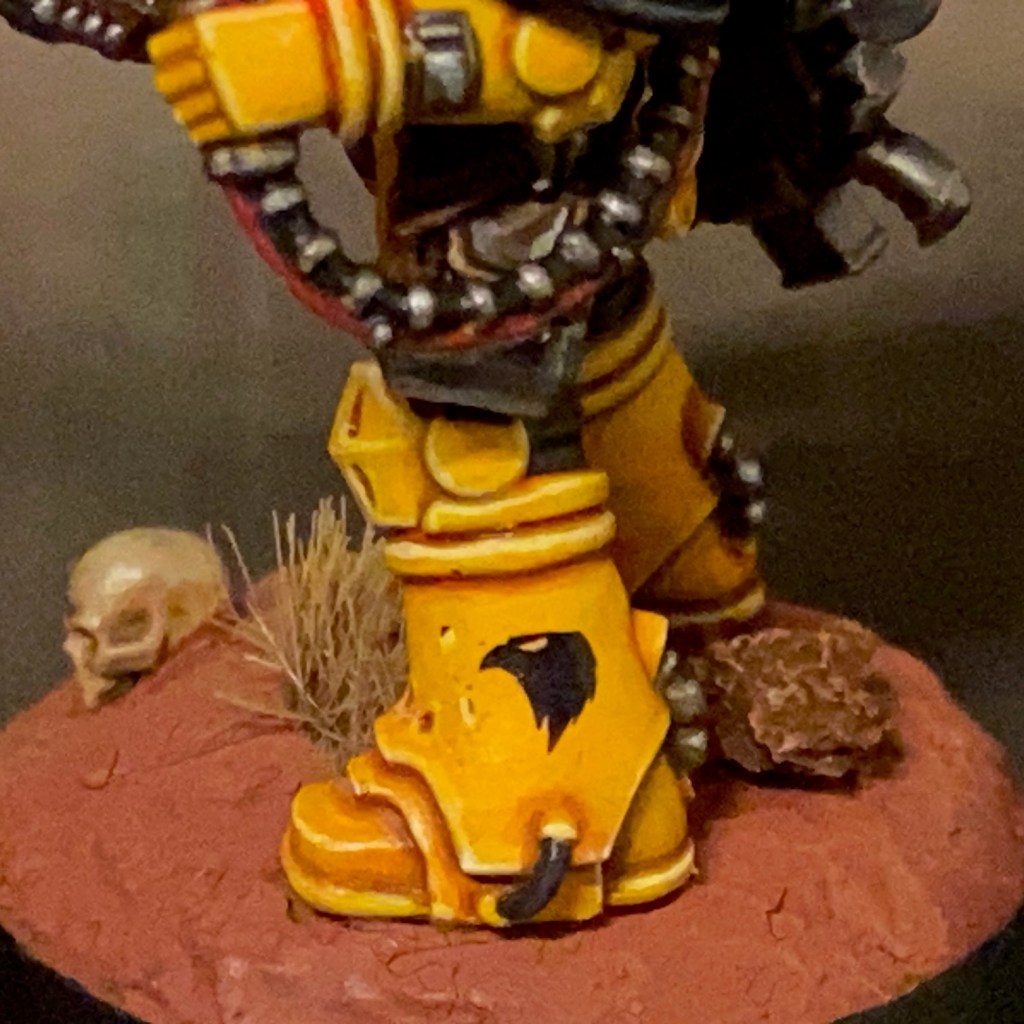
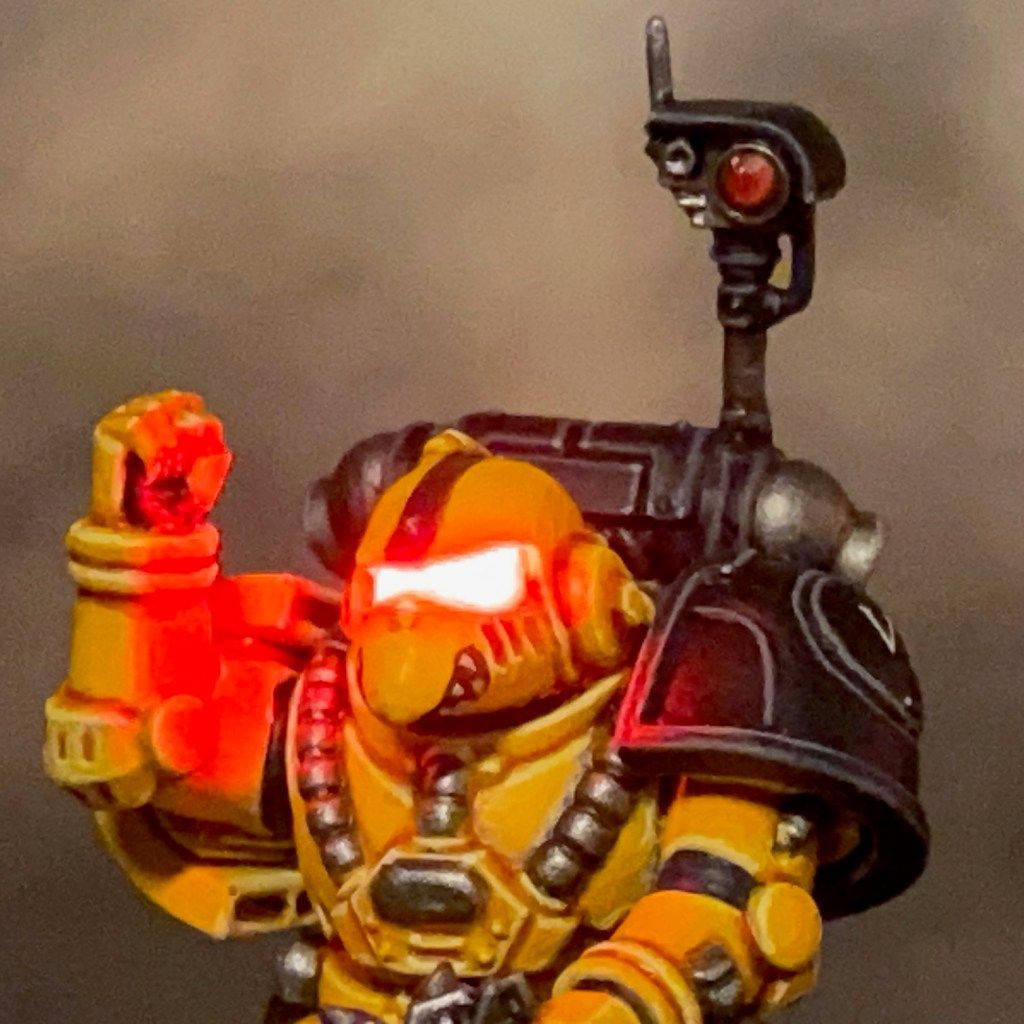
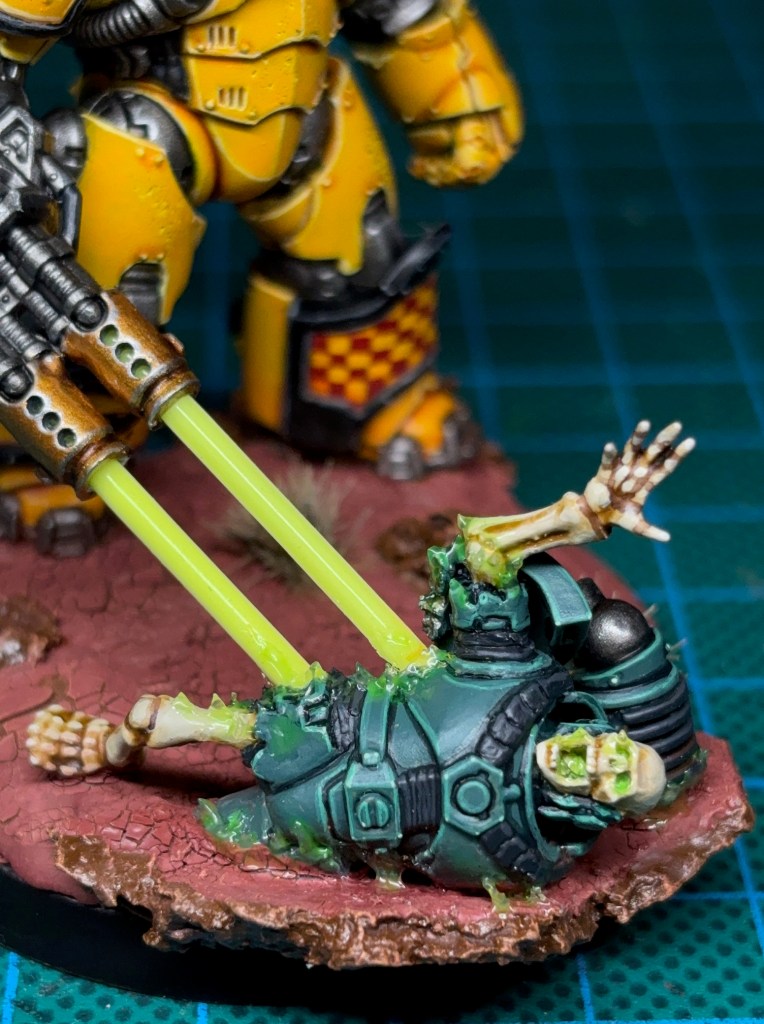
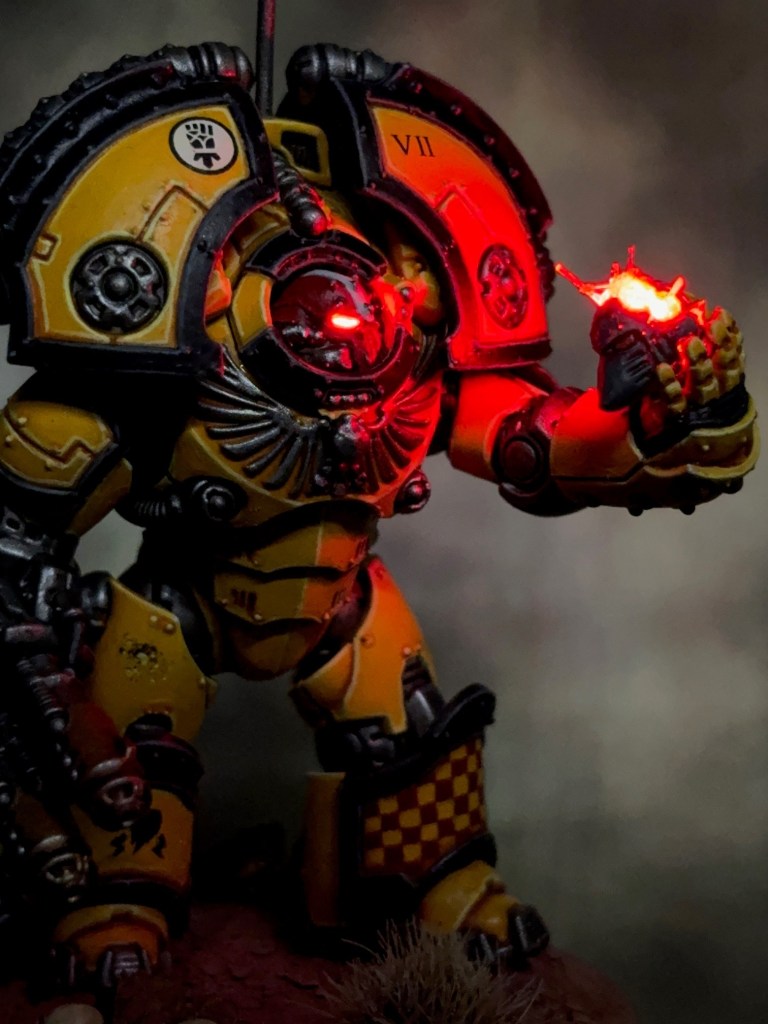
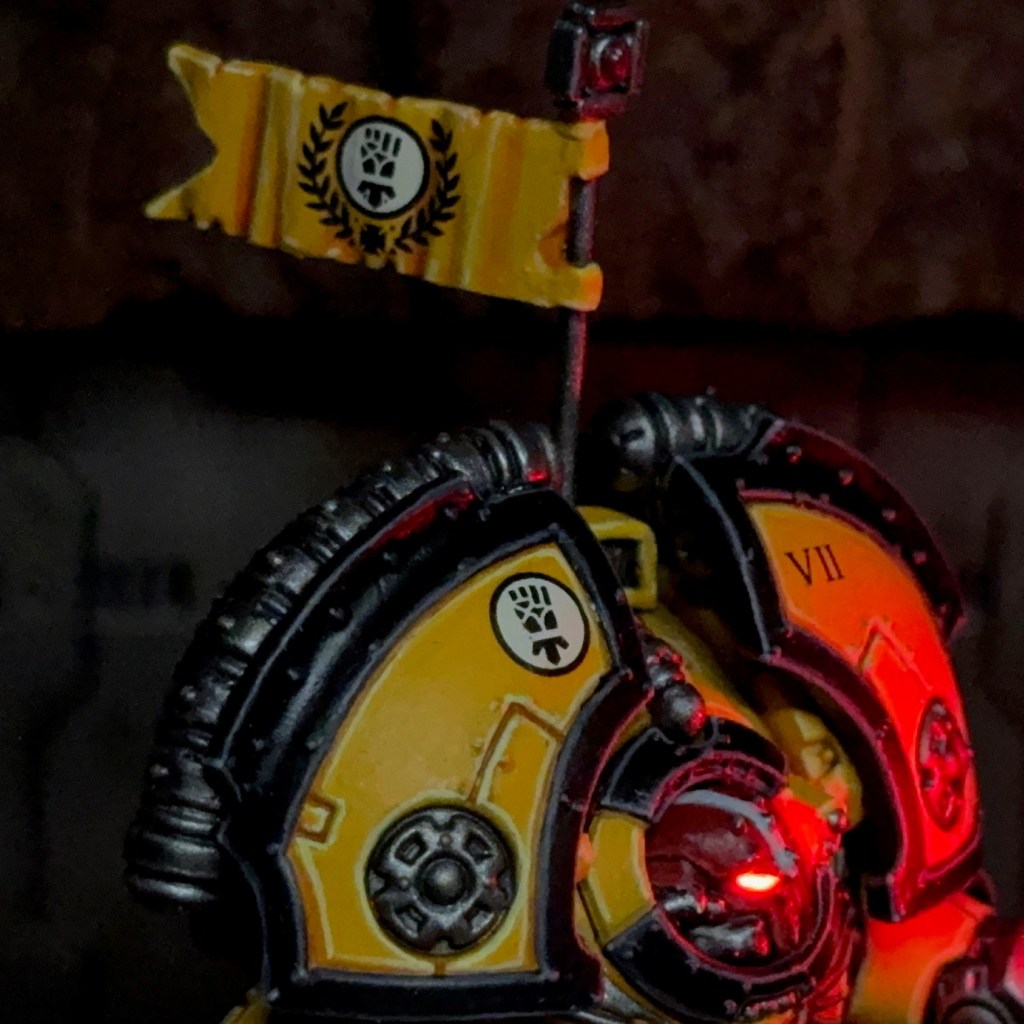
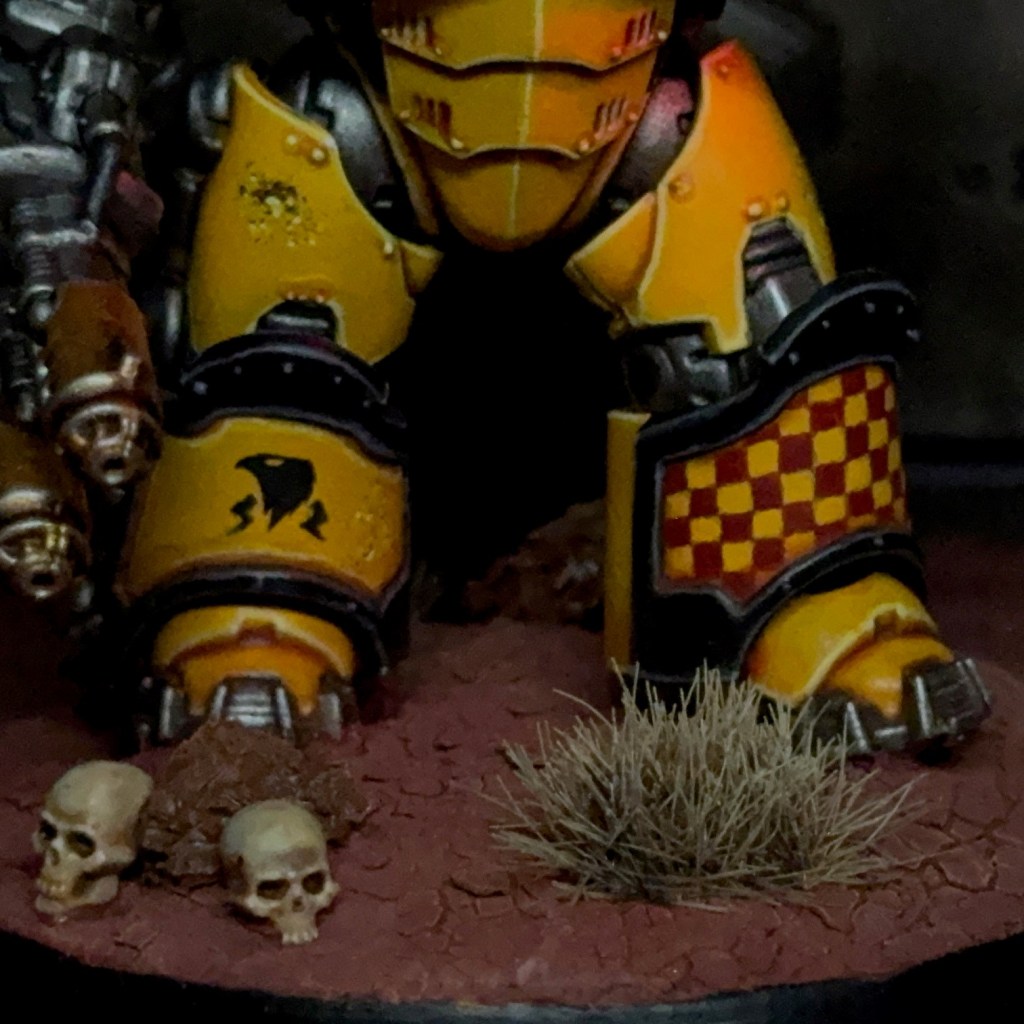
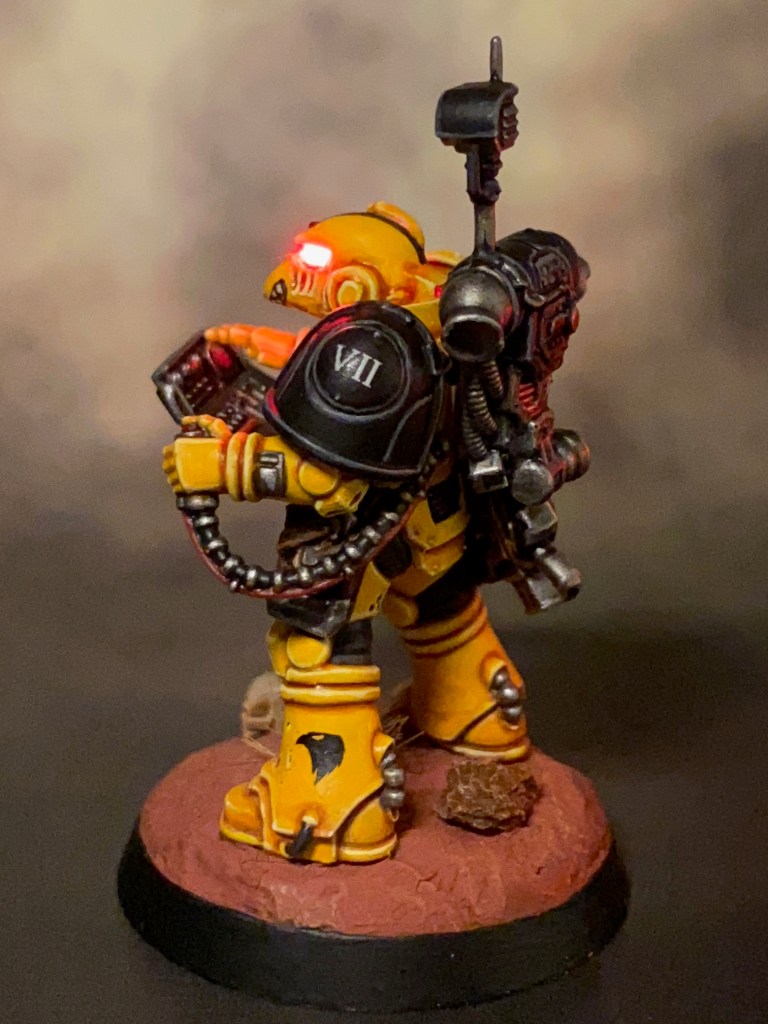
The veteran rapier carrier crew in these pict-captures are not only wearing a esoteric pattern of armour, but also adorned with a variety of personal heraldry. This is unusual for a regimented and disciplined legion like as the Imperial Fists. The Raptor Imperialis on the greaves likely to indicate Terran veterans, and the maws painted on their helmet are most probably a reference to Rogal Dorn’s famous exhortation during the Adonis Cluster campaign: ‘Let the enemy throw themselves into the teeth of our guns.’
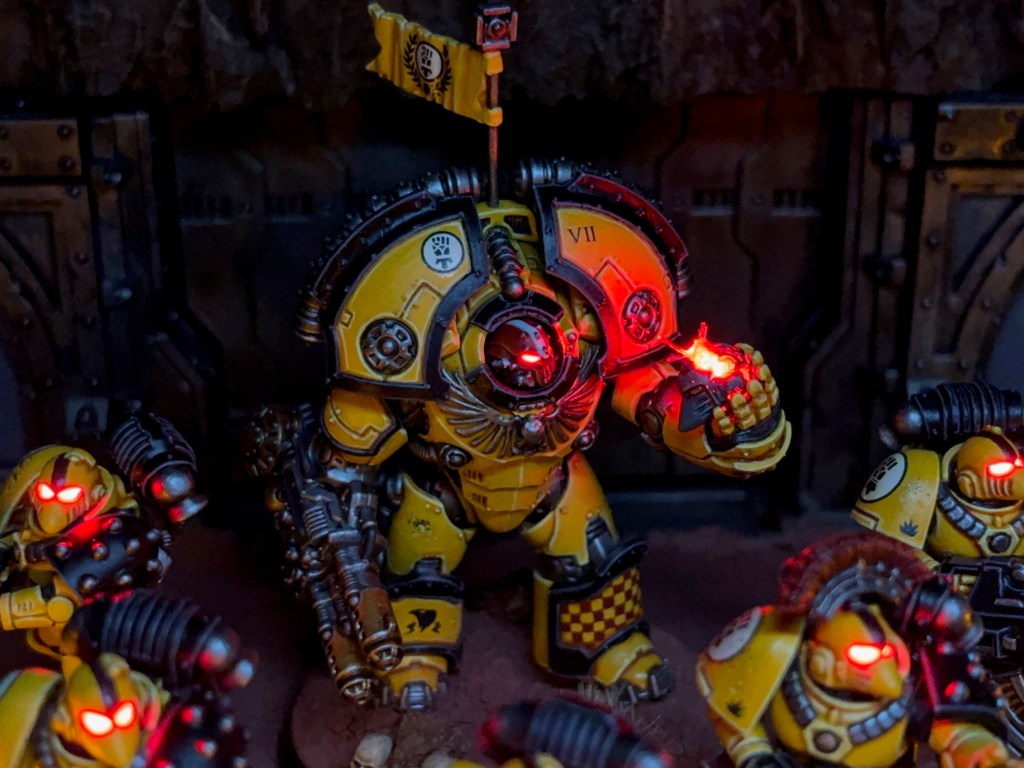
EXTRACT FROM ‘A FINAL AND ABSOLUTELY DEFINITIVE ACCOUNT OF THE HORUS HERESY (VOL.VII)’ BY SCRIBE HOWTOPHER BUXCRAFT
That’s all for today, but I’ll be back soon with more Imperial Fists, including the Rapier itself! As ever, thanks very much for reading, and please remember you can also find me sharing my work on Instagram, Threads, Bluesky and Mastodon. Or if you prefer you can subscribe to my website by entering your email in the box below to receive updates whenever I post a new blog article or tutorial.