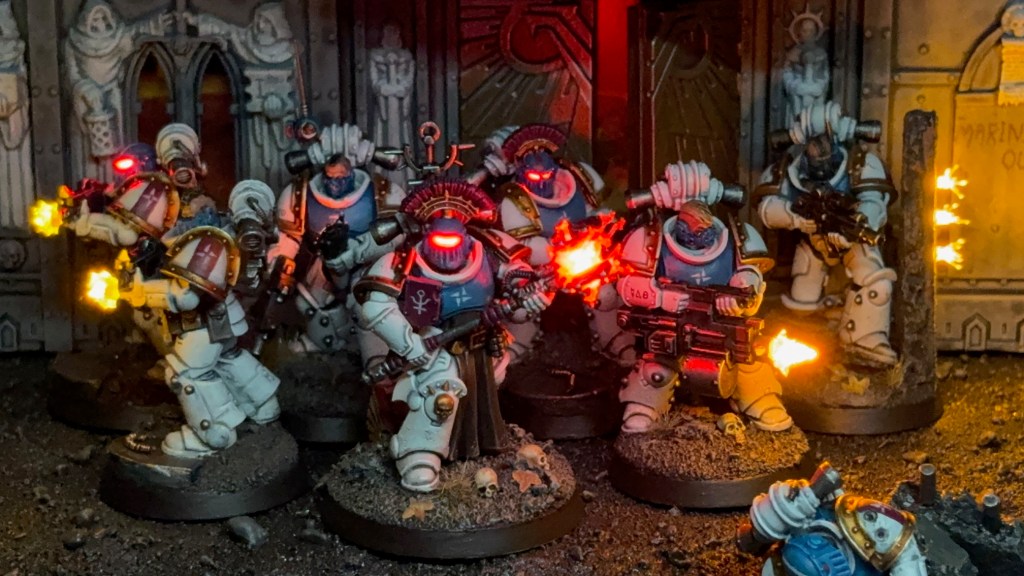
This week I’m finishing off my series of articles about the Silver Stars with some group photos of Kill Team Antimony. As regular readers may recall, the Silver Stars are the mysterious chapter leading the Partisan forces in the War of the False Primarch. This projects began as a few Silver Stars miniatures to decorate my Flesh Eaters 2023 Armies on Parade board, before growing into a project in their own right.
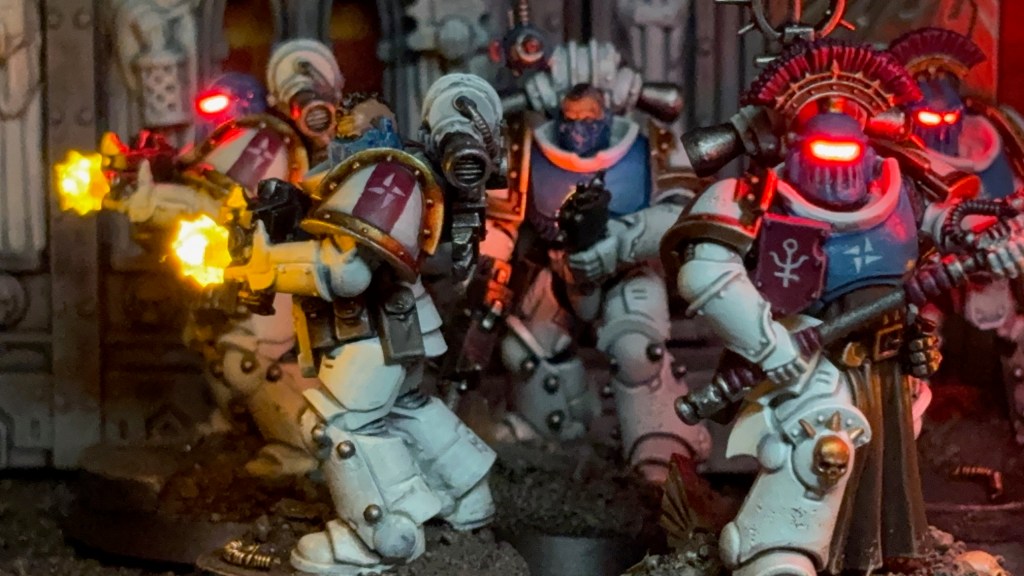


Kill Team Antimony were first documented in Othodox records during the clandestine skirmishes of the Sorrowful Years that marked the midpoint of the war. Identified only by the alchemical symbol for Antimony displayed on their pauldrons, the actions of this squad were noted throughout the remainder of the conflict, most significantly during the Third War of Coldforge and the Siege of the Myrean League Shieldworlds. But one must wonder how many of their most successful actions were not recorded at all…
EXTRACT FROM ‘A TREATISE ON THE WAR OF THE FALSE PRIMARCH’ BY SCRIBE HOWTOPHER BUXCRAFT
Kill Team Antimony will follow the Angels of Death team rules. I will use Resolute as the primary chapter tactic to represent their determination and loyalty to the cause of their ‘Primarch’. Their secondary chapter tactic will be Sharpshooter to represent the use of older pattern Phobos bolters and disciplined bolter drills within their pseudolegion.
Below I’ve collected some close-up images of the individual squad members, as well as links to the original blog posts about how each miniature was built and painted, and how their LED effects were achieved. Normally I give my miniatures individual names to enhance the narrative, especially in small games like Kill Team. But I deliberately haven’t done that with the Silver Stars as they’re supposed to be of mysterious origins and I didn’t want to humanise them. This is also why there are no bare heads in the squad – you’ll notice everyone is either wearing a helmet or a mask.
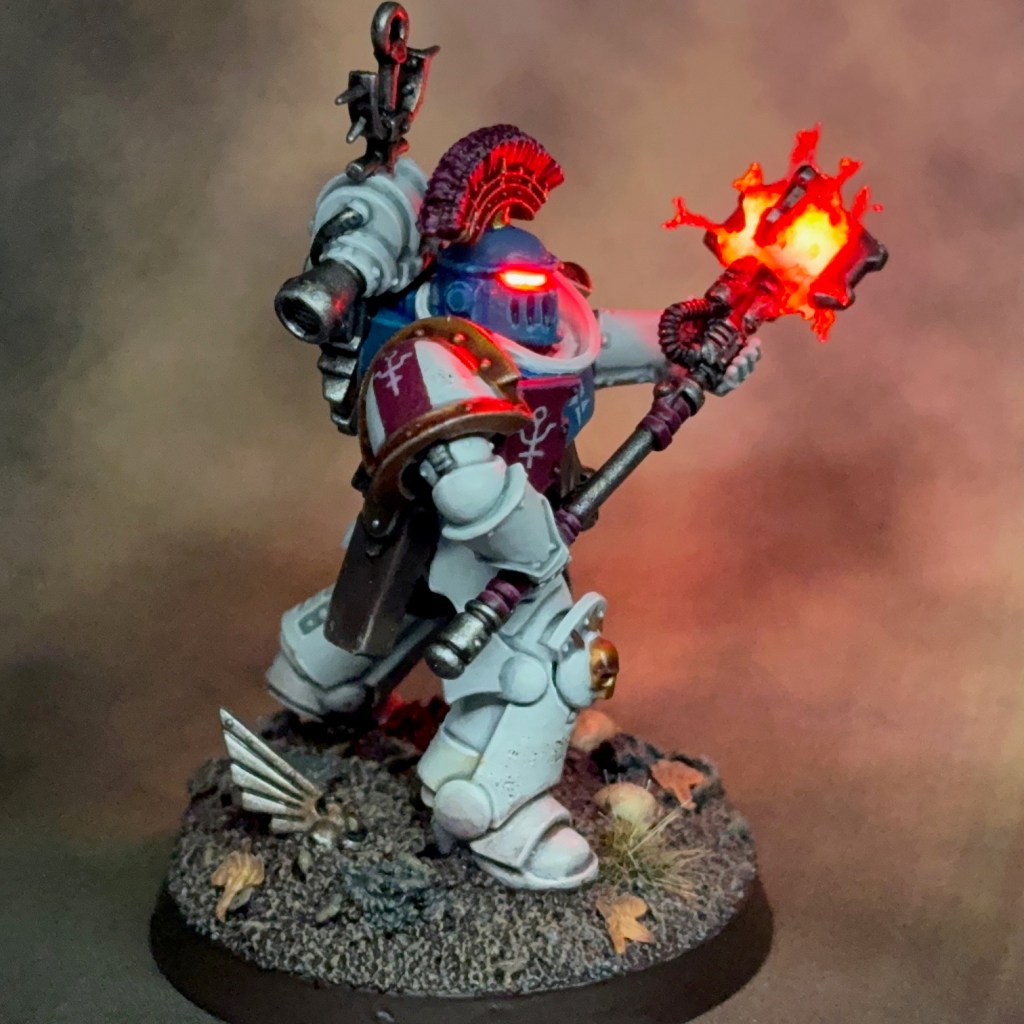
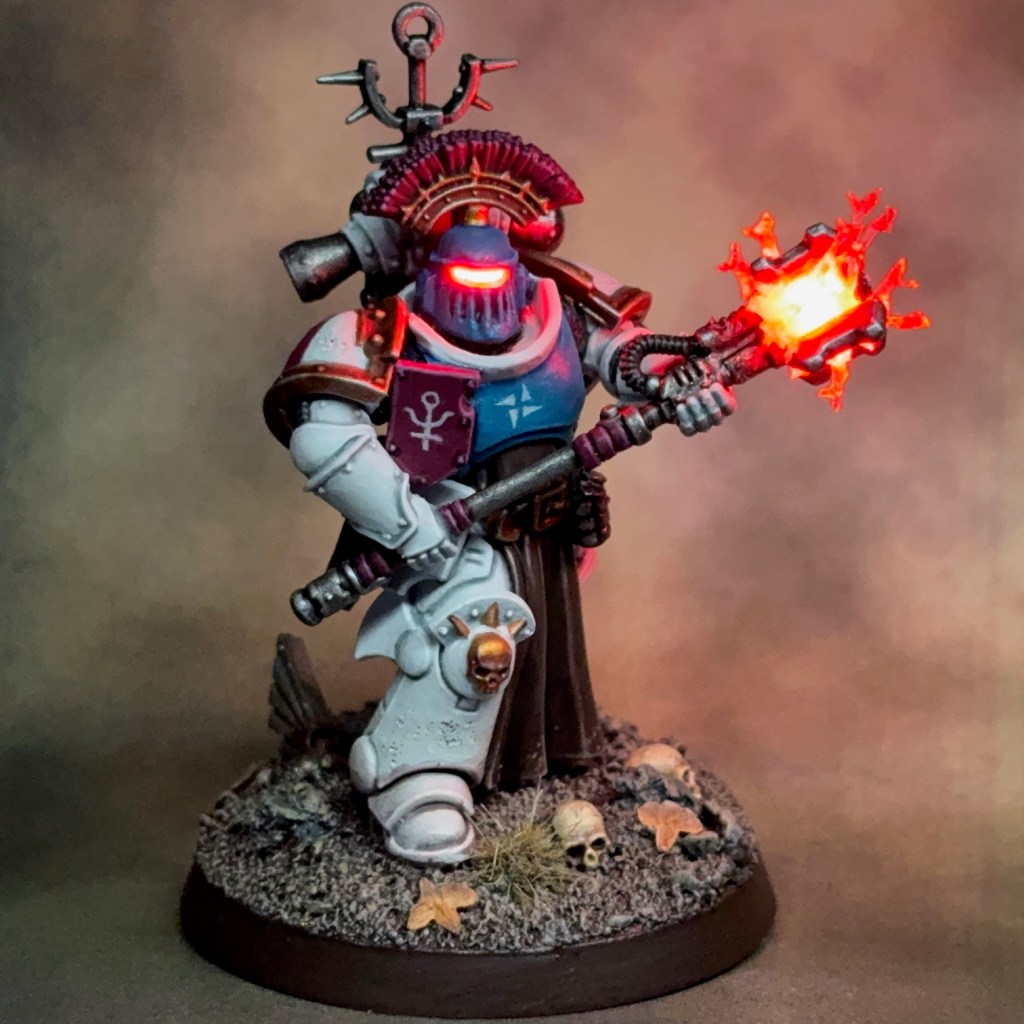
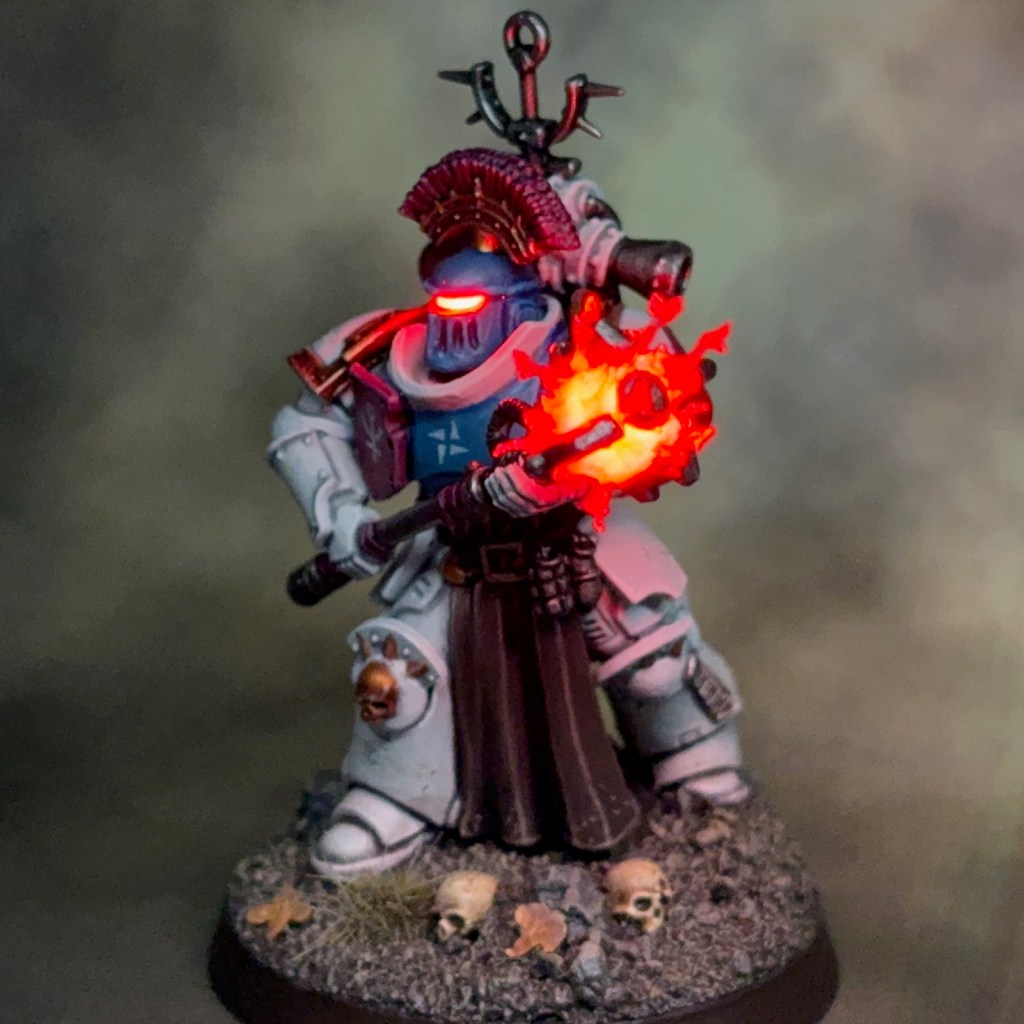
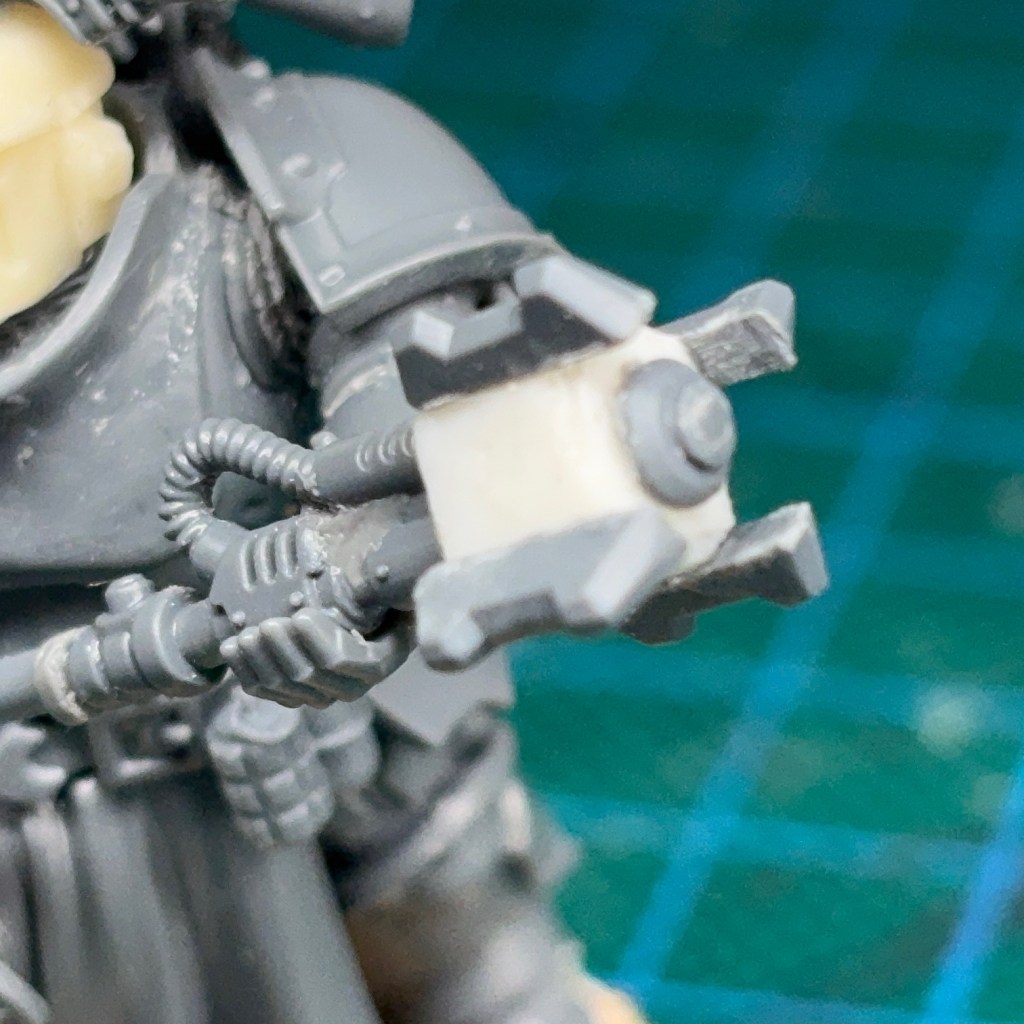
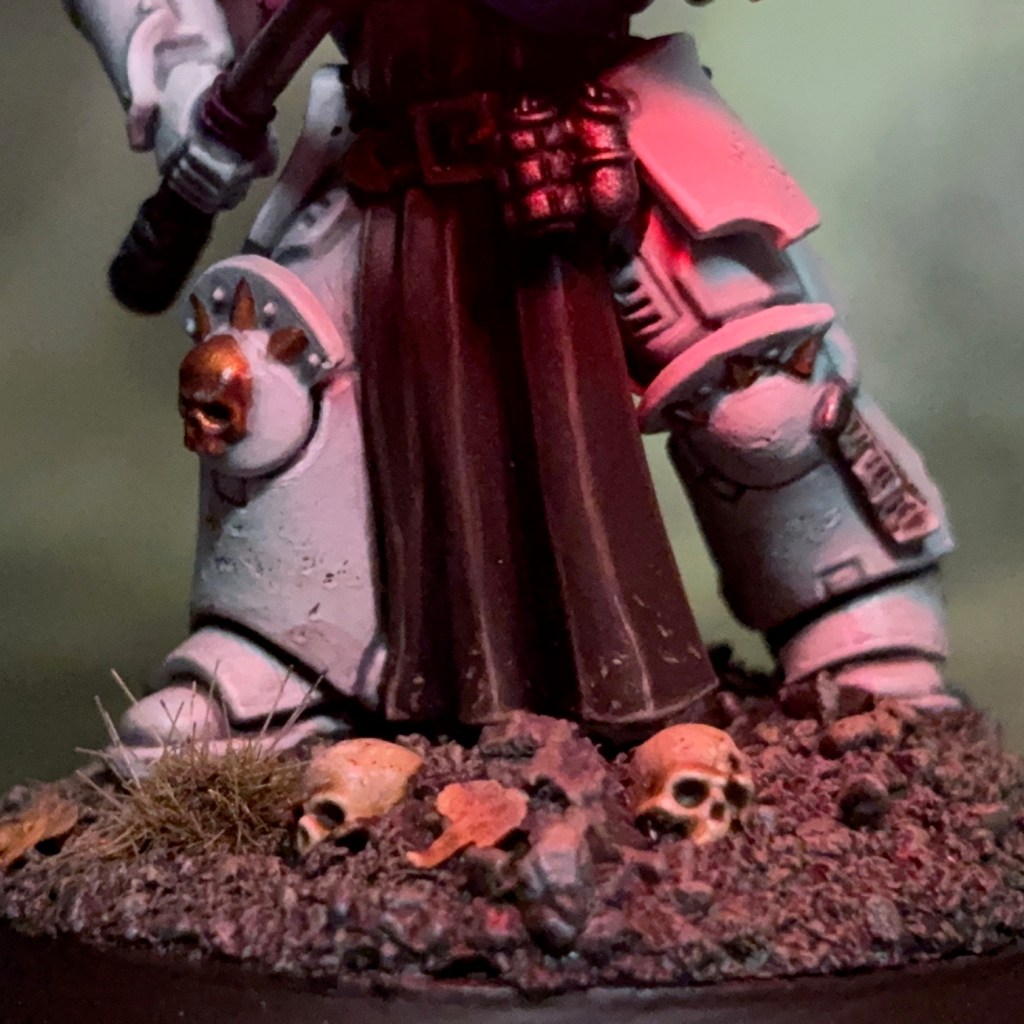
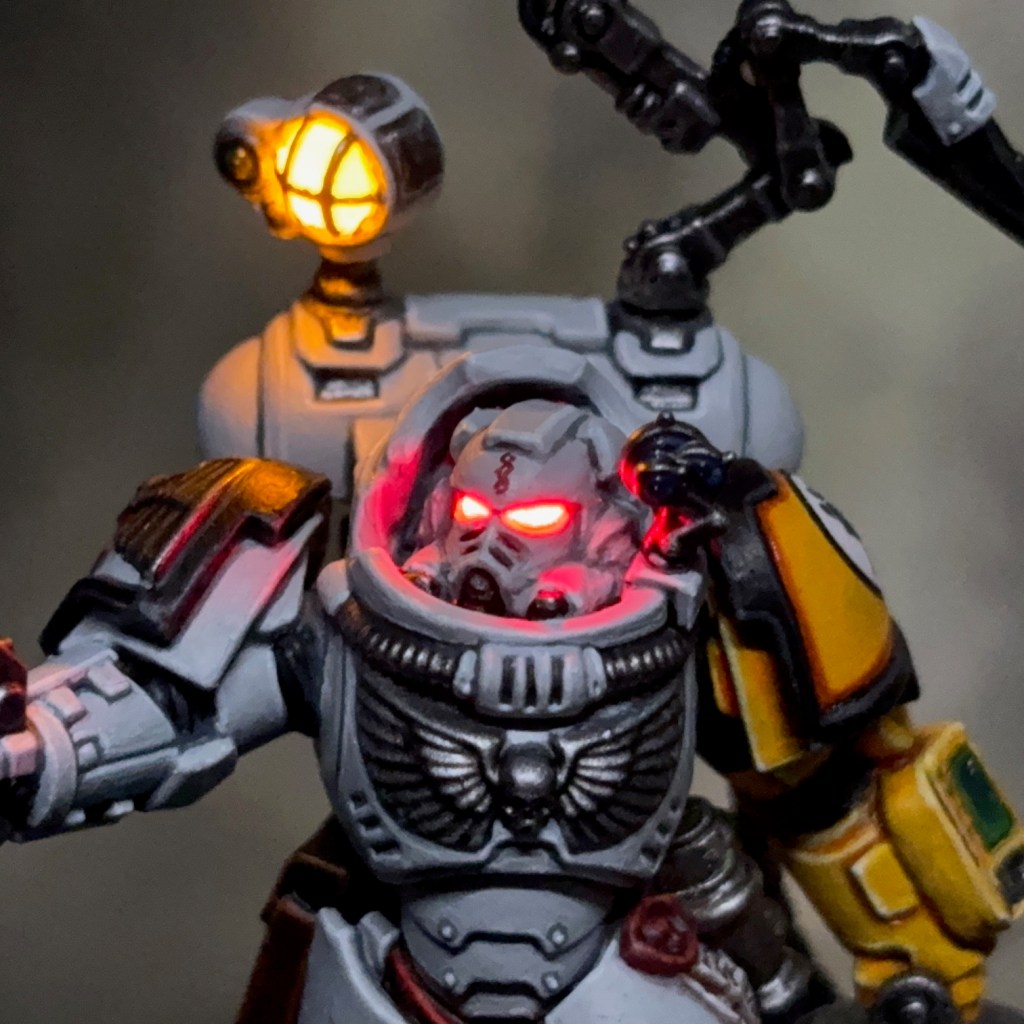
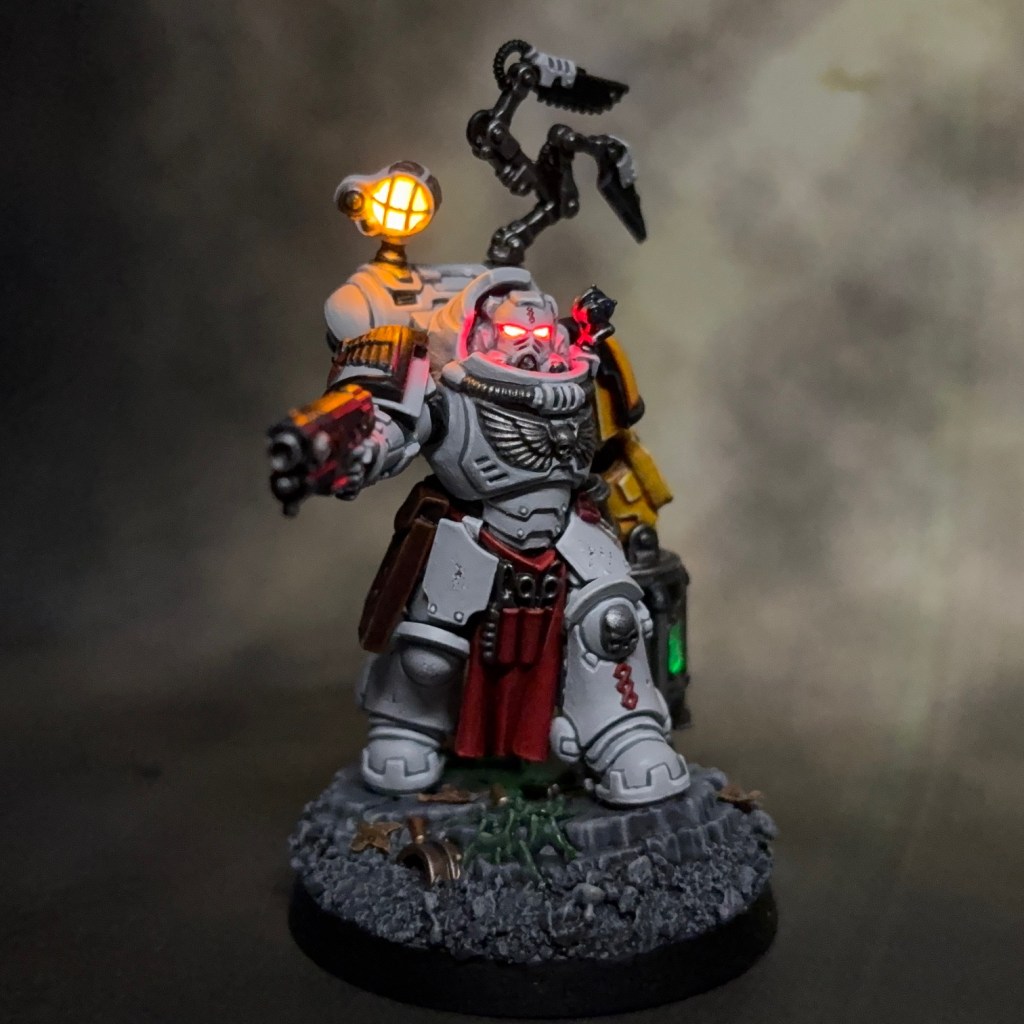
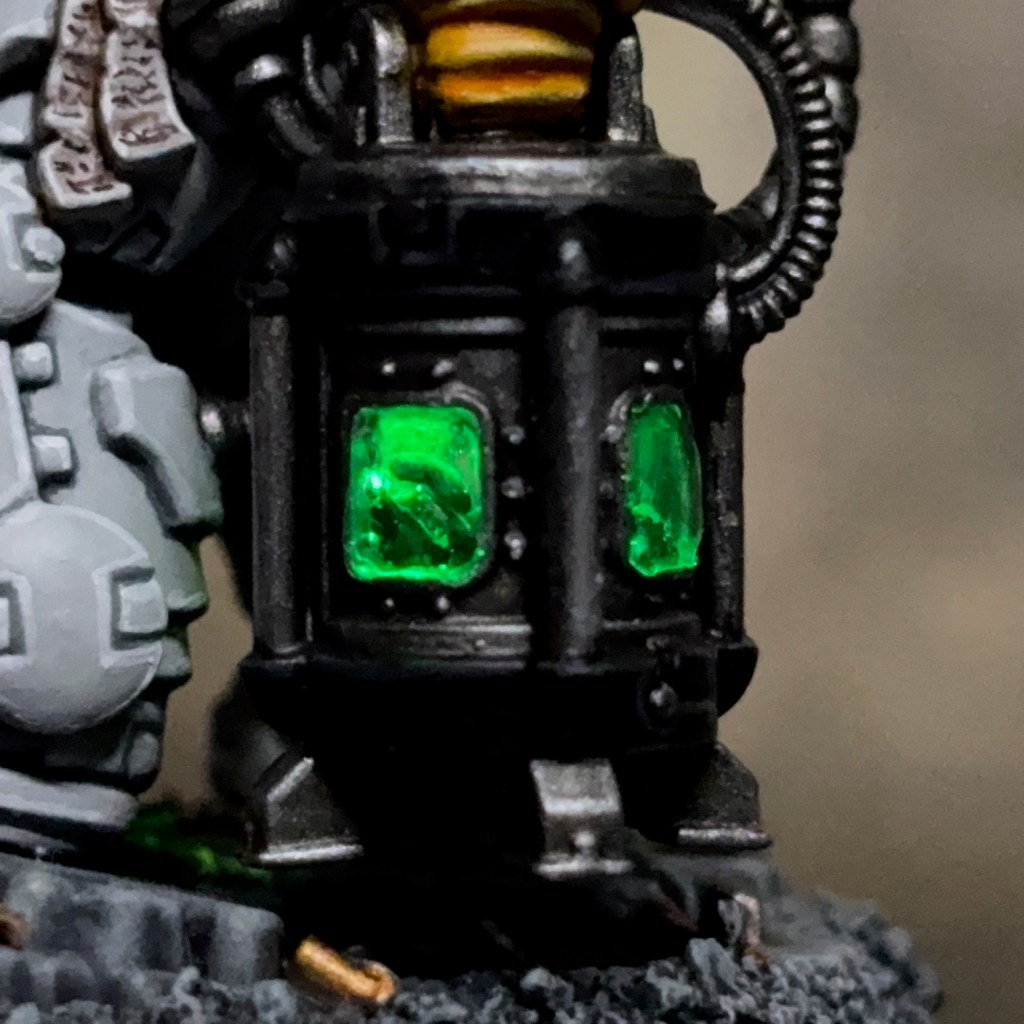
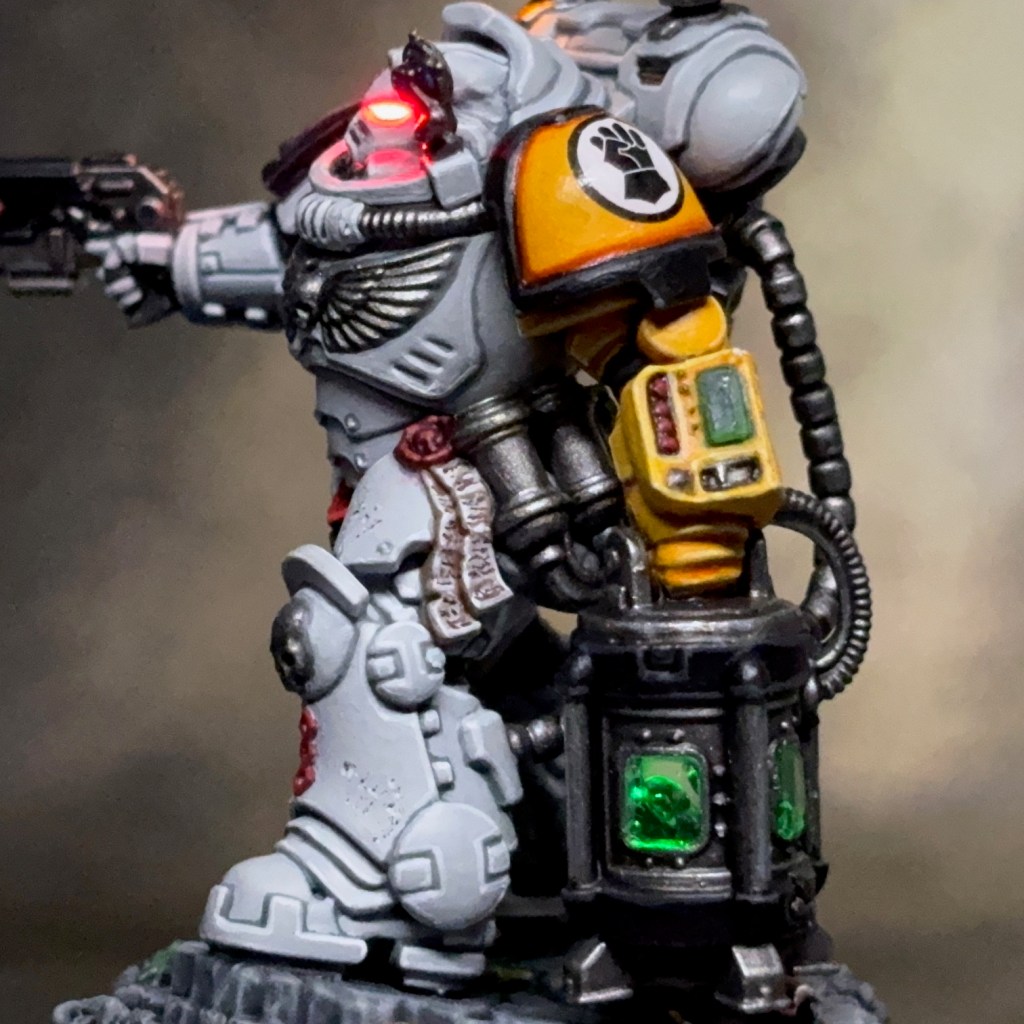
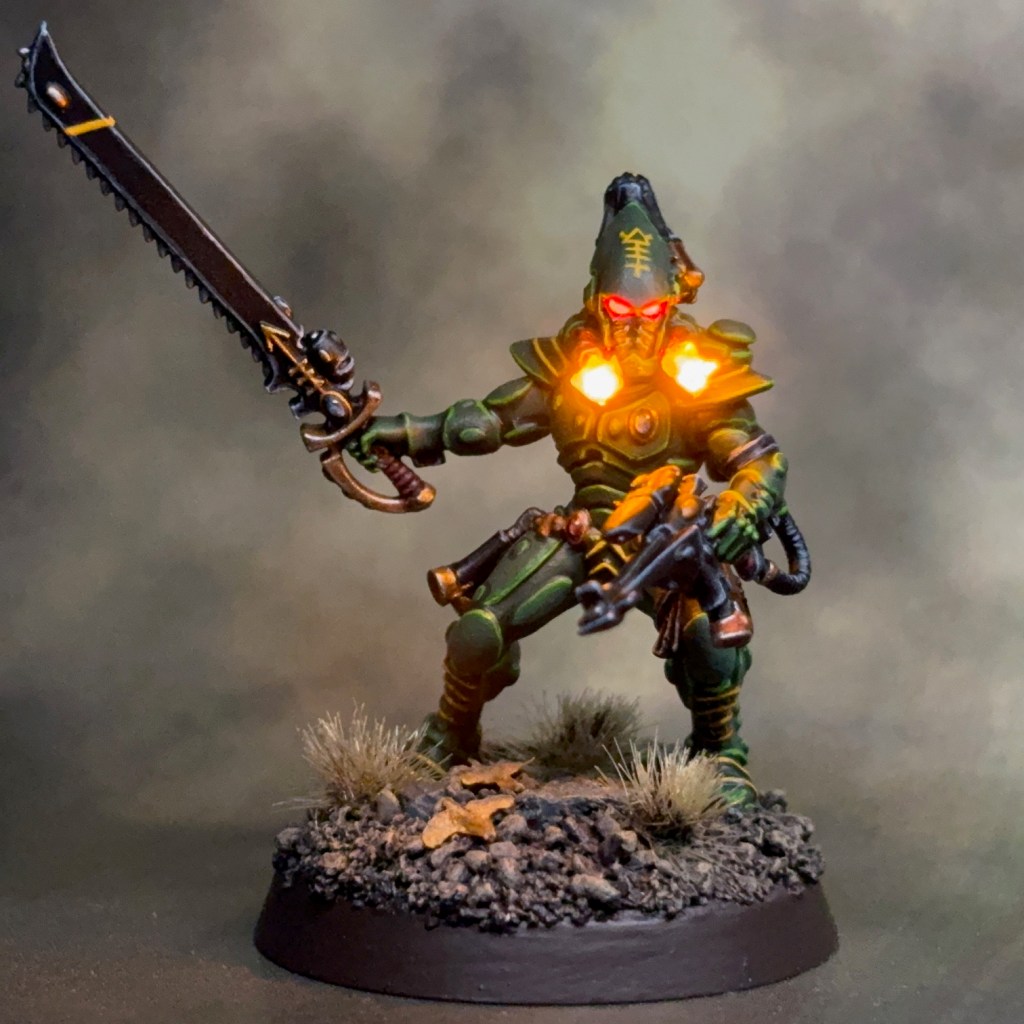
Line Captain Athimar


The Line Captain codenamed ‘Athimar’ was the leader of Kill Team Antimony. In game terms he will counts as a ‘Space Marine Captain’ with power fist and plasma pistol. The original post about this model can be found here.
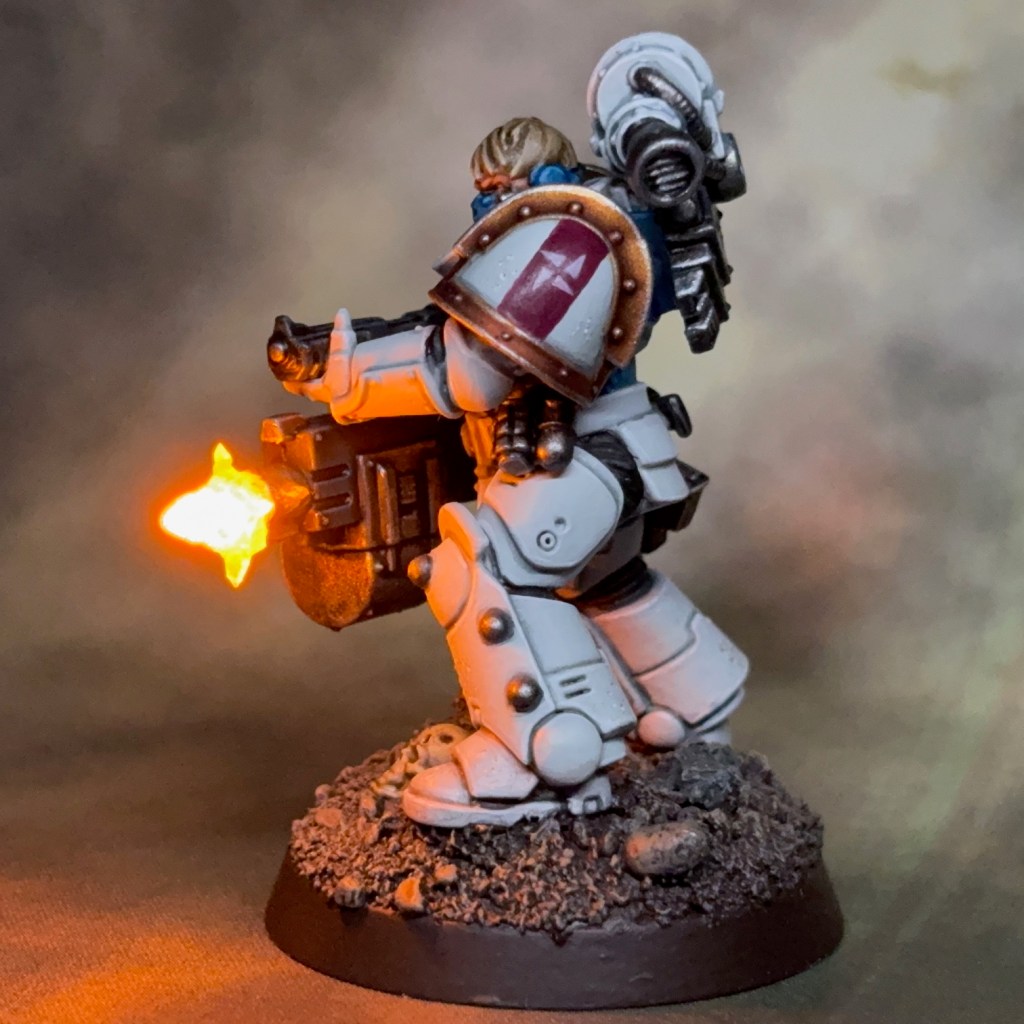
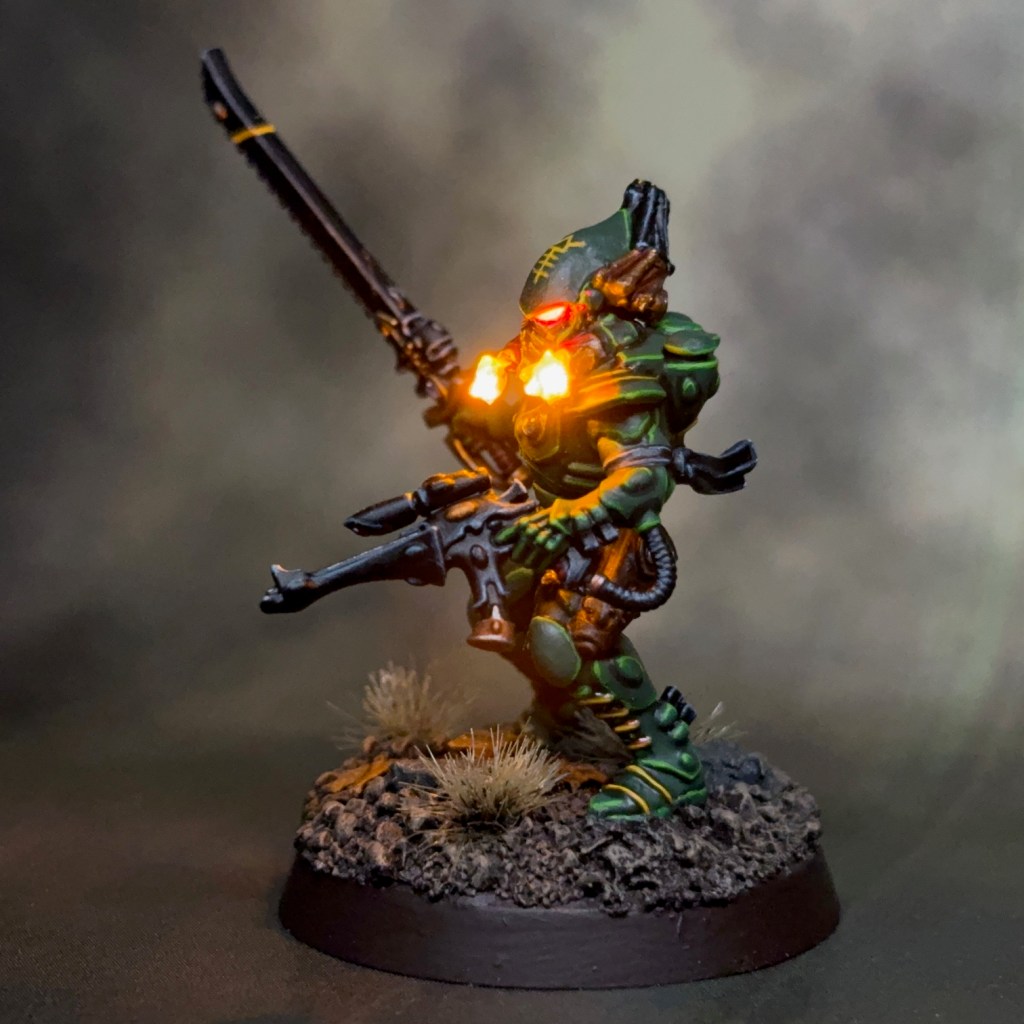
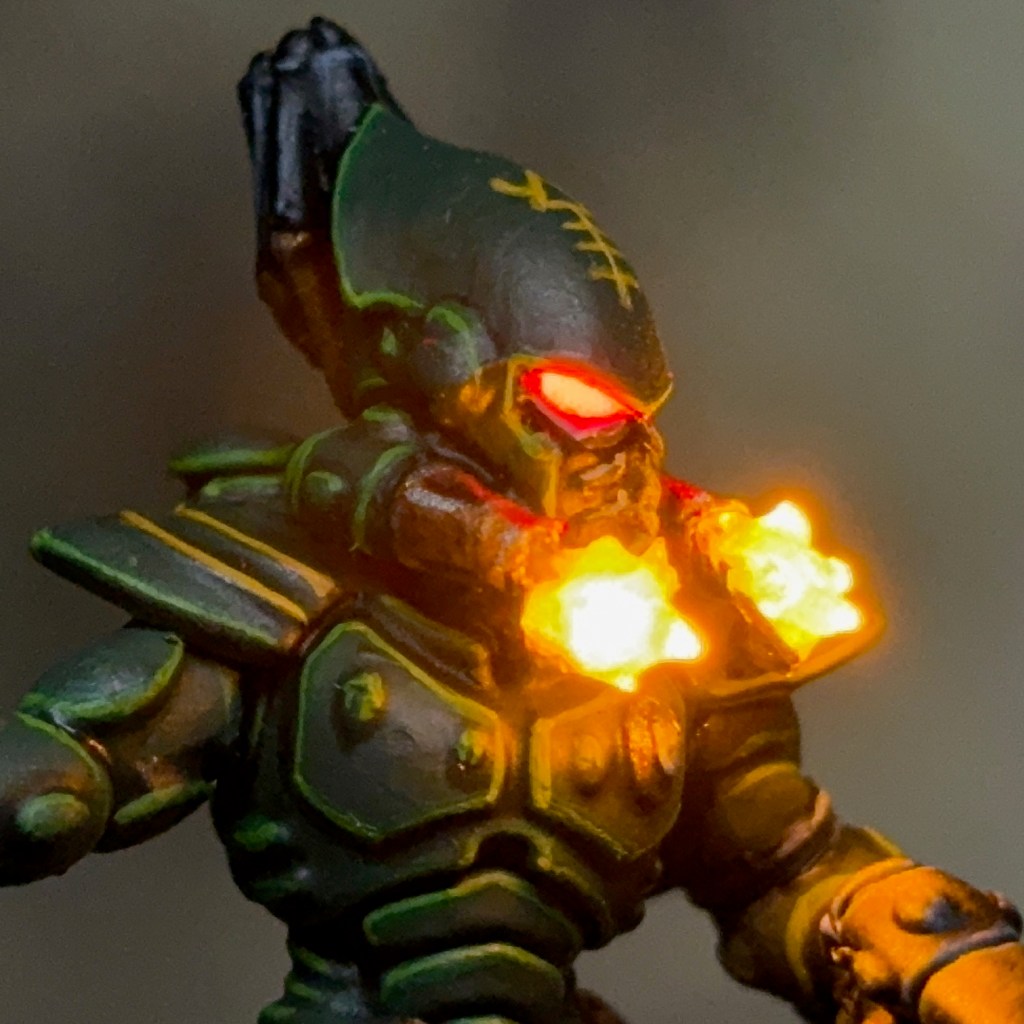
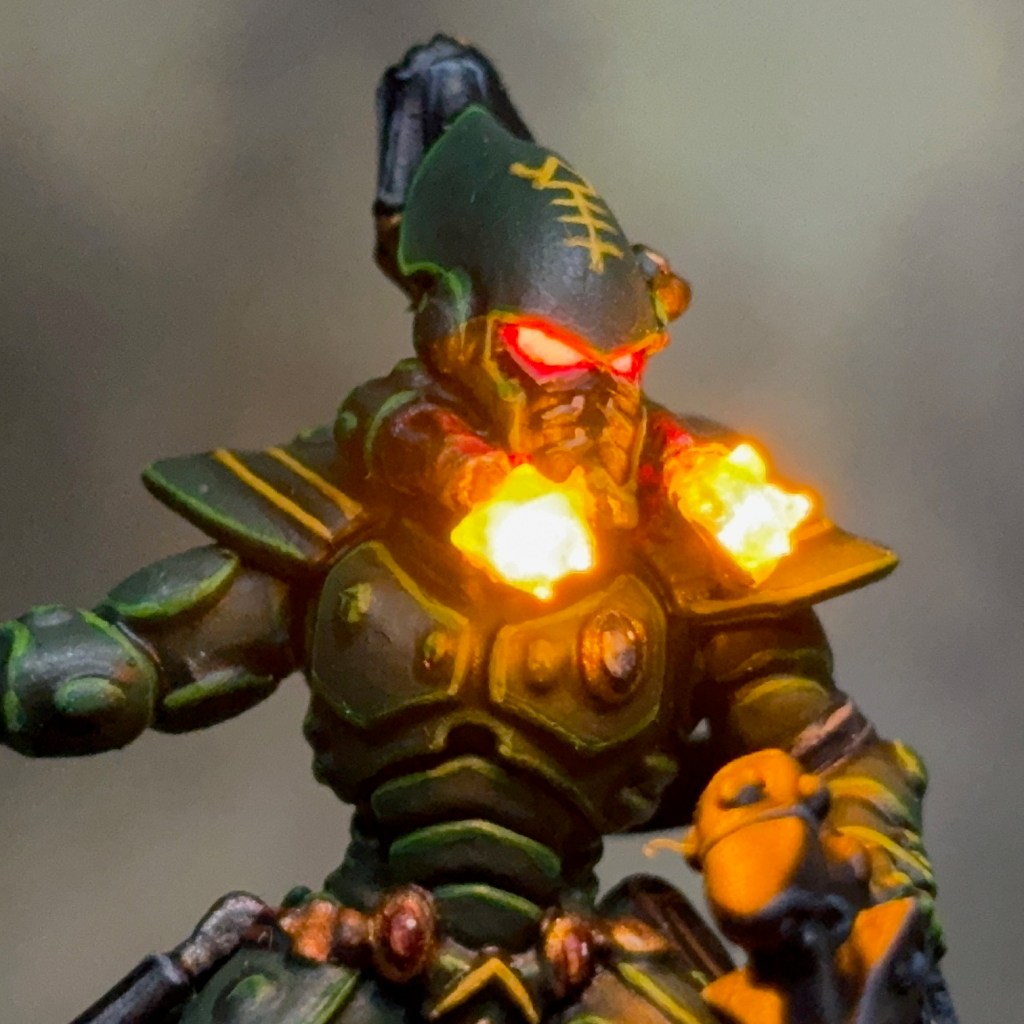
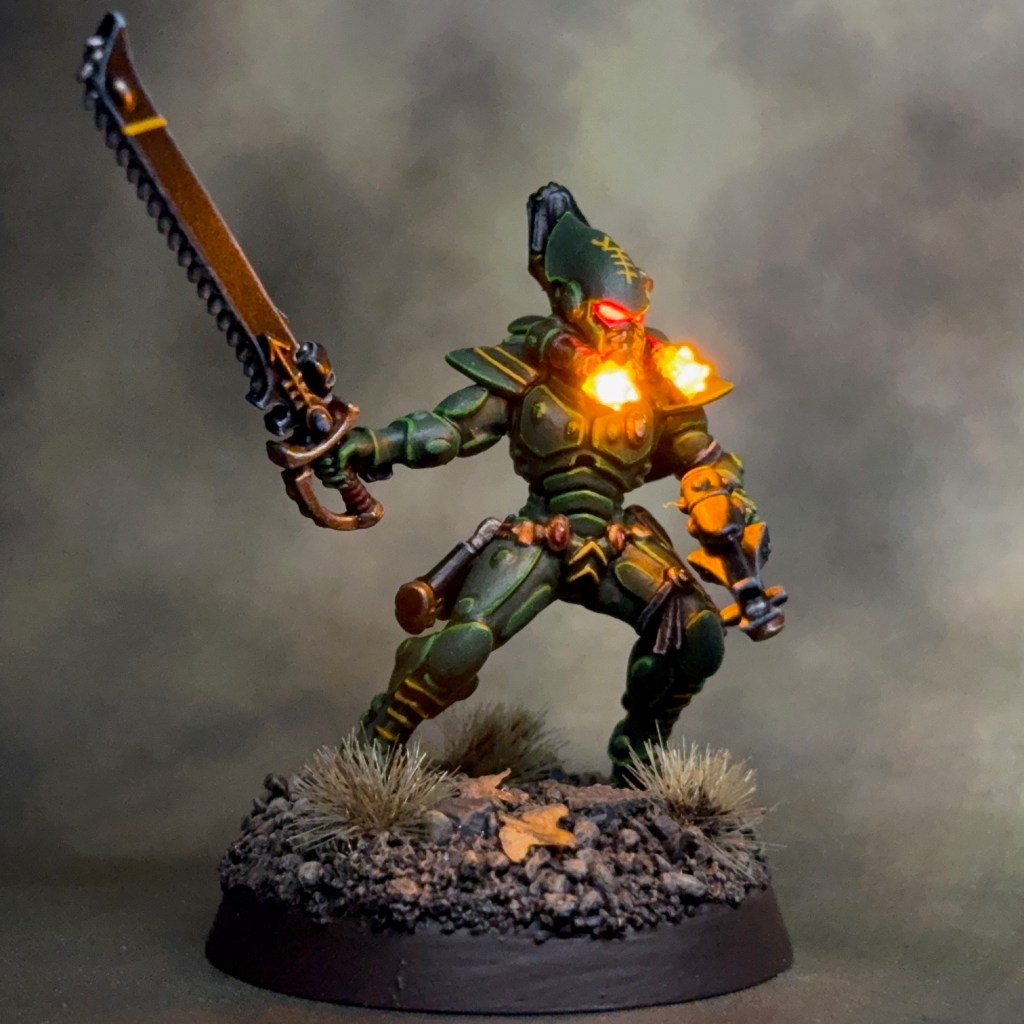
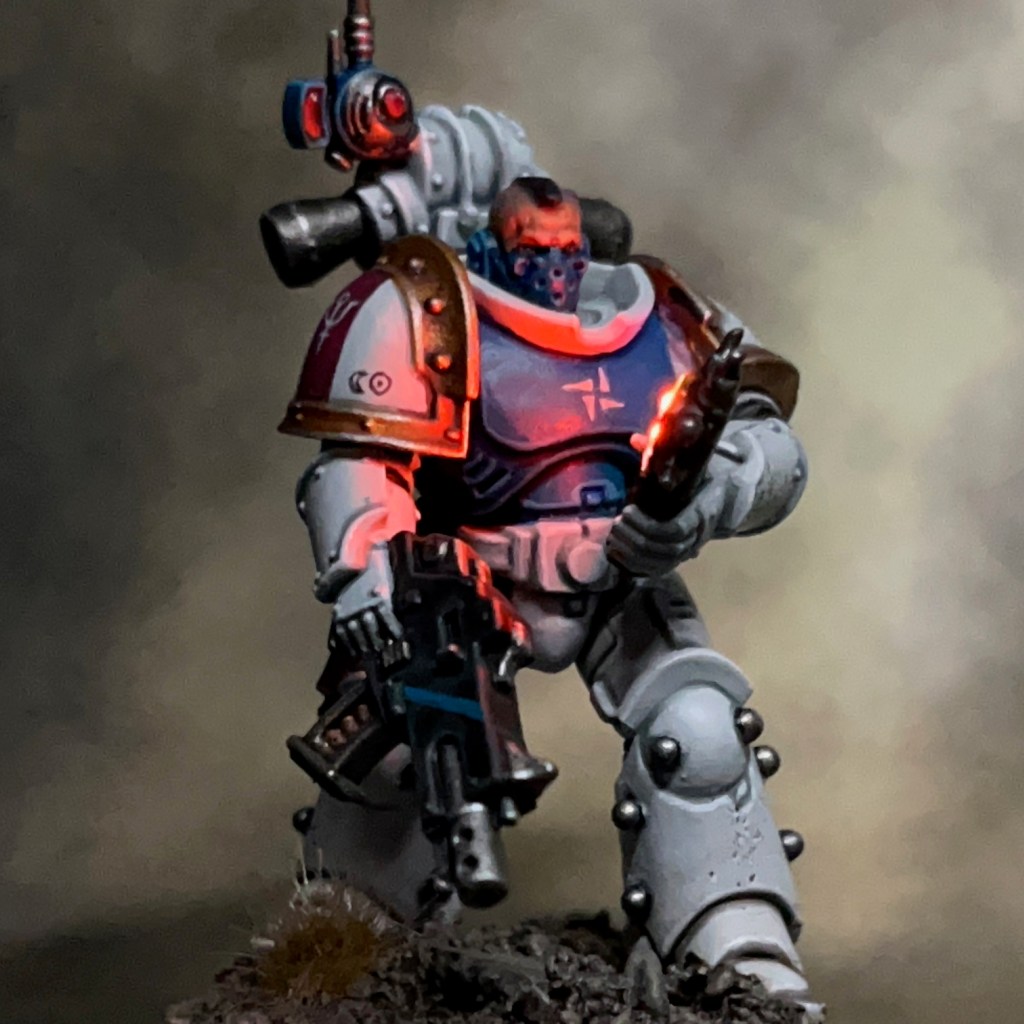
Silver Stars Corporal


This unidentified Corporal was Athimar’s second in command and sometimes led the unit in his absence. This miniatures counts as an ‘Intercessor Sergeant’ with bolt rifle and chainsword. The original post about this model can be found here.
Silver Stars Tactical Legionary


This Tactical Legionary wears armour of mysterious provenance, seemingly incorporating elements of many different marks of power armour. He counts as an ‘Intercessor Warrior’ with bolt rifle. The original post about this model can be found here.
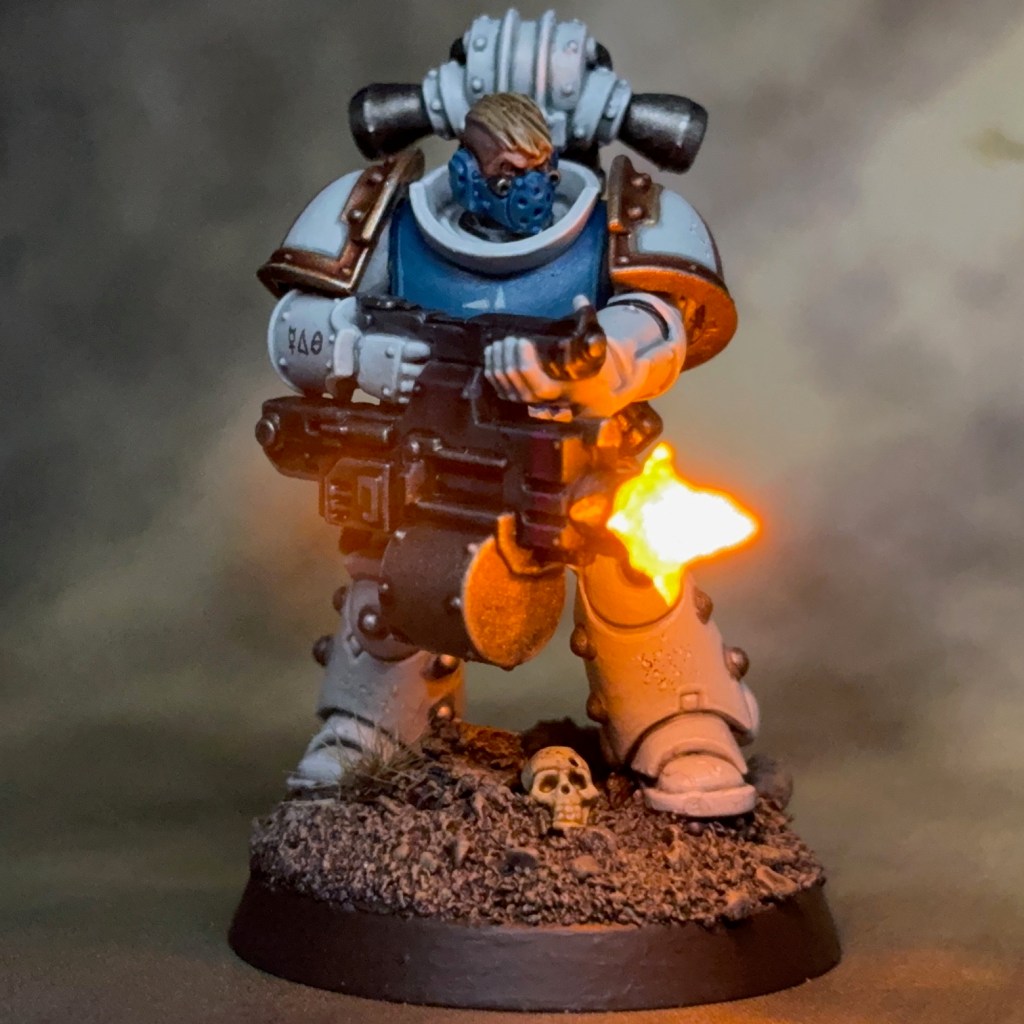
Silver Stars Tactical Legionary


This Tactical Legionary uses a Phobos-pattern bolter with unknown markings, possibly kill signifiers. He counts as an ‘Intercessor Warrior’ with bolt rifle. The original post about this model can be found here.
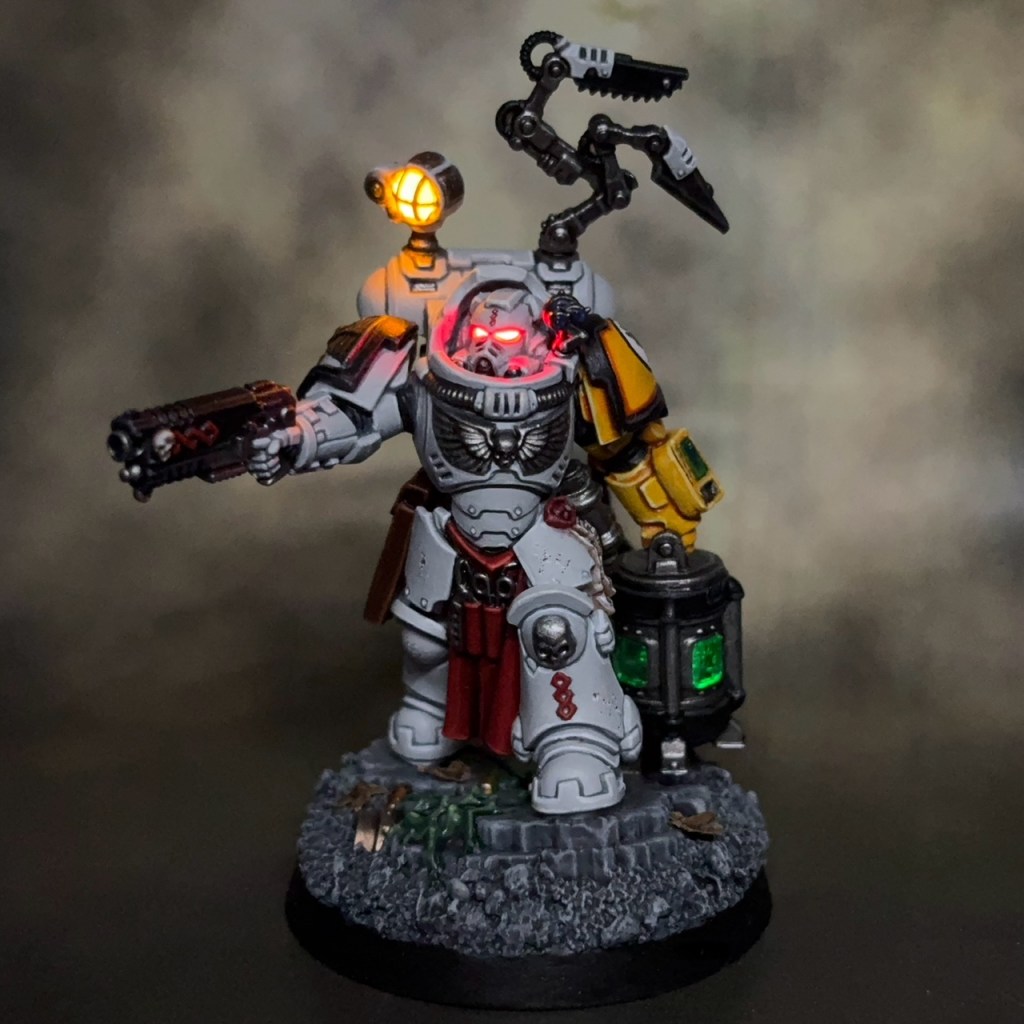
Silver Stars Tactical Legionary with Auspex

This Tactical Legionary carries a variety of equipment that seems to covers both the role of both vox and auspex operator, perhaps making him something of a signals specialist. He counts as an ‘Intercessor Warrior’ with bolt rifle and auspex equipment. The original post about this model can be found here.
Silver Stars Tactical Legionary Marksman
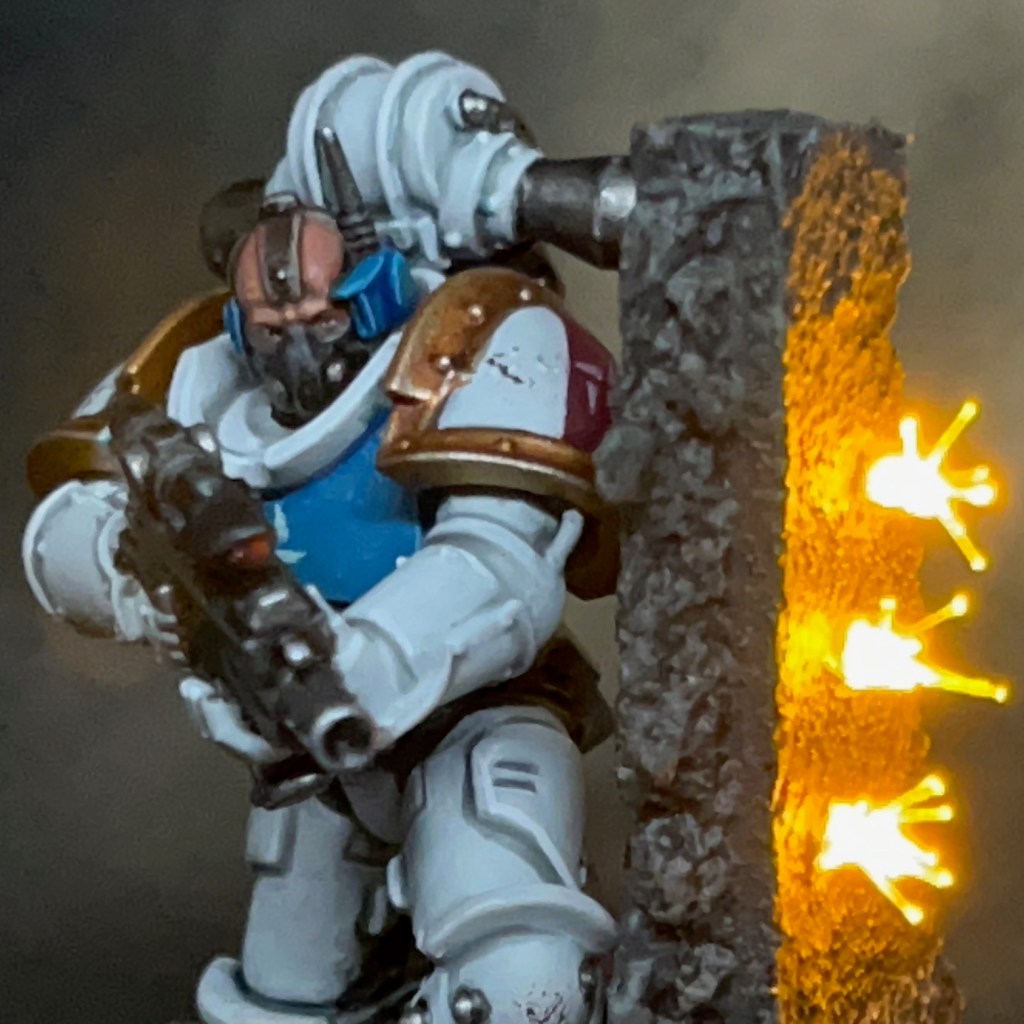
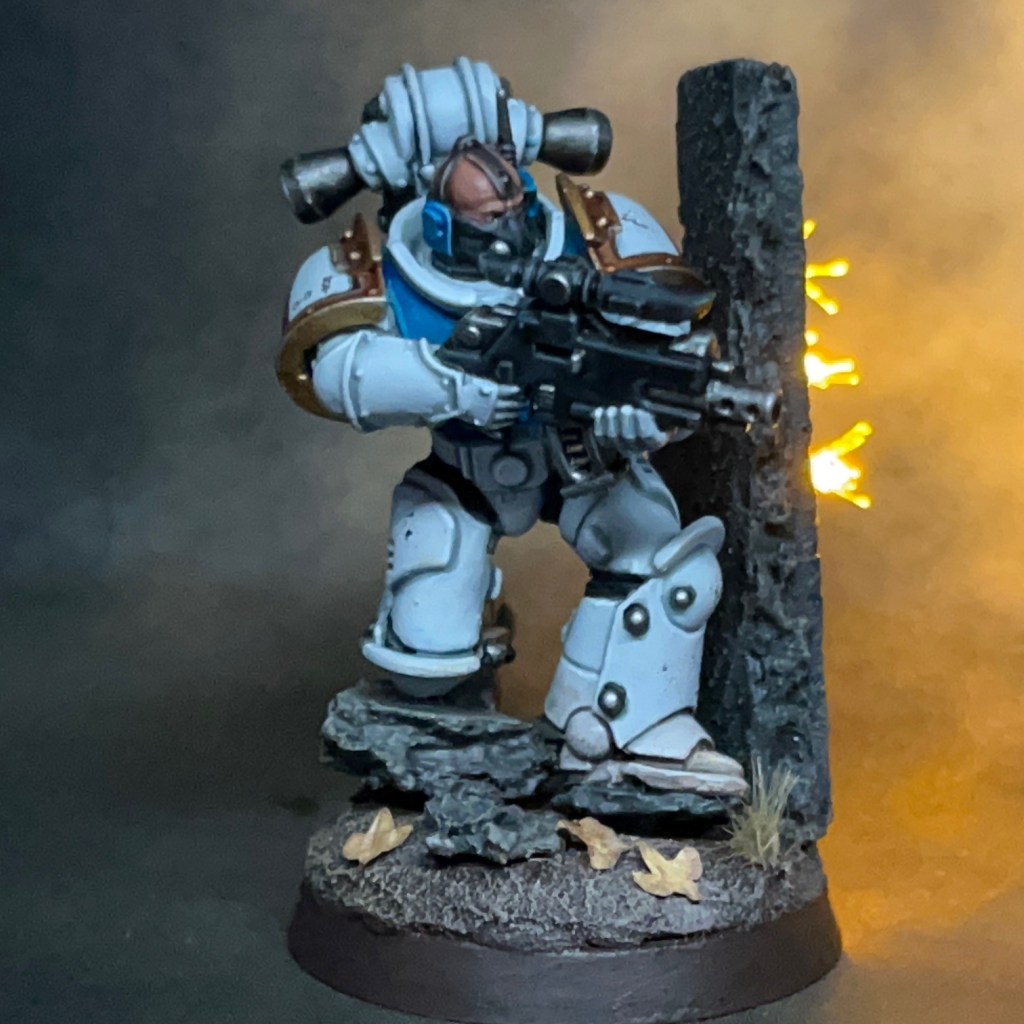
This Tactical Legionary has an optical scope of a type far more advanced than would typically be seen mounted on this pattern of bolter. He counts as an ‘Intercessor Warrior’ with stalker bolt rifle. The original post about this model can be found here.
Silver Stars Heavy Gunner


This Tactical Legionary carries a Voss-Incarnadine pattern heavy bolter. The built-in suspensors make it comparatively easy for use in long duration deployments. This miniature counts as a ‘Heavy Intercessor Gunner’ with heavy bolter. The original post about this model can be found here.

It feels good to wrap up this project and complete ones of my hobby goals for 2025. I think I’ve thoroughly scratched the Silver Stars “creative itch”. Now it’s on to the next project! As always, thanks very much for reading, and please remember you can also find me sharing my work on Instagram, Threads, Bluesky and Mastodon. Or if you prefer you can subscribe to my website by entering your email in the box below to receive updates whenever I post a new blog article or tutorial.