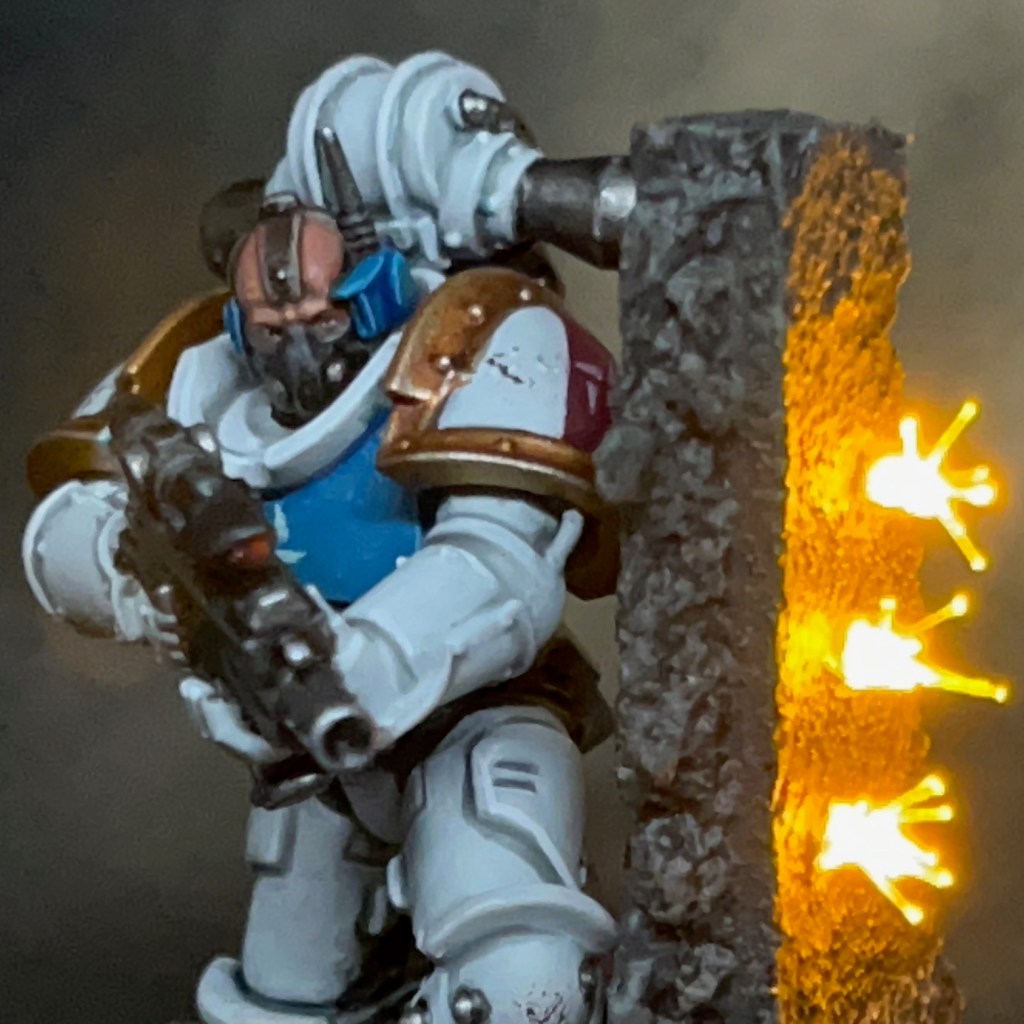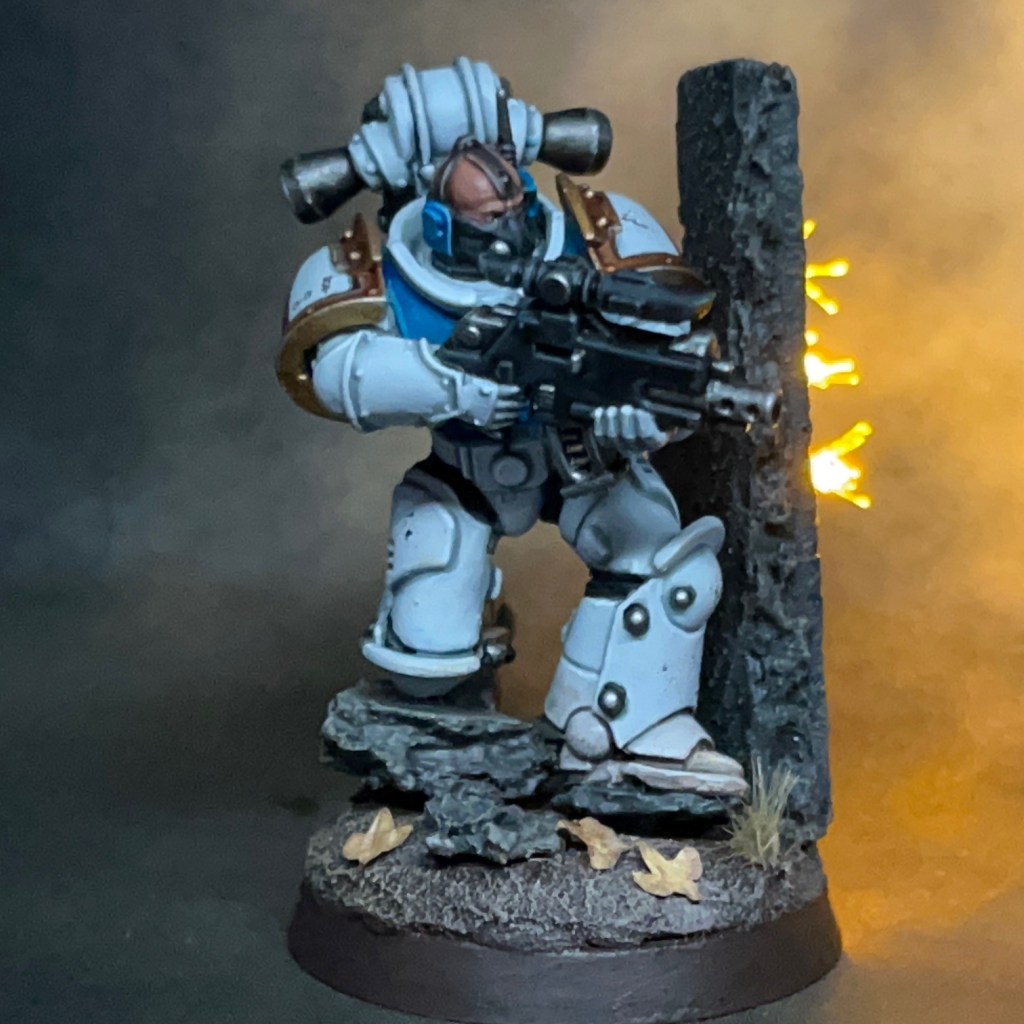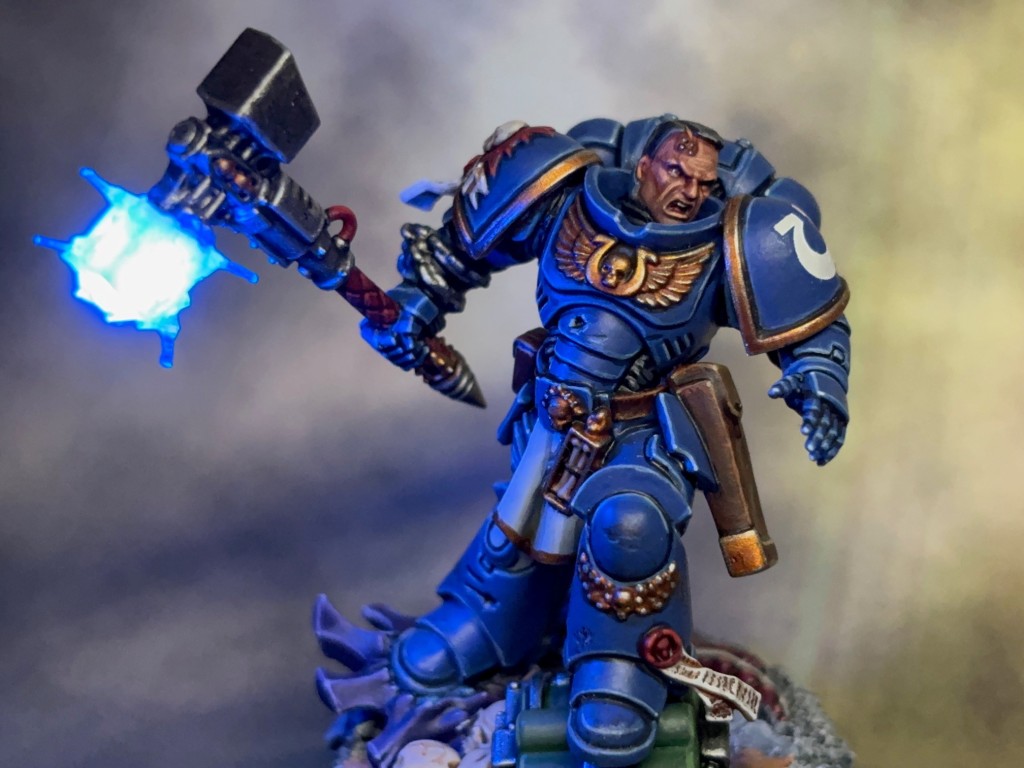
Courage and honour! I’m kicking off 2025 with Demetrian Titus, Lieutenant of the Ultramarines 2nd Company and protagonist of the ‘Space Marine 2’ video game. While I don’t collect Ultramarines, I do have a soft spot for the chapter and have spent a lot of time playing Space Marine 2 recently. So when Titus was released as an individual miniature in Warhammer stores in December, I snapped him up immediately!


Modelling
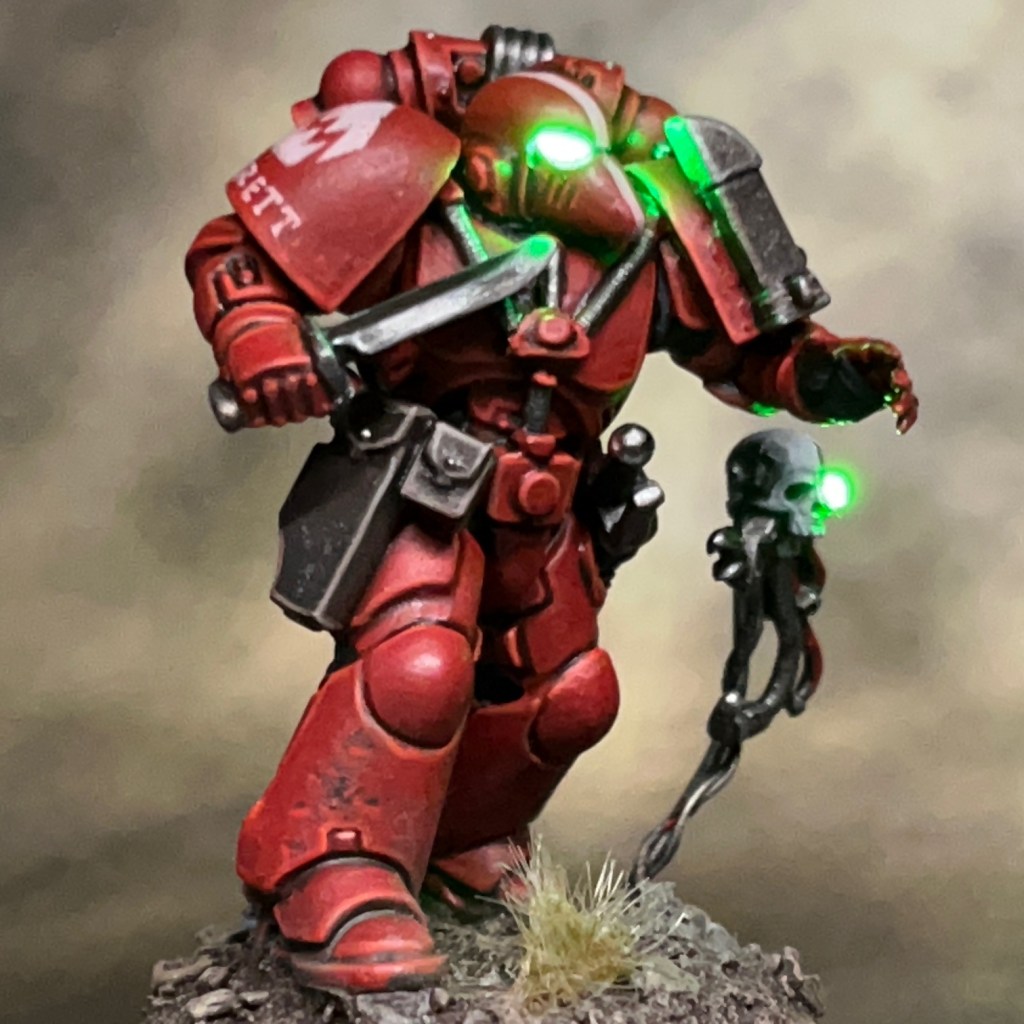
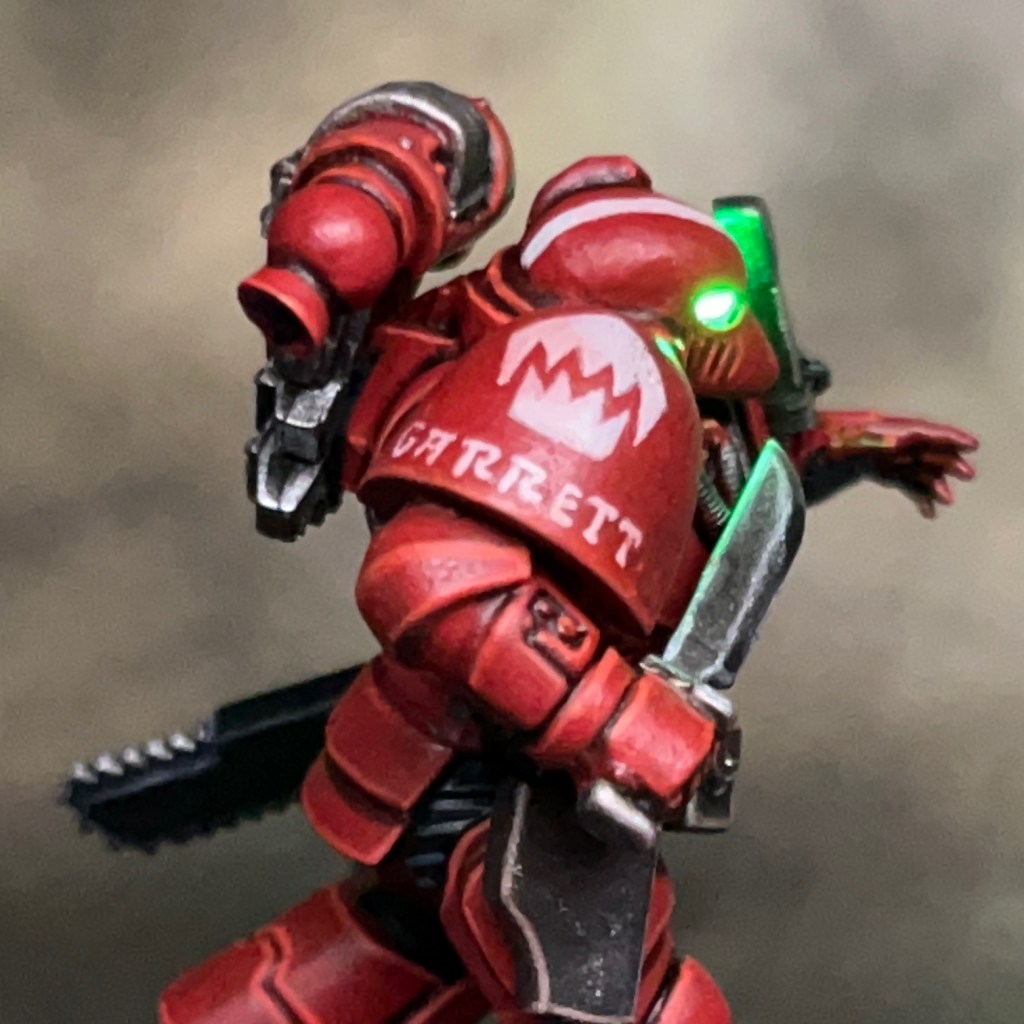
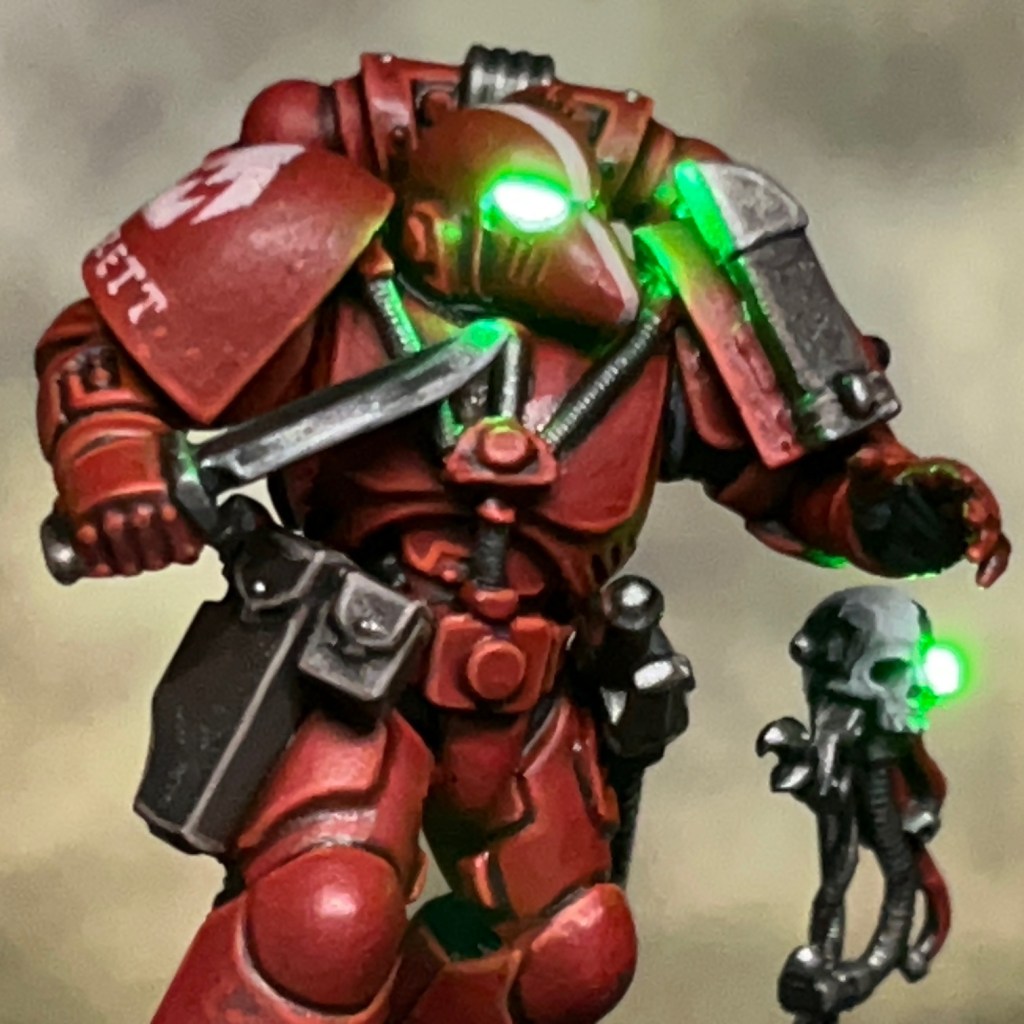
If you’re familiar with this miniature, then you’ll notice that my version is significantly different from the base model. I wanted to swap the chainsword for a thunder hammer, which was my favourite melee weapon in the single player campaign. I didn’t want to do a straight swap with the chainsword as having Titus posed waving the thunder hammer above his head one-handed didn’t feel like it had the necessary gravitas, so I decided to mix things up and repose the miniature. The new pose is influenced by both the Weta Workshop statue and the life-size Titus statue in the Warhammer World entrance hall.


Forging the LED Thunder Hammer
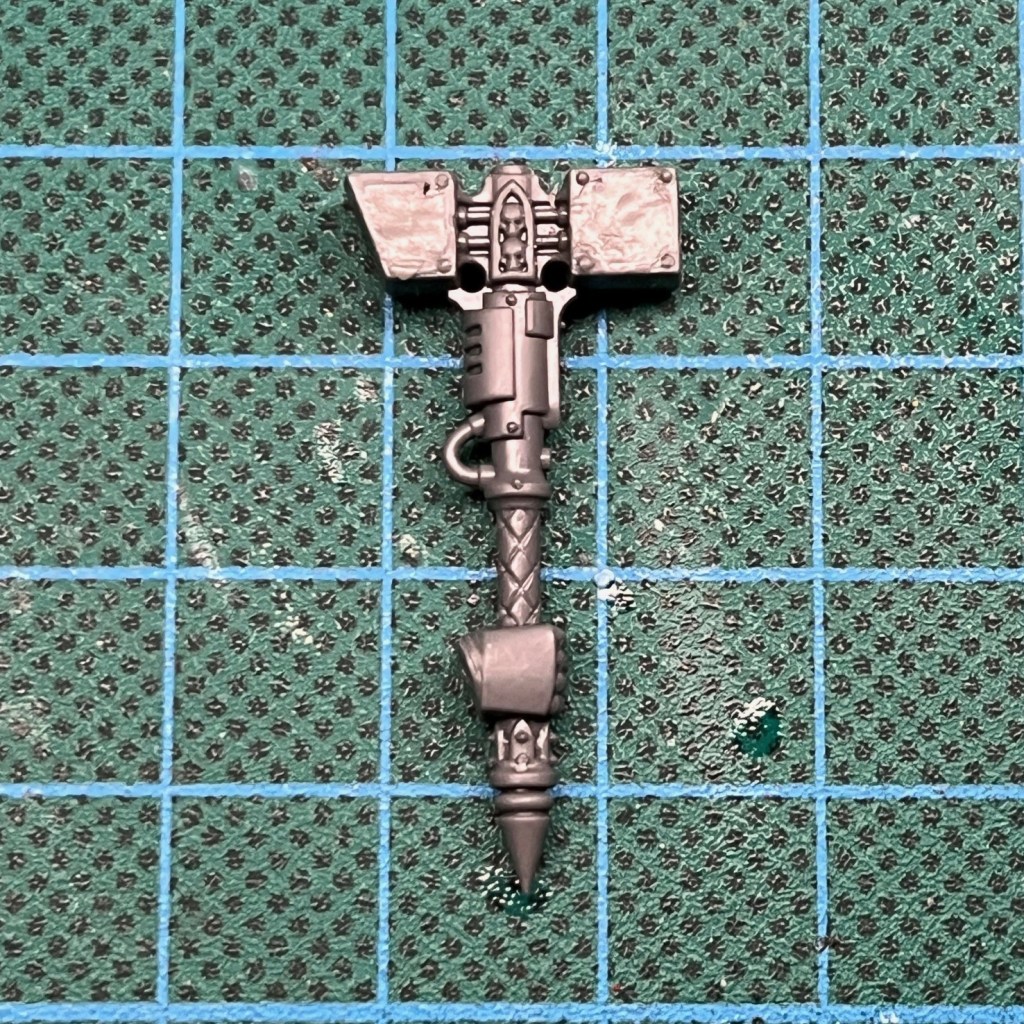
1. This miniature uses a single-handed thunder hammer. This particular one is from the discontinued Dark Angels Terminator set as I happened to have in my bits box, but any single-handed thunder hammer will do. The first step was to prepare the hammer by drilling holes for the wires. I made cuts at joints between different textures (e.g. the top of the grip and the shaft) as these are easier to hide when reassembling. Cutting the hammer into smaller sections makes drilling holes for the wires easier.
The head of the hammer was cast in polyurethane resin, using the techniques in my Resin Casting Tutorial. This is to allow diffusion and transmission of the LED light.
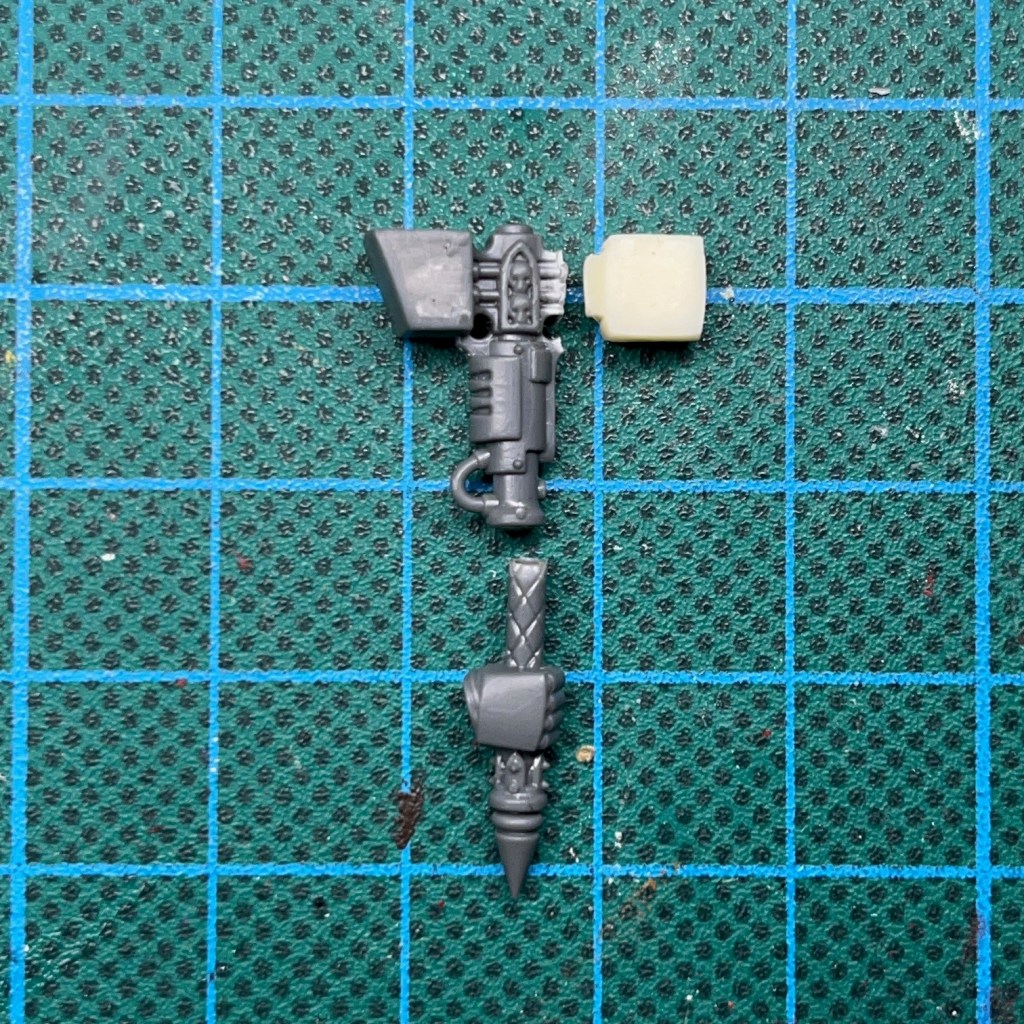
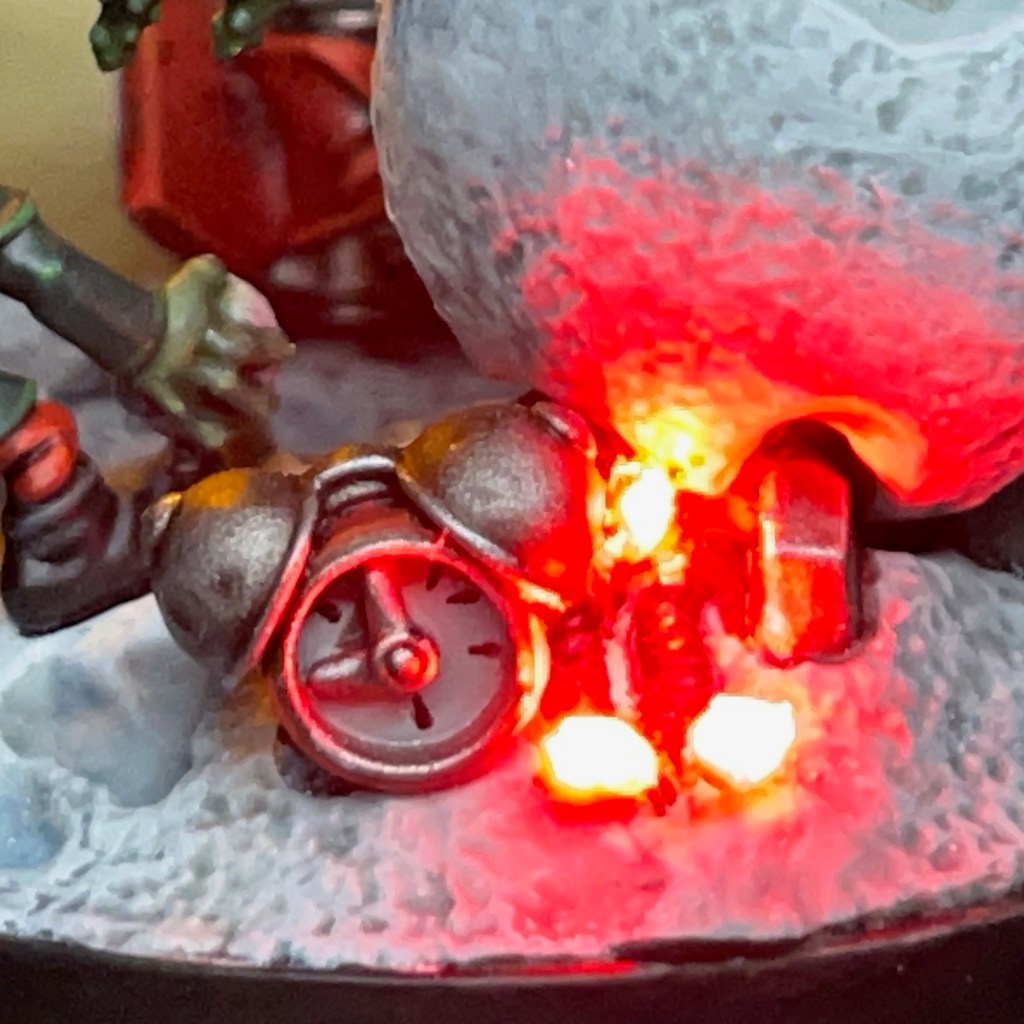
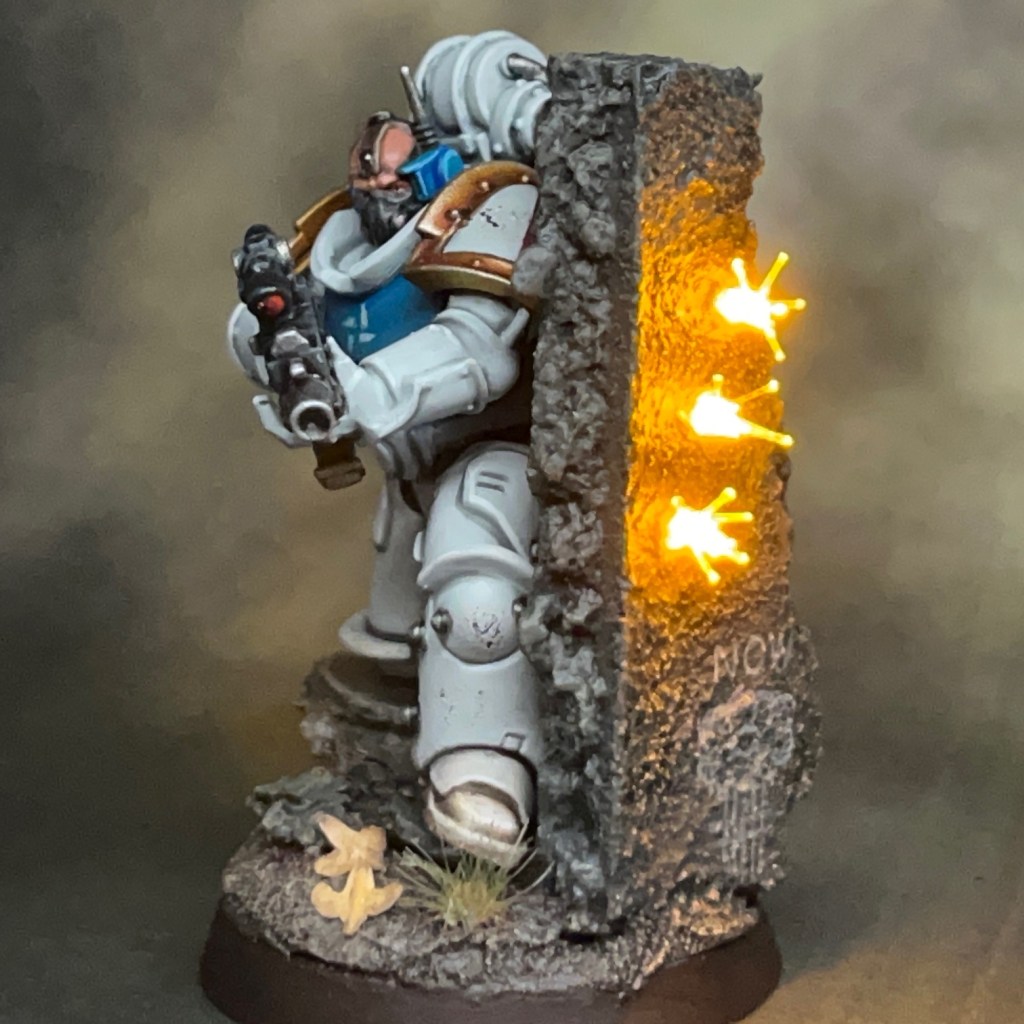
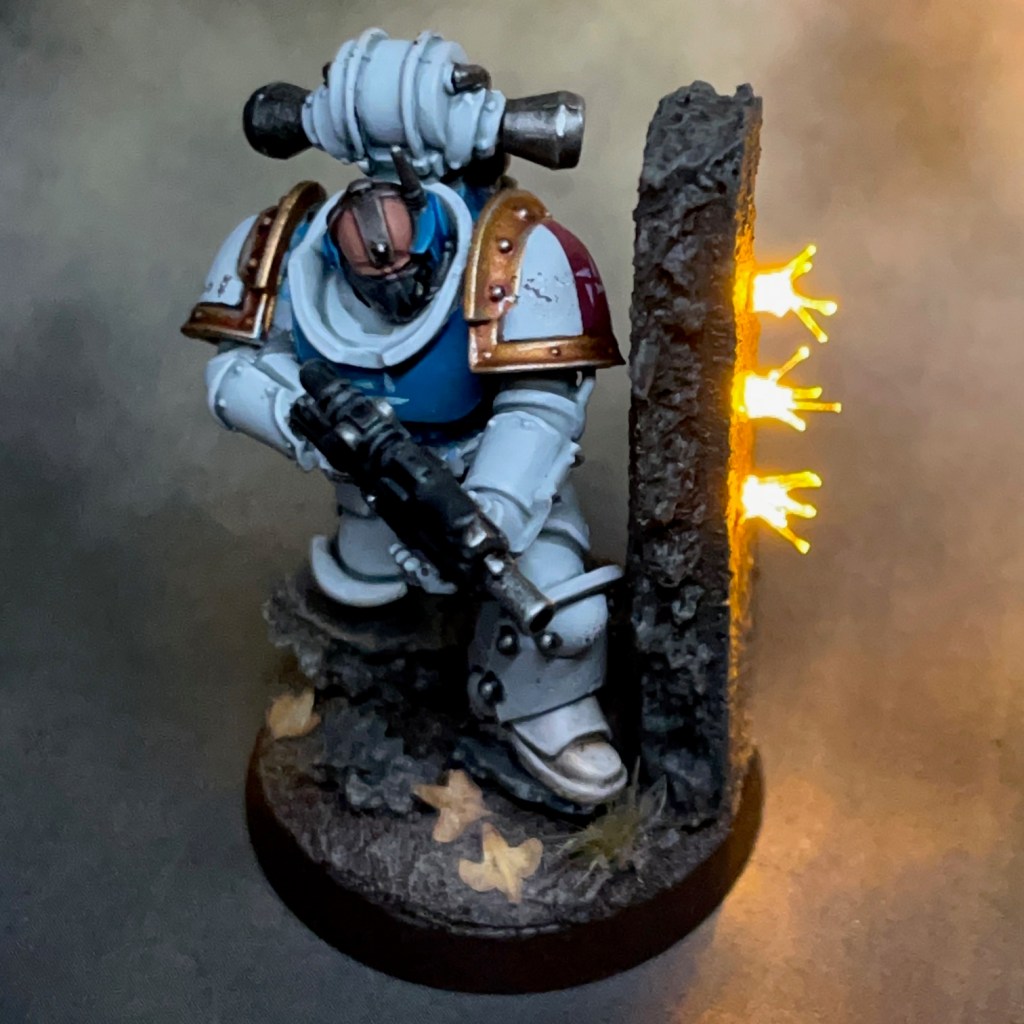
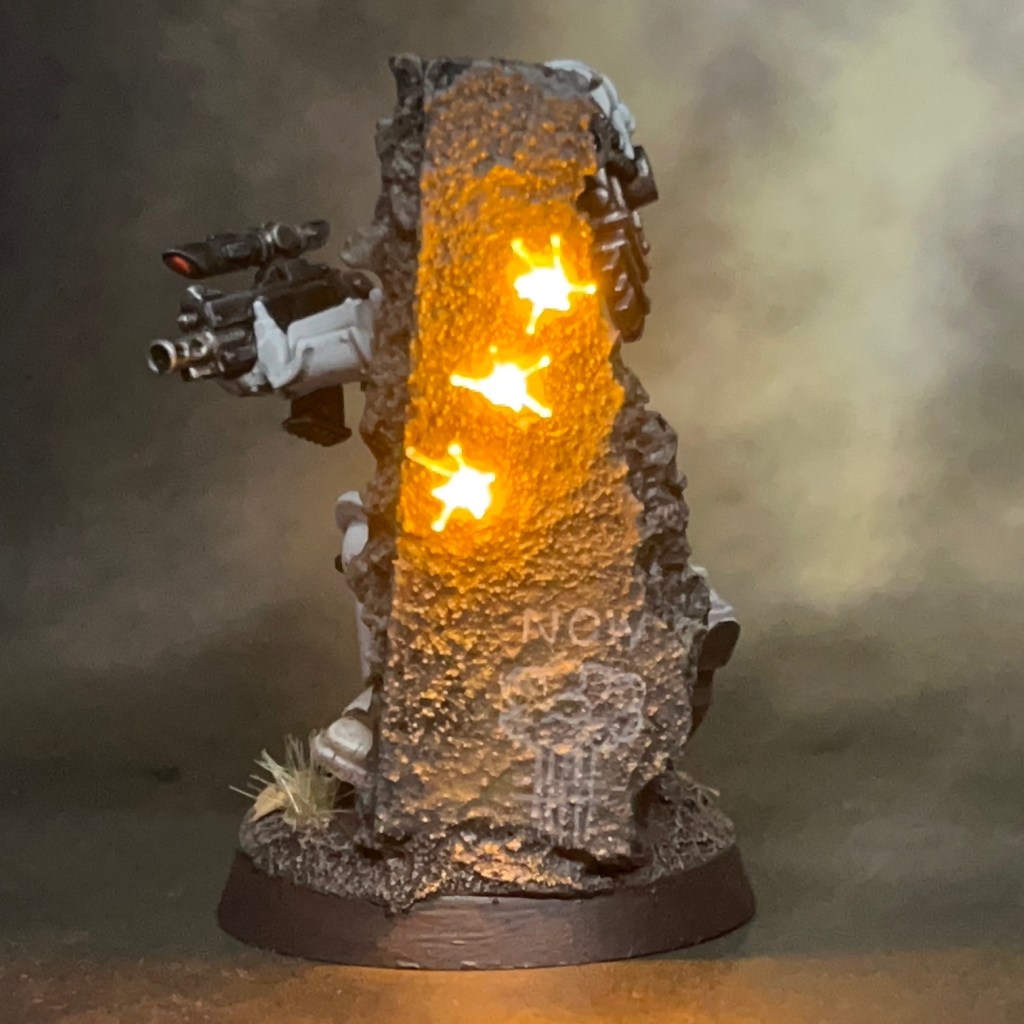
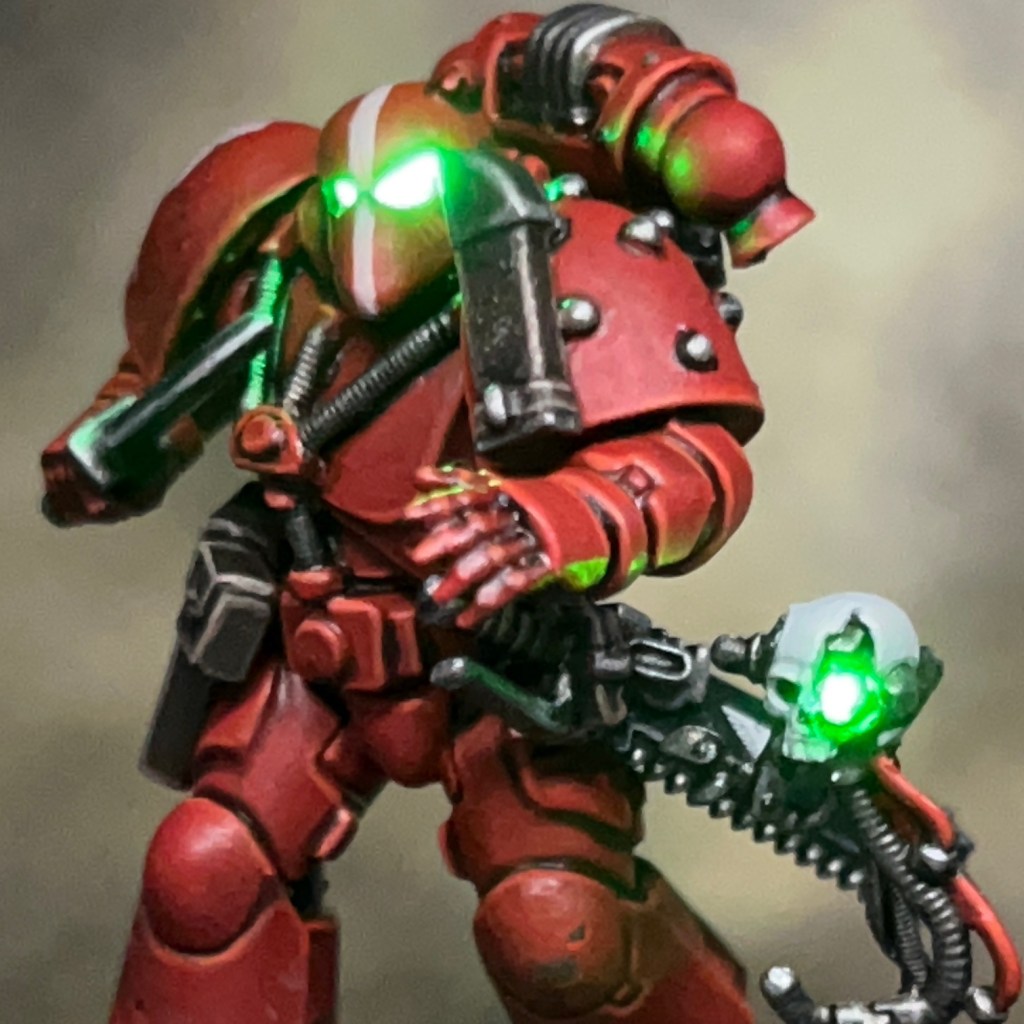
2. I used a 1.8mm Tru Opto Blue LED to create the blue glow in the thunder hammer. The LED is connected by thin wires that run down through the thunder hammer (as seen below), Titus’ right arm, torso and leg to a 10 ohm resistor and 3V coin cell battery in the base (see my LED Eye Lens Tutorial for more details on how to do this).
To insert the LED into the resin hammer head you will need to drill a hole in the resin. It’s worth noting that the “1.8mm” in the LED’s name refers to its standard directivity, i.e. the radius over which the light is emitted, rather than it’s physical size. I recommend a 3.5mm drill bit for drilling a suitably sized hole in the resin. Once the LED is fully inserted, you can reassemble all parts of the hammer. Any gaps can be filled with modelling putty.


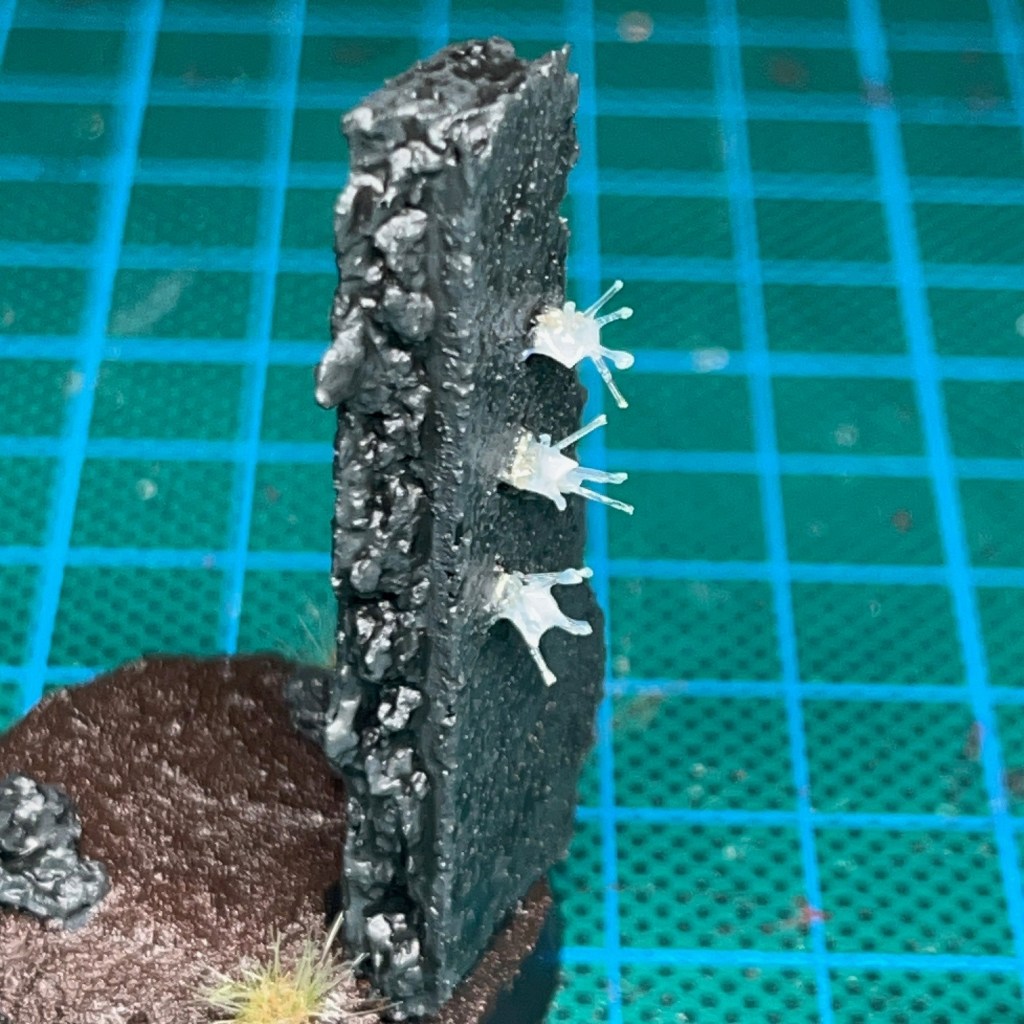
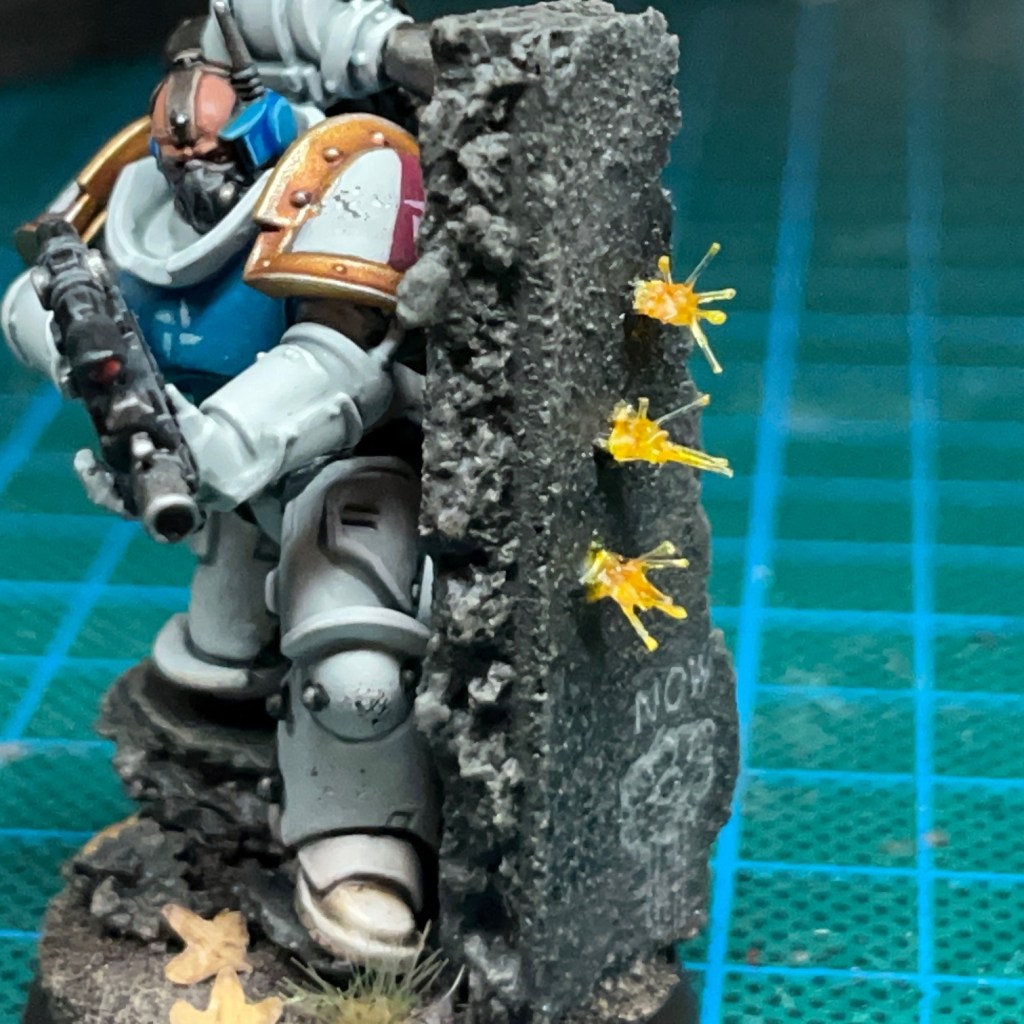
3. I added Water Splash Effect Gel, available from Green Stuff World, in narrow lines over the resin to create the crackling energy effect. This gel is best applied in thin layers, allowing each layer to dry before applying the next.
Once all the gel is completely dry, the final step is to apply a single thin glaze of blue paint over all the resin and gel. As long as this is suitably thin it will enhance the look of the miniature while the LED is off without inhibiting the light of the LED.


Getting A-head on Helmets
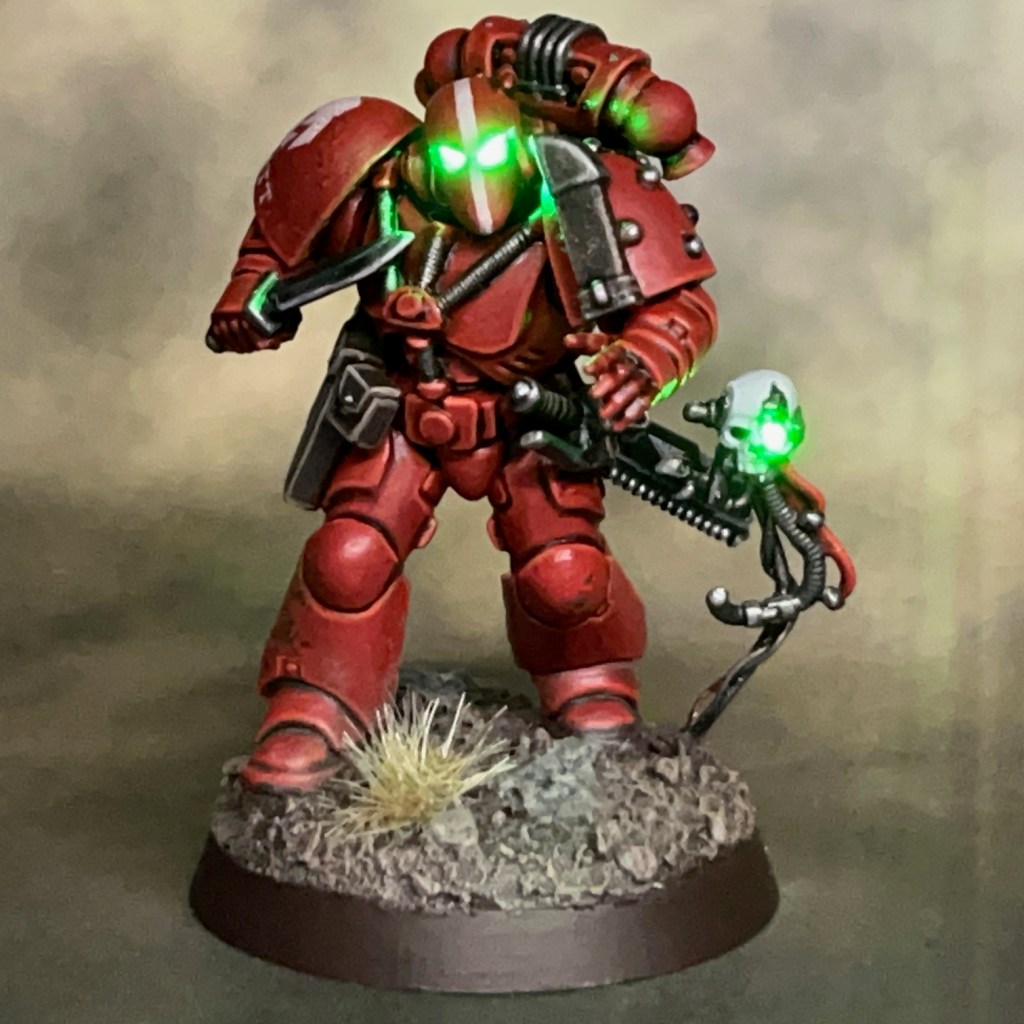
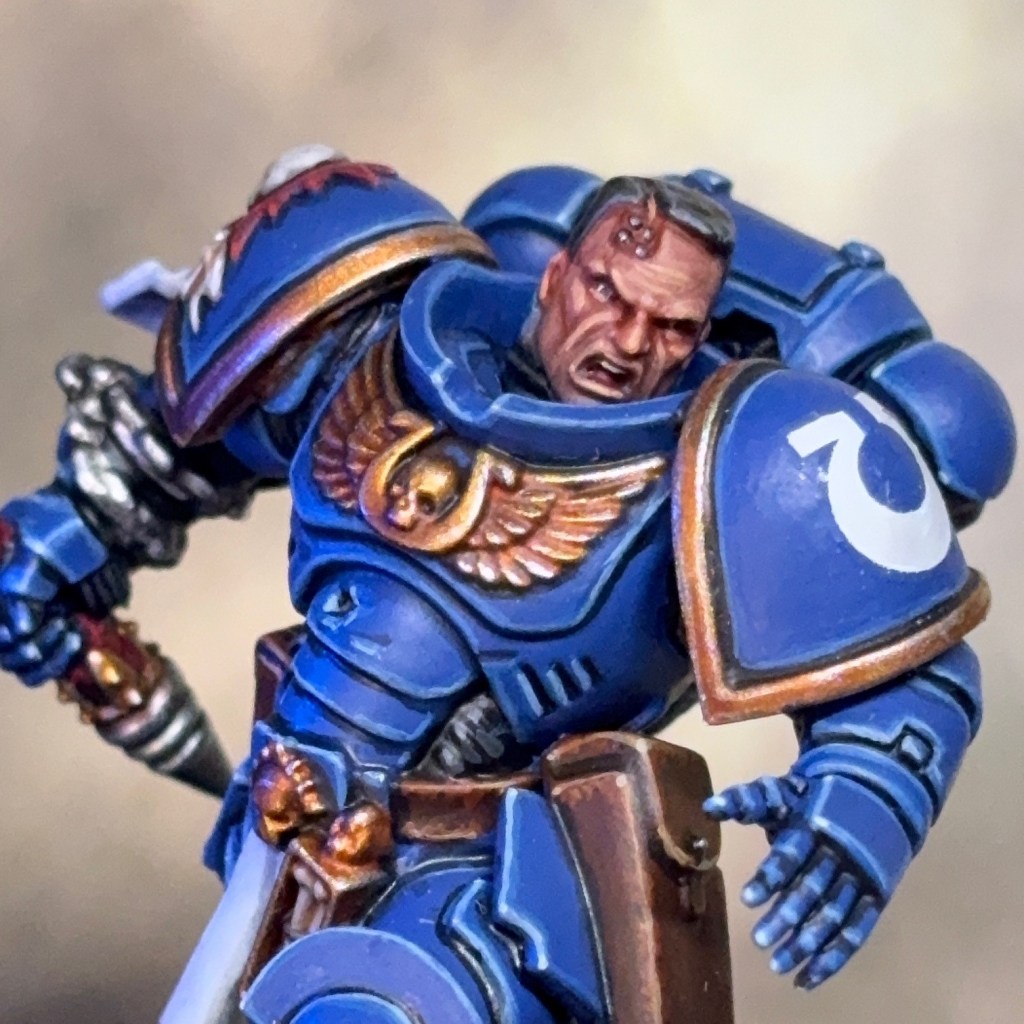
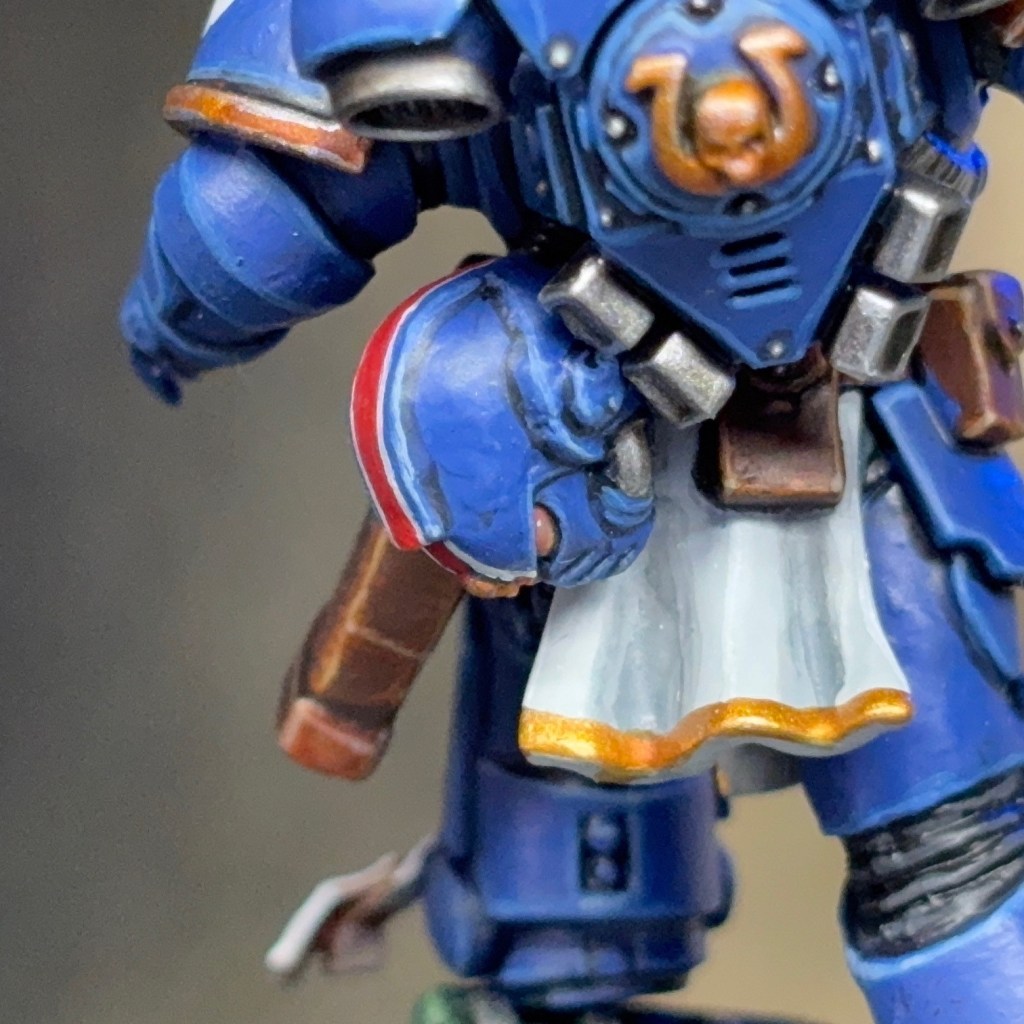
The miniature is supplied with a choice of bare head and helmet. Titus’ stoic visage and the glowering MkX helmet are both iconic looks, but thankfully I didn’t have to choose. I made the bare head and LED helmet interchangeable by using an IC socket and the techniques detailed in my LED Swapable Helmet Tutorial. When not in use, the helmet fits into a socket on Titus’ belt, as shown below.
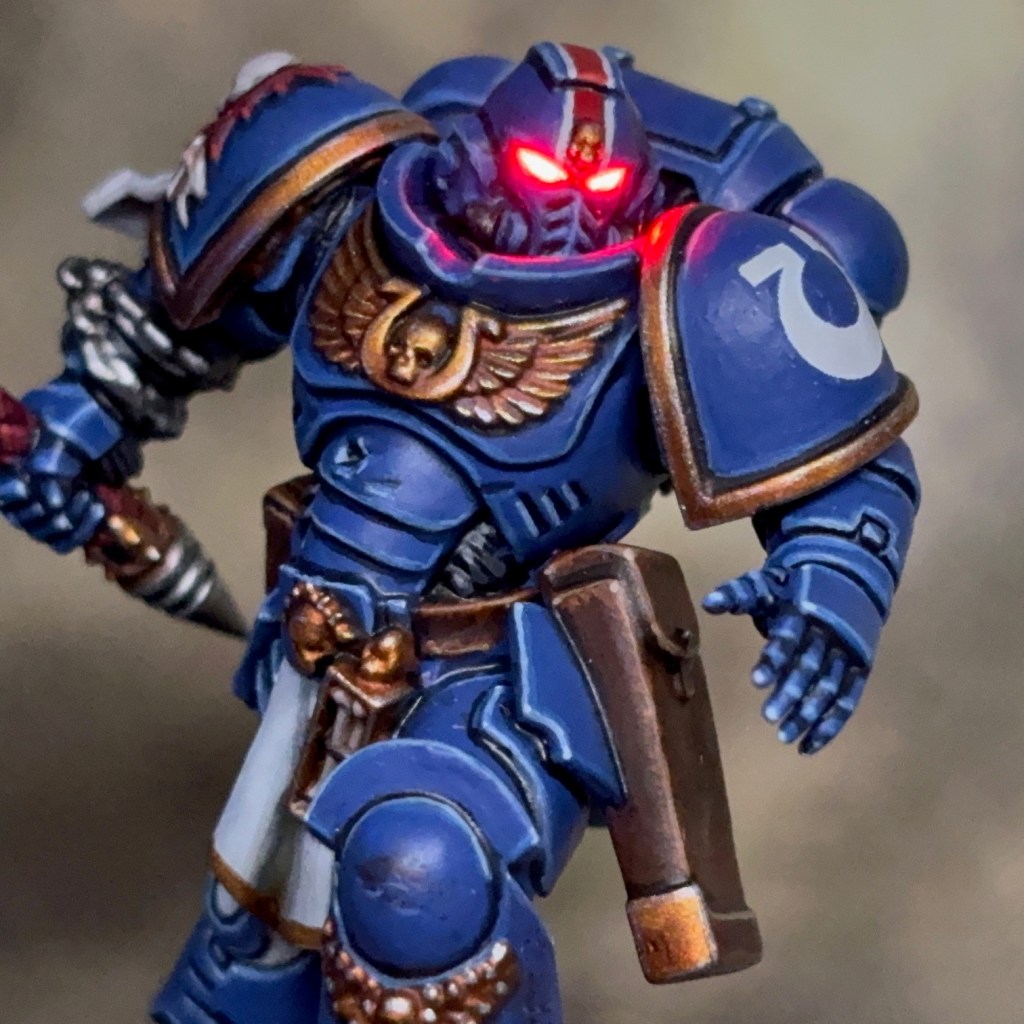

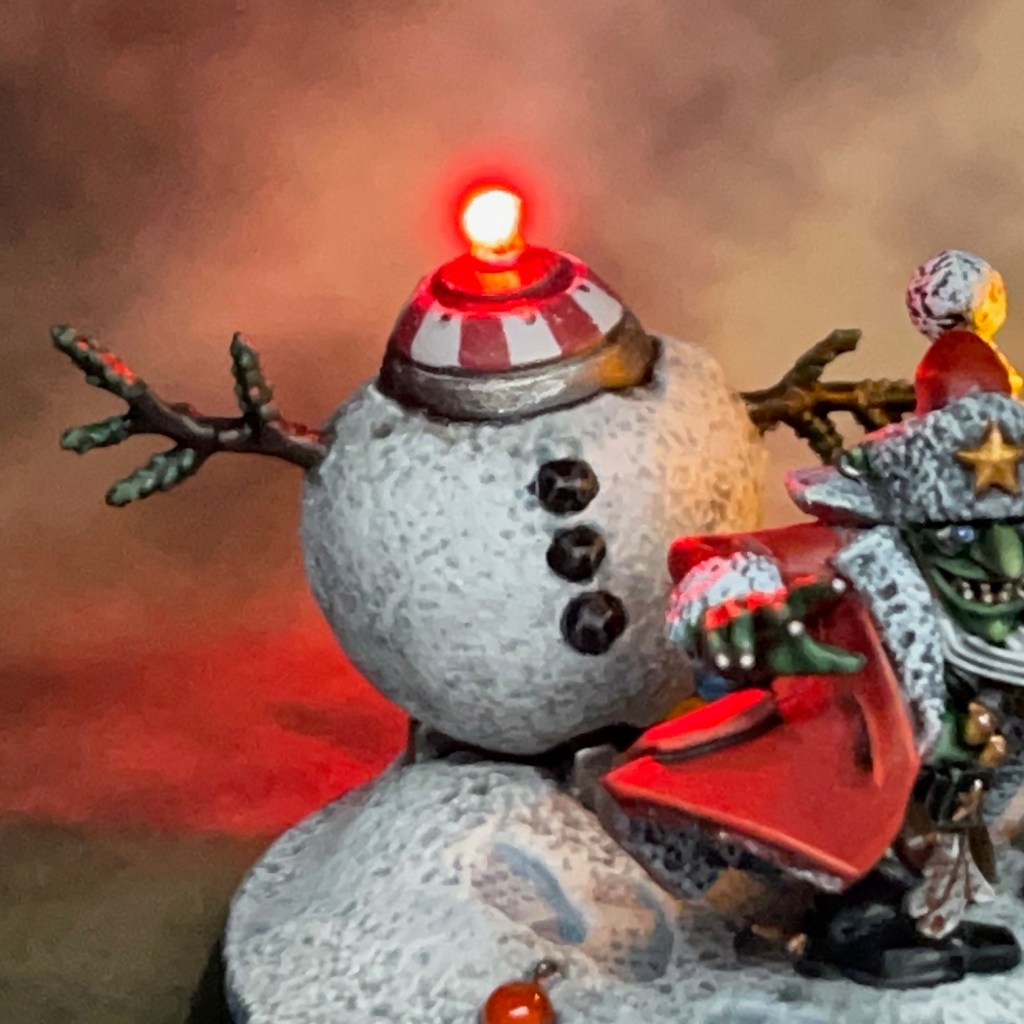
The helmet contains a single 1.8mm Tru Opto Red LED and was created by following the steps in my LED Eye Lens Tutorial. As mentioned above, the LEDs in the helmet and thunder hammer are connected in parallel to a single 3V coin cell battery and switch in the base that are both accessible from underneath.
Painting
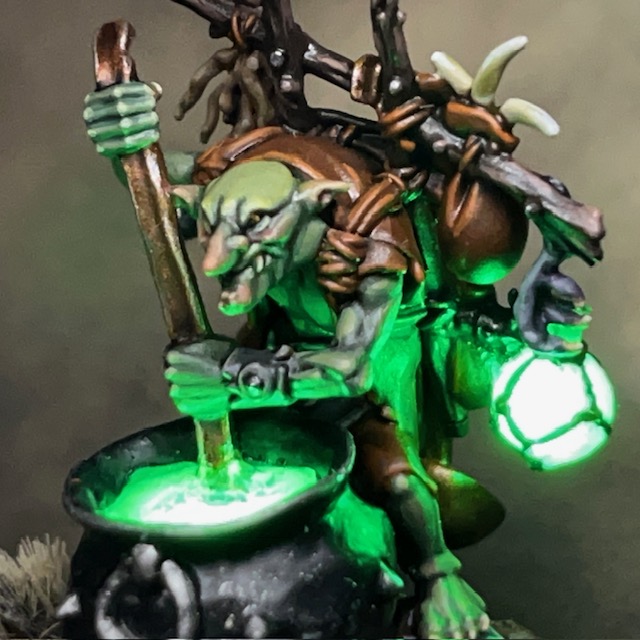
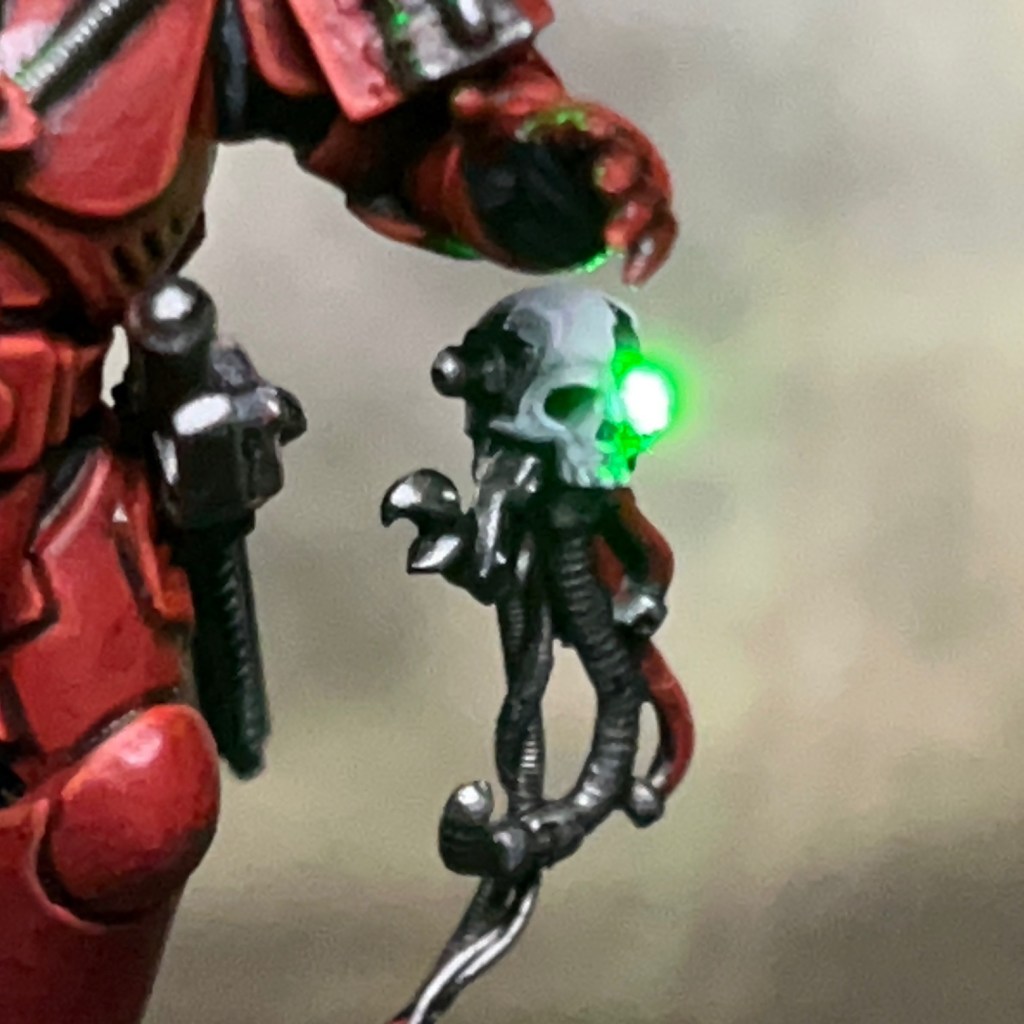
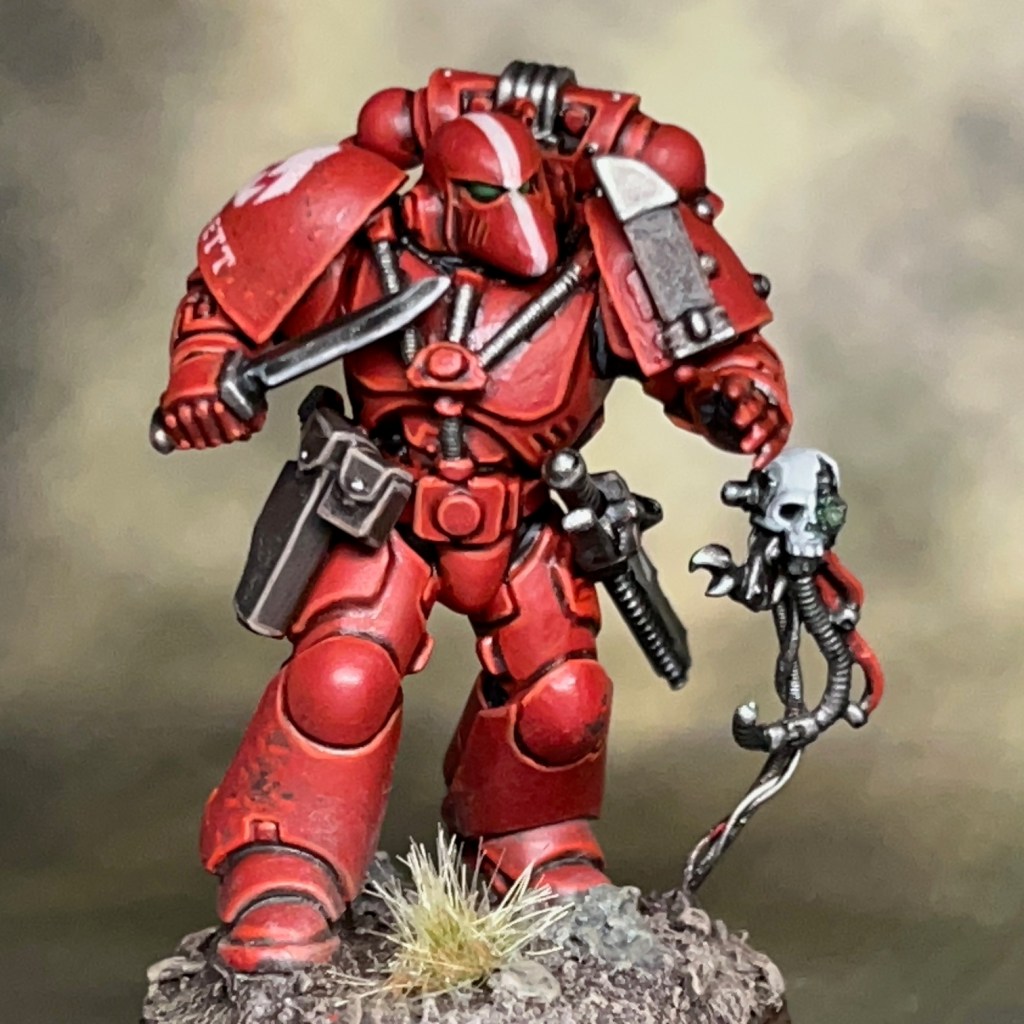
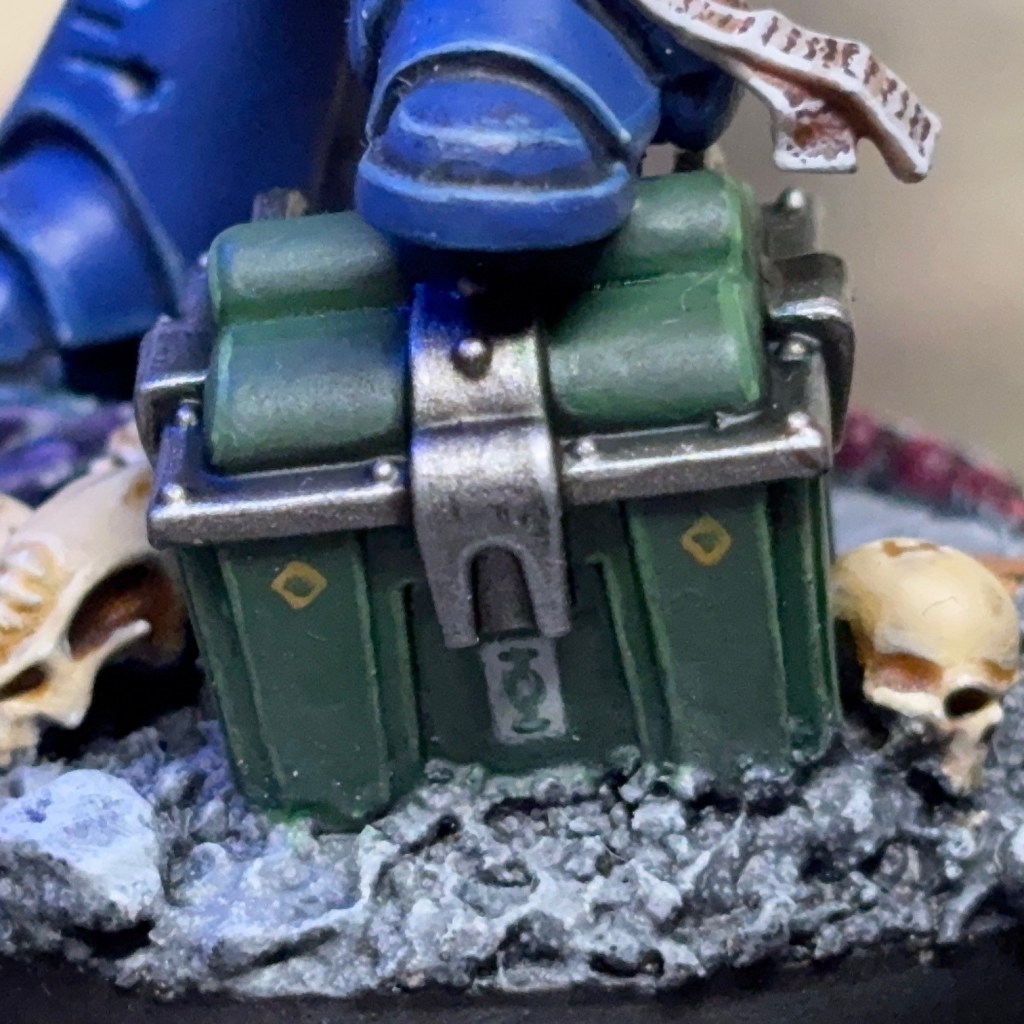
I followed the “official” scheme when choosing colours for this miniature, which seemed important as I was recreating a specific character. I did wonder about painting the Neuroloid in my Hive Fleet Cerberus scheme, but decided that was too much of a deviation from the Tyranids encountered in the game, so used the standard Hive Fleet Leviathan colours. The green box on the base is painted in the style of the crates that conceal ammo and supplies in the game.


This miniature used a lot of different paints, but I have included my recipes for a few key colours, just in case anyone is interested. All paints are Citadel unless stated otherwise. The miniature was spray undercoated Chaos Black.
- Ultramarine Armour
- Macragge Blue basecoat (two thin coats)
- 50:50 Kantor Blue:Abaddon Black shade
- Altdorf Blue highlight
- Calgar Blue fine highlight
- Fenrisian Grey fine highlight on top edges and corners
- Blue Horror dot highlight
- White Cloth
- Administratum Grey basecoat
- Apothecary White shade
- Corax White layer
- Skull White highlight
- Administratum Grey thin glaze
- Gold Details
- Retributor Armour base coat
- Reikland Fleshshade in recesses
- Aggaros Dunes thinned glaze on lower portions of gold areas
- Runefang Steel highlight
- Urban Ruins
- Mechanicus Standard Grey basecoat
- Nuln Oil shade
- Dawnstone drybrush
- Administratum Grey drybrush
- Skull White light drybrush
- Skin
- My Space Marine Skin (Pale) recipe
- Step 6 of the above recipe was done twice for extra stubble

So there we are, my first completed miniature of 2025! Hopefully the corpse on the base allows it to also count as progress on my Tyranid project, haha! I’ll be back on the Ultramarines again in March for #MarchForMacragge, but before then I’ll be trying to progress my regular projects. Finally, if you haven’t played Space Marine 2, go and get it because it’s excellent! As ever, thanks very much for reading, and please remember you can also find me sharing my work on Instagram, Threads, Bluesky and Mastodon.