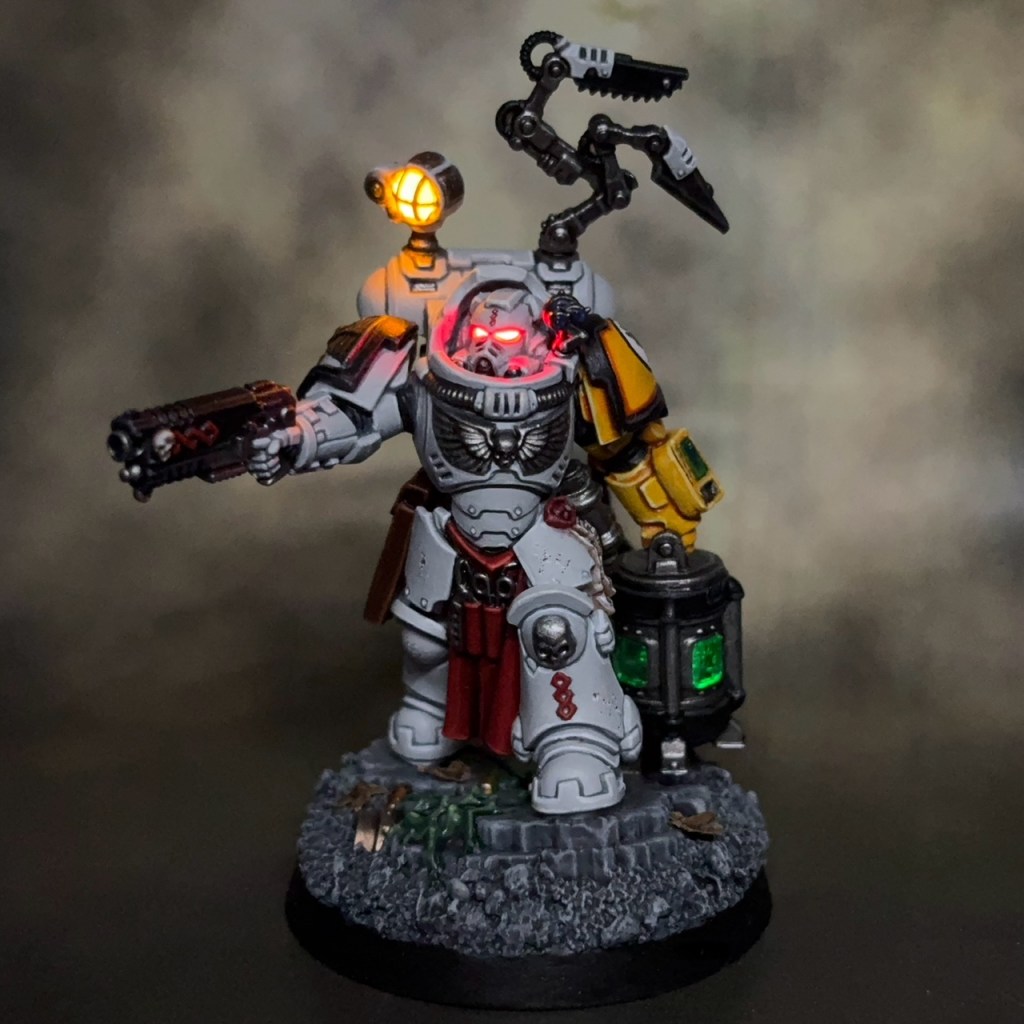
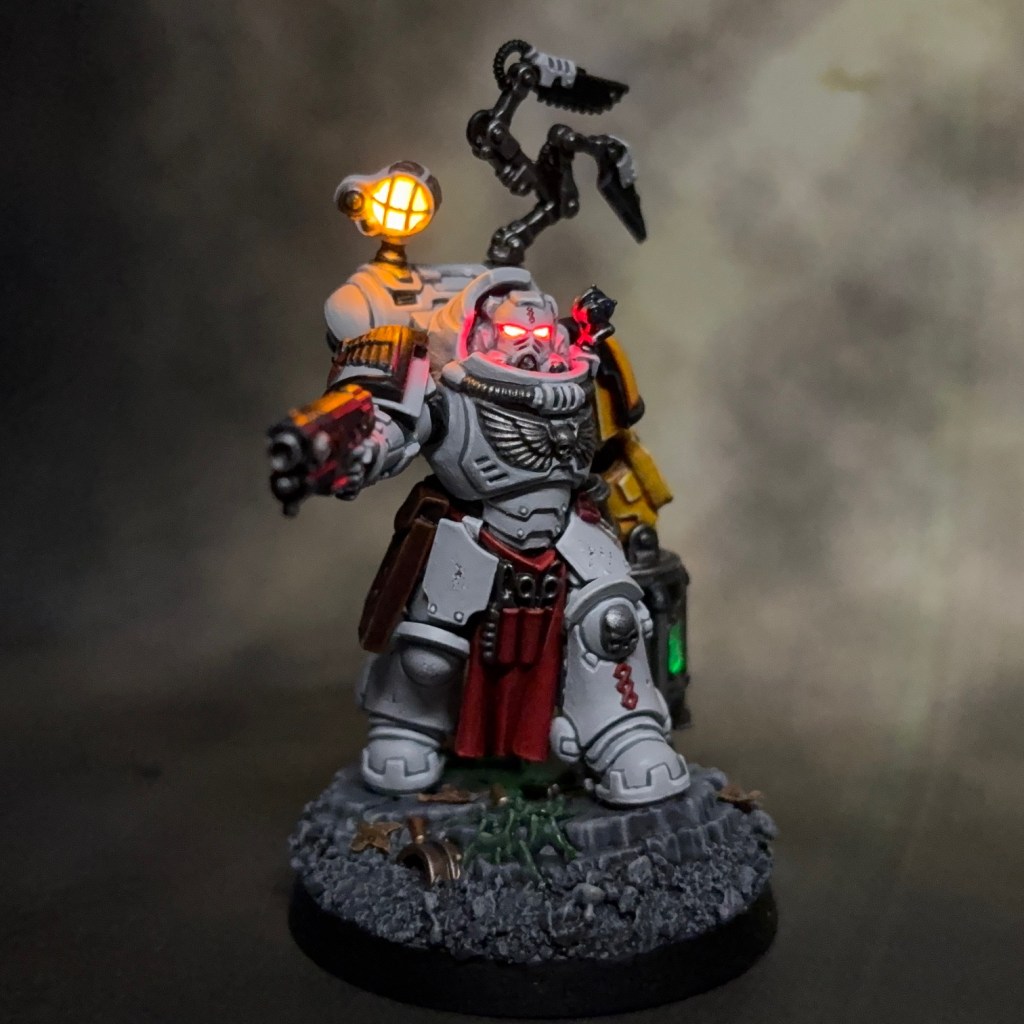
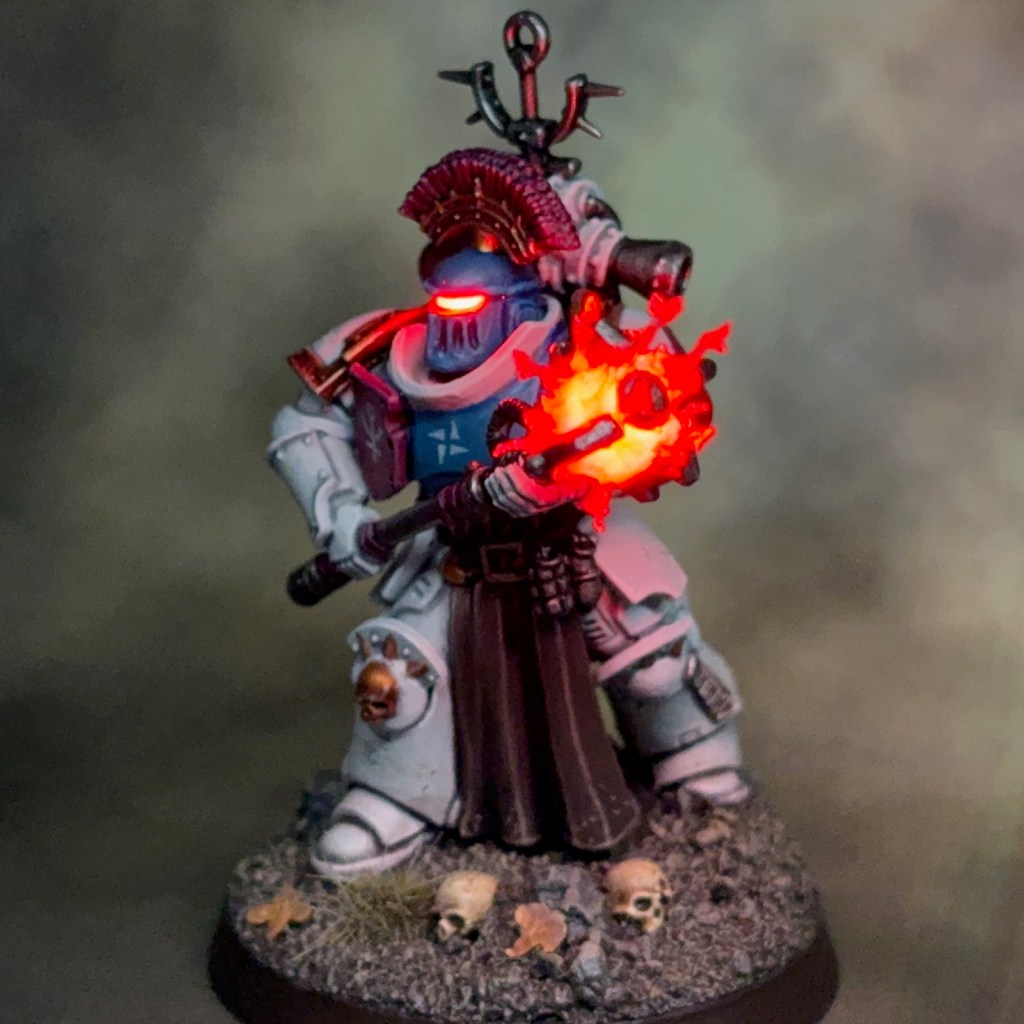
This week I’ve finally finished my Silver Stars Kill Team with the addition of a Captain to the roster. For those who are new to my blog, the Silver Stars are the mysterious chapter leading the Partisan forces in the War of the False Primarch. This miniature will take the role of a ‘Space Marine Captain’ in my Silver Stars Angels of Death Kill Team, known by the code name of ‘Squad Antimony’.
Modelling
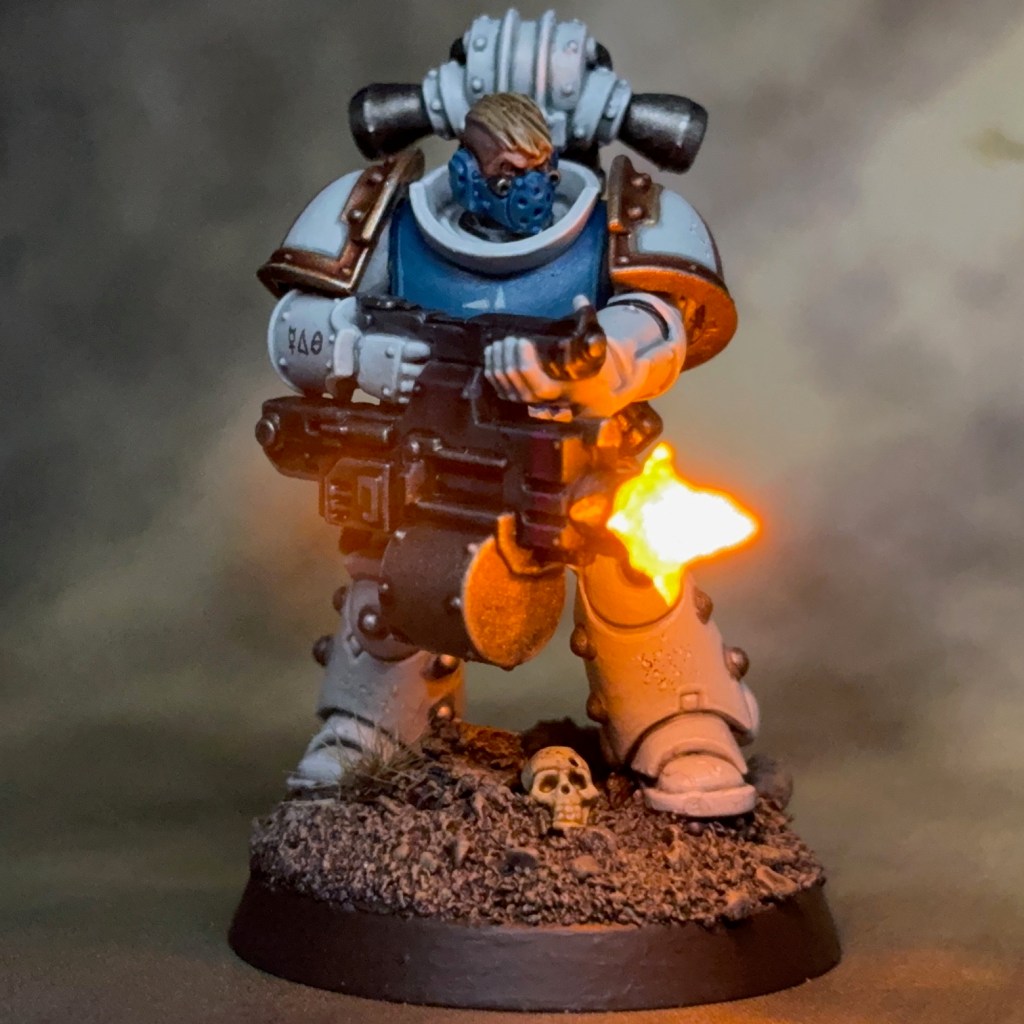
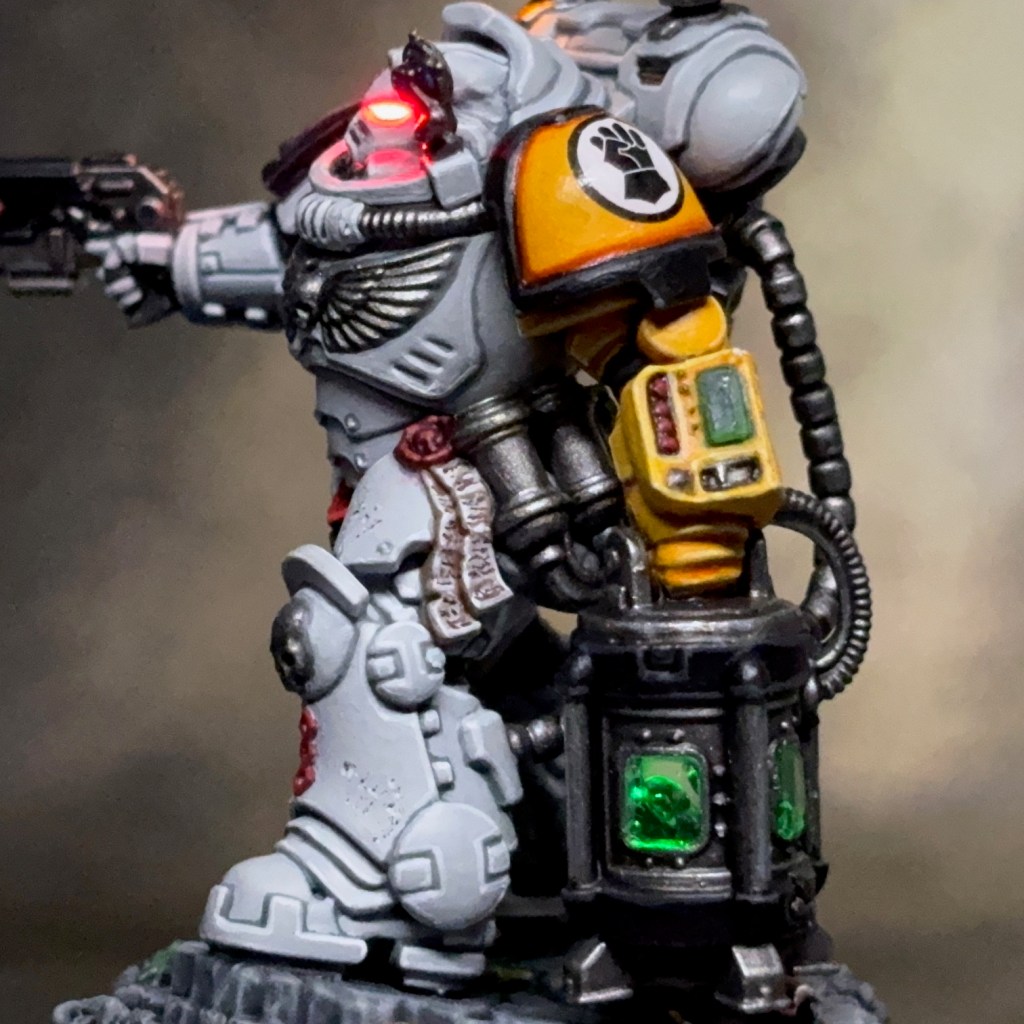
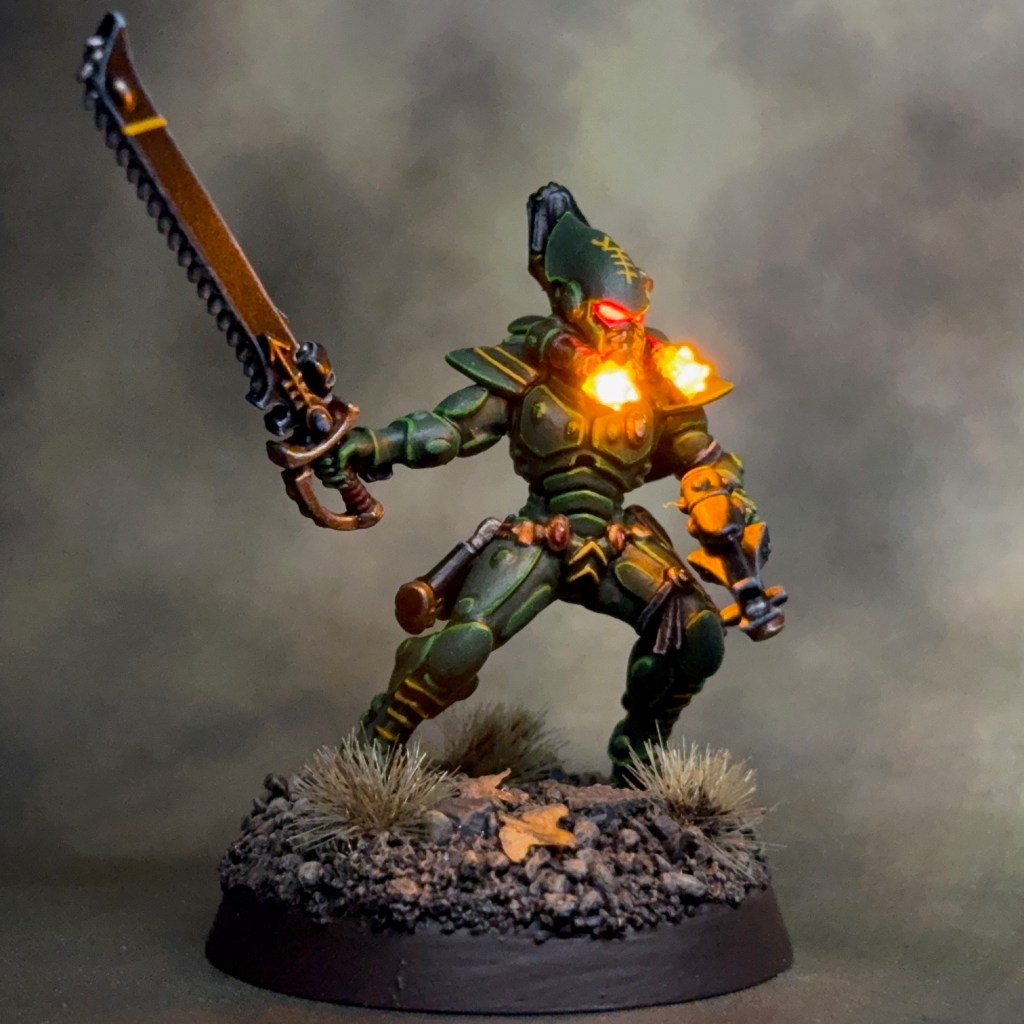
As with all my previous Silver Stars, this marine is built using a Primaris marine body and legs, in this case from a Bladeguard miniature. The arms, pauldrons, backpack and heavy bolter are from the previous version of the plastic Legion MkIII Tactical Squad set.
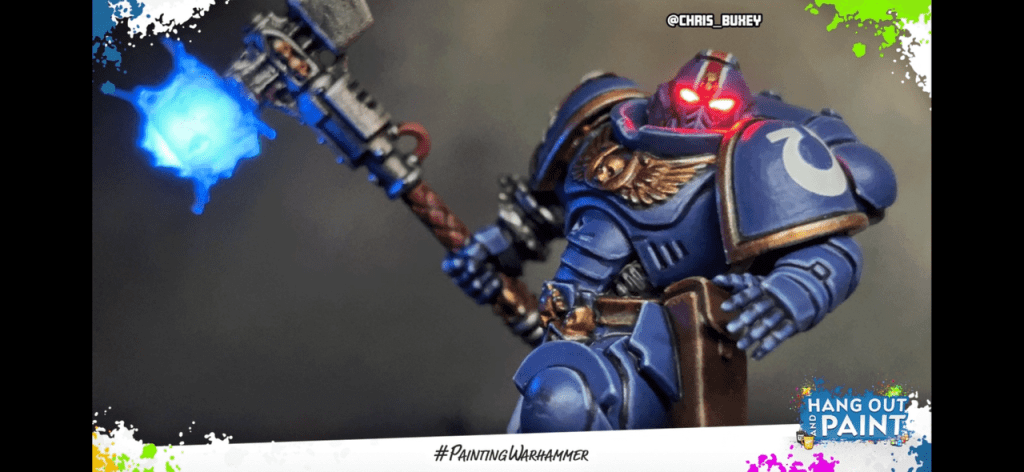
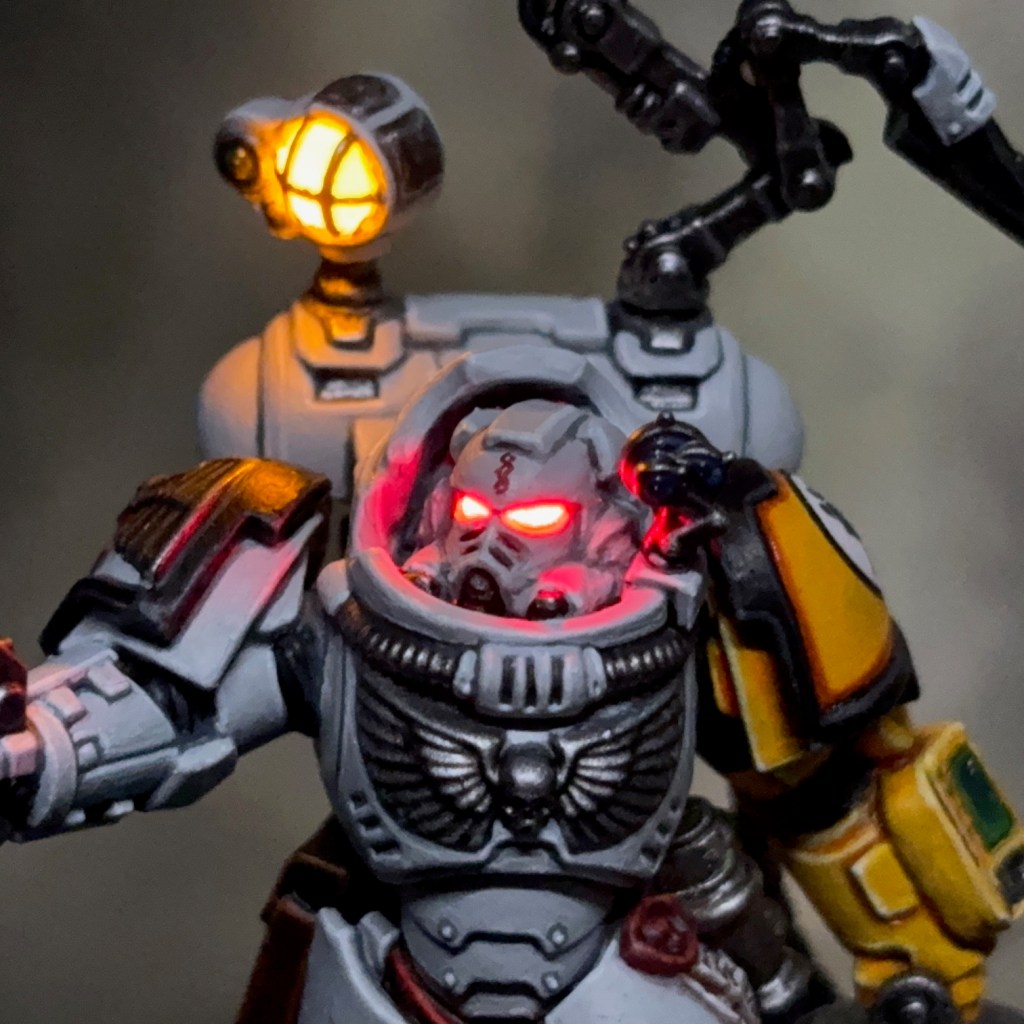
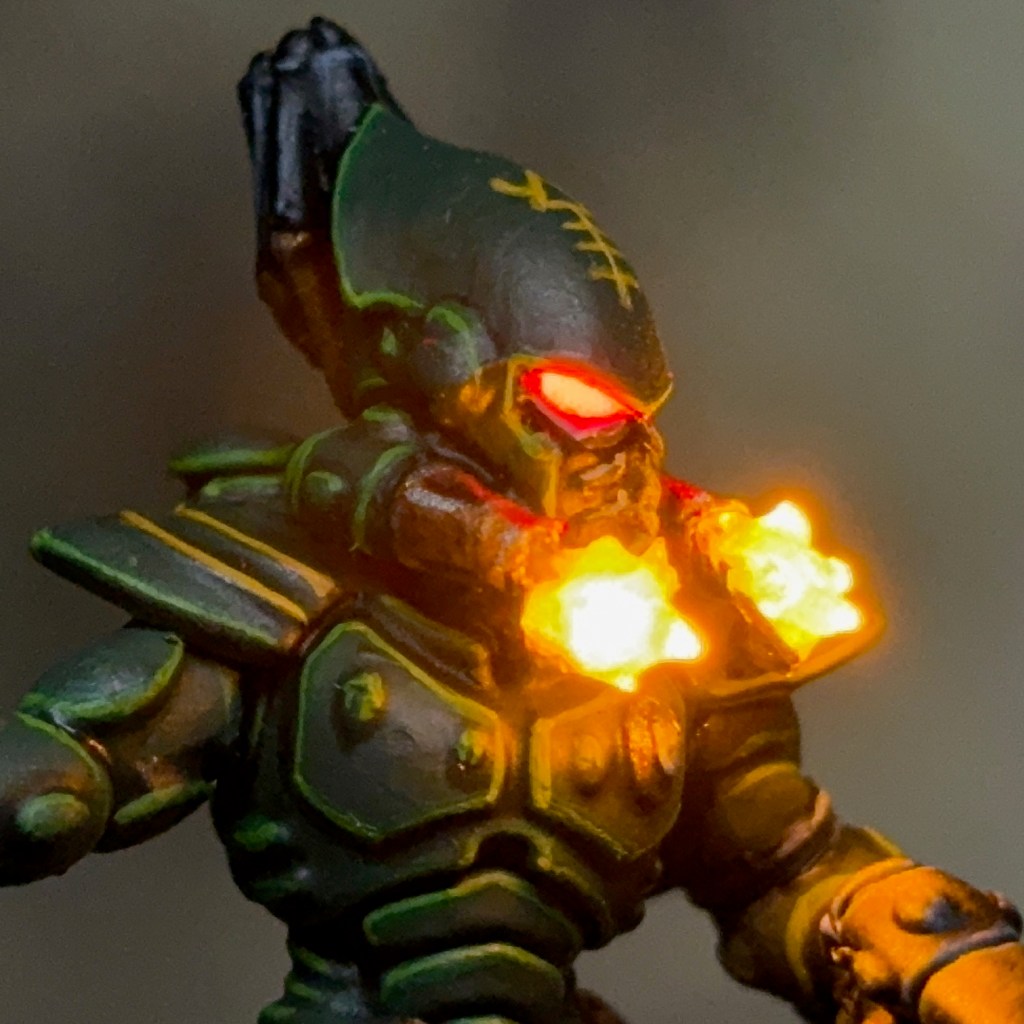
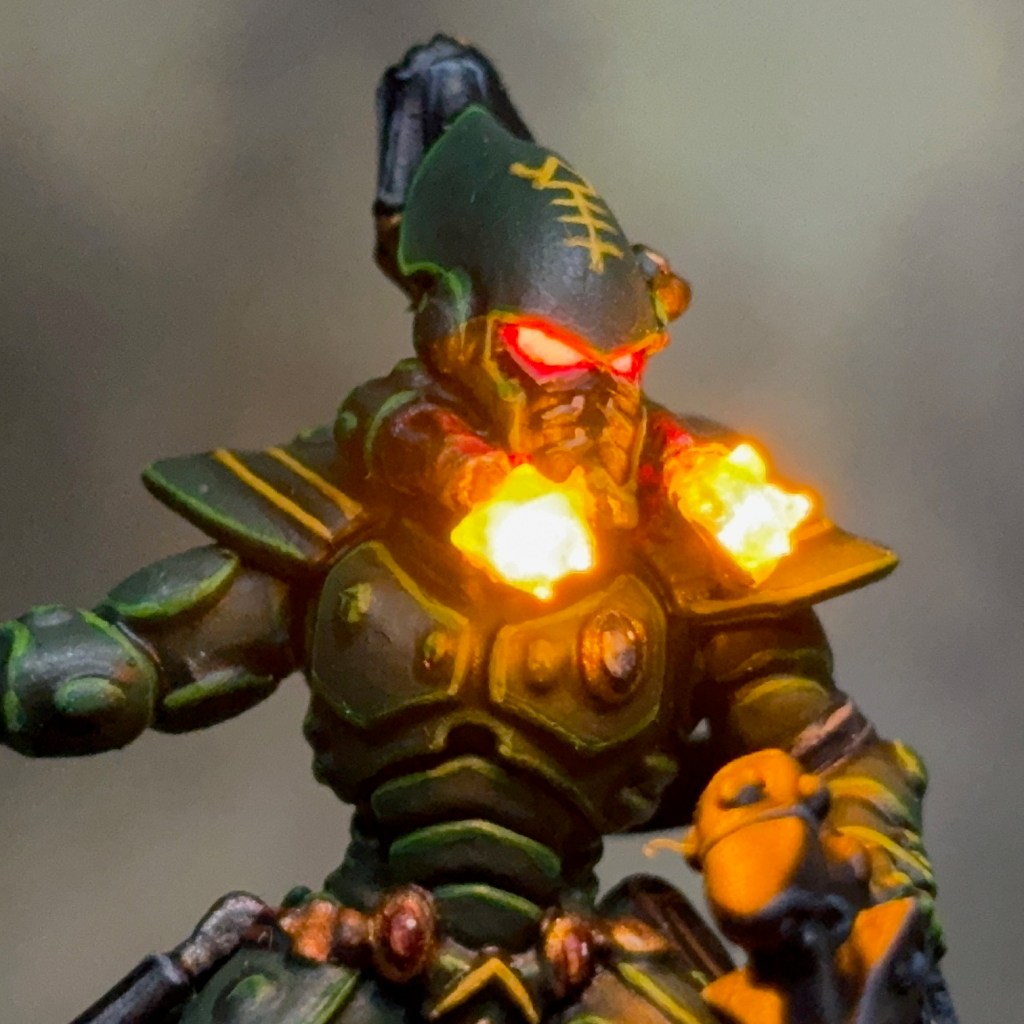
The LED helmet eye lens effect is achieved with a resin MkII helmet, a TruOpto OSHR7331A-KL 1.8mm Red LED and the techniques described in my LED Eye Lens tutorial.
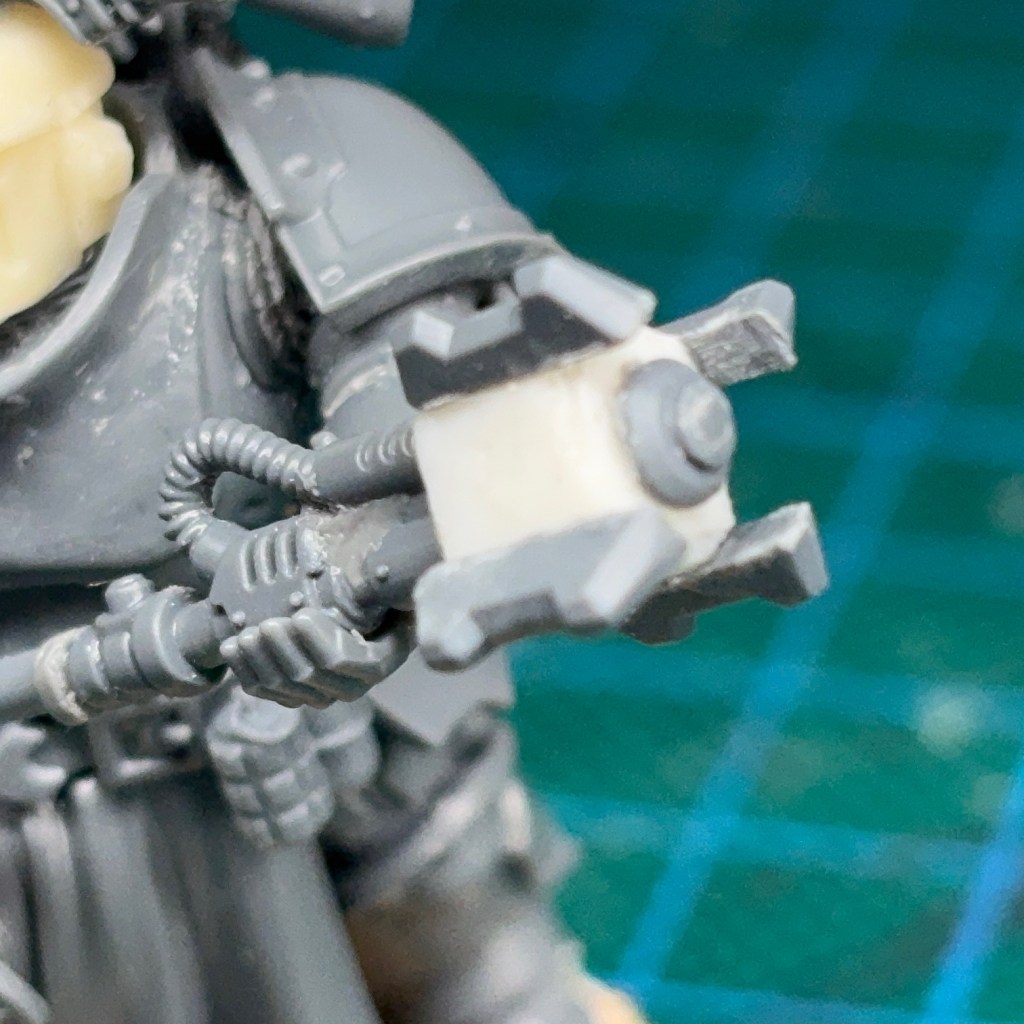

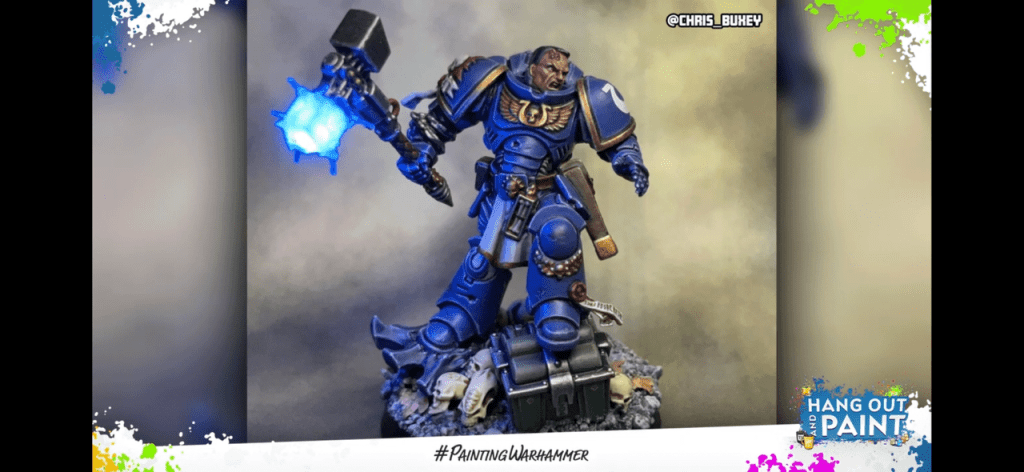
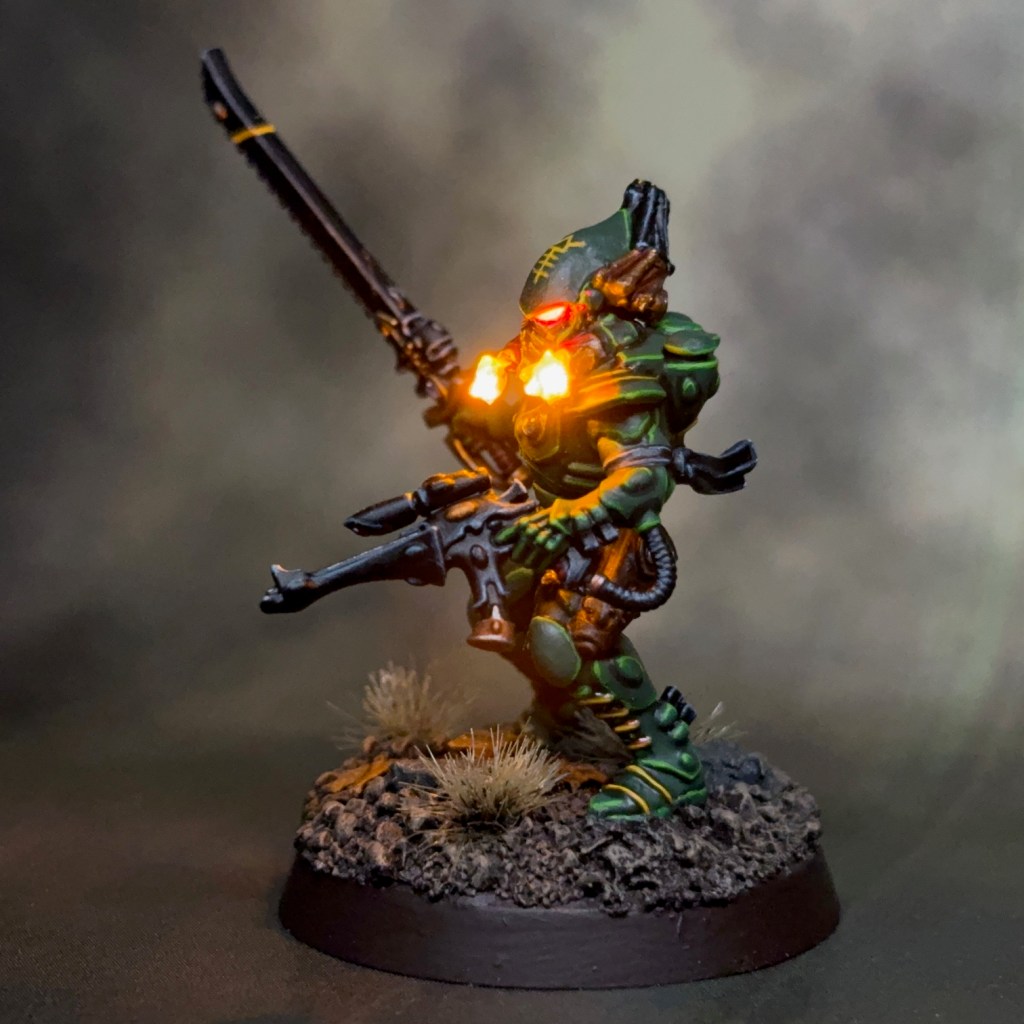
The Kill Team rules require the Space Marine Captain to be armed with a power fist and plasma pistol, but I decided to have a two-handed power mace to ‘count as’ a power fist. The mace comes from the Legion Melee Weapons Upgrade Set, with the haft extended to turn it from a one-handed weapon into a two-handed weapon. The LED effects in the mace were created using the same techniques I used for Lieutenant Titus’ thunder hammer as described in this post. The LED – also a TruOpto OSHR7331A-KL 1.8mm Red LED – is connected in parallel with the helmet LED to the same coin cell battery in the base.
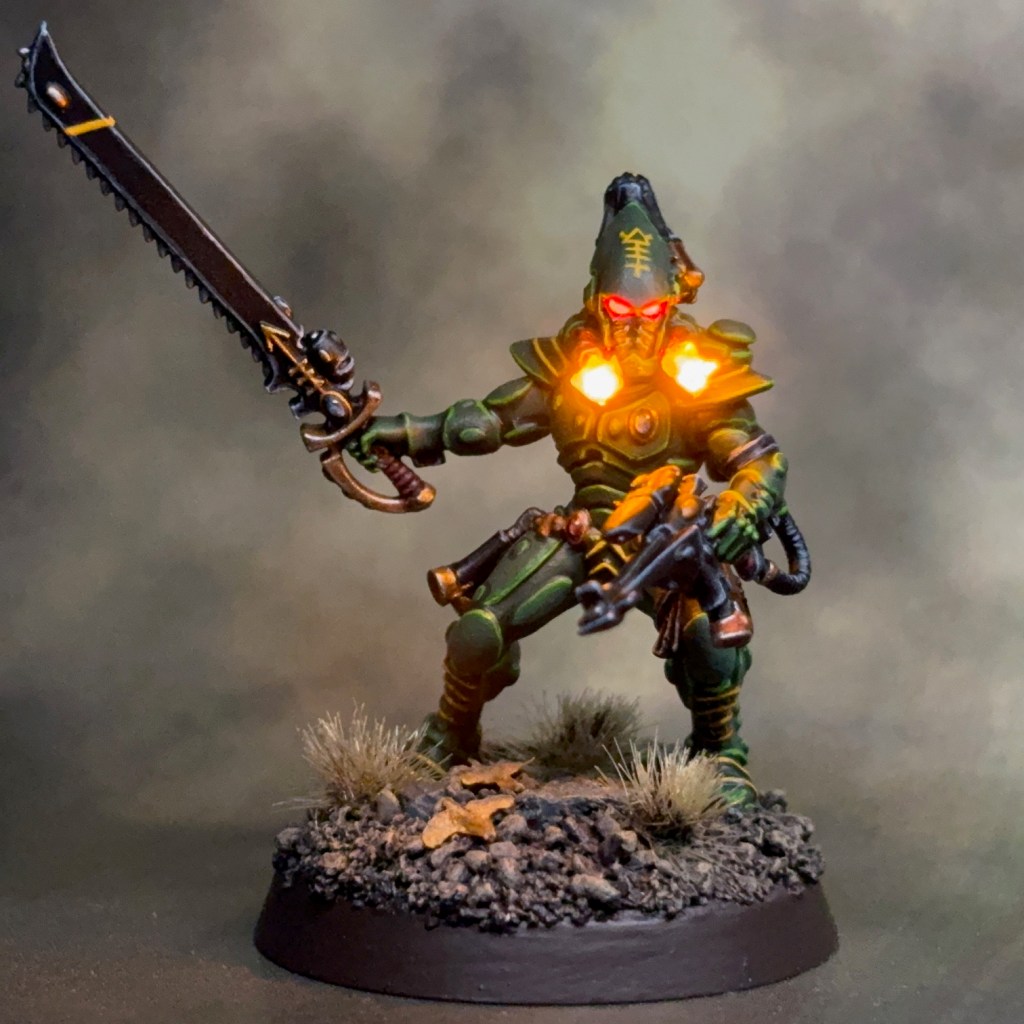
As mentioned above, this miniature is also armed with a plasma pistol. I did consider adding an illuminated plasma pistol, but I decided that would steal focus from the power mace, so I settled on a holstered pistol at his waist.


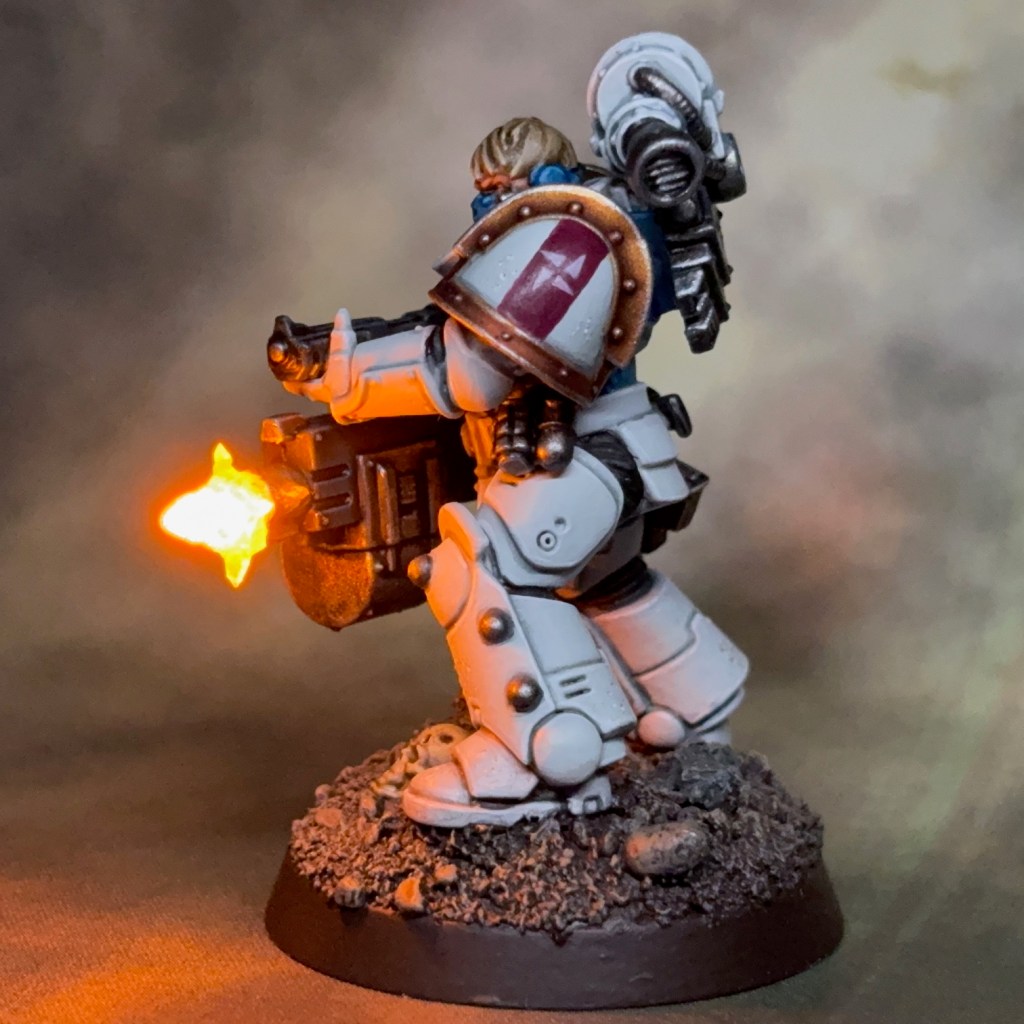
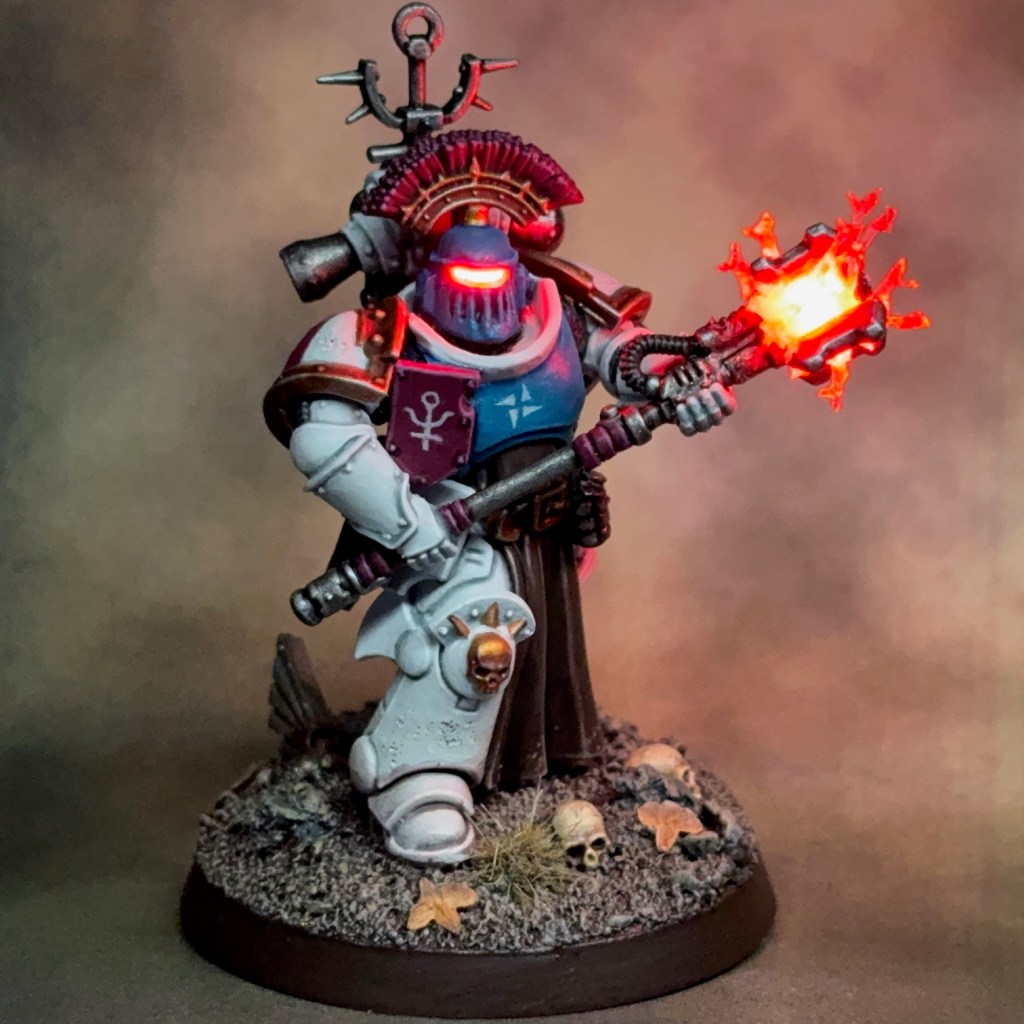
Captain Athimar’s Iron Halo has been re-modelled into the shape of the alchemical symbol for Antimony, a design that you can also see echoed on his pauldron, tilt shield, and of course repeated on the other members of Squad Antimony.
Captain Athimar was the Line Captain of Squad Antimony during this terrible conflict. The rank is believed to be the equivalent of a captain of the lesser orders, as would have been found in the Legions of old, carrying more authority than a sergeant, but with no wider chapter responsibilities. All available pict-captures show him wielding a power mace, a popular weapon among the Silver Stars and often seen as an emulation of the crozius-like weapon carried by the False Primarch. Other than that, precious little is known about this individual – even the moniker “Athimar” is a code name assigned by Orthodox lexicographers.
EXTRACT FROM ‘A TREATISE ON THE WAR OF THE FALSE PRIMARCH’ BY SCRIBE HOWTOPHER BUXCRAFT
Painting
The paint recipes I used for Captain Athimar are the same as those used for the rest of the Kill Team. You can find my Silver Stars paint recipe in this post, plus this post which expands on techniques for painting Silver Stars insignia.

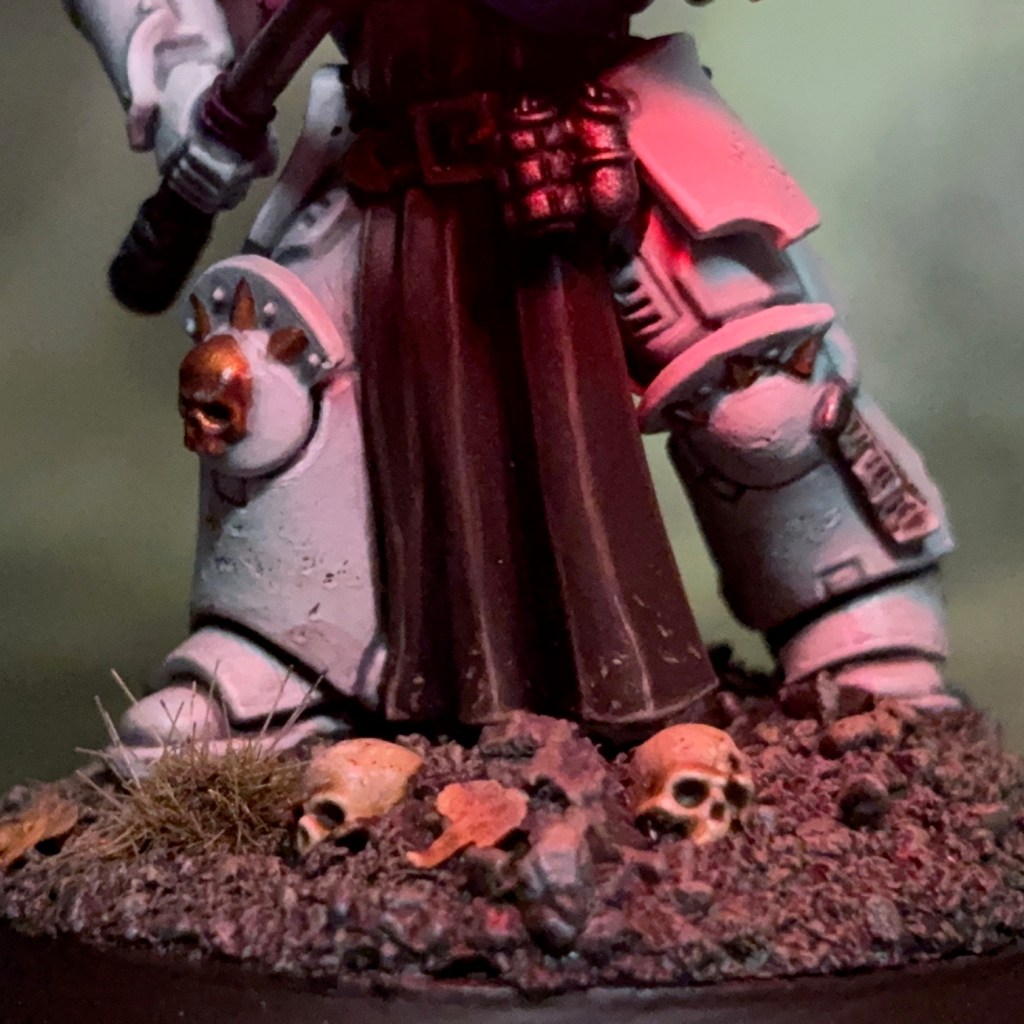

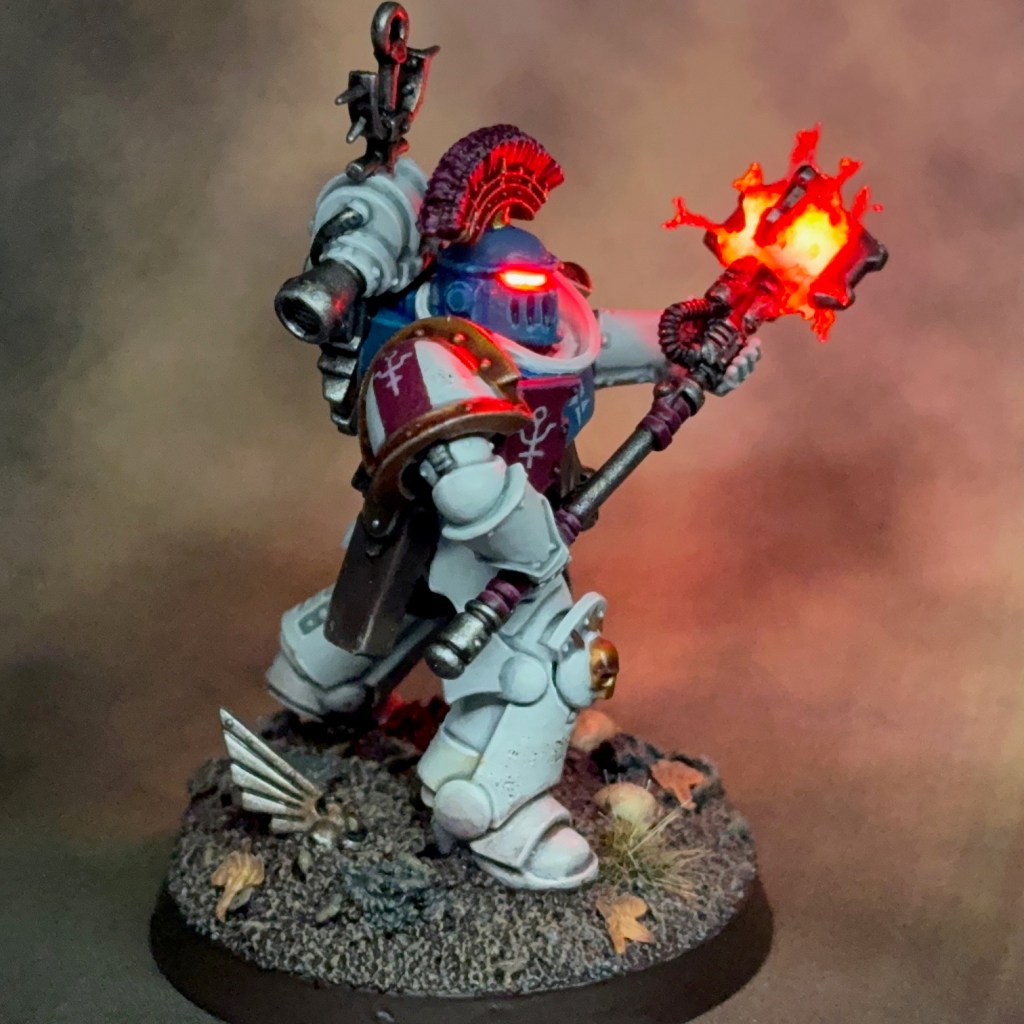
When it came to painting the tabard, my initial instinct was to paint it the same rose colour that is used for spot colours – like the helm crest and pauldron banding – elsewhere in the Silver Stars scheme. But I was concerned that such a large area of this vivid colour may have overwhelmed the rest of the paint scheme, particularly as it also features prominently on the tilt shield. I decided to look at some other Silver Stars painted by Apologist to see how he had approached tabards. I soon realised that none of Apologist’s Silver Stars had tabards or loincloths, but there were plenty of leather pteruges. So I settled on a dark leather for the tabard. This had the advantage of being a relatively neutral colour and therefore not too overpowering to the rest of the scheme. It also has the benefit of giving Athimar a workman-like appearance – he is a captain of the lesser orders, after all! – and plays with your expectations regarding what a space marine should look like, a common theme with the Silver Stars.
I hope that was an interesting insight into the making of Captain Athimar. I’ve had the concept for this miniature in my head since about this time last year, so it’s good to finally bring it to life. Back in January, I declared that one of my hobby goals for 2025 was to finish my Silver Stars kill team, and with this final member complete I can now tick that off the list!

I’ll be back again soon with some group photographs and and a blog post looking at the team as a whole. As ever, thanks very much for reading, and please remember you can also find me sharing my work on Instagram, Threads, Bluesky and Mastodon.