It’s that time of year again when people are talking about ‘New Year, New Army’ and drawing up their hobby plans for the months ahead, so I thought it would be fun to share some of the ideas I’m working on for 2026. I made a similar post last year, but of my four stated goals in 2025, the only one I fully achieved was completing the Silver Stars Kill Team! So this time I’m probably going to be a little more realistic with my aims.
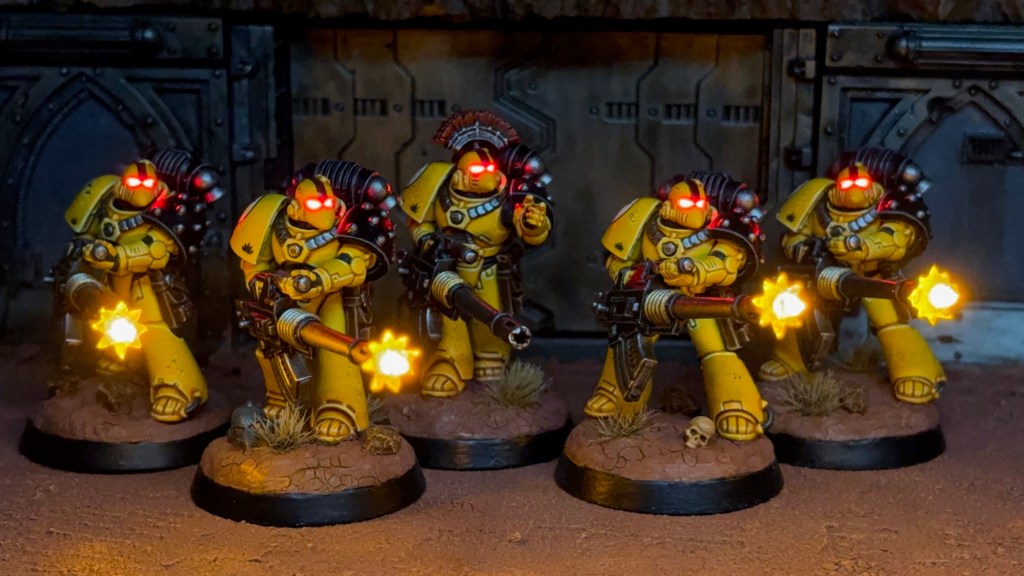
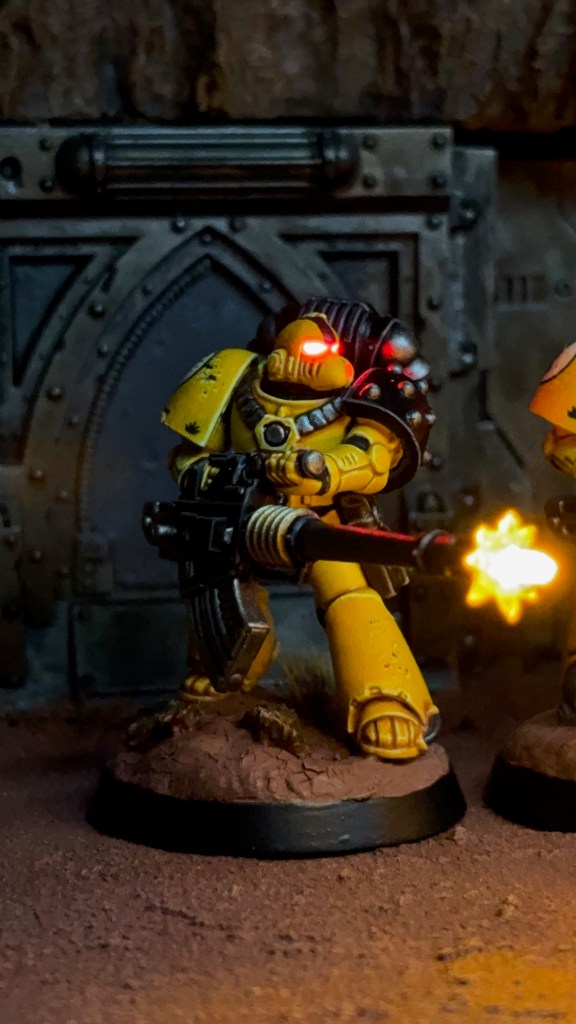
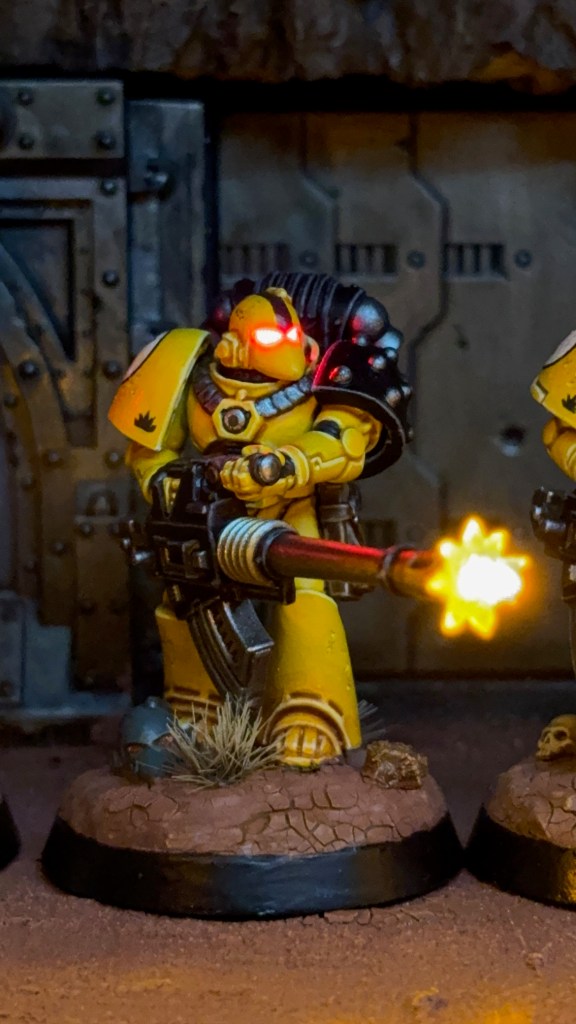
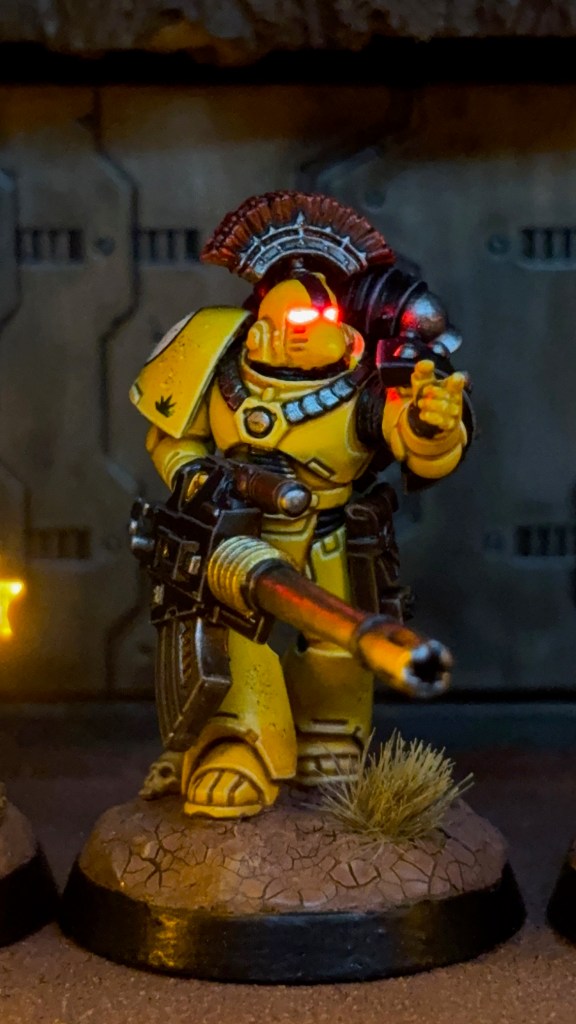
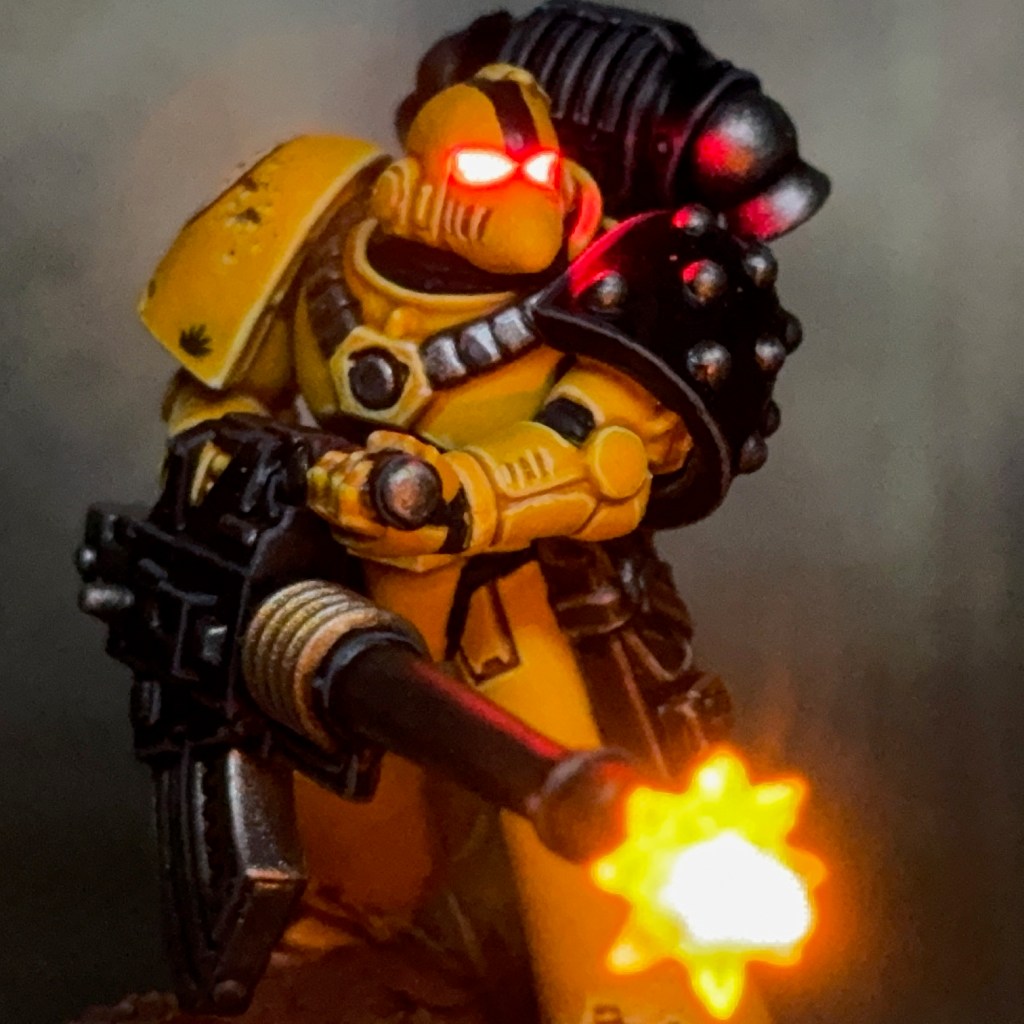
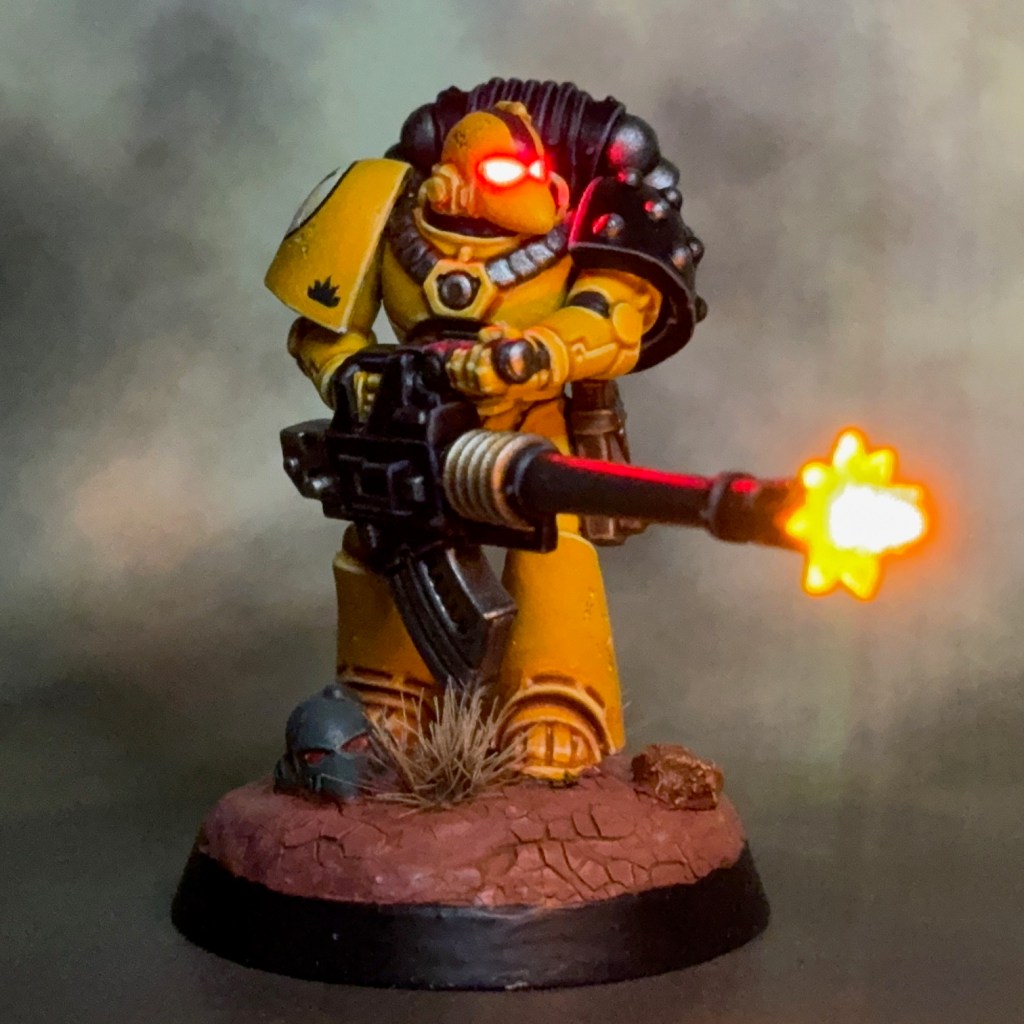
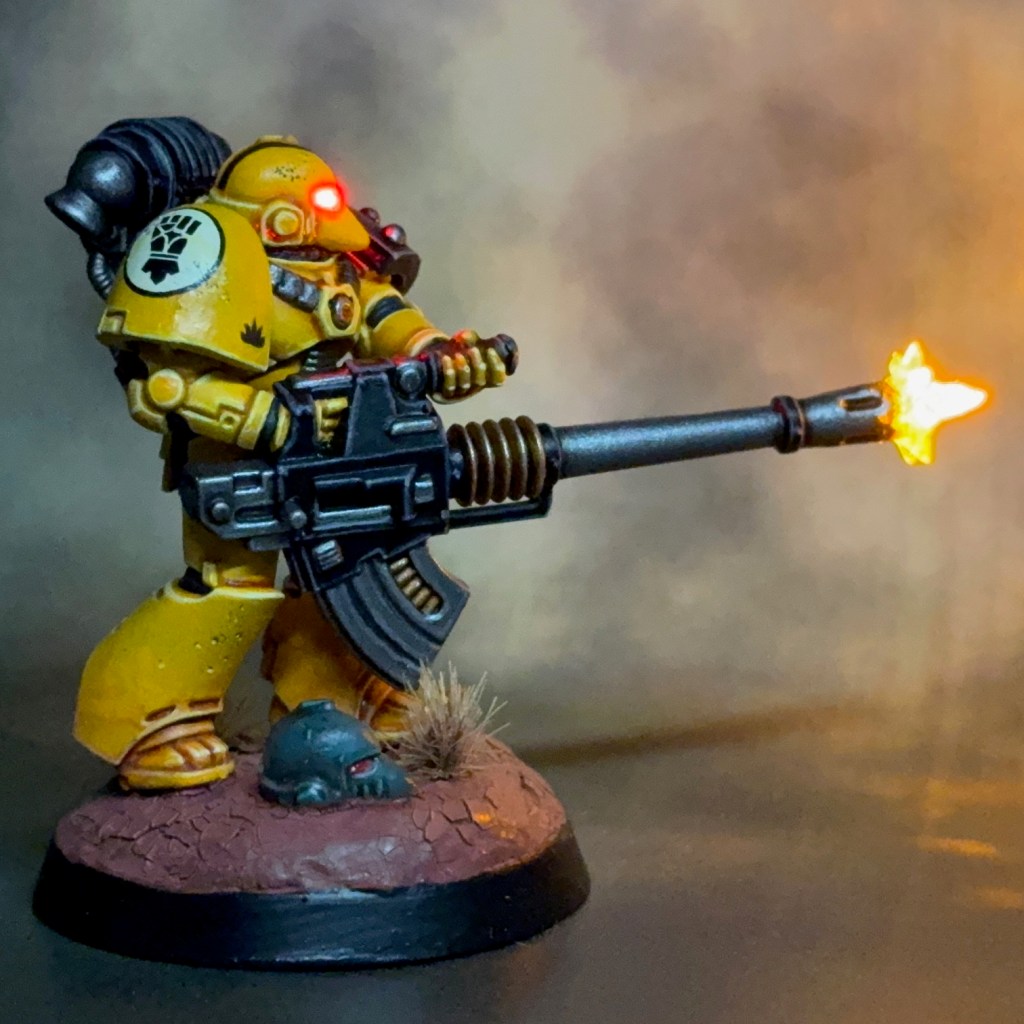
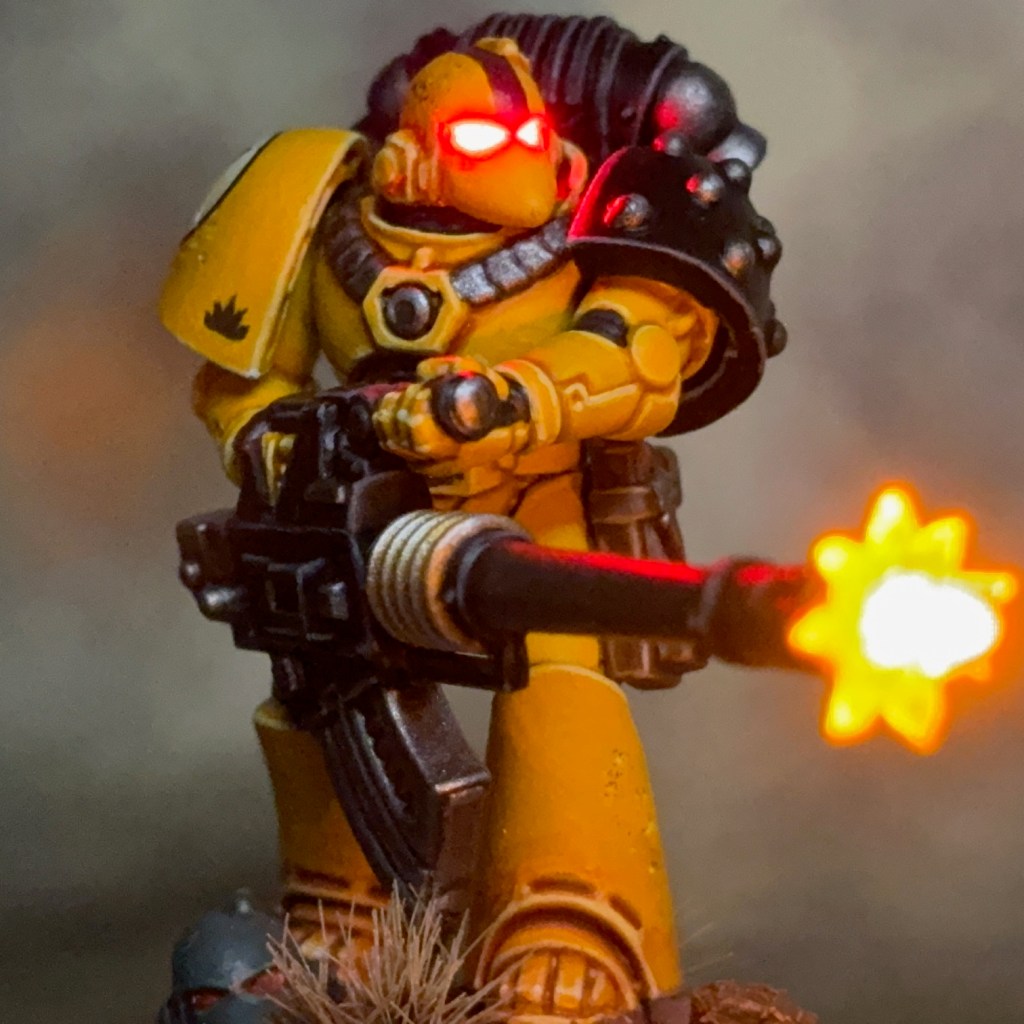
Imperial Fists
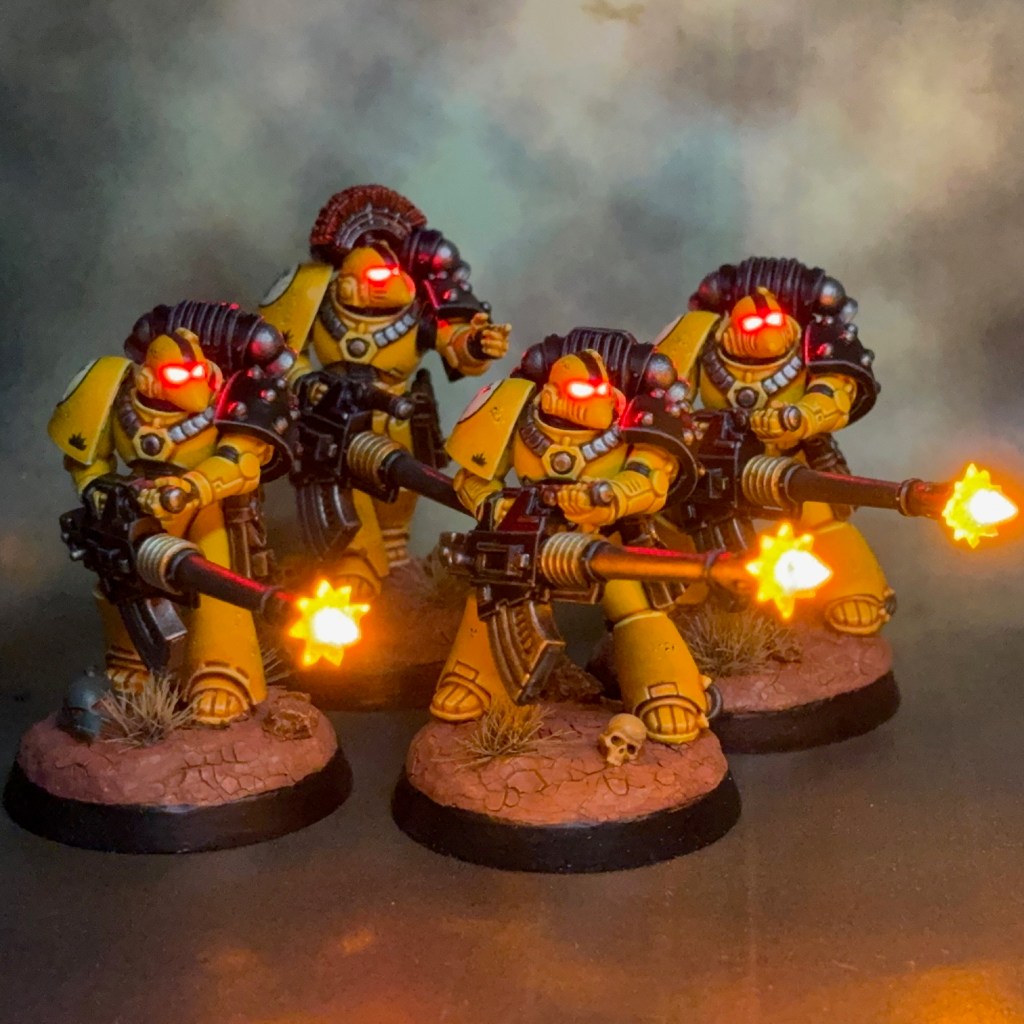
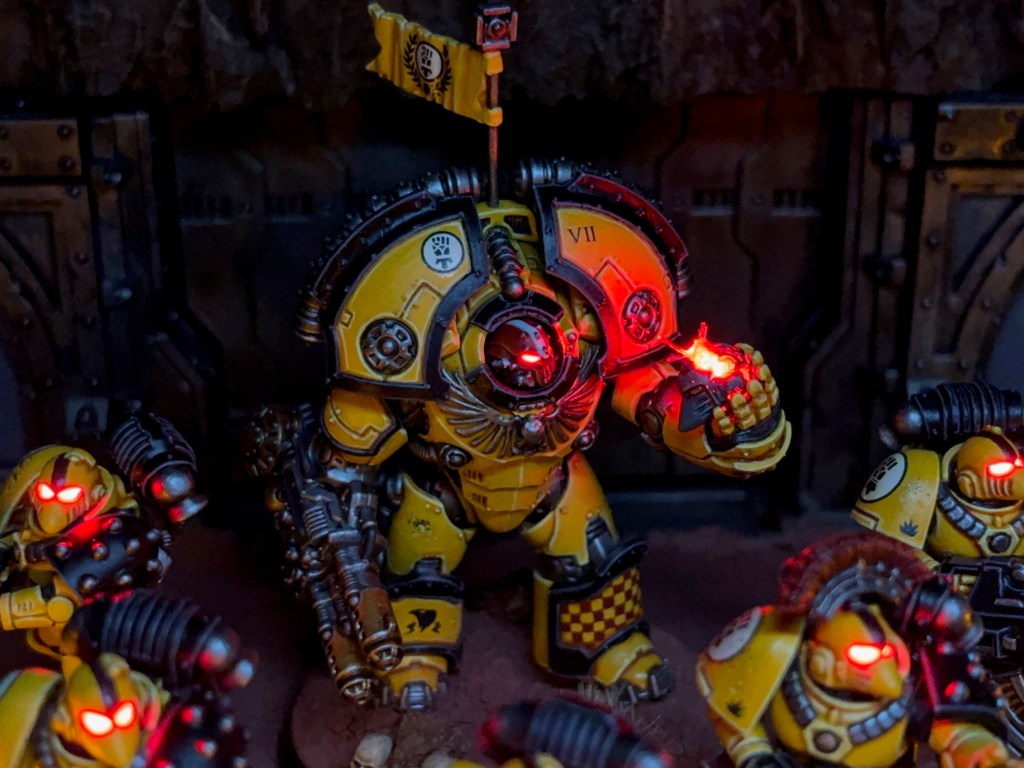

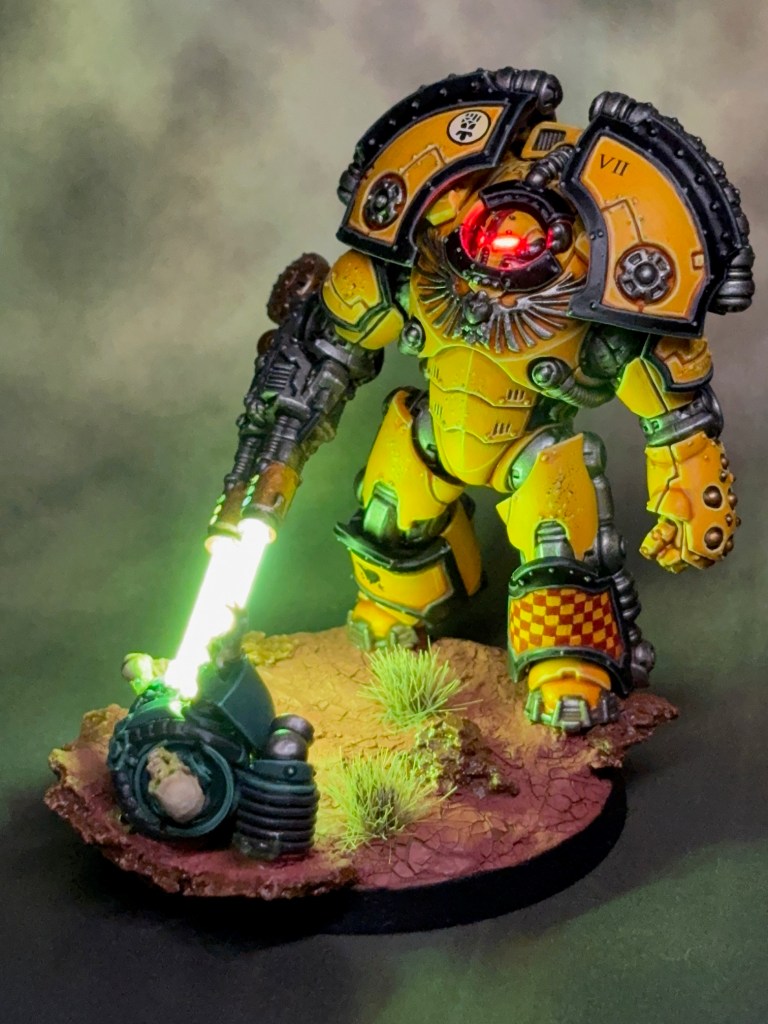
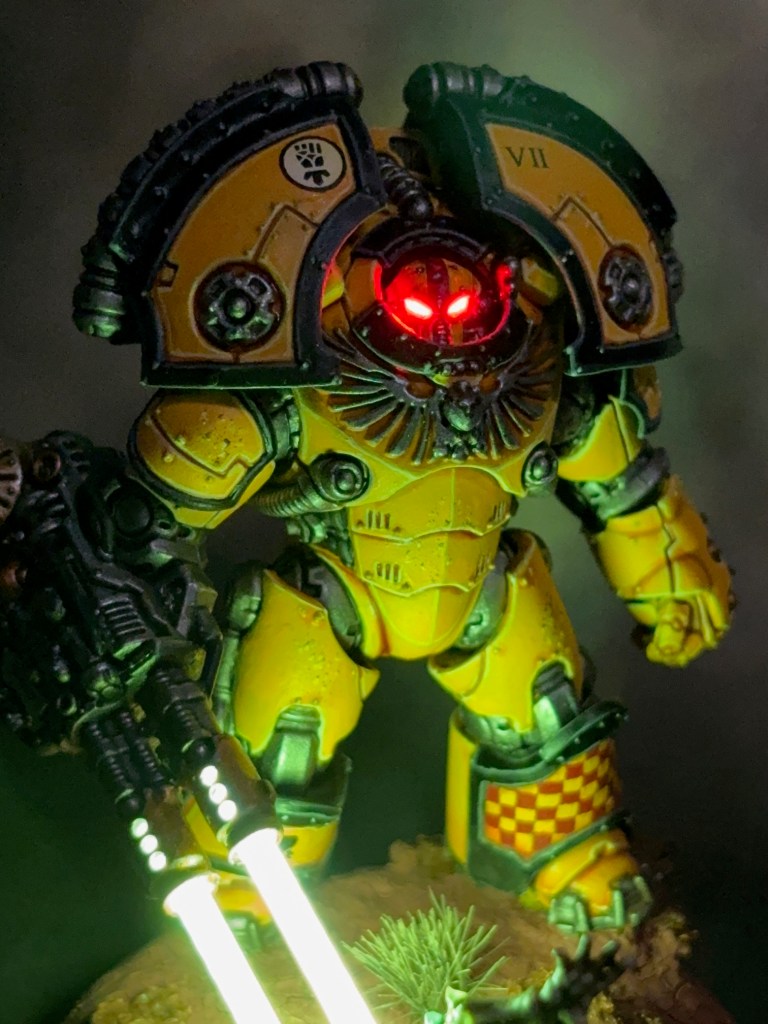
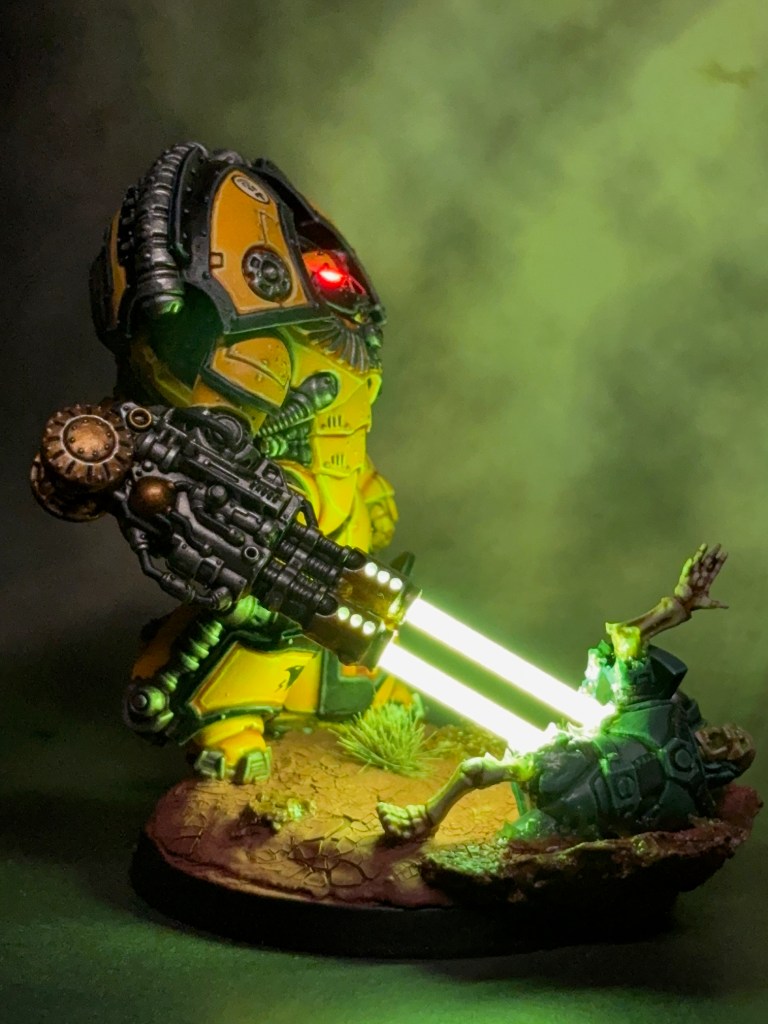
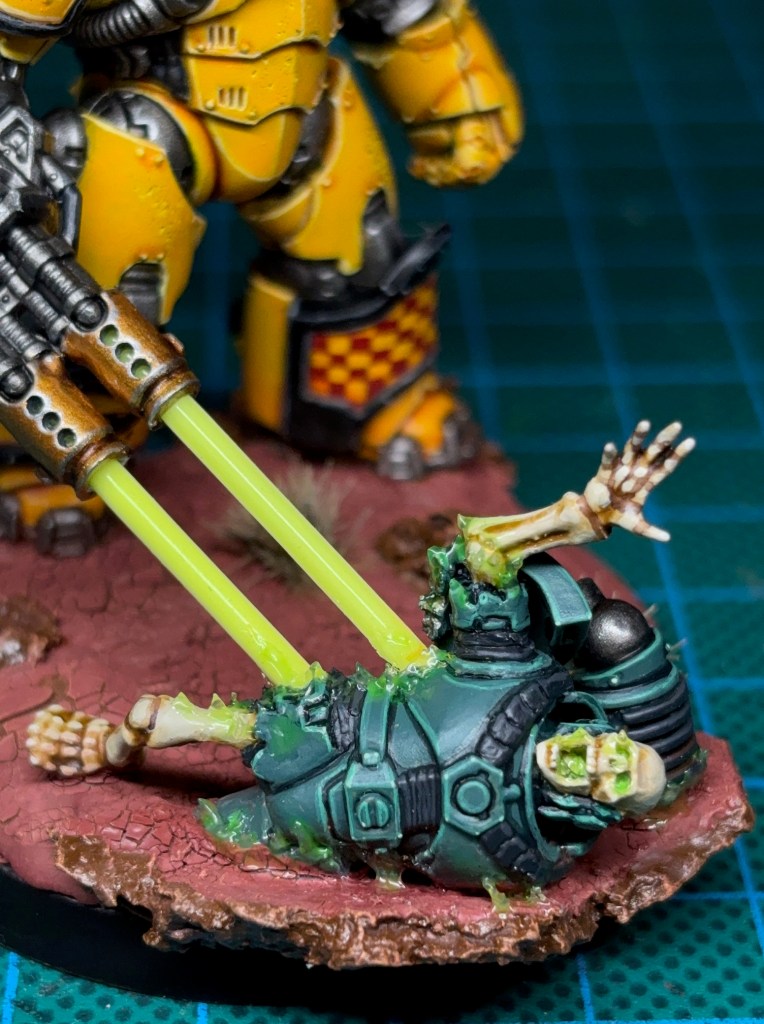
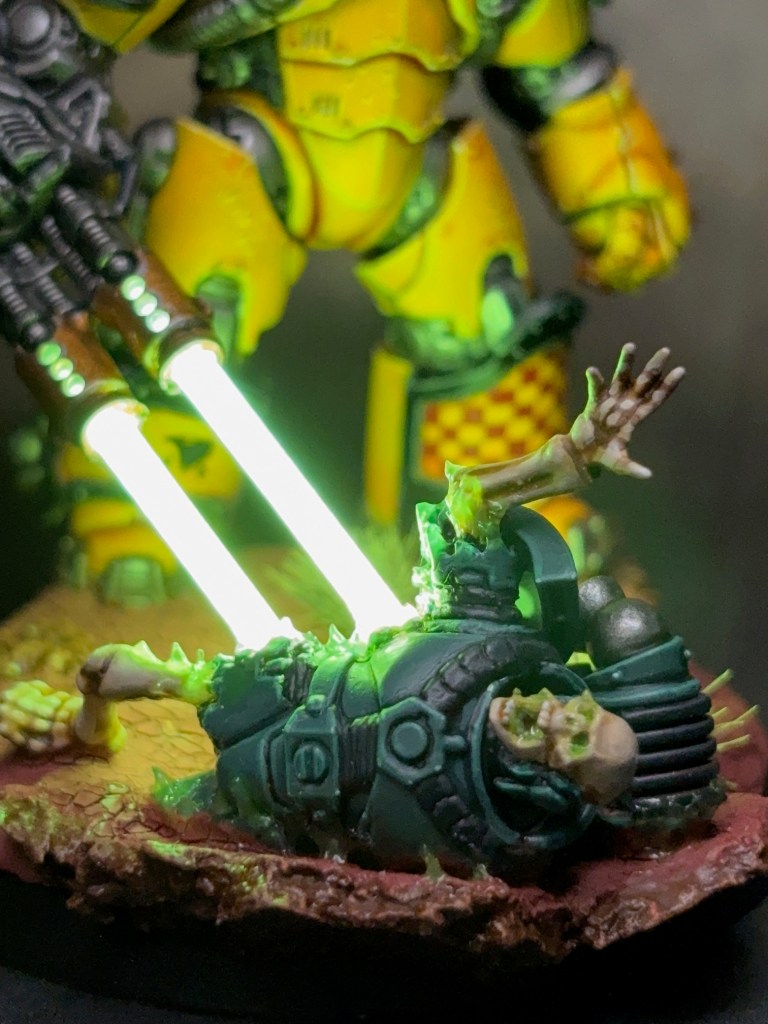
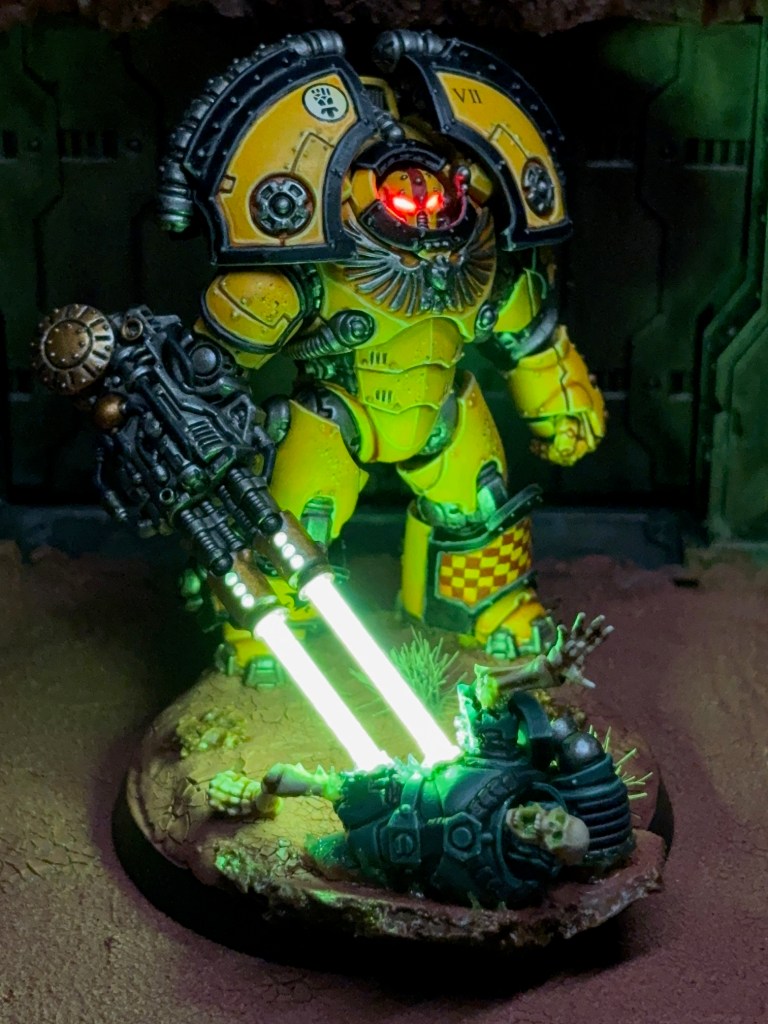
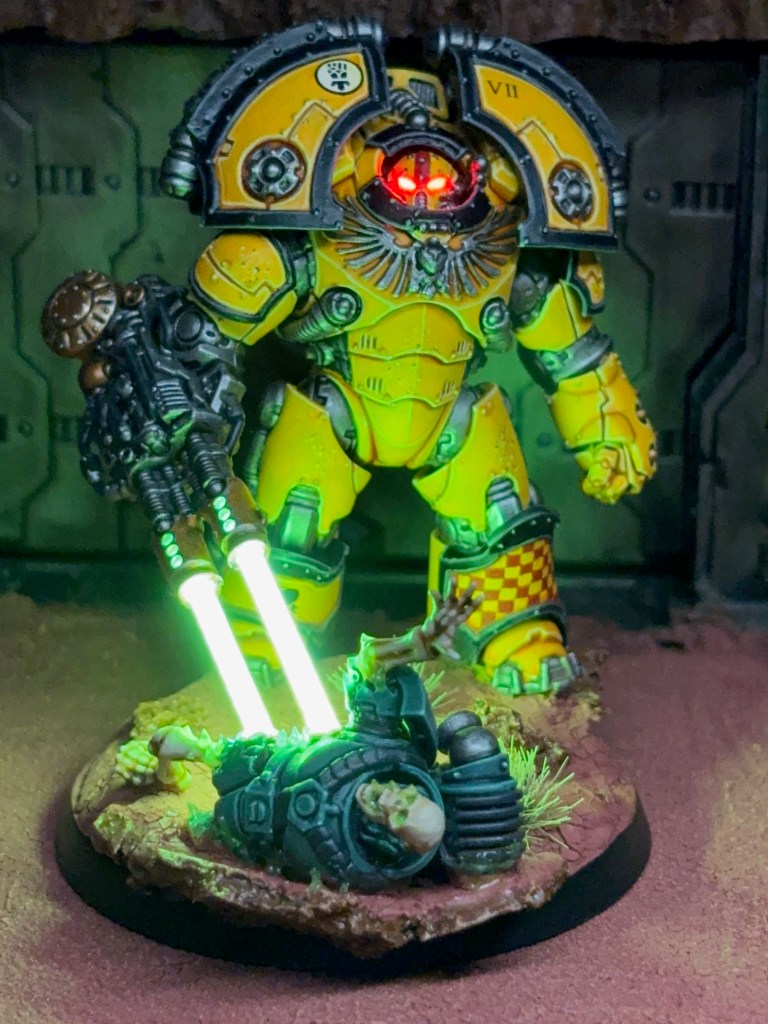
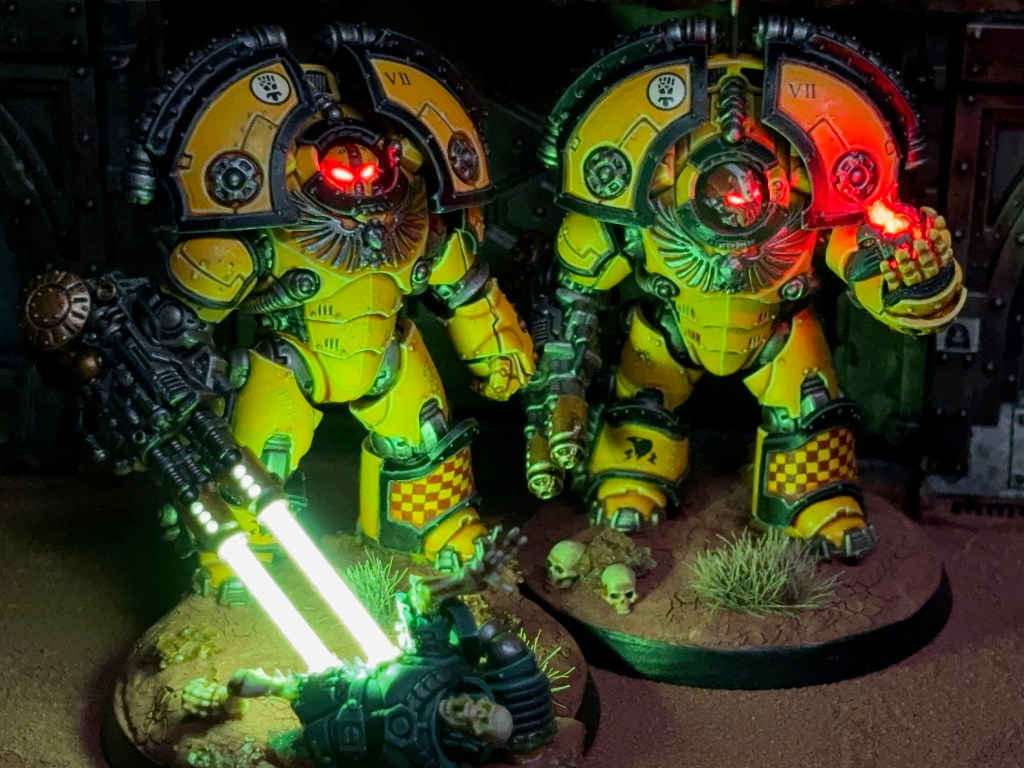
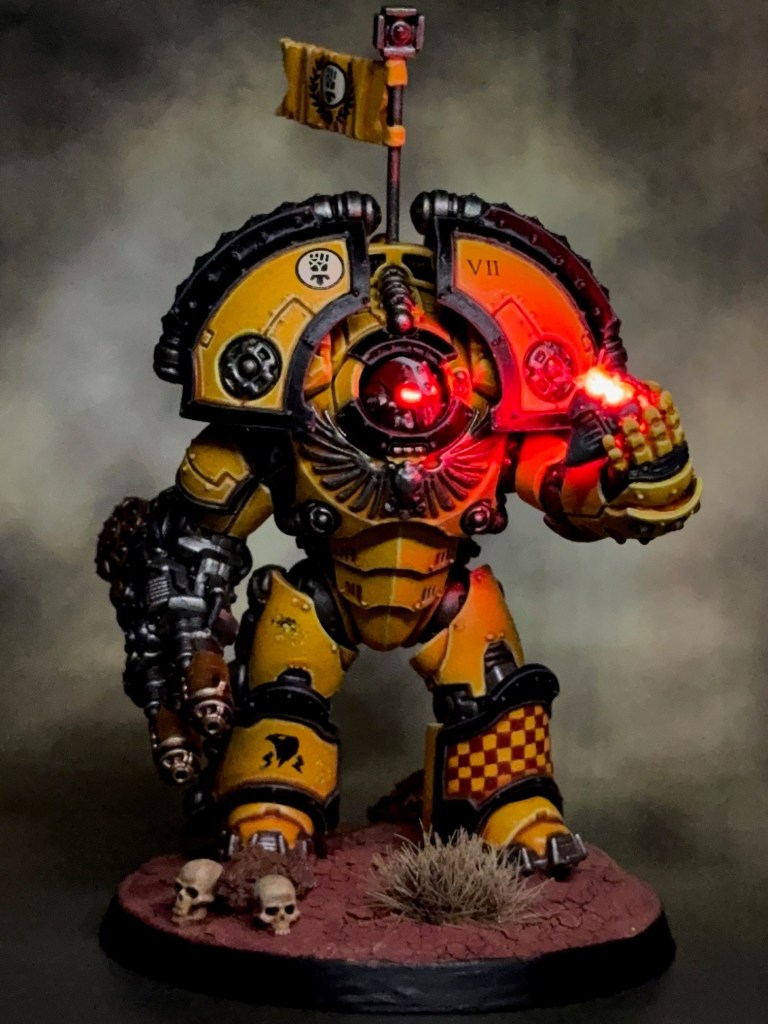
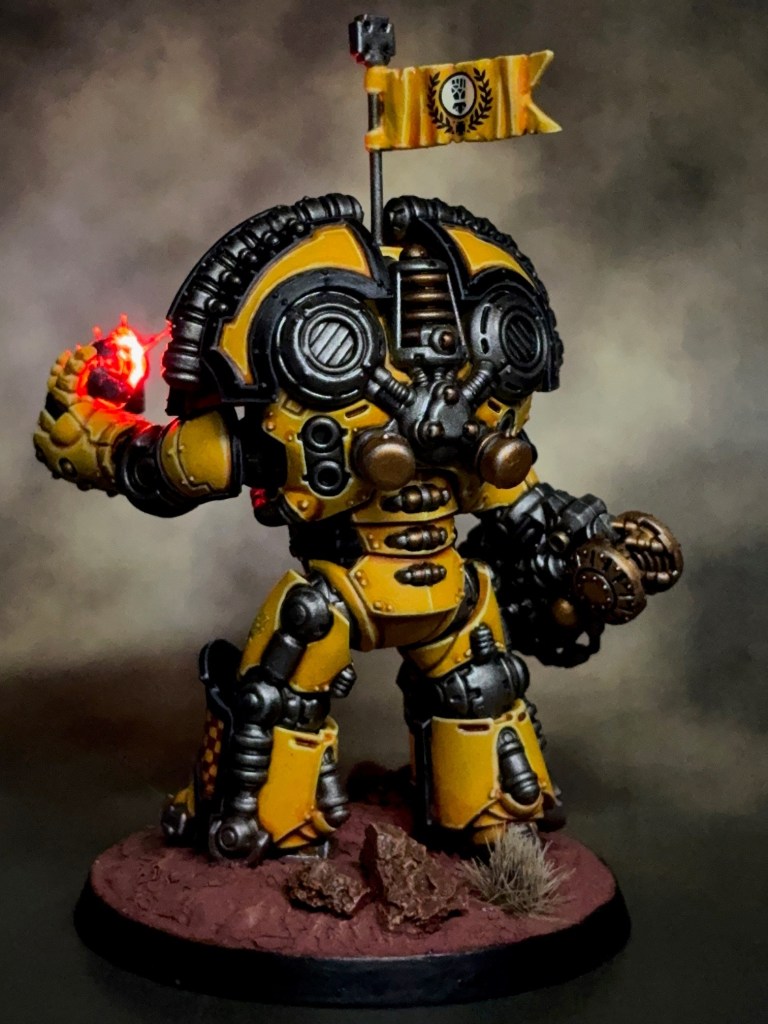
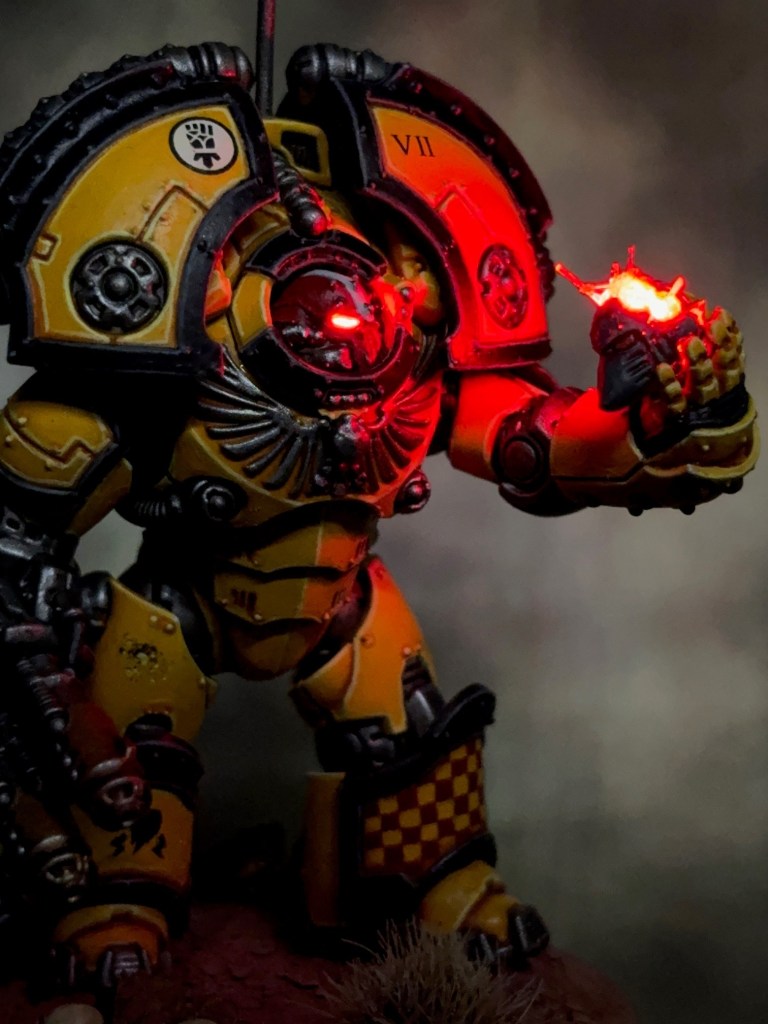
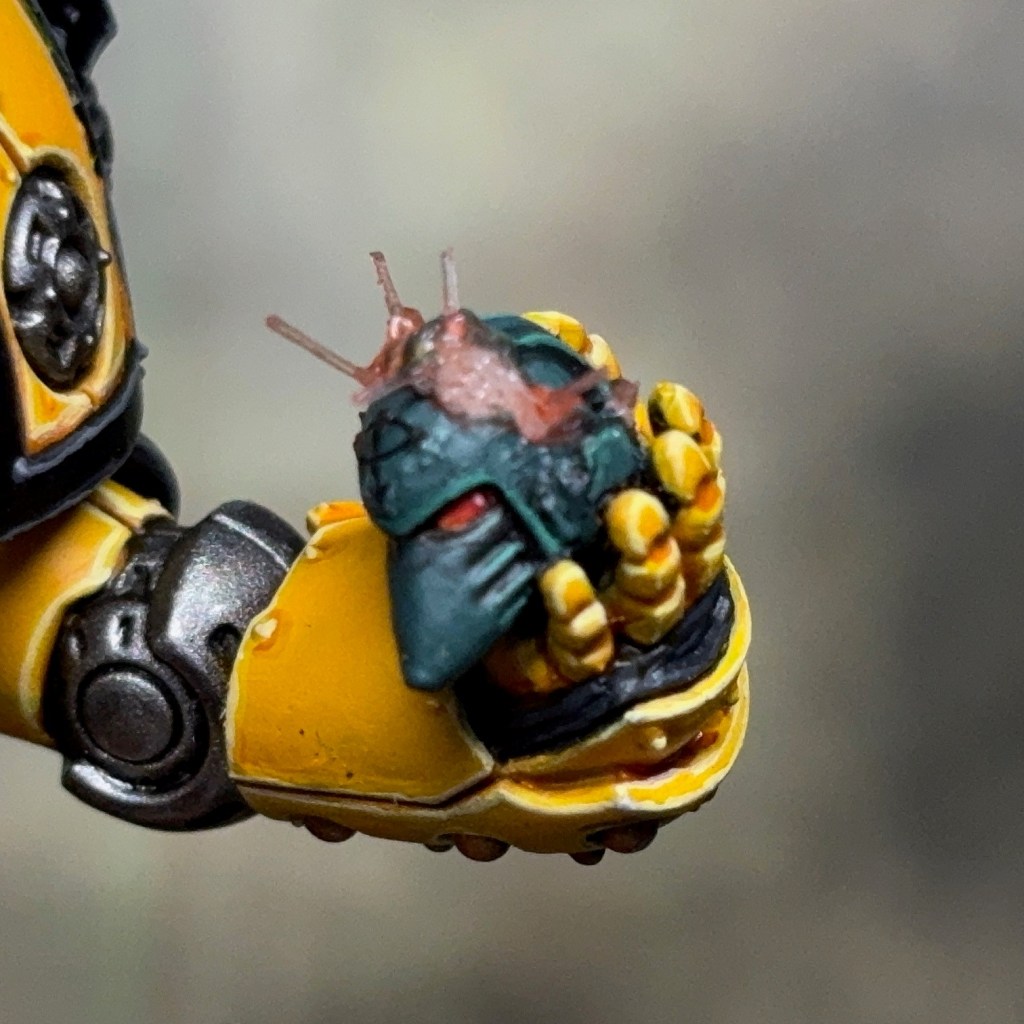
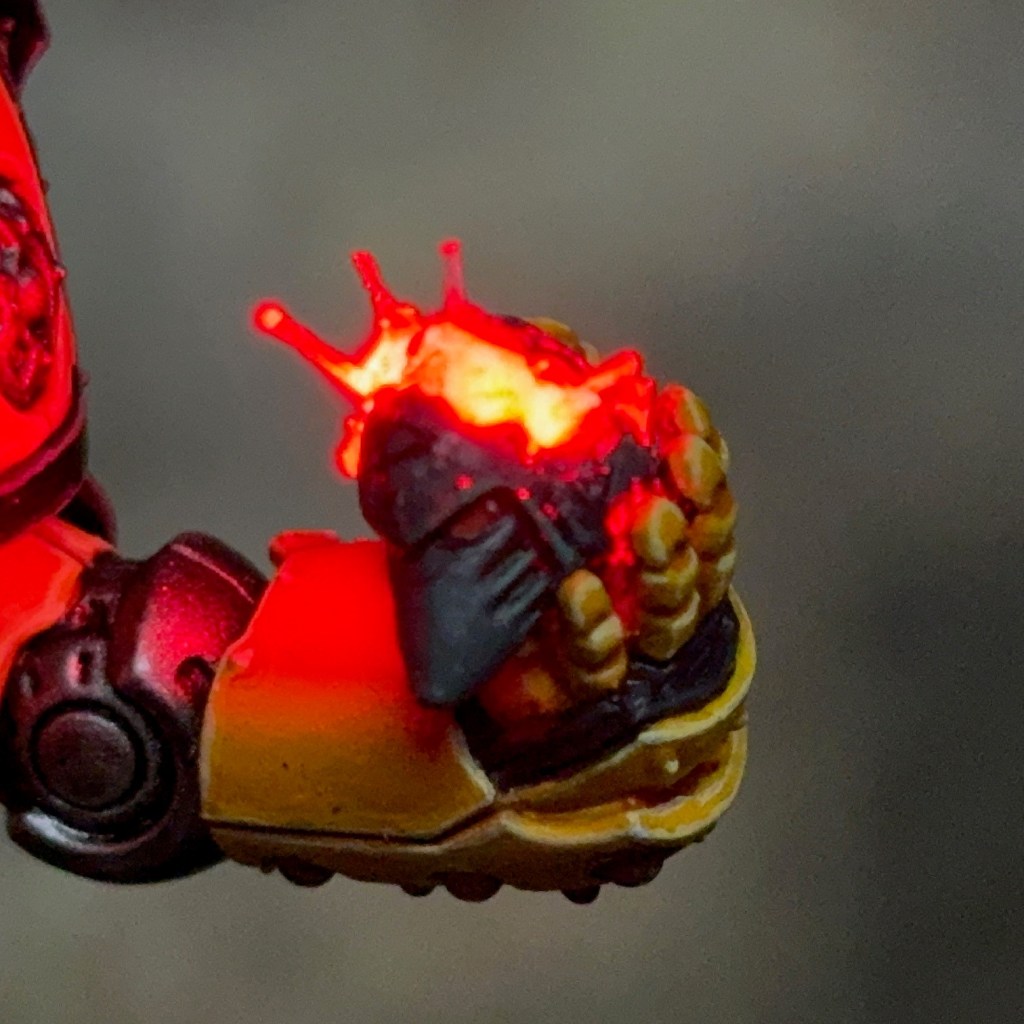
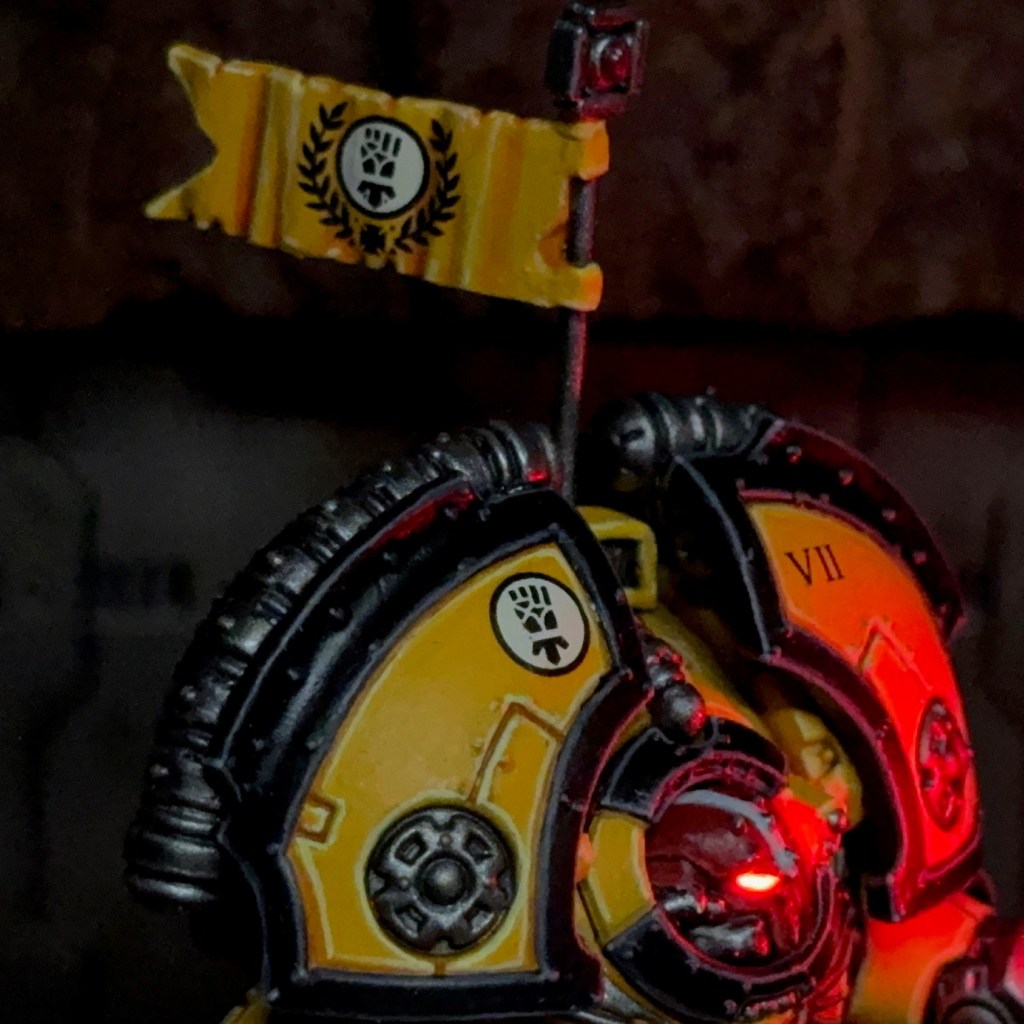
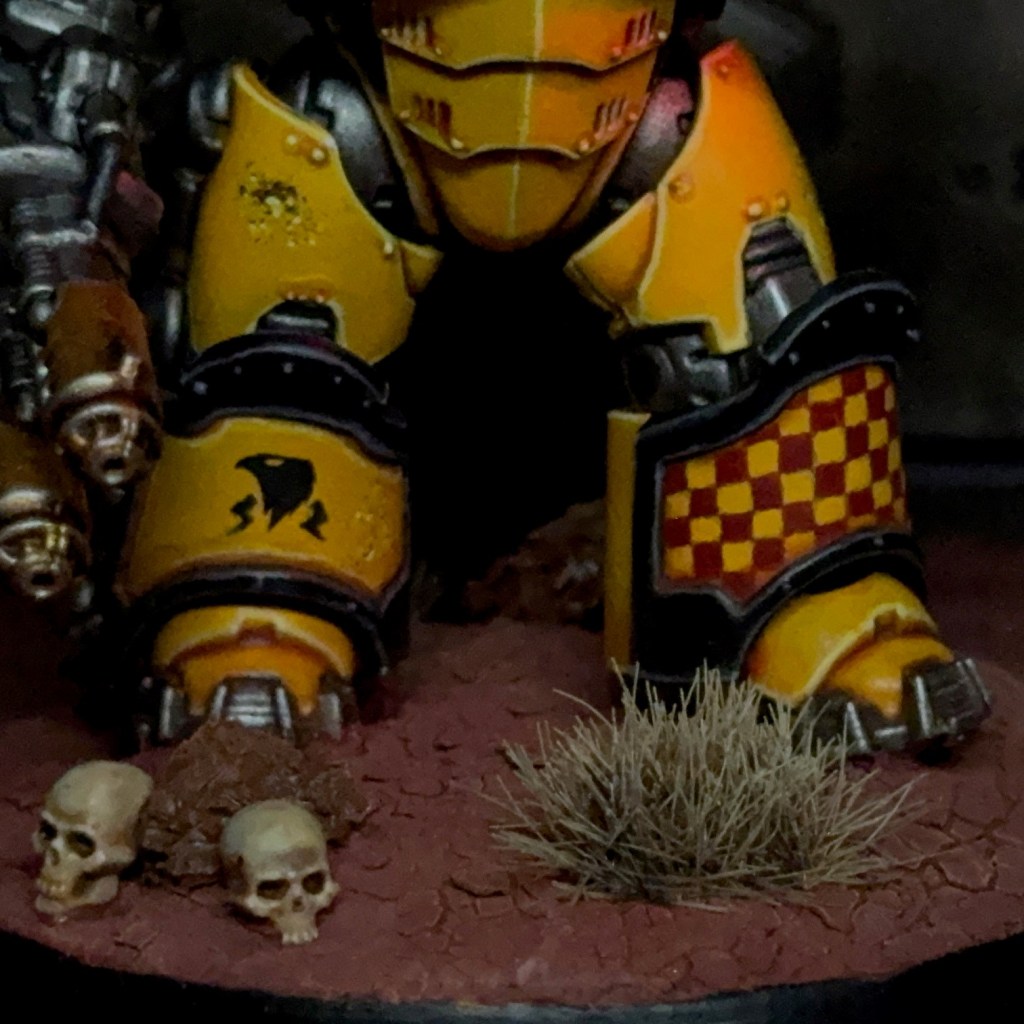
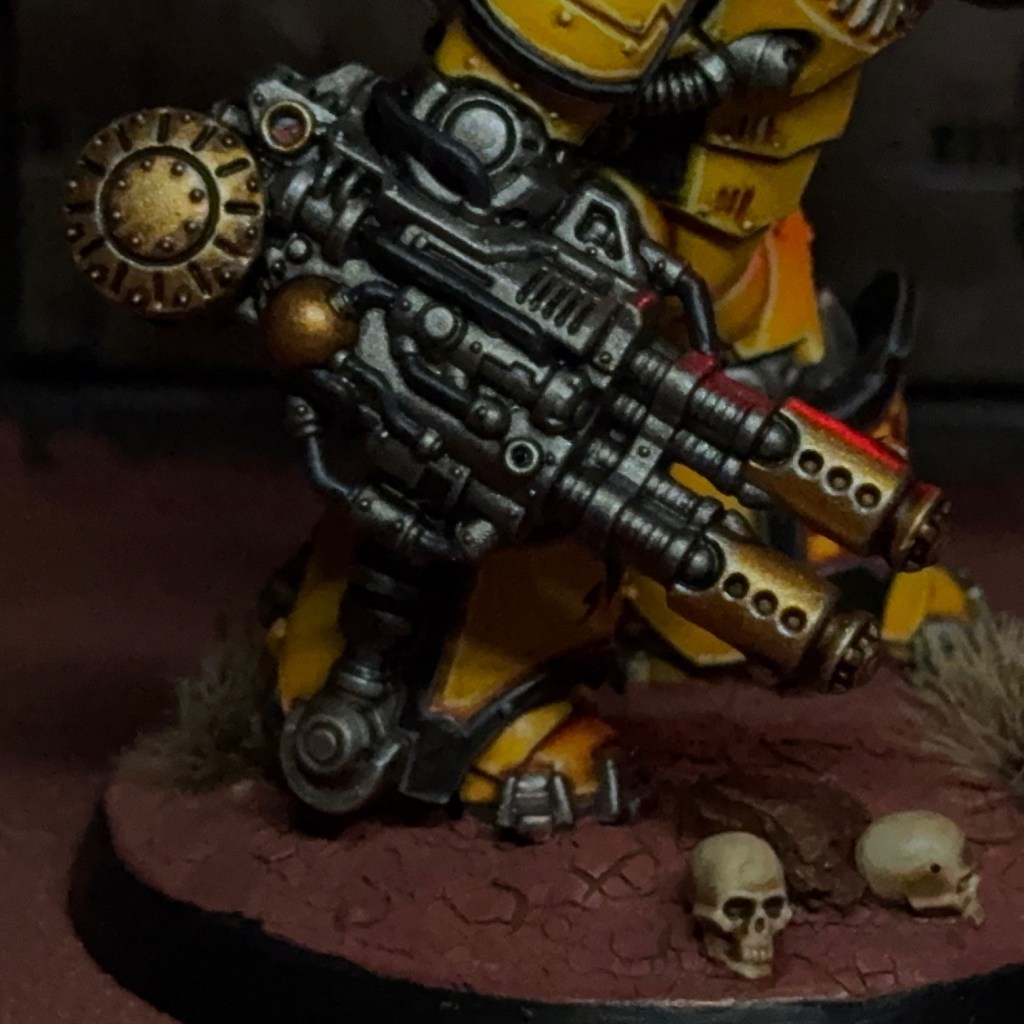
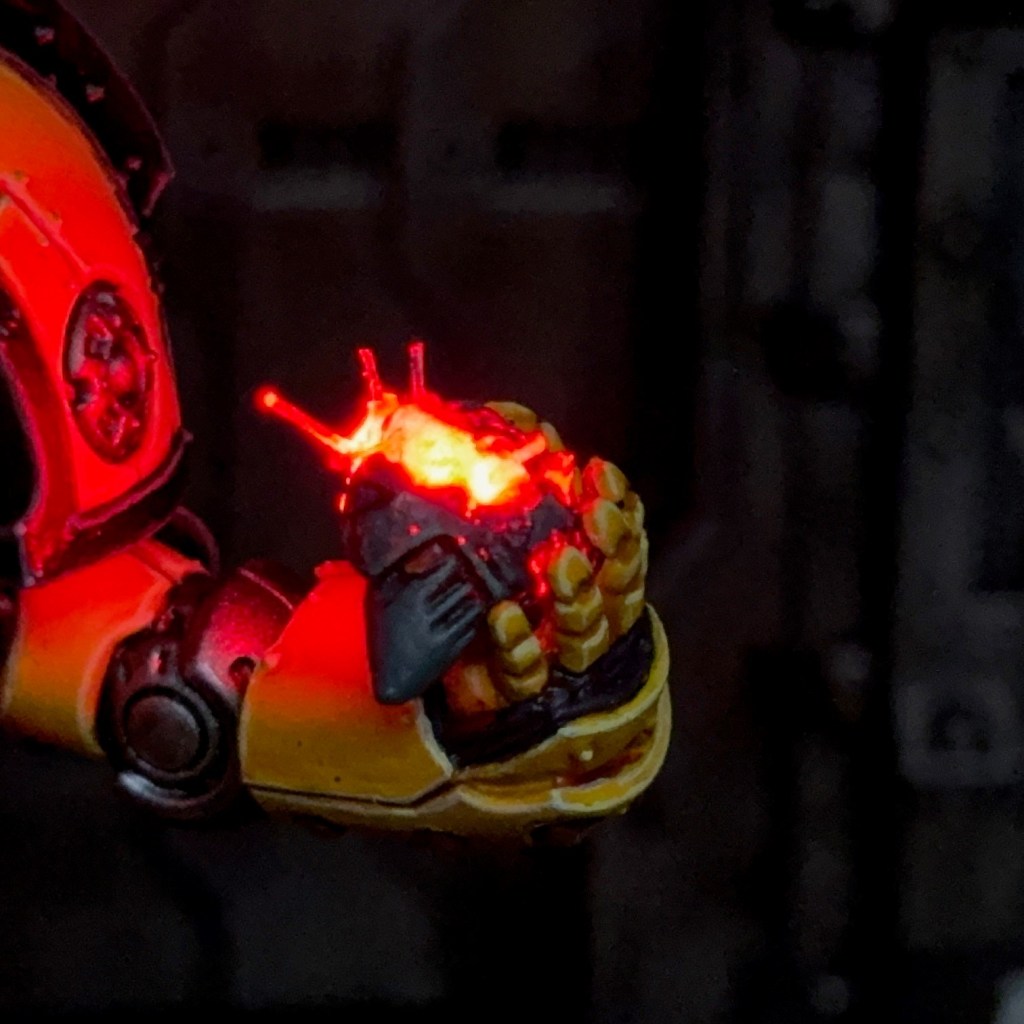
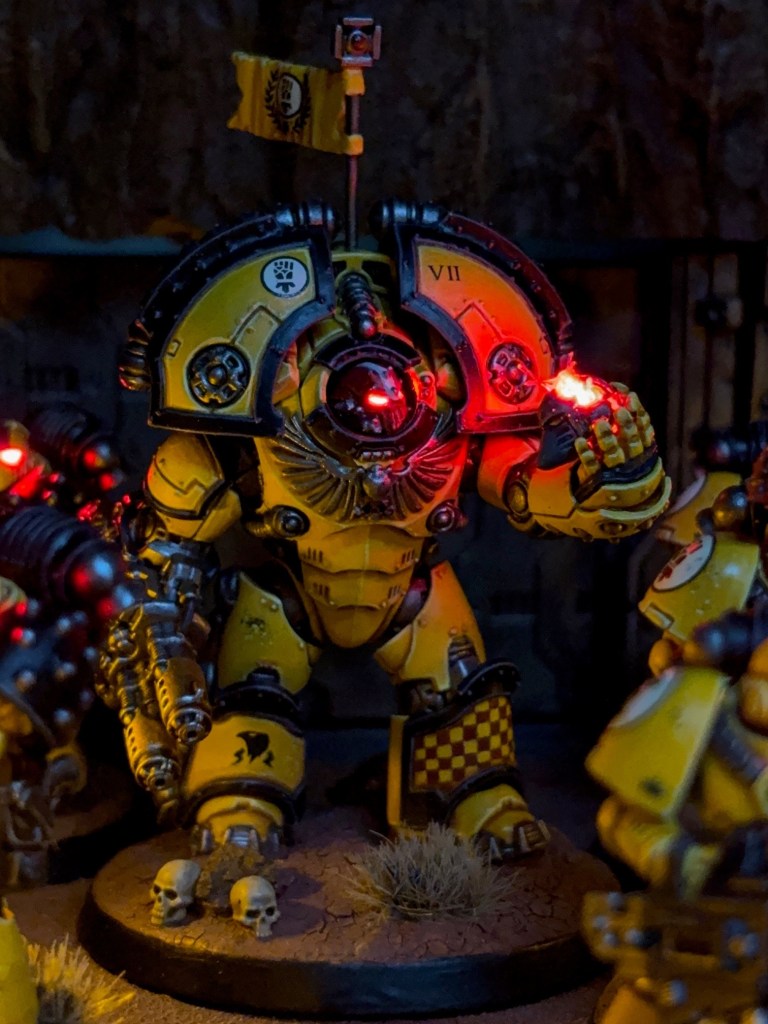
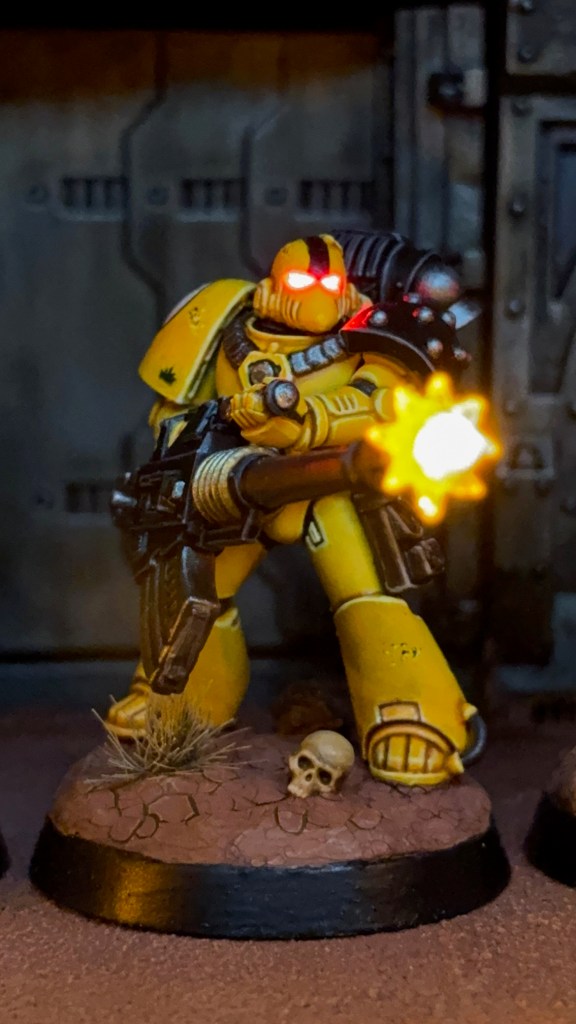
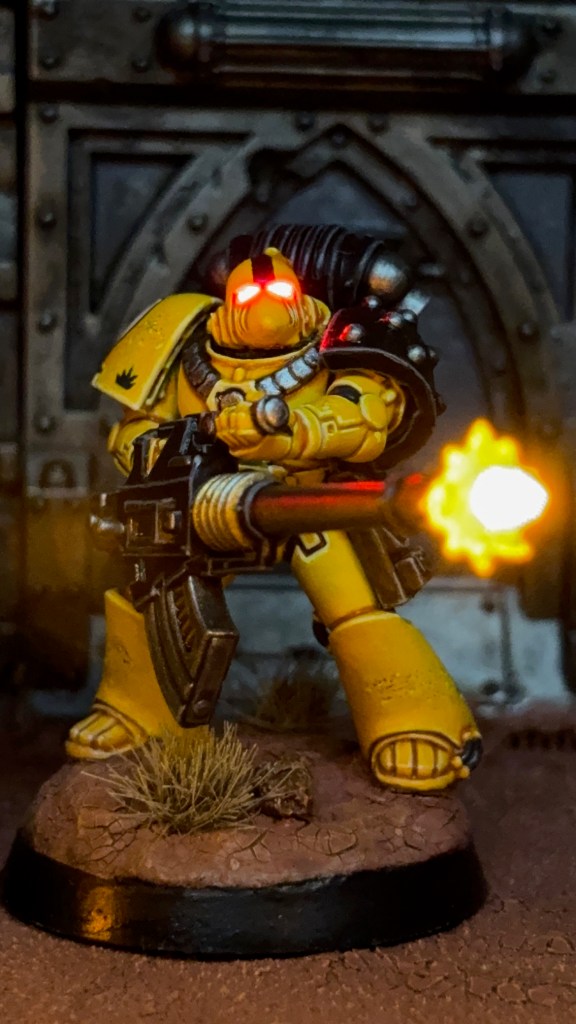
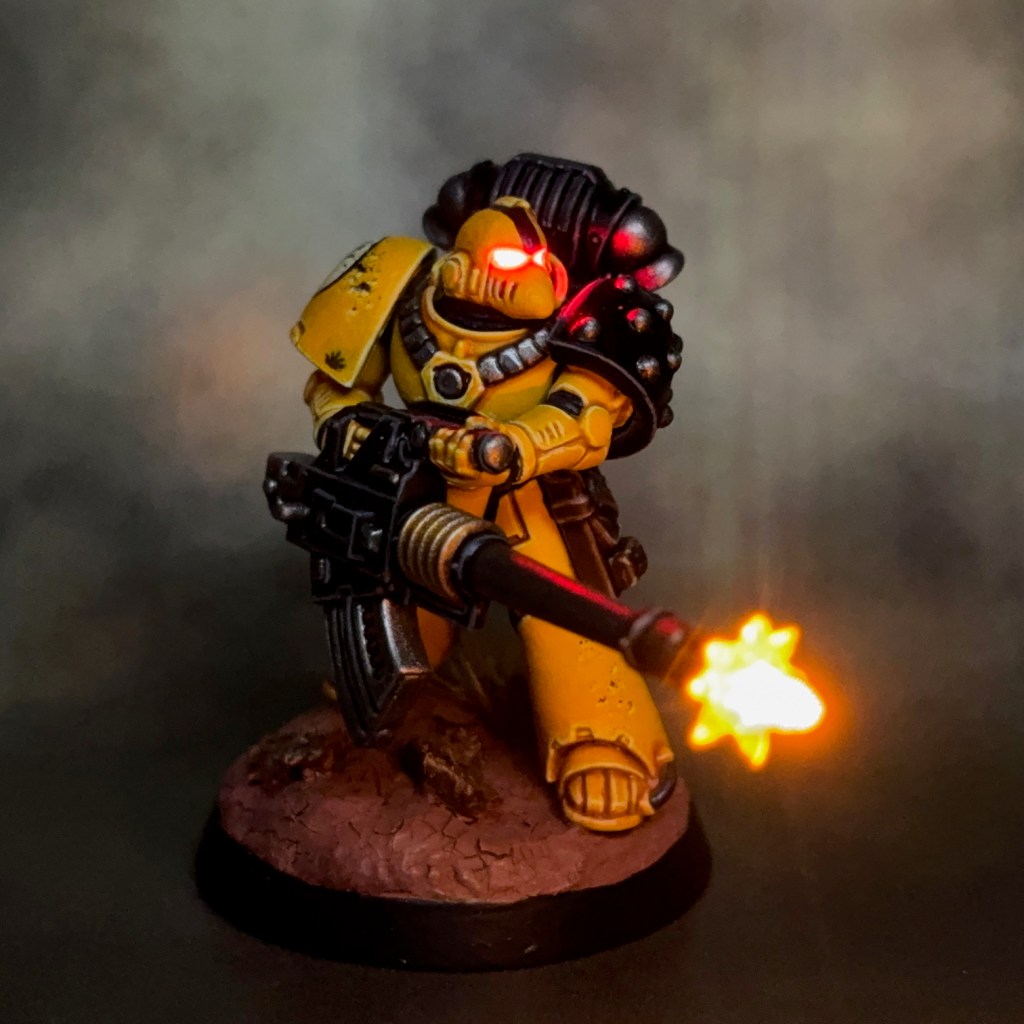
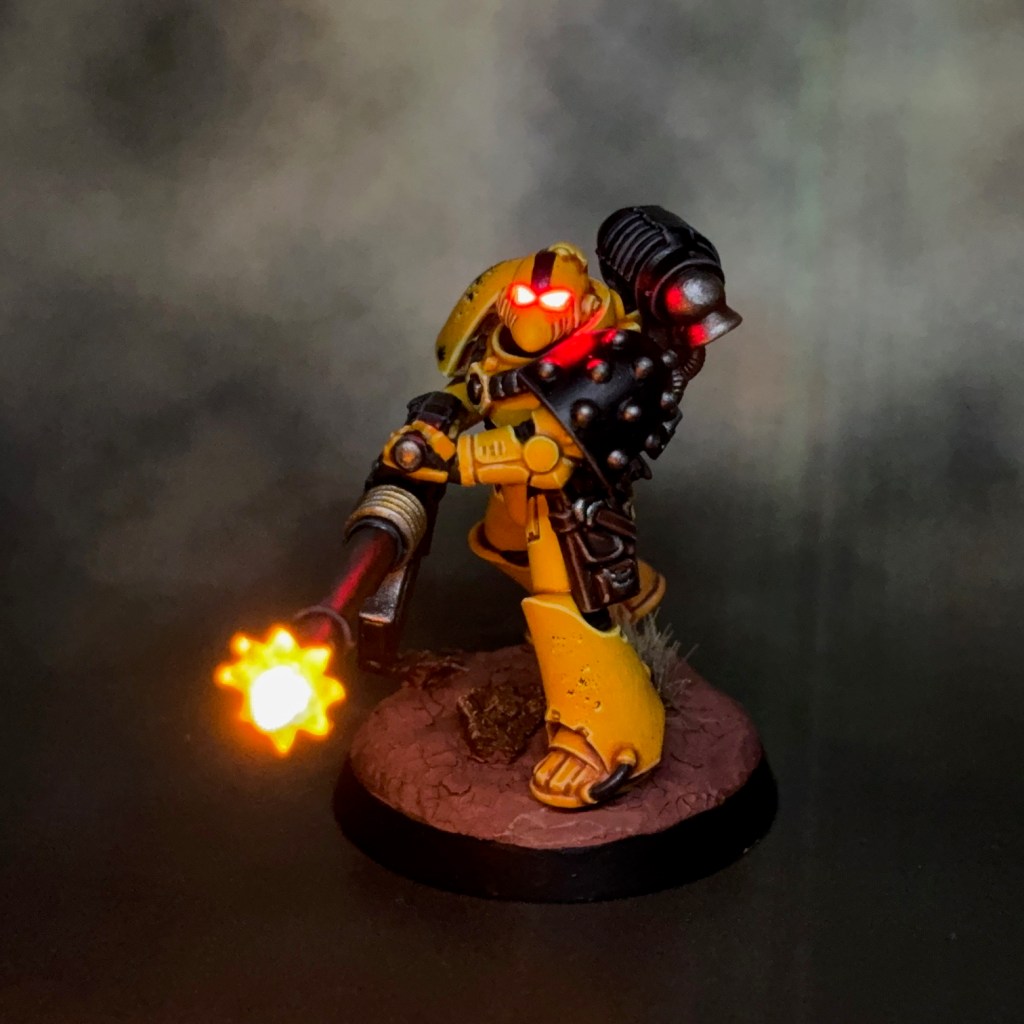
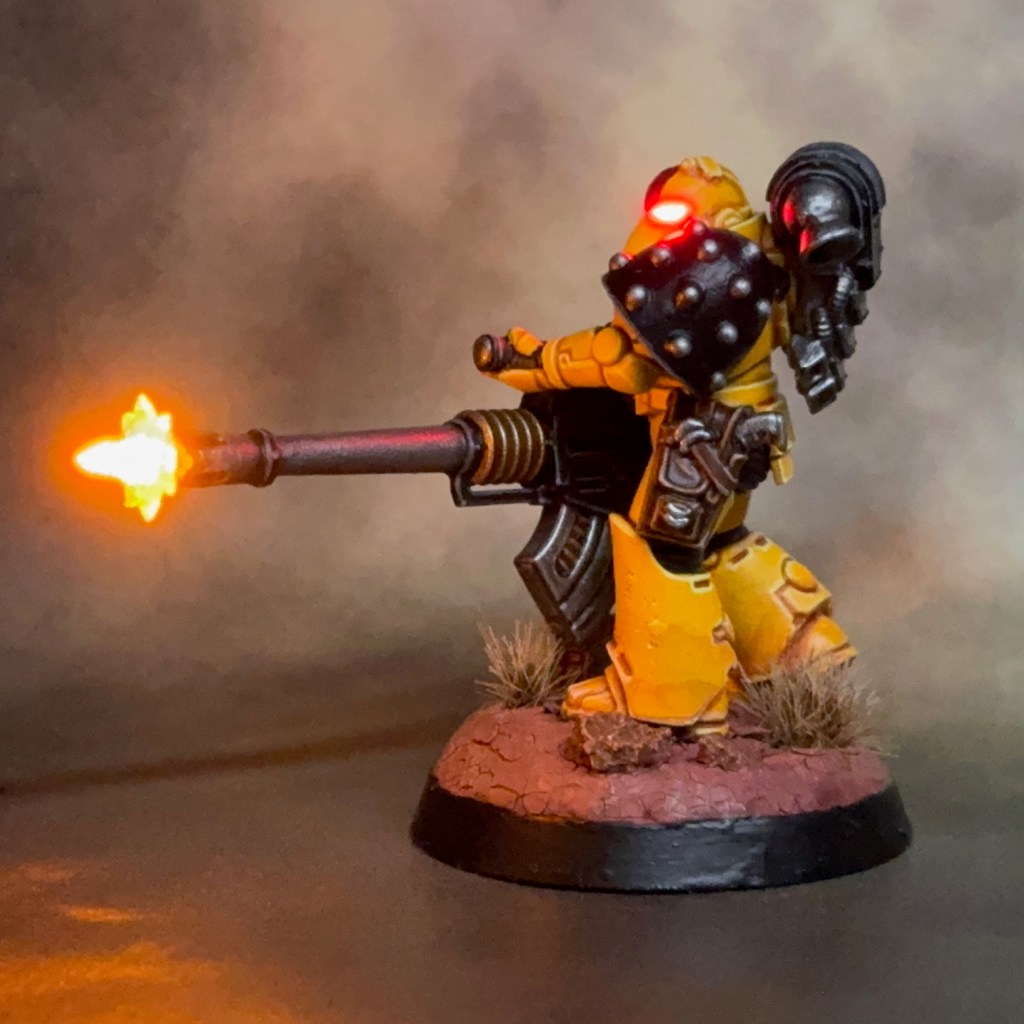
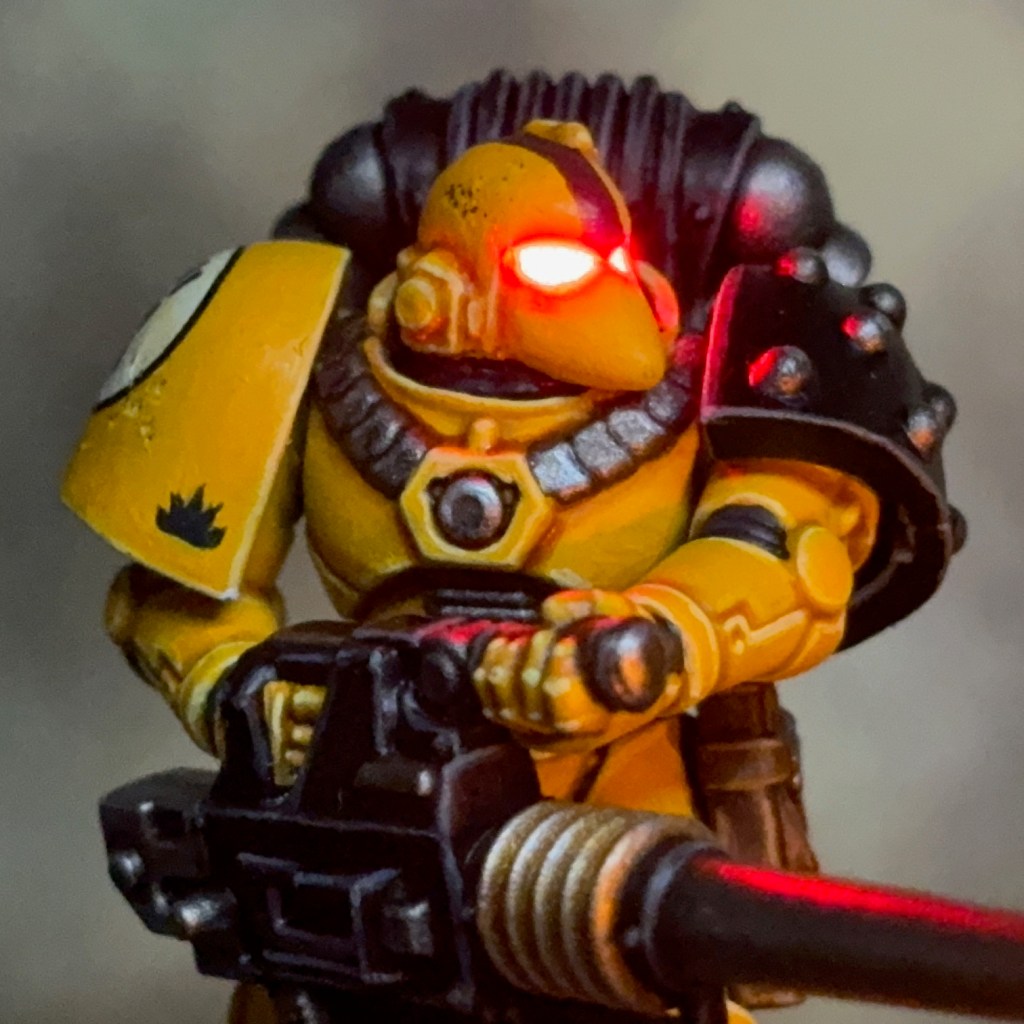
The Imperial Fists were my main hobby focus of the second half of last year, and will be the main focus of this year too. I’d like to complete a solid 1500 points in total by the end of the year, hopefully in time for Armies on Parade 2026. With many units already partially assembled on my workbench, this doesn’t seem too unrealistic for the next 9-10 months.
Undead
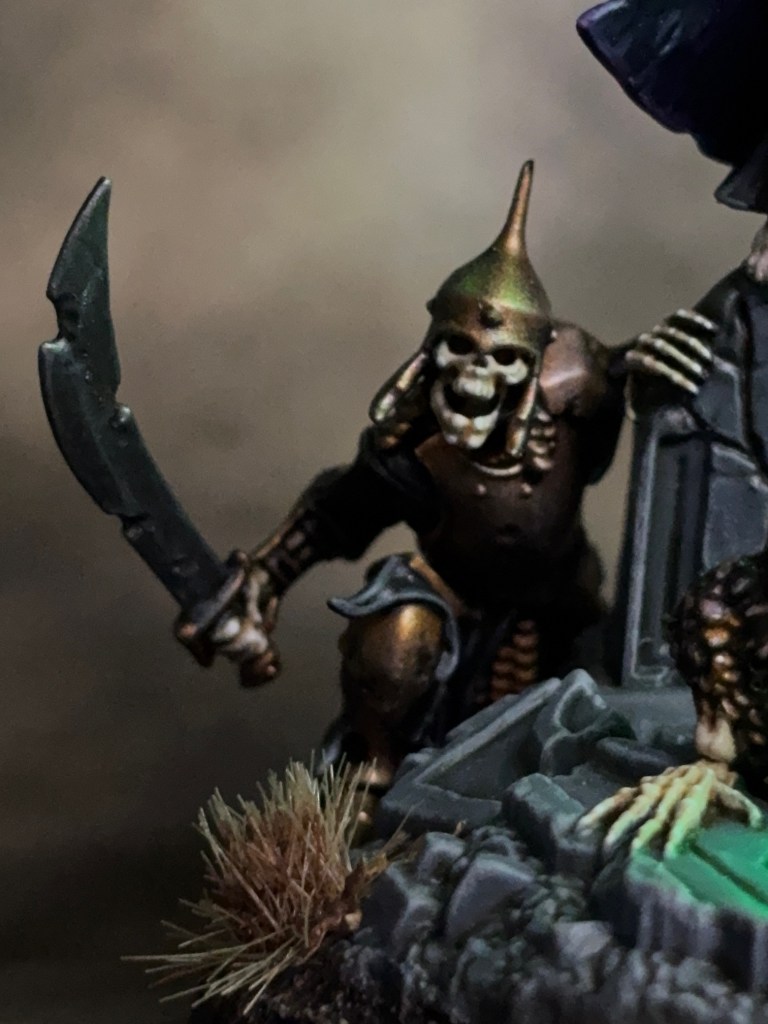
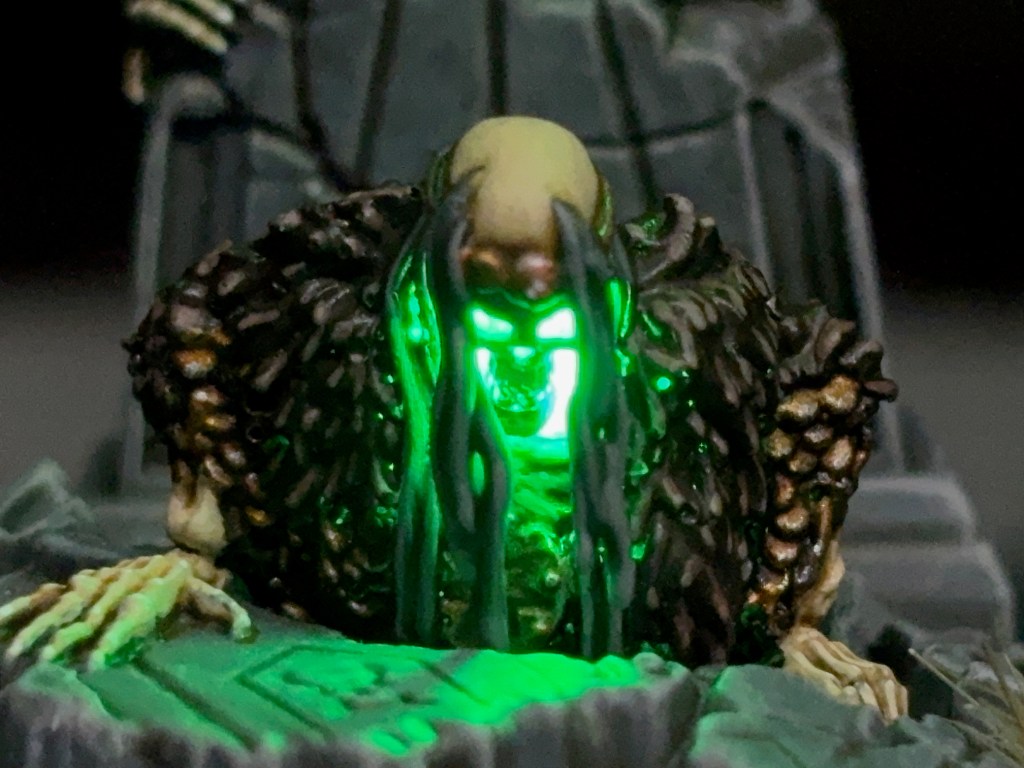
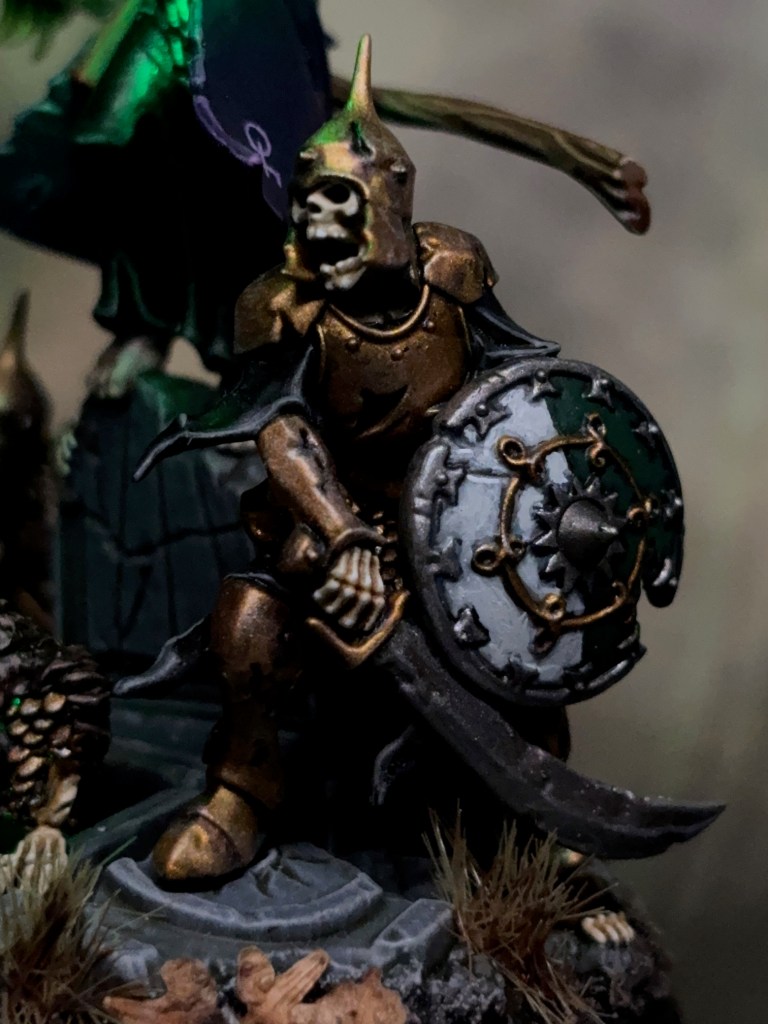
There has been a recent surge of interest in Warhammer fantasy and Age of Sigmar in my gaming group. That, combined with the fun I had recently painting The Summons, has led to me giving in to temptation and buying the Deathrattle Tomb Host Spearhead. Expect to see some more skeletons over the coming months!
Stretch Goals – Traitors, Tyranids & Tutorials!
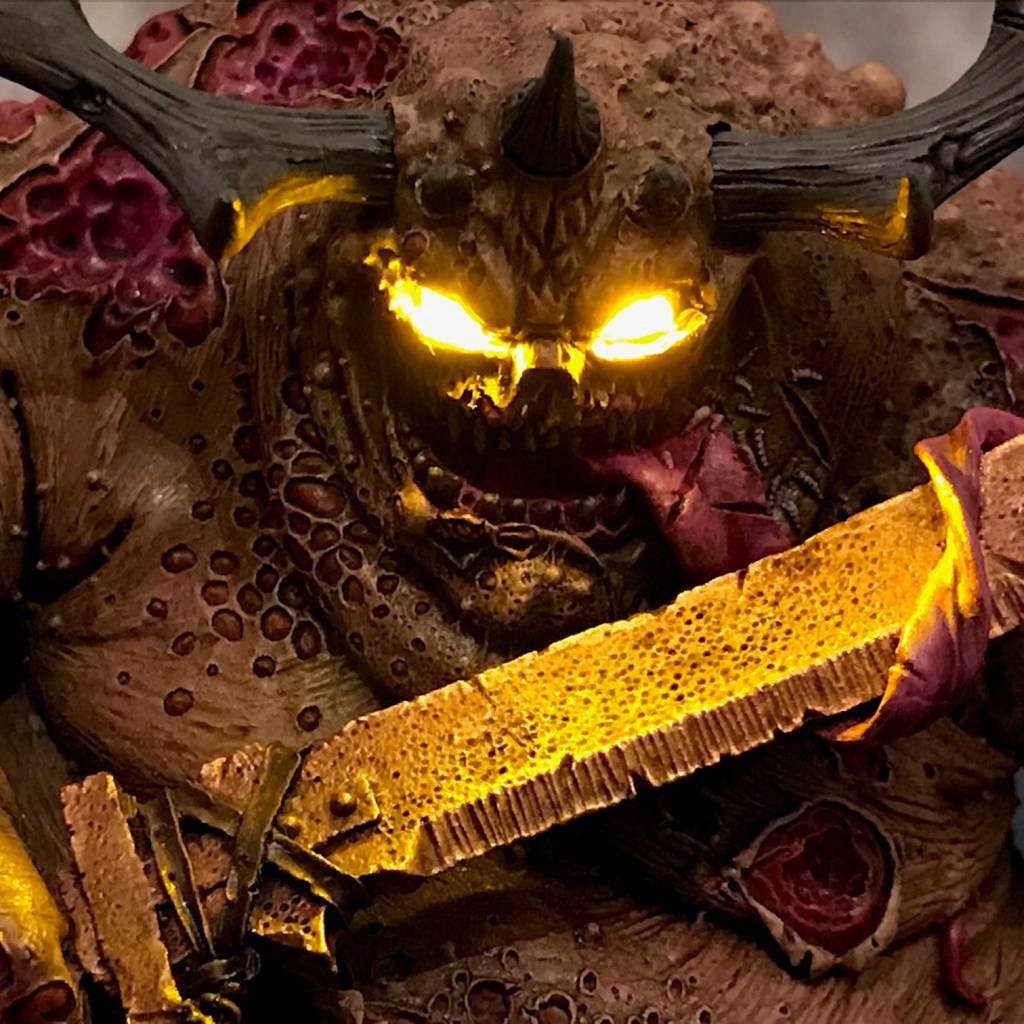


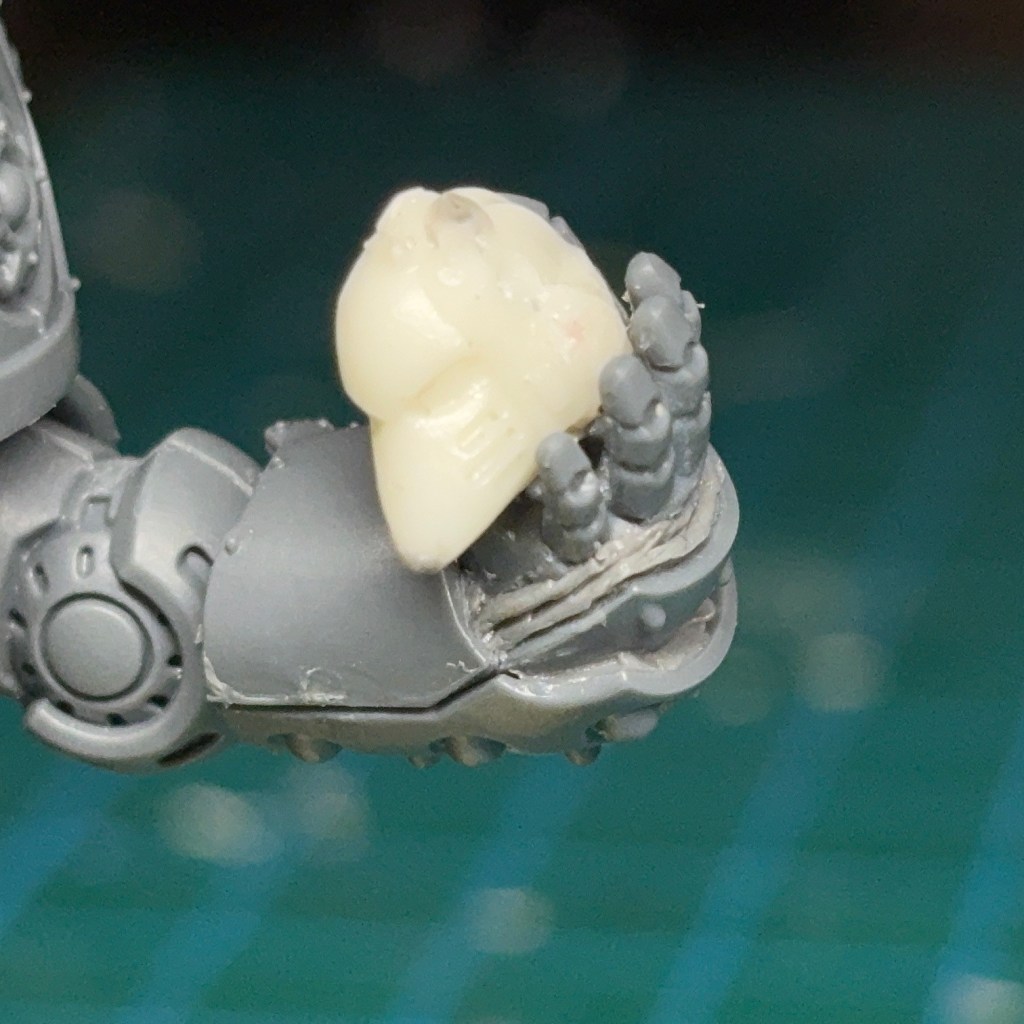
The Imperial Fists and Undead will be my main hobby focus of the year, but I also have some ‘stretch goals’ if I get ahead of schedule and have time to spare. I’d like to make some Age of Darkness Traitors – perhaps a combination of Death Guard and Daemons of the Ruinstorm. I’d also like to paint some more Tyranids for my very slow-burn Hive Fleet Cerberus project. Finally, some of my LED miniature tutorials are several years old now and could do with an update and refresh.
So those are my hobby plans for the year! I’m sure there will also be a few one-off miniatures and other hobby tangents. I hope you all have plenty of plans in mind for fun hobby too! As ever, thanks very much for reading, and please remember you can keep up to date on my hobby progress in 2026 by following me on Instagram, Threads, Bluesky and Mastodon.