This week I’m showcasing a very special project – an Apothecary Biologis of the Imperial Fists. I am donating this miniature to The Apothecarion project, a fundraising effort for a charity that supports survivors of childhood cancer. Members of the online Warhammer community are donating Apothecary miniatures, and anyone can buy tickets to enter the raffle for a chance to win one of four ‘reliquary’ display cases full of donated miniatures. If you enter this raffle then this is your chance to not only own this miniature, but also raise money to a great cause!

Modelling
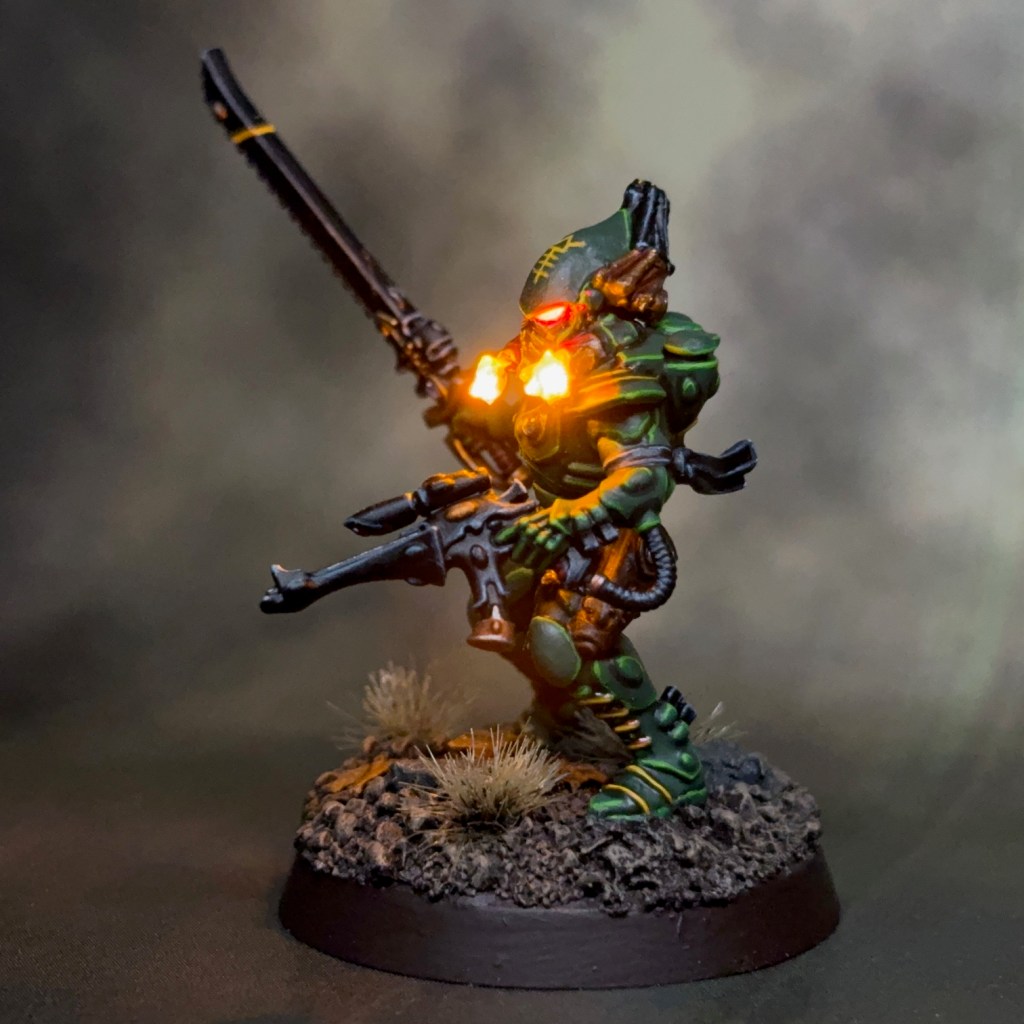
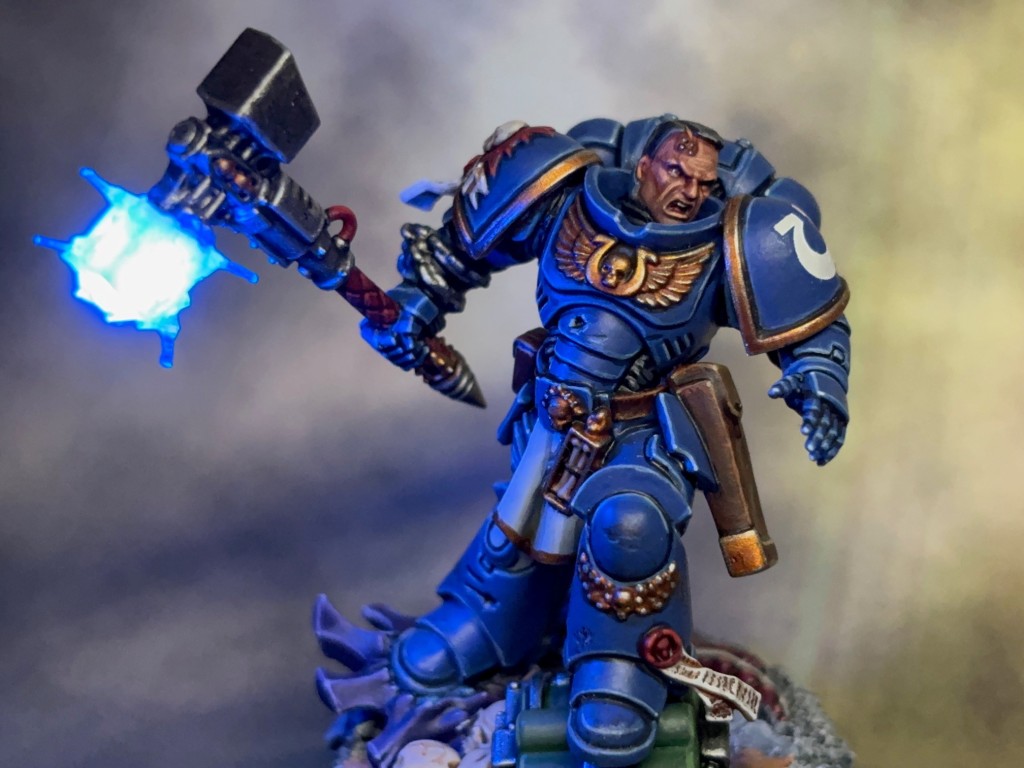
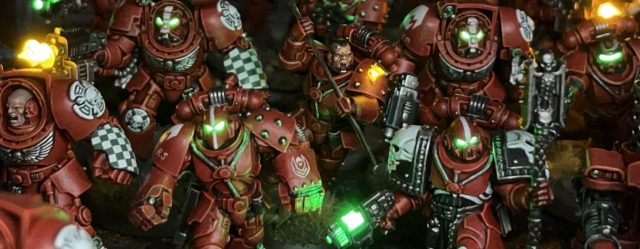
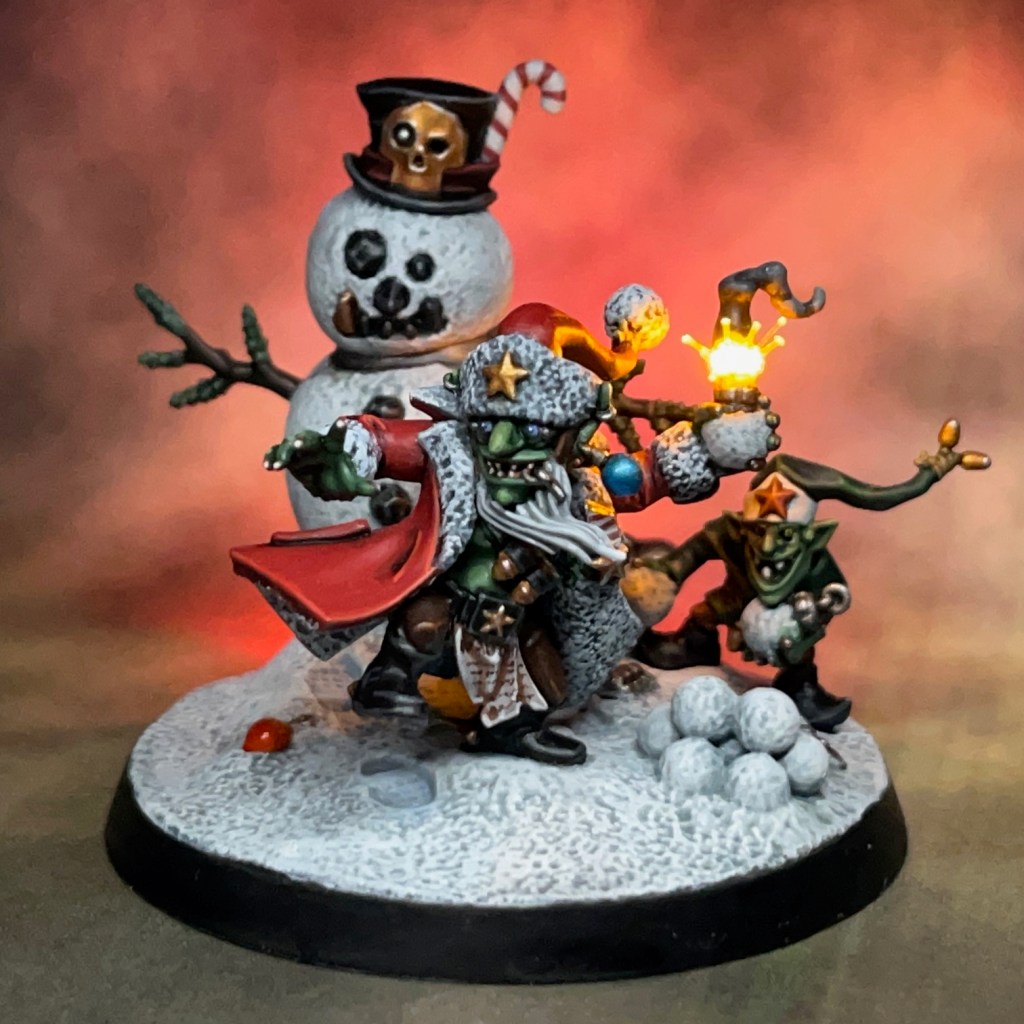
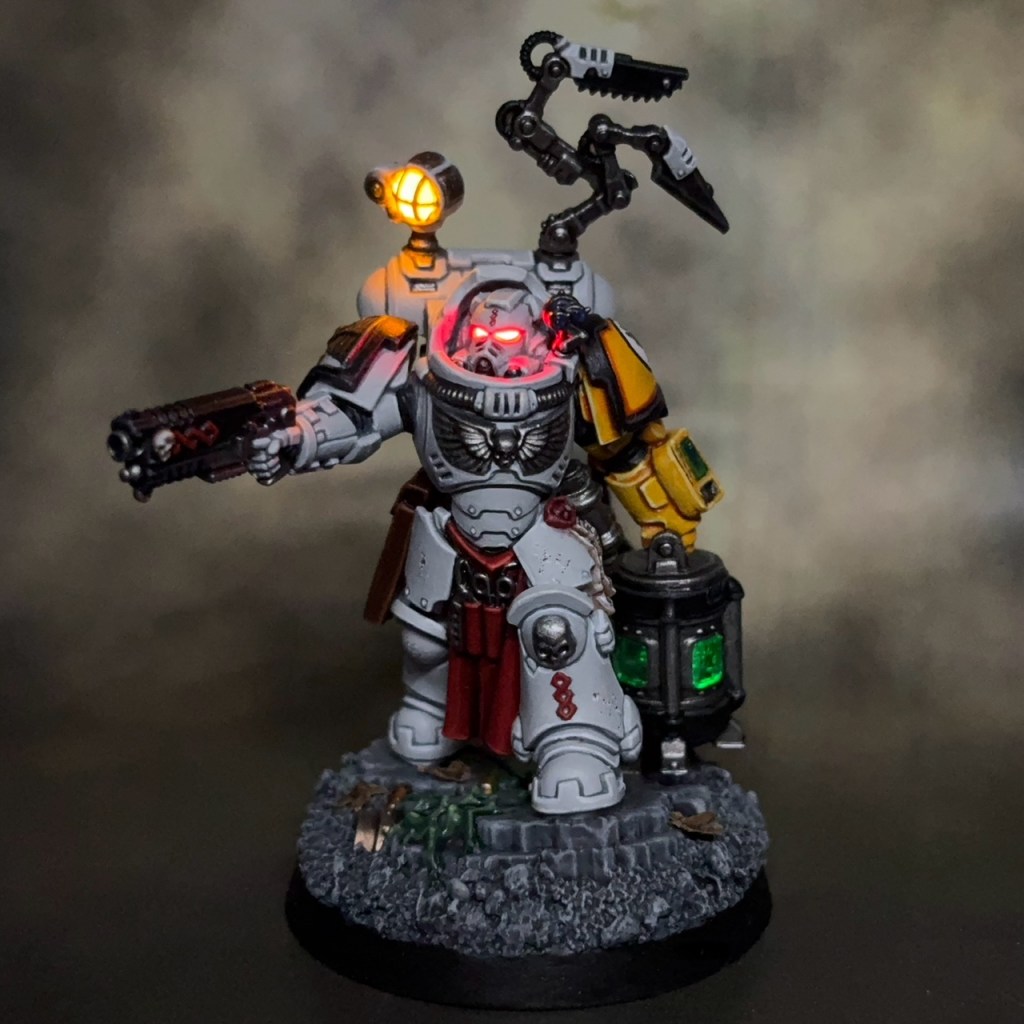
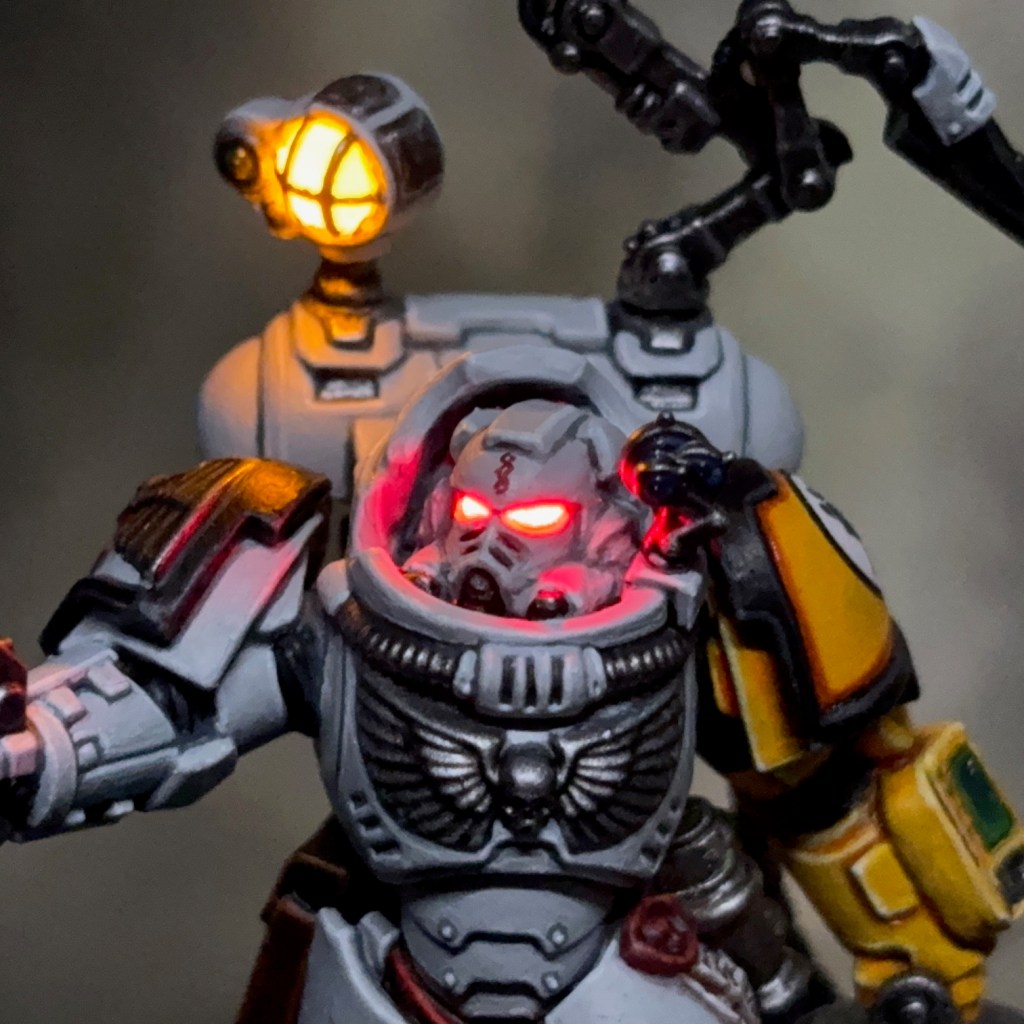
When I was asked to take part in this fundraising project and donate an Apothecary, my mind immediately went to the Leviathan Apothecary Biologis. Until recently I had no clear plans for this miniature as it didn’t really fit in with my Flesh Eaters. But with this community project to inspire me I suddenly knew exactly what I wanted to do with this kit. This Apothecary includes three LEDs to create its effects; one in the helmet, one in the task lamp, and one in the Vivispectrum sample chamber.
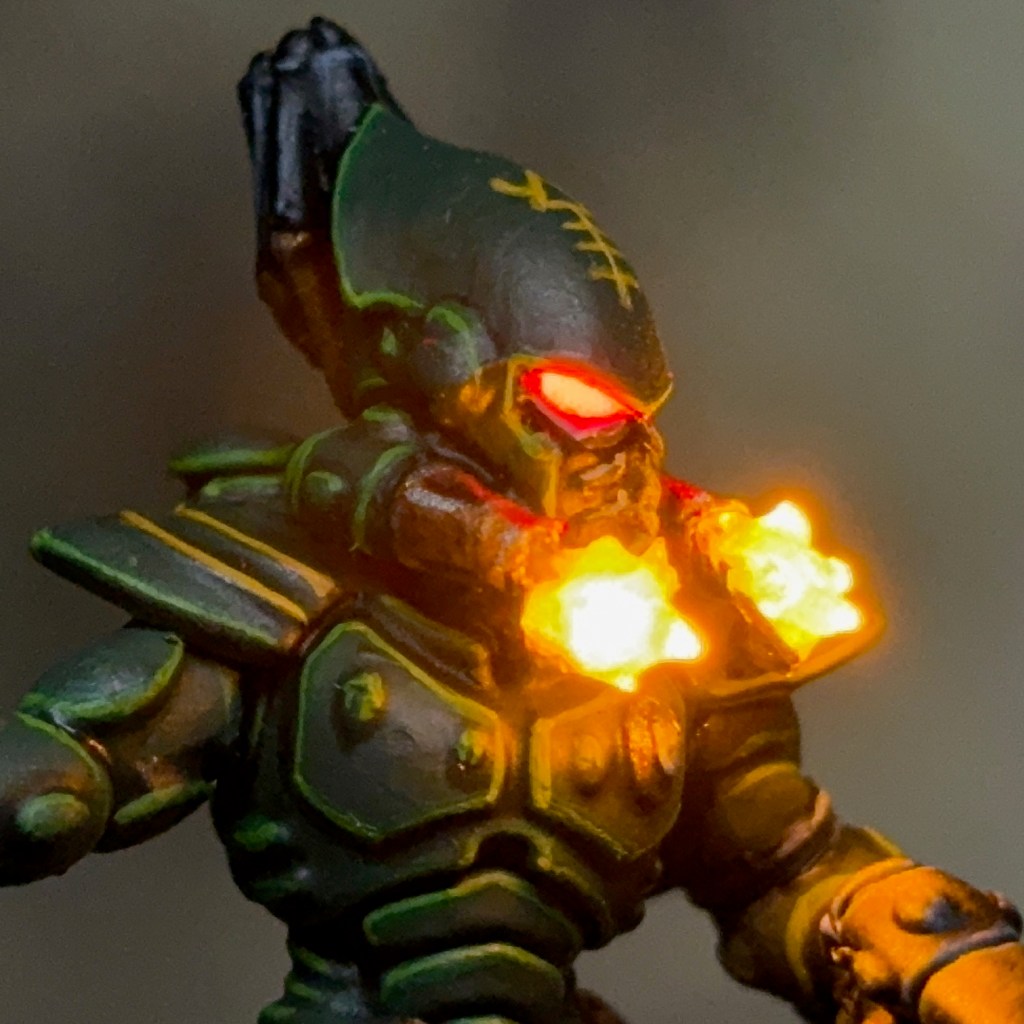
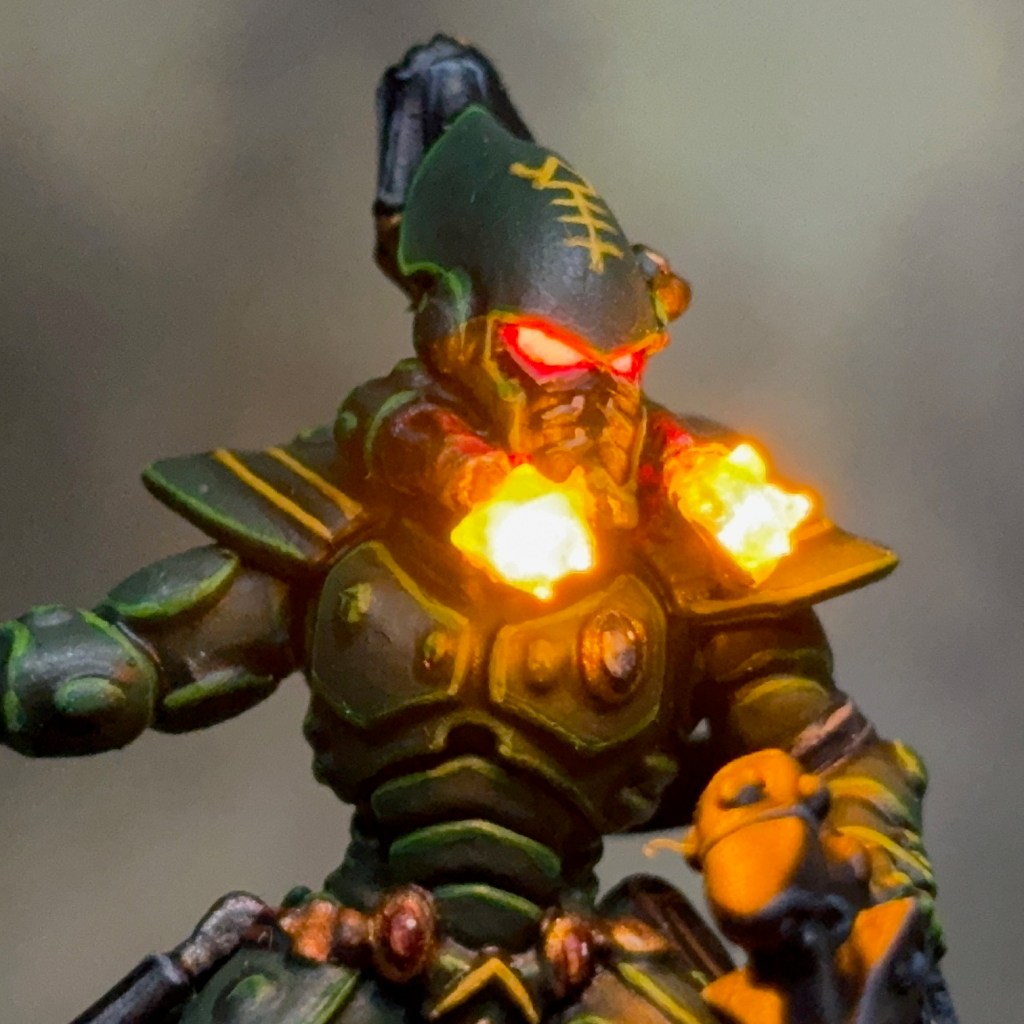
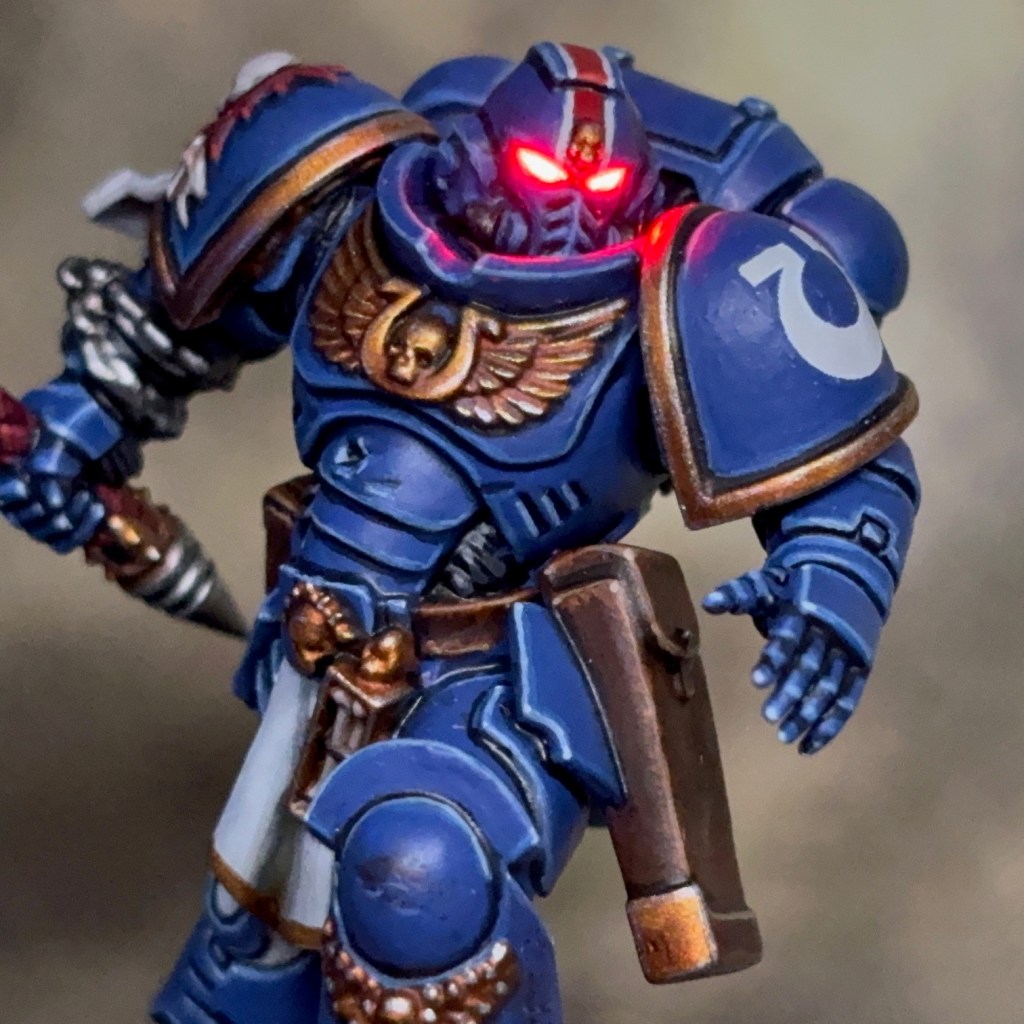
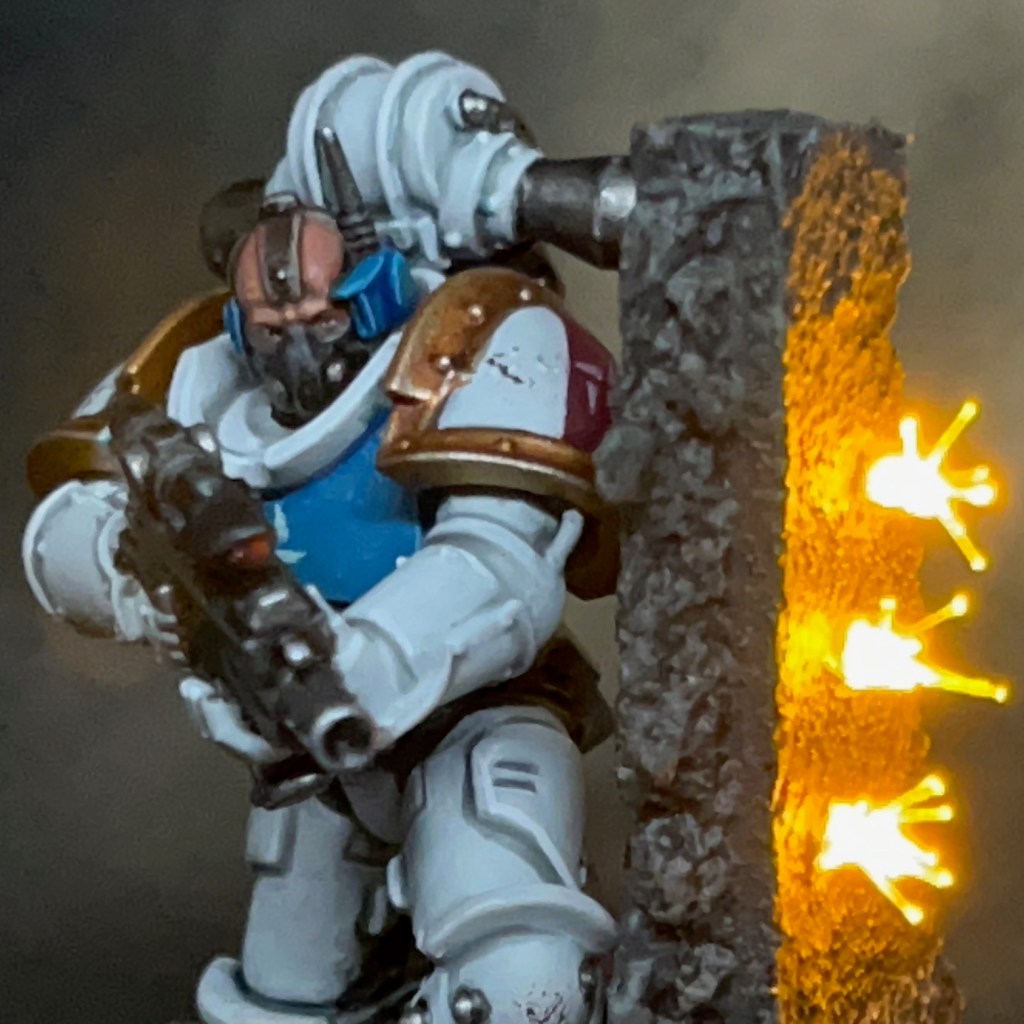
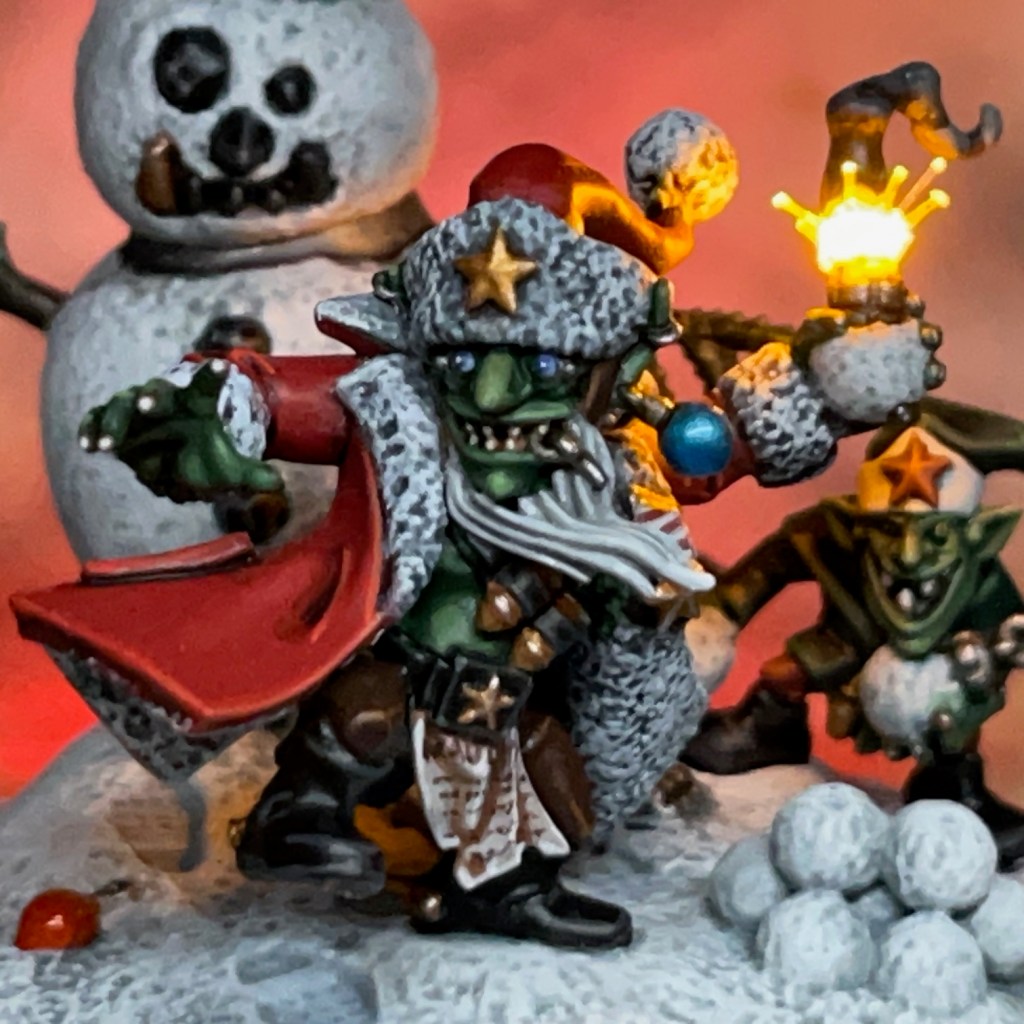
The glowing helmet eye lenses were created using the techniques detailed in my LED Eye Lens Tutorial, including the TruOpto 1.8mm Red LED.
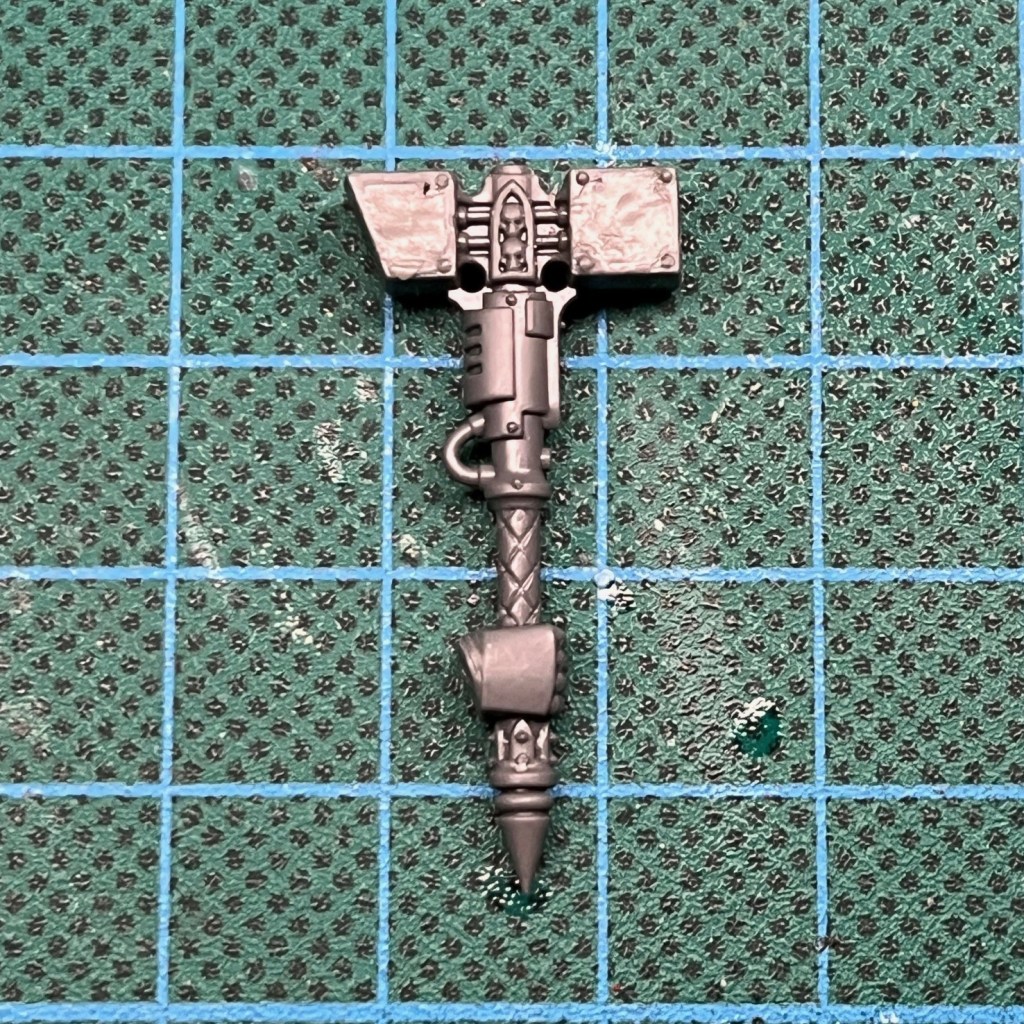
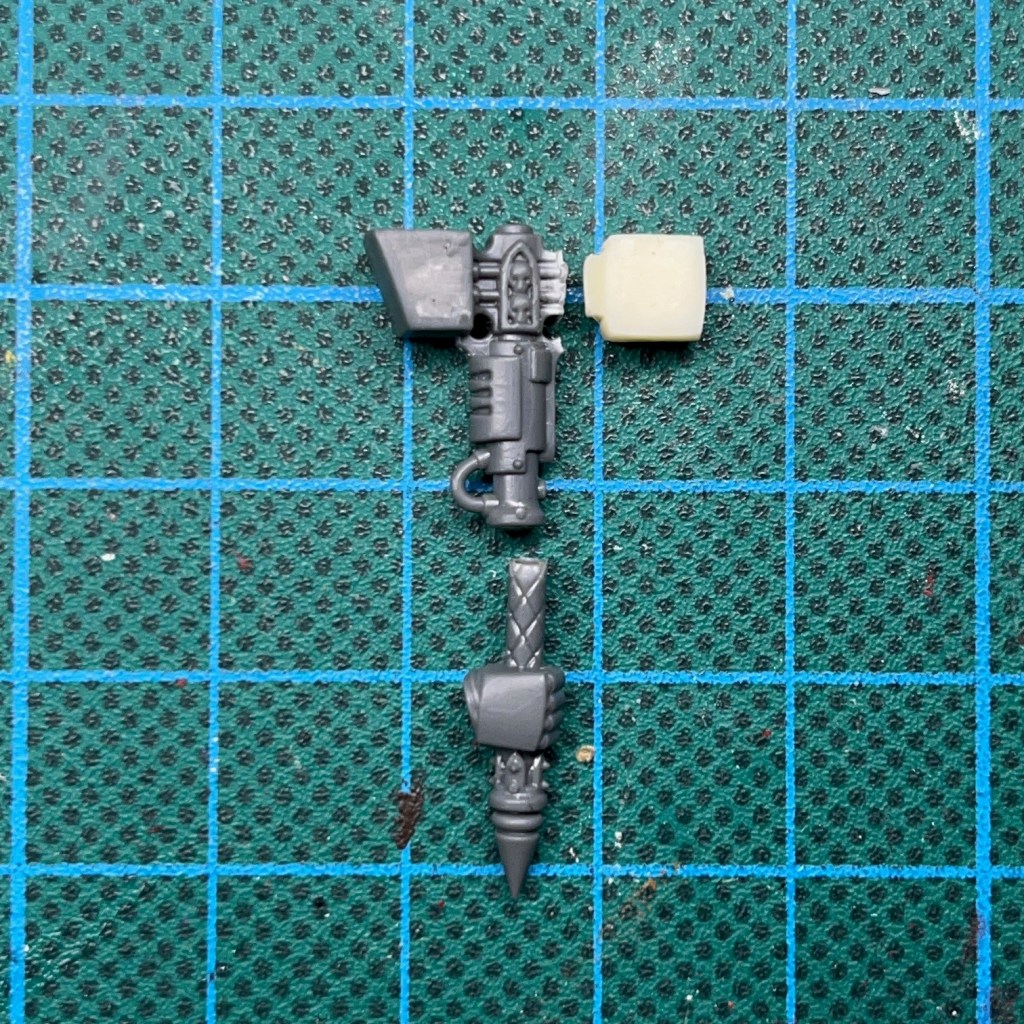
The task lamp was created following the same principles as the helmet, in the sense that it’s a resin cast. The lamp uses a 3V yellow 0805 SMD chip LEDs connected to a 47 ohm resistor (also available pre-wired from Small Scale Lights) to provide the illumination.
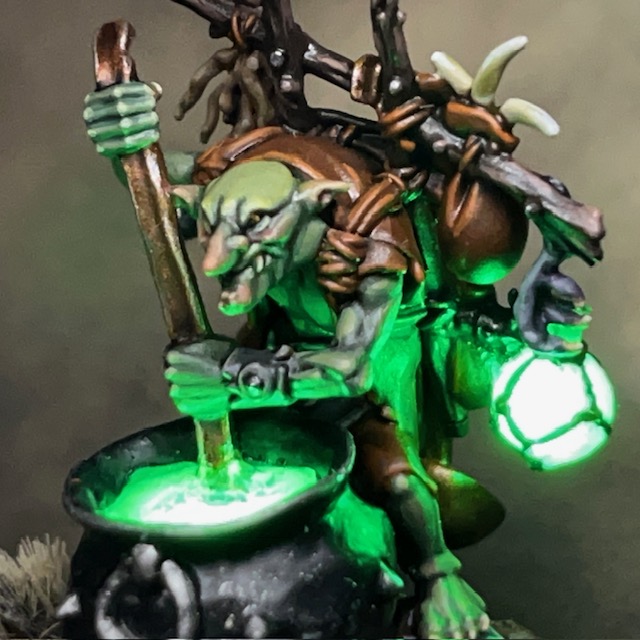
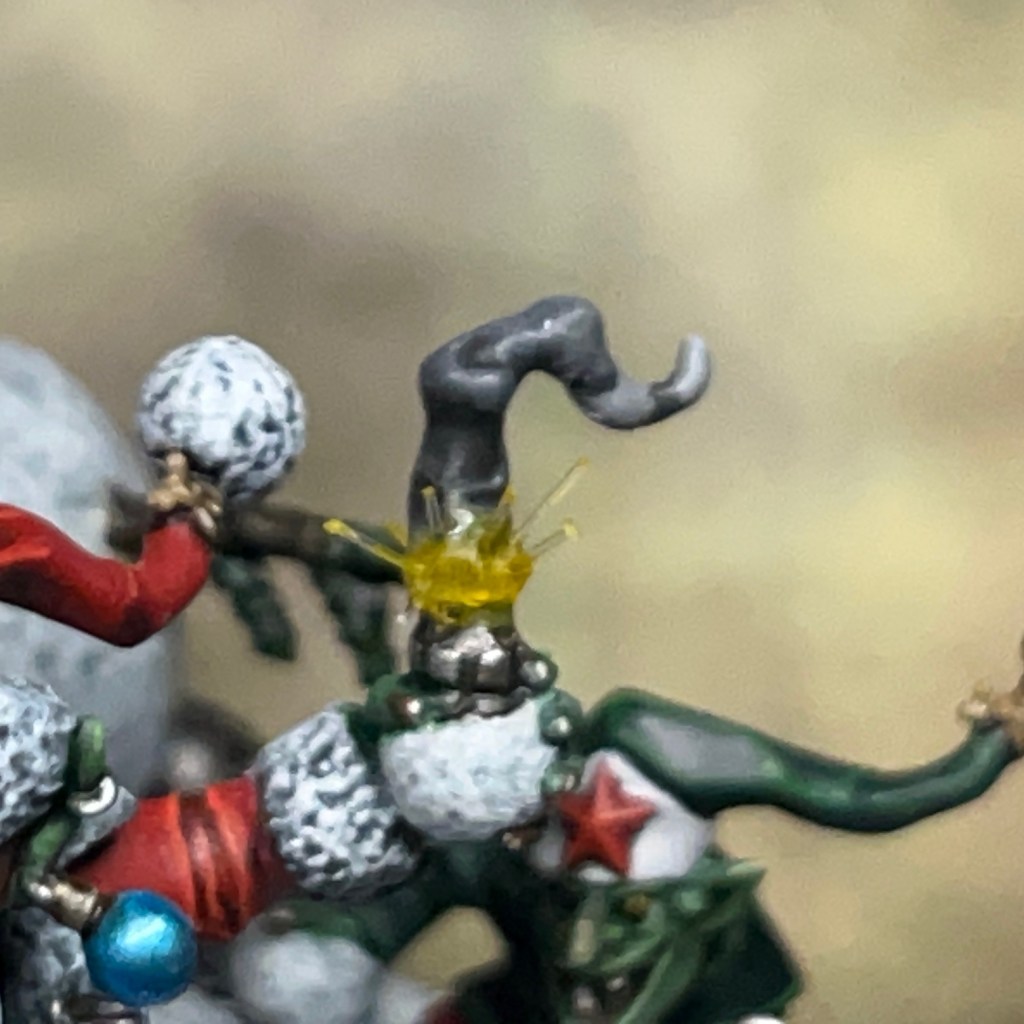
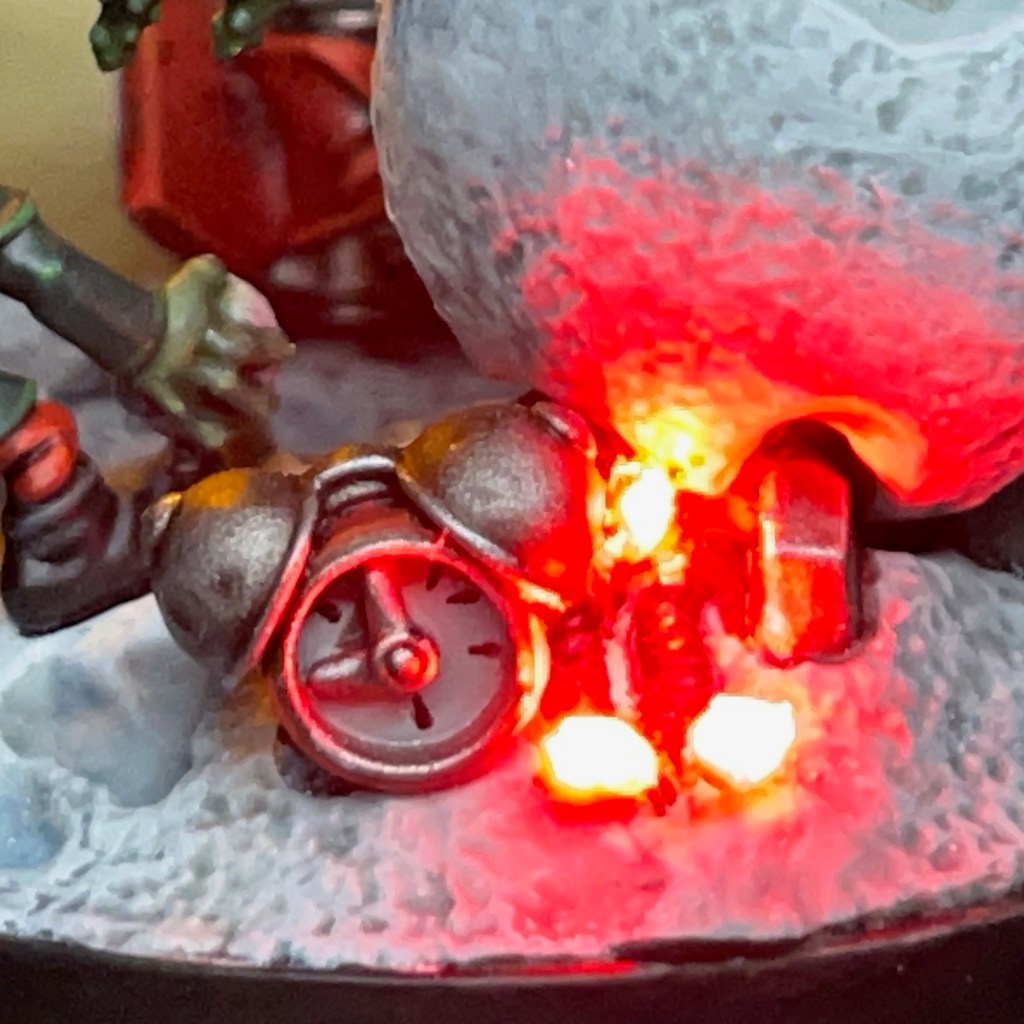
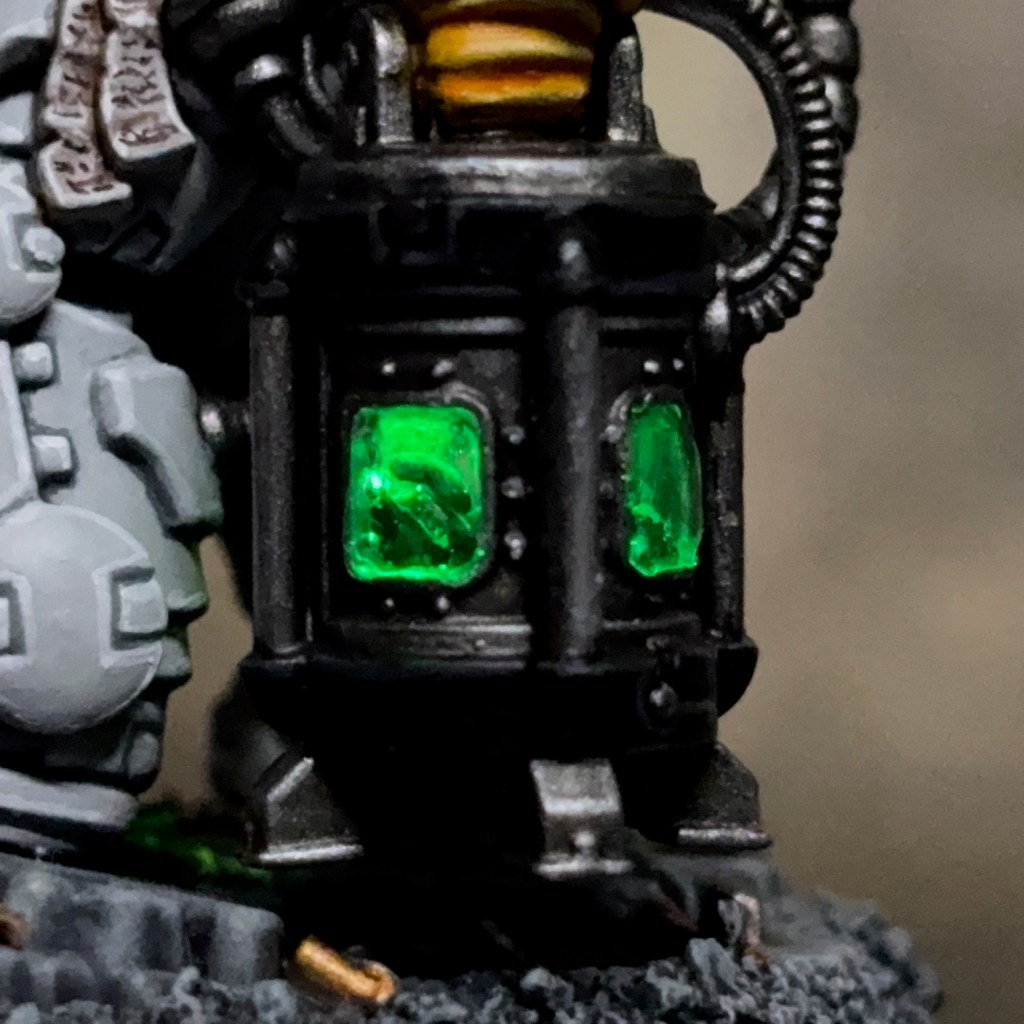
The Vivispectrum sample containment chamber was the most complex part of the conversion. Thankfully it is hollow, but I had to carefully cut out and file the chamber windows. The ‘xenos sample’ is made from the tentacled maw of a Ymgarl Genestealer. I painted the sample and the inside of the chamber before proceeding to the resin pour. Will the chamber with resin was intended to give the impression it was filled with liquid. I used PVA glue to temporarily fix a thin piece of plastic over each of the four windows, then poured UV Resin from Green Stuff World into each half of the chamber. I then cured the resin with a UV Torch.
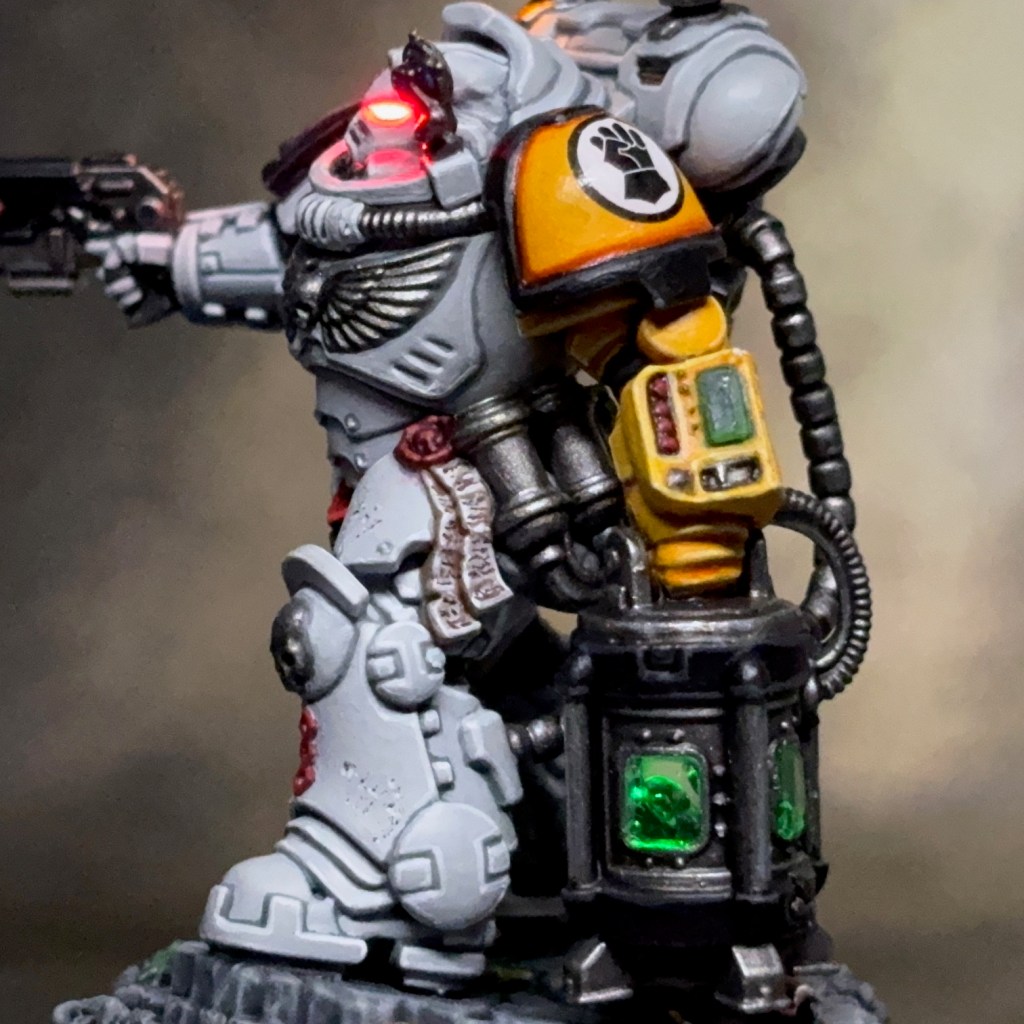
The final touch on the Vivispectrum chamber was adding the 3V Flickering Green 0807 SMD chip LED to the inside of the top of the chamber, facing downwards. The connecting wire runs up through the arm and then down through the torso and legs. I chose a flickering LED to give a sense of motion to the sample, and hopefully the impression that whatever it is, it’s still alive!


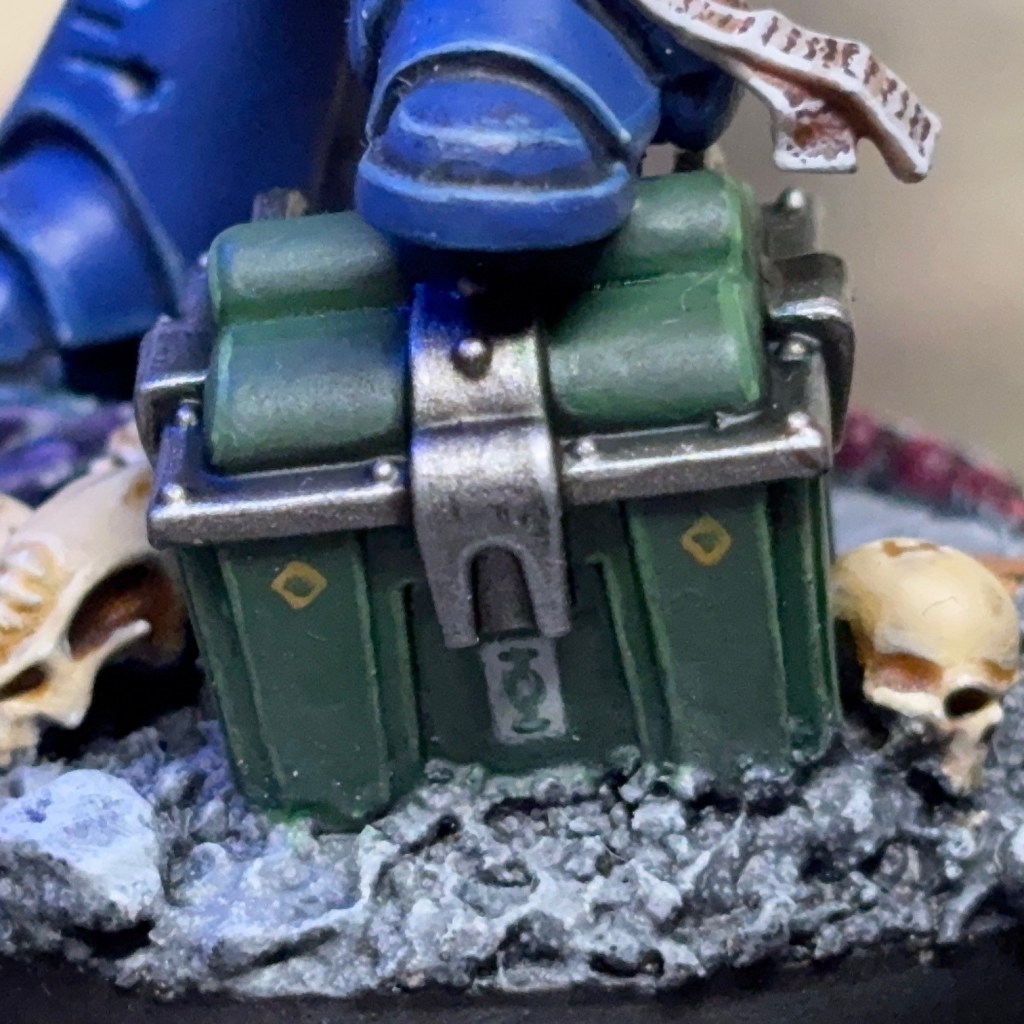
Each of the three LEDs described above are connected in parallel to a single 3V CR2032 coin cell battery and miniature switch hidden under the base.
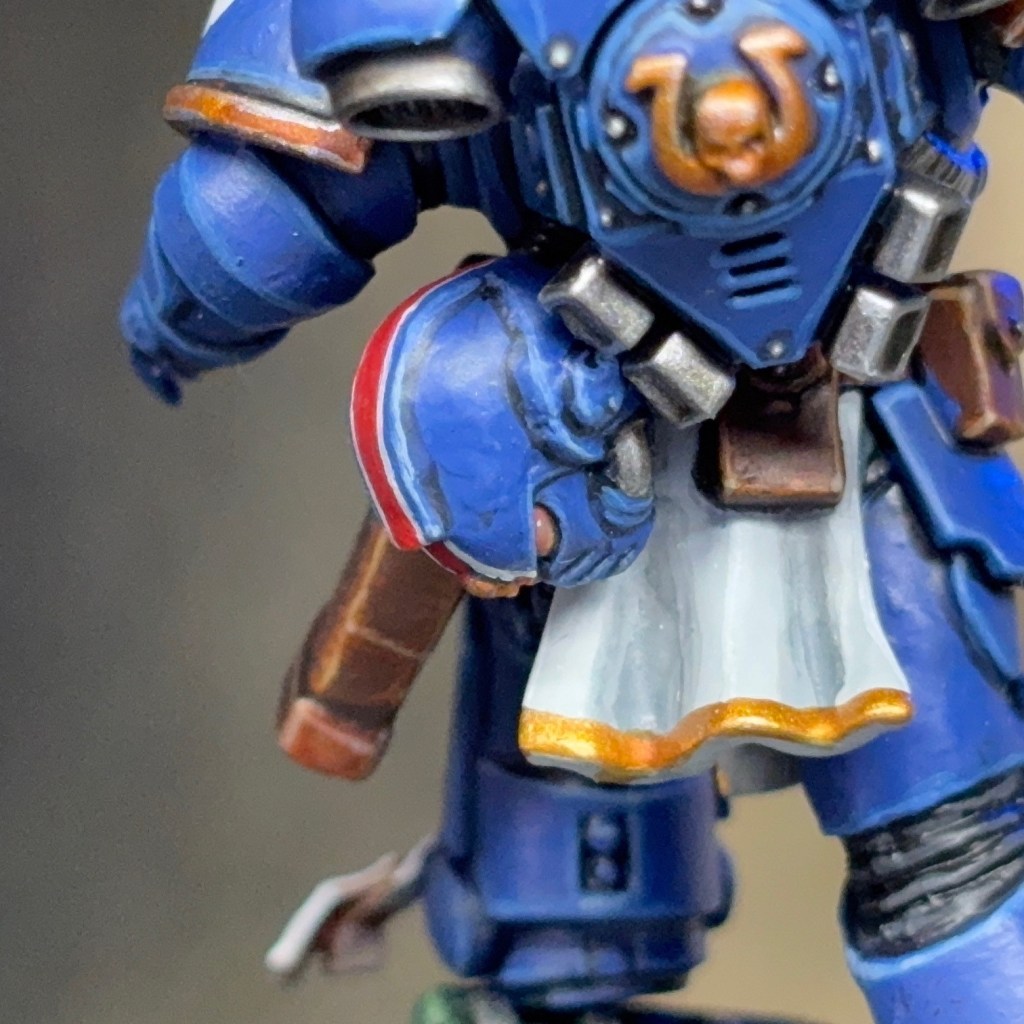
I did originally also plan to illuminate the wrist-mounted computer screen. The wrist unit is actually cast in resin in preparation for this. But I decided against it in the end as I was concerned it would draw the eye away from the much more interesting LED effect in the sample chamber.
Painting
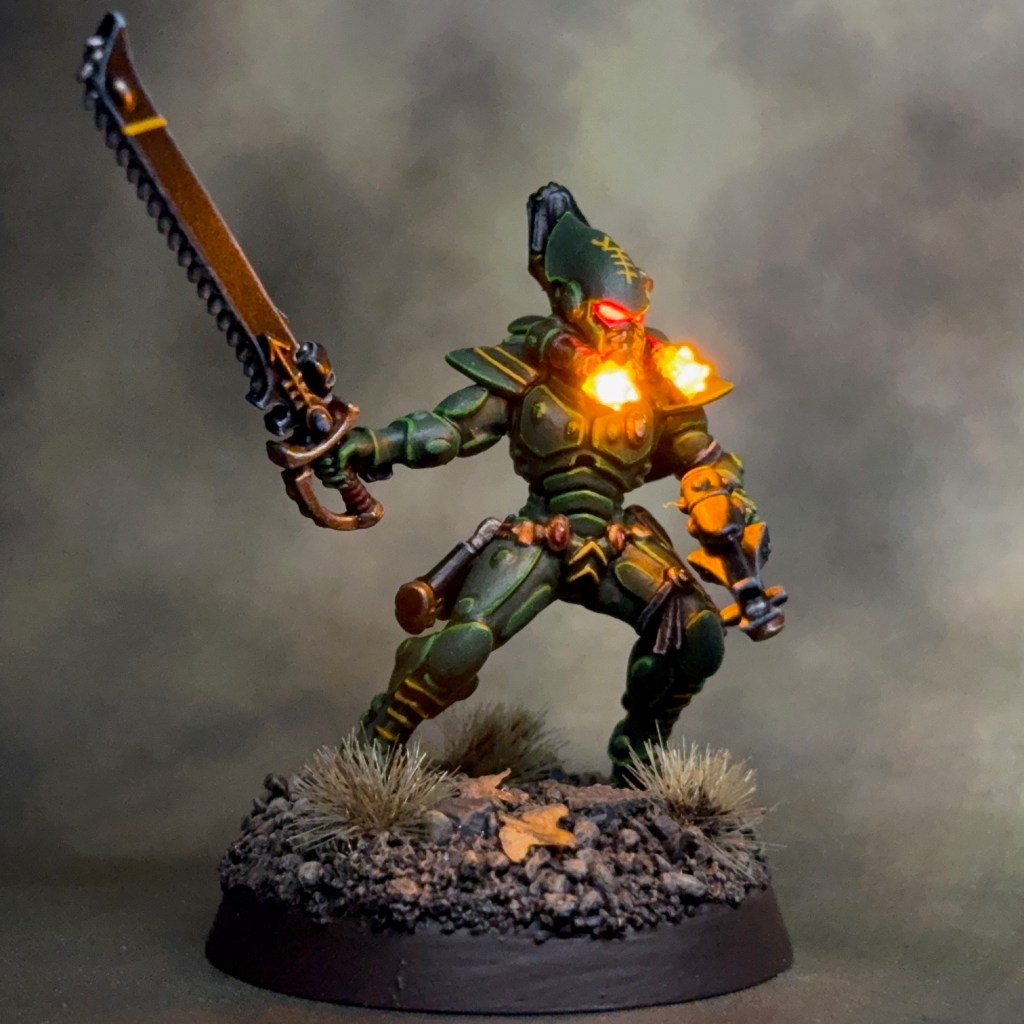
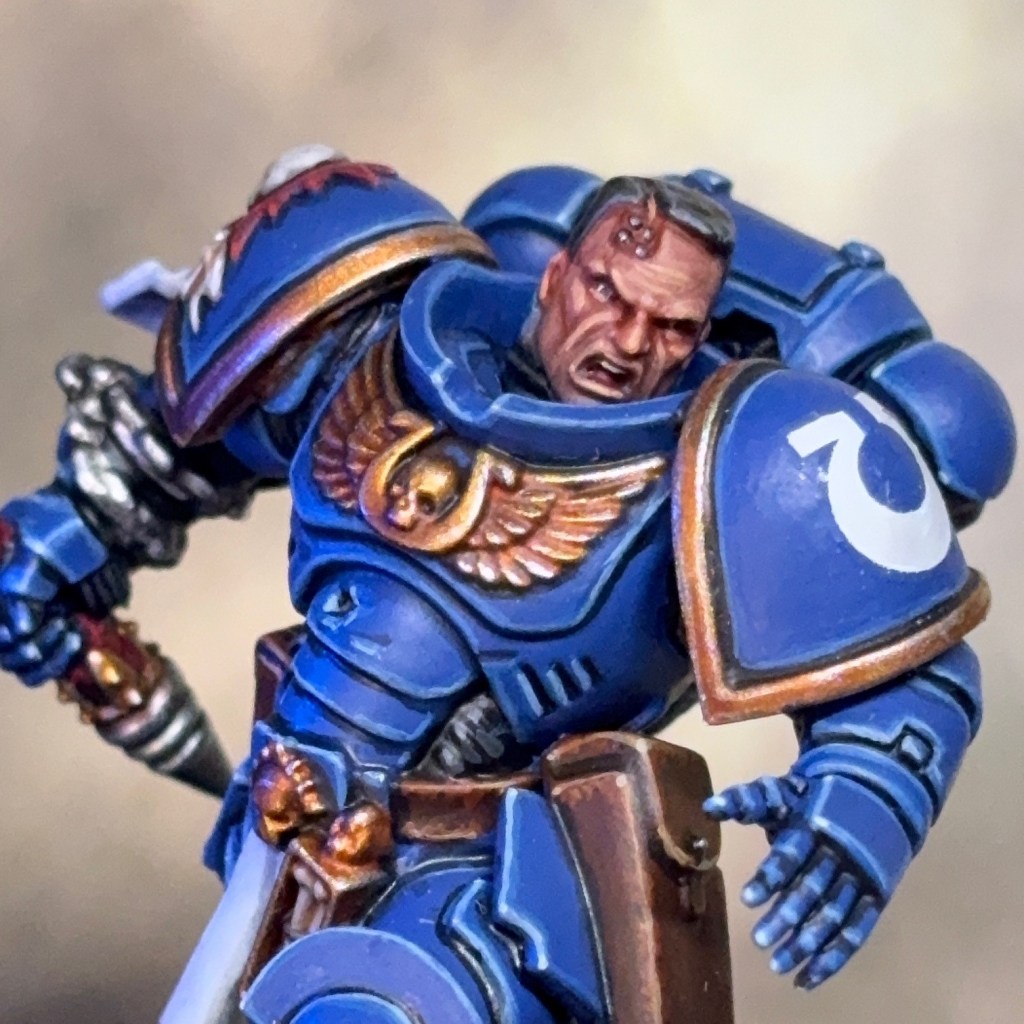
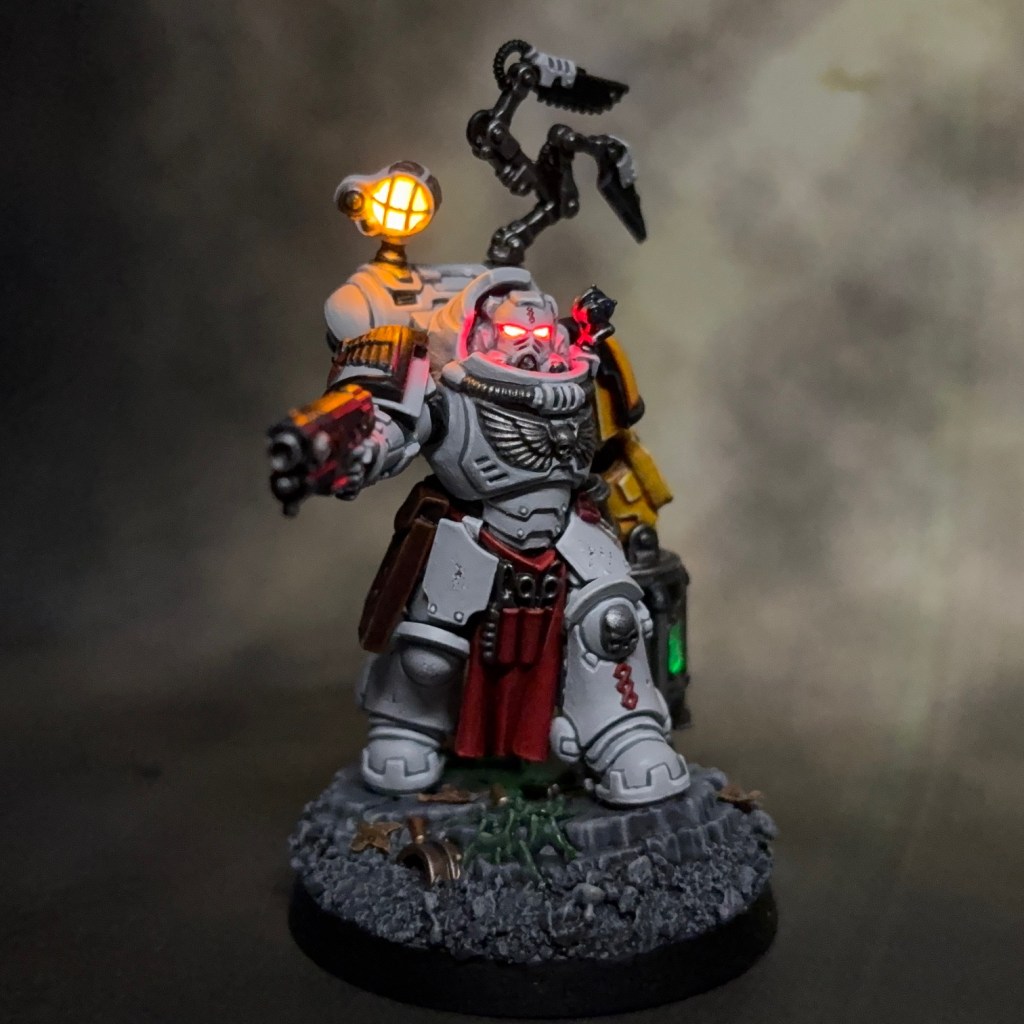
When it came time to paint this miniature I went with Imperial Fists as they are of course one of my favourite chapters. This was quite a complex miniature to paint, both in the amount of detail and the range of colours used. There’s a little too much info about all the paints used to include in a single blog post, but I’ve listed my recipes for the off-white and yellow armour below. The whole miniature was undercoated with Chaos Black spray prior to painting.


- Yellow Armour
- Averland Sunset basecoat
- Yriel Yellow layer (2-3 thin coats)
- Casandora Yellow shade
- Fuegan Orange shade in darker areas (slightly watered down)
- Mournfang Brown shade in deepest recesses
- Yriel Yellow edge highlight
- Flash Gitz Yellow fine highlight
- Dorn Yellow fine highlight on sharpest edges
- White Scar dot highlight on sharpest edges
- Off-White Armour
- Administratum Grey basecoat (two thin coats)
- Apothecary White Contrast shade
- Corax White layer
- Skull White highlight
So there we go, something slightly different this week. Don’t forget to follow The Apothecarion project for updates, and please buy tickets to enter the raffle for a chance to win this miniature! As always, thanks very much for reading, and please remember you can also find me sharing my work on Instagram, Threads, Bluesky and Mastodon.