
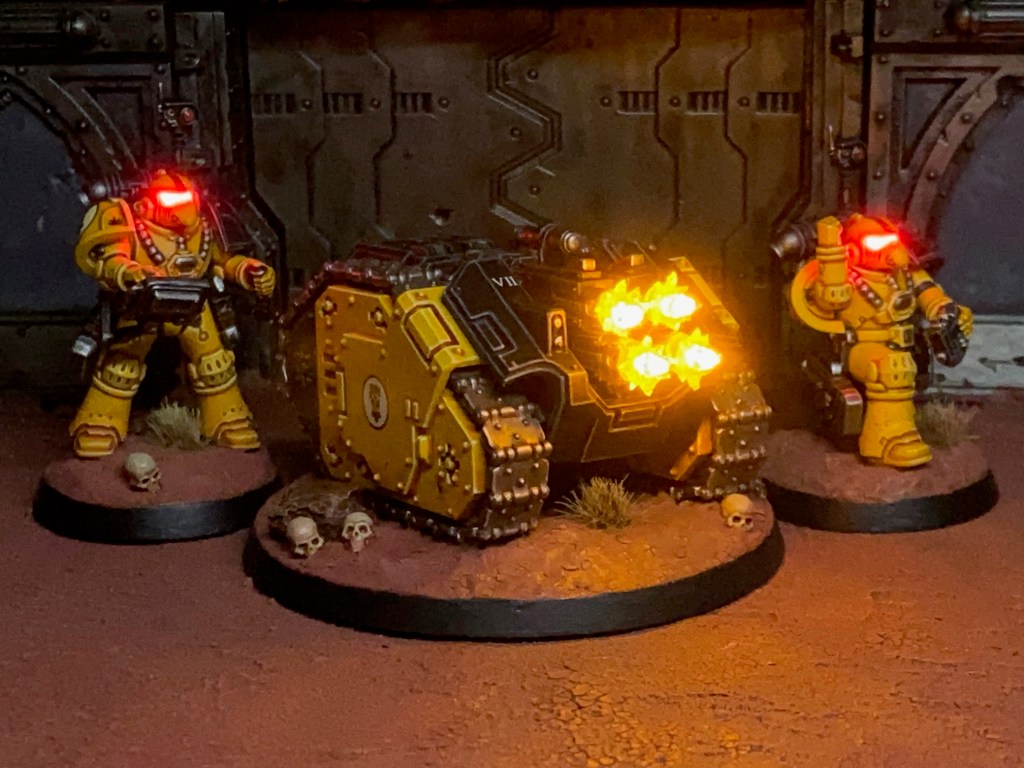
This week I’ve finished a Quad Heavy Bolter Rapier as part of my Imperial Fists in the Age of Darkness project. I haven’t managed to find much hobby time so far in 2026, so it’s satisfying to tick another Imperial Fist unit off the list. Some might argue that the Quad Heavy Bolters aren’t the best option on the tabletop, but I just love the brutal look of this unit! Ever since the plastic version of this miniature was released last year, I just knew I had to give it the LED treatment.

Modelling & Painting
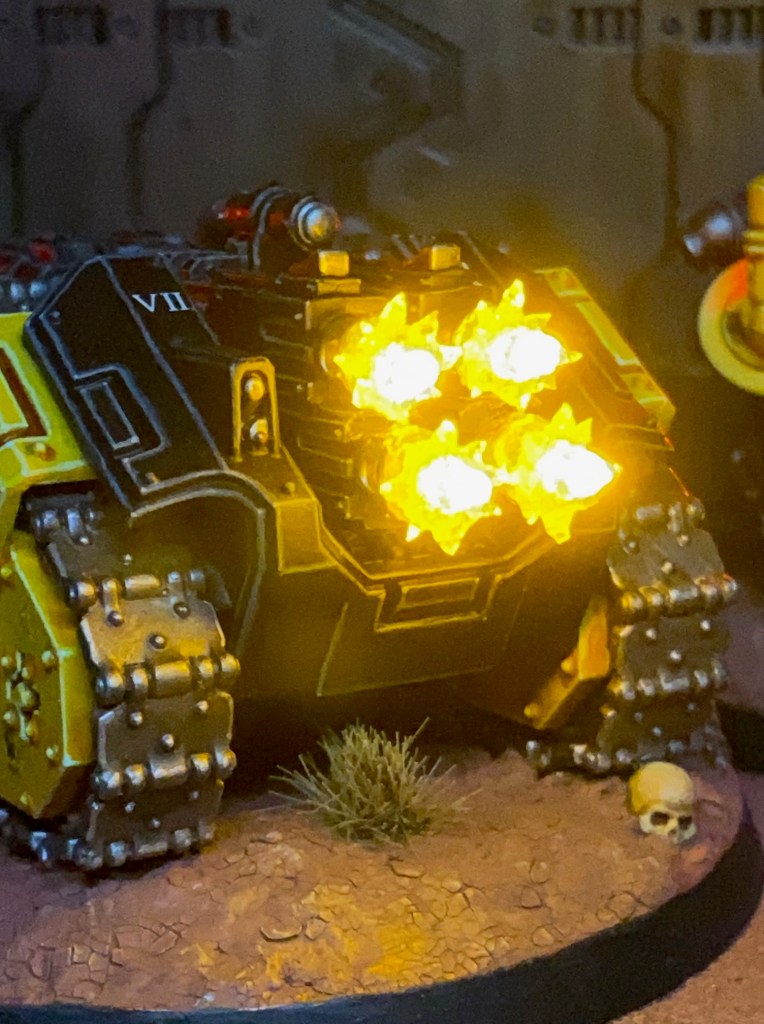
My goal for these LED effects was to give the impression of the Rapier blazing away on full auto. The LED heavy bolter muzzle effects use the techniques outlined in my LED Simple Muzzle Flare tutorial, except that instead of the yellow 0805 SMD used for the muzzle flare in the tutorial, I used a larger TruOpto OSHR7331A-KL 1.8mm Yellow LEDs and 20 ohm resistors. I chose this LED to make the heavy bolter muzzle flare larger and more impressive than a bolter muzzle flare, which is what the tutorial is focused on. The four LEDs are connected in parallel in the circuit. The muzzle flares are created using acrylic gel from Green Stuff World, as detailed in the tutorial.
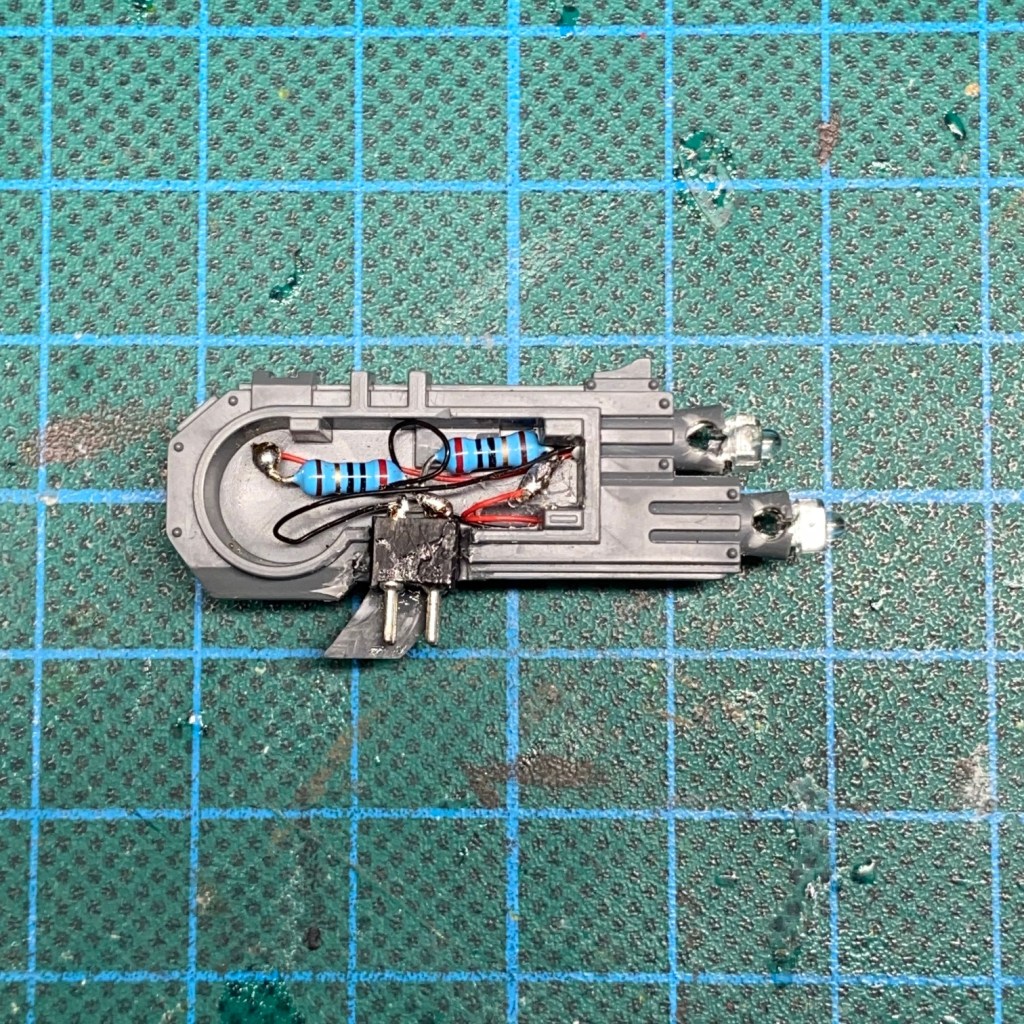

The switch and CR2032 coin cell battery are concealed underneath the base. The heavy bolter is attached to the carriage using IC sockets, which stack into each other to create an electrical connection (see images above). This is to allow the weapon to be swapped out for other Rapier weapon options with their own LED effects. IC sockets are often manufactured in long rows or squares, but you can easily cut into smaller groups with a craft knife. I also used IC sockets for my marines with swappable LED helmets. IC sockets are available on Amazon here or from electronic component suppliers like RS here.
The resistors are hidden in the heavy bolter rather than the base with the battery and switch (see images above). This is because the resistors are chosen based on the specification of the LEDs, so if different weapon options have different LEDs then they will need different resistors, which is why the resistors have to be removed from the circuit with their respective weapons.
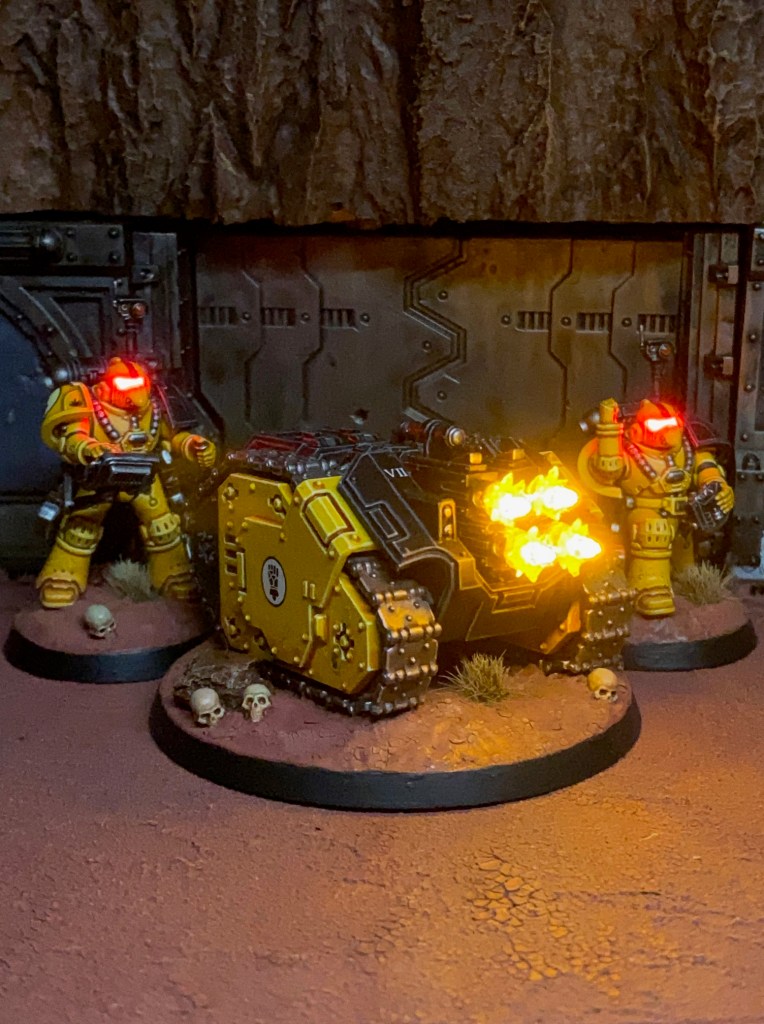
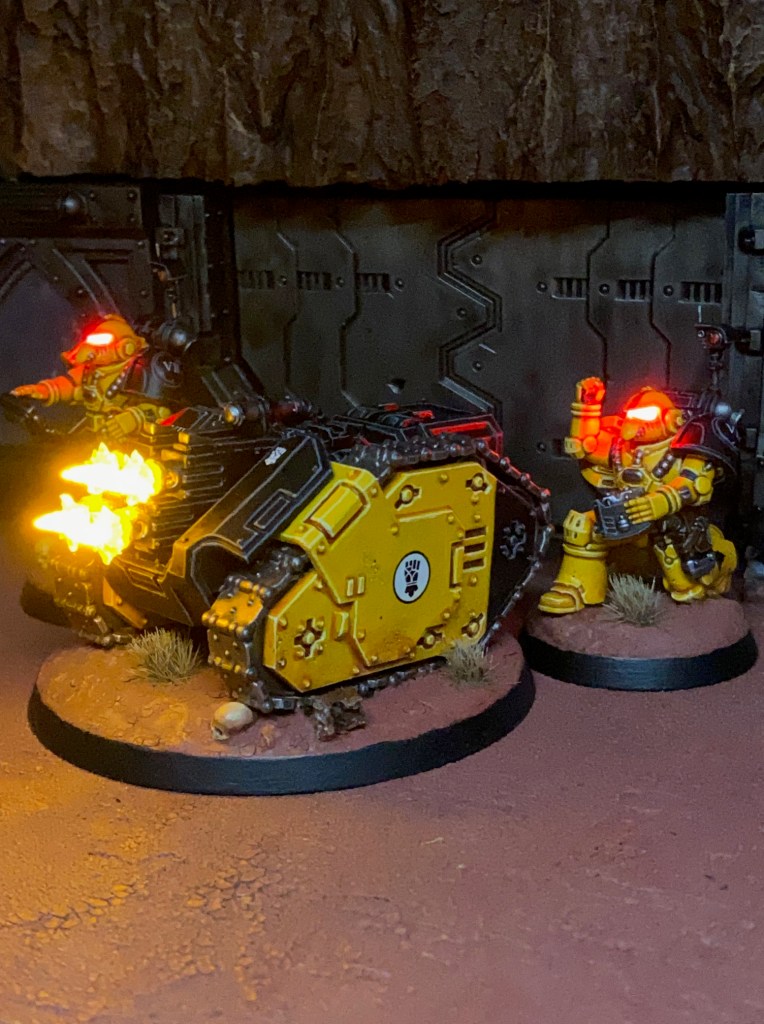
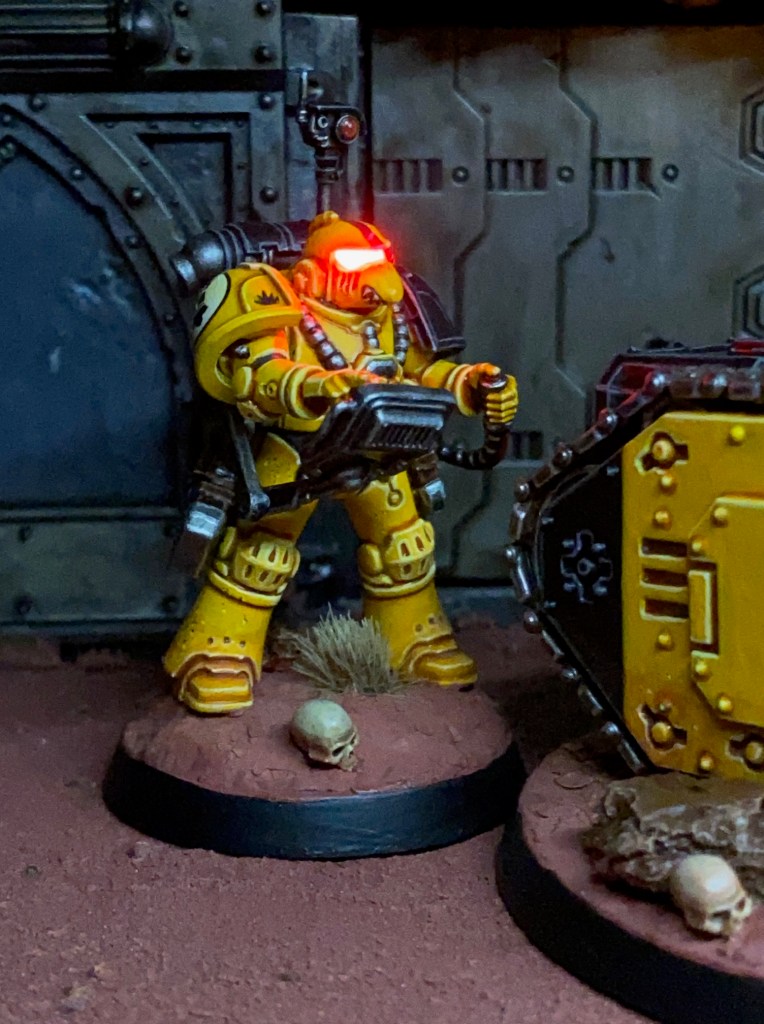
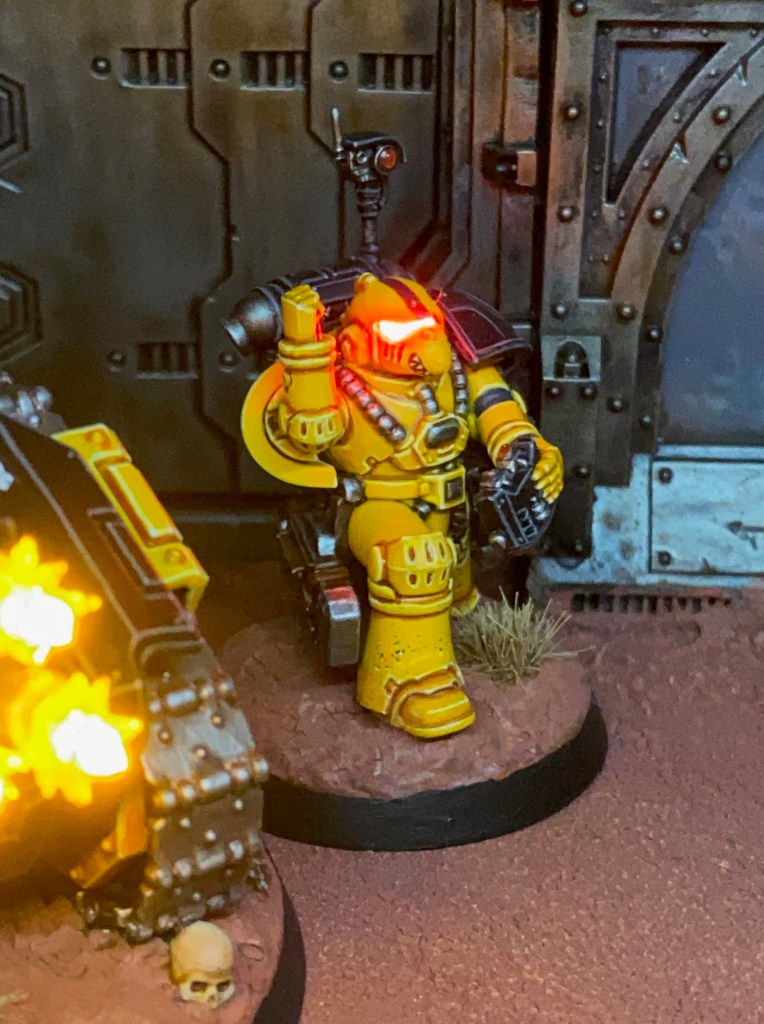
The Rapier carriage was painted using my standard Imperial Fists recipes as described in this post at the start of the project. The modelling and painting of the crew was covered with in this previous post.
That’s all for today, but I’ll be back soon with more Imperial Fists, including the other weapon option for the Rapier! As always, thanks very much for reading, and please remember you can also find me sharing my work on Instagram, Threads, Bluesky and Mastodon. Or if you prefer you can subscribe to my website by entering your email in the box below to receive updates whenever I post a new blog article or tutorial.
