
If it hadn’t been for the sickly glow of their warpstone poisons, we’d have had no warning at all!
– Valk, Hammerhal Underwatch lone survivor
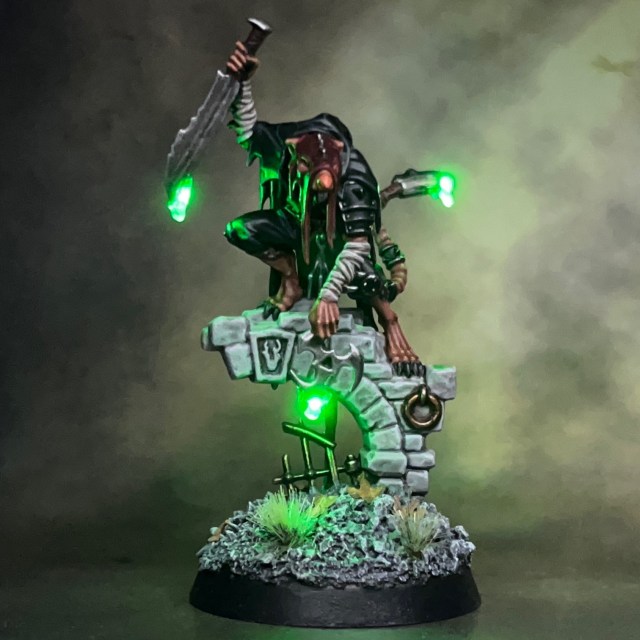
This week I’ve caught a case of rat-fever (hopefully not the fatal kind) from all the excitement surrounding the imminent re-release of the Skaven for Warhammer Age of Sigmar. I’ve always had a soft spot for the Skaven, especially for their origin story in WHFB and the way it intertwined with that of Nagash and the Undead. I did look into the feasibility of starting a Skaven army for WHFB back in the day, but was put of the huge number of miniatures required! I do really like the new Skaven releases for Age of Sigmar though, and hope to pick up some of them soon. In the meantime, consider this Deathmaster a taste of what’s to come!

Modelling
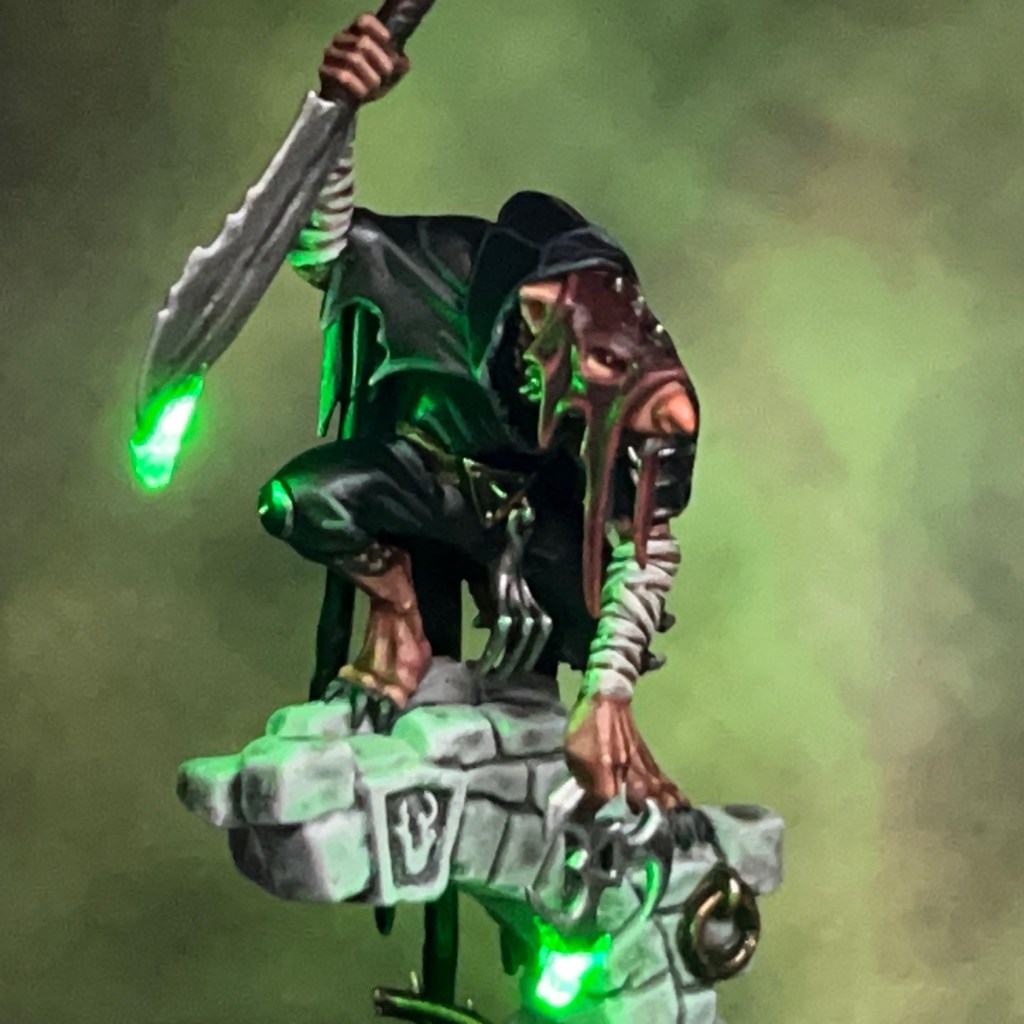
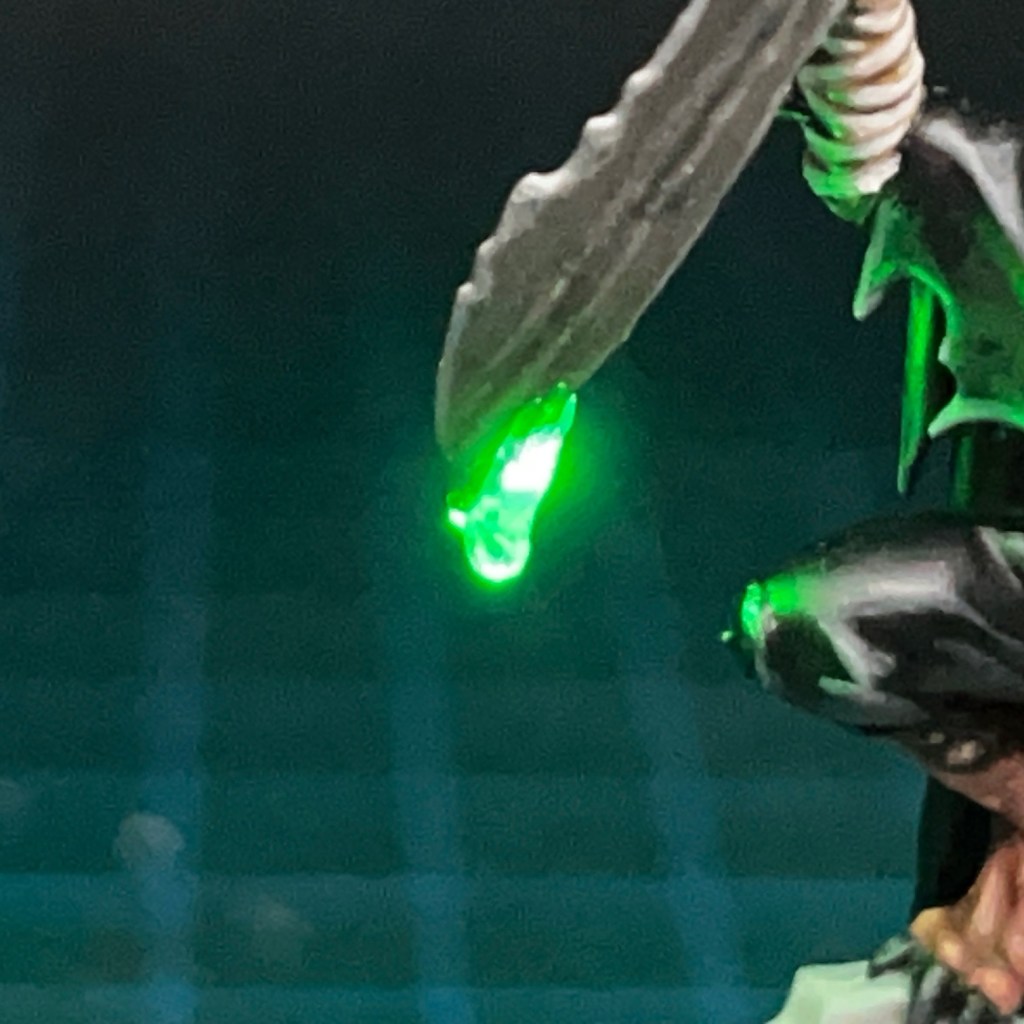
There are lots of fun opportunities for using LEDs in Skaven – everything from glowing chemicals to strange machinery, diabolical magic and chunks of pulsing warpstone. In this case, we’re starting with weeping blades dripping with warpstone poison!
Although the LED set-up may look a little complicated, it’s really just an extension of my Simple LED Muzzle Flare Tutorial. The three LEDs are connected in parallel with each other across a 3V CR2032 coin cell battery. The LEDs are Green 1mm LEDs from Green Stuff World.
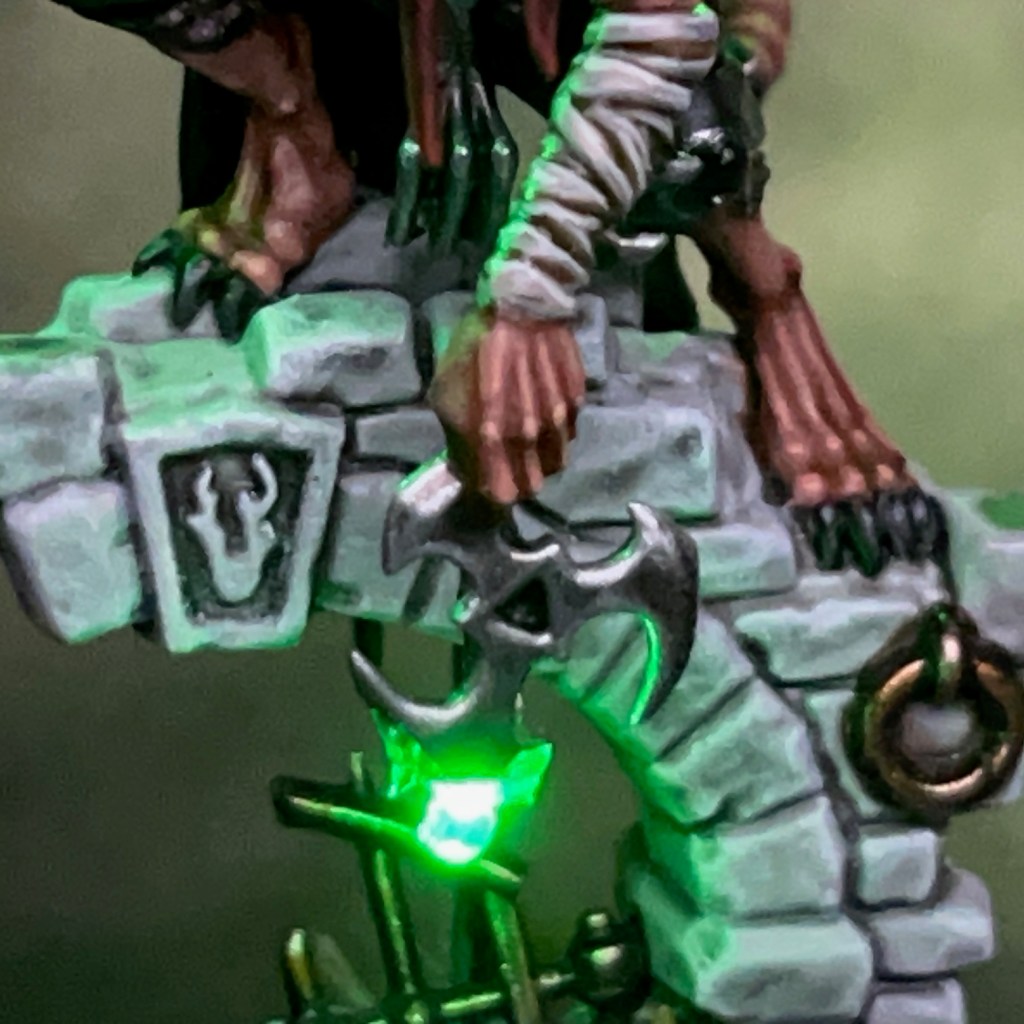
While the electronics were fairly simple, the real challenge was the drilling and concealing of the wires. All the wires pass up from the base through the wall and into the Deathmaster’s torso. From that point they split to their different destinations.

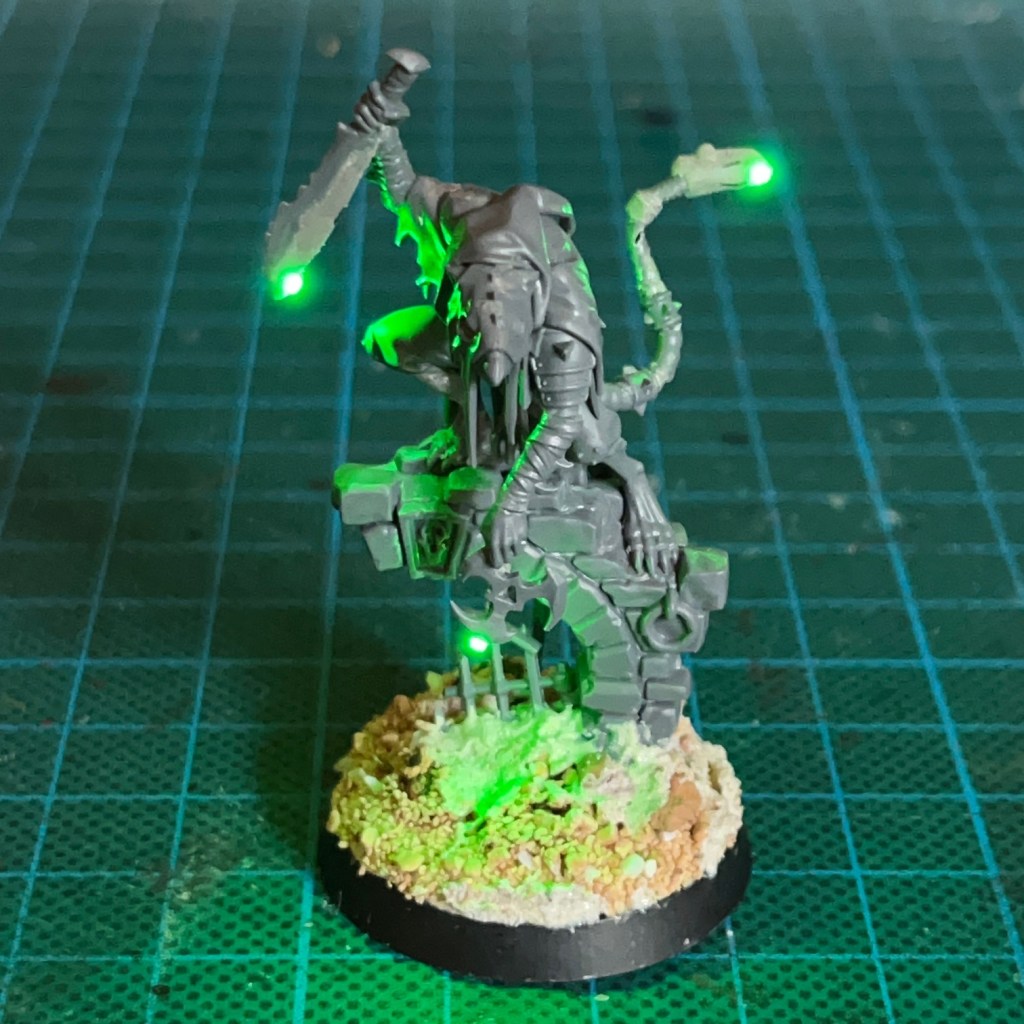
- The wires for the sword LED run up through the right arm and down the side of the blade nearest to the Deathmaster’s body. I then used modelling putty to extend the width of the blade slightly to conceal the wires. My original plan was to simply drill down through the blade from the arm, but it turned out to be too thin to allow that.
- The wires for the shuriken run through the left arm then emerge from the palm of the hand. I again used modelling putty to conceal them, this time on the back of the shuriken.
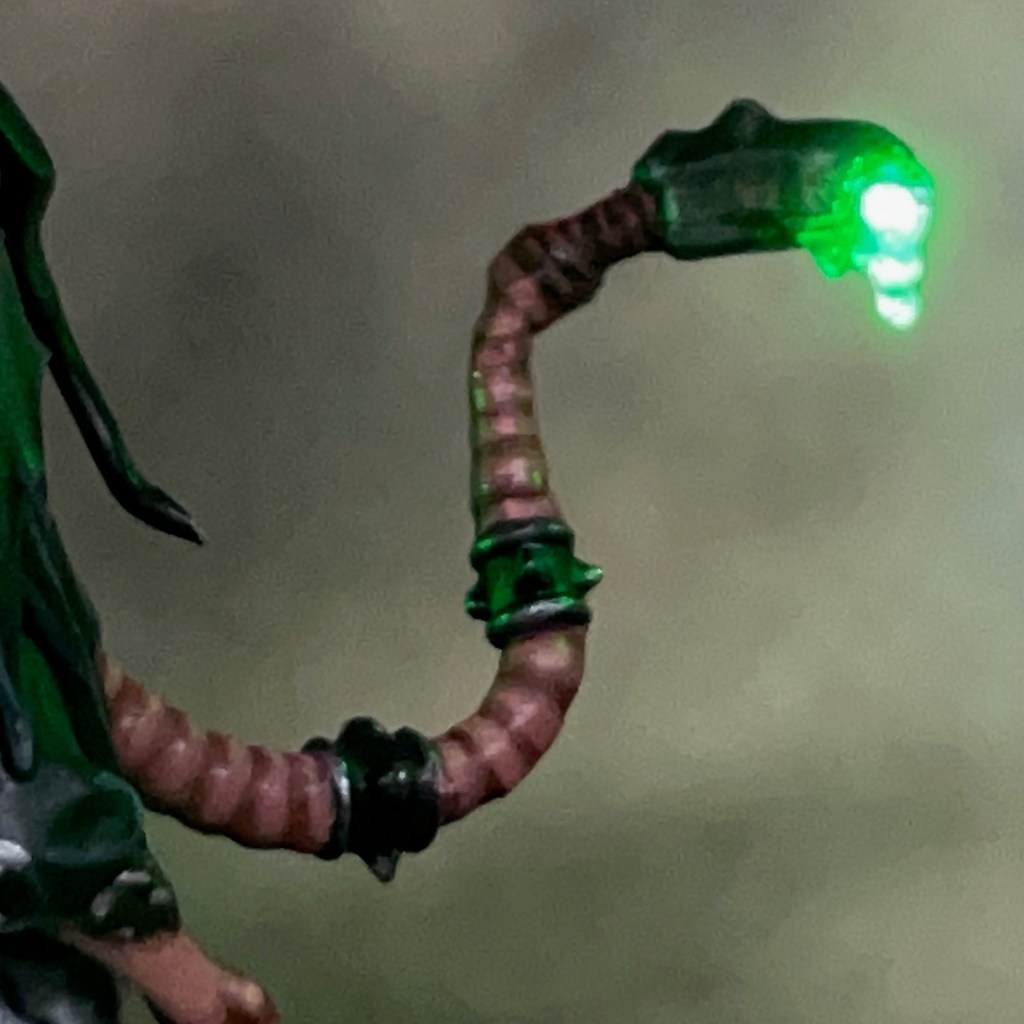
- Lastly, I cut the tail into sections and drilled through the middle of each of them to allow the wire to pass inside. The blade on the tip of the Deathmaster’s tail is sculpted from scratch using modelling putty to conceal the LED while trying to appear as close to the original tail blade as possible.

The drips of warpstone poison were sculpted in layers from Water Splash Effect Gel (just like the muzzle flares in my Simple LED Muzzle Flare Tutorial). I then painted them with a thinned down coat of Ork Blood from Green Stuff World, just so they still looked good even when the LEDs were switched off. You can see these stages below


I really love the design and pose of this model, particularly the way when viewed from the front the three poison weapons form a triangle – just like the Skaven symbol! Hopefully this effect is further enhanced by the LEDs.
Painting

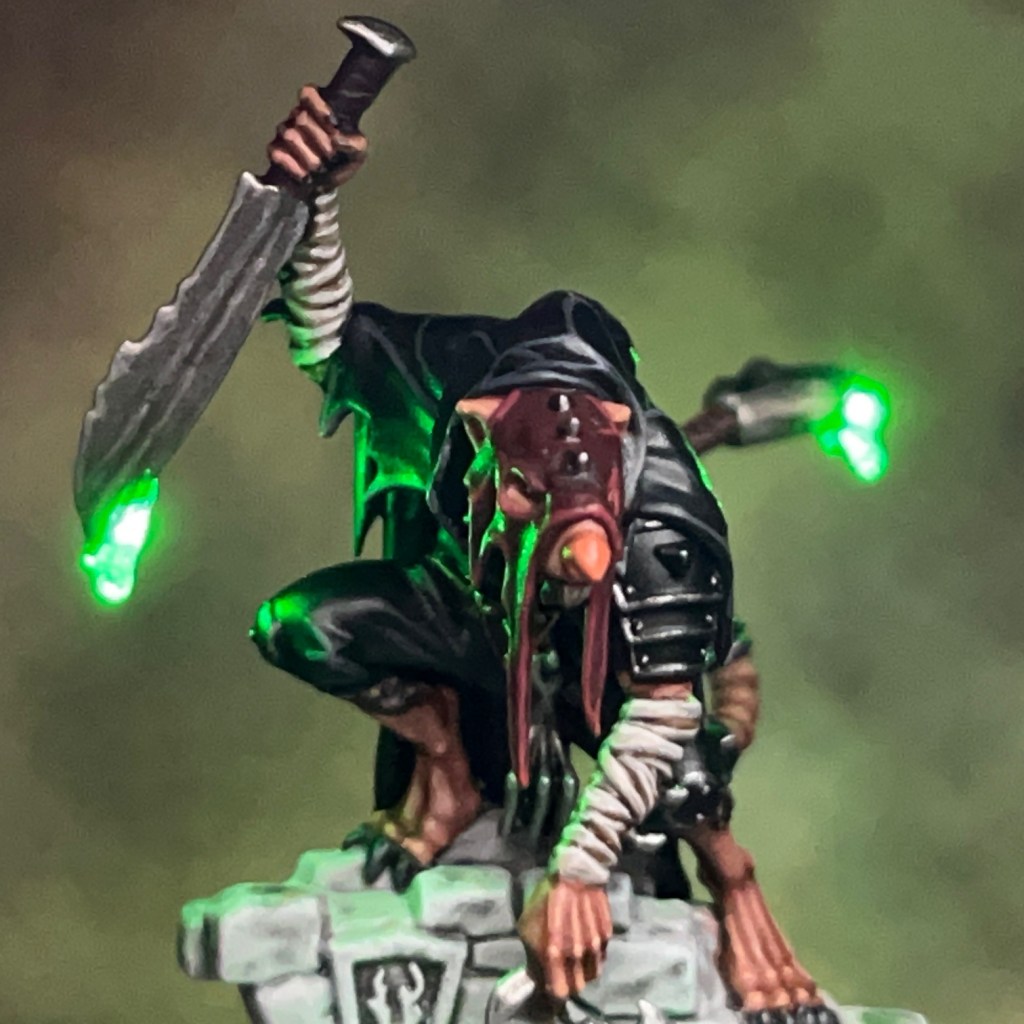

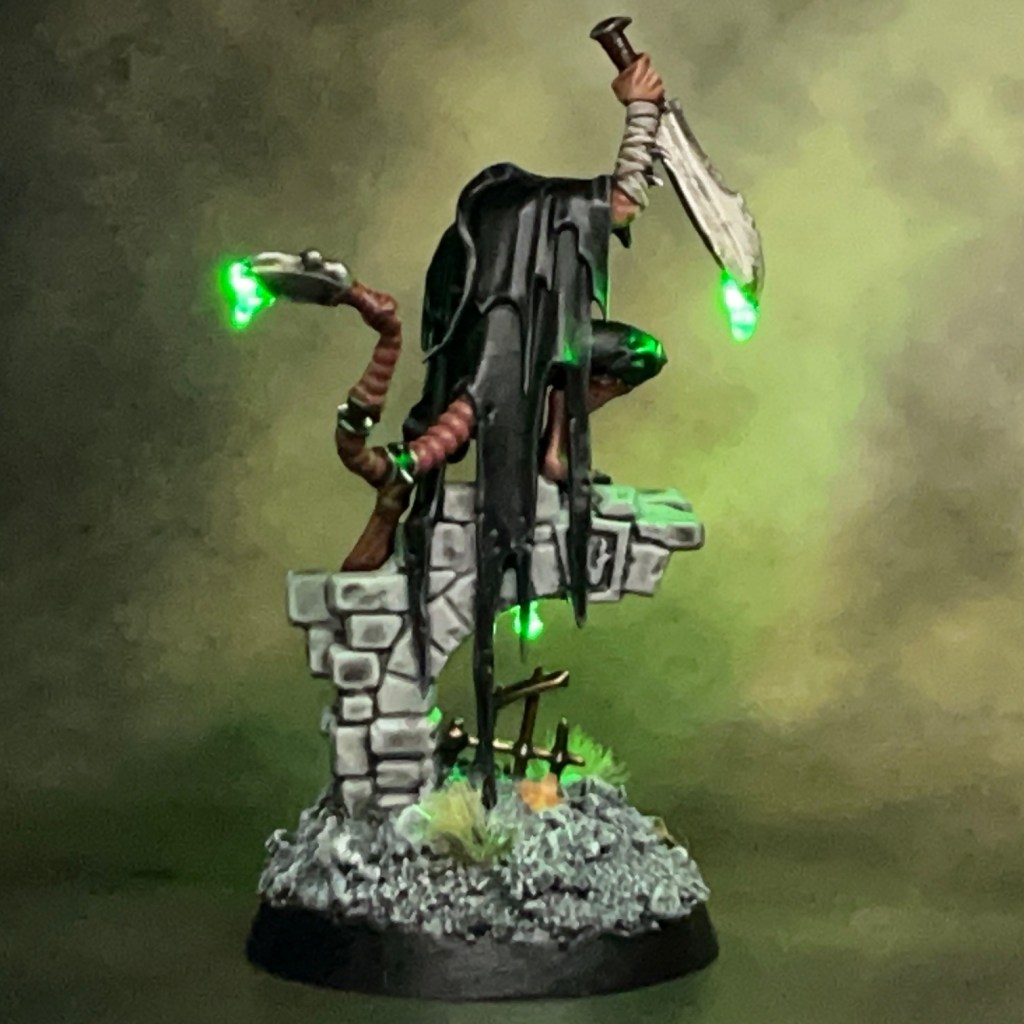
I don’t have anything particularly groundbreaking to say about the painting. I knew the LEDs were going to be doing the heavy lifting for the visual on this miniature, particularly with large areas of featureless black cloth, so I stuck close to the box art scheme.
The black cloth is base coated in Abaddon Black, with highlights up through Eshin Grey (fittingly) and Dawnstone. The skin is a simplified version of my Pale Skin recipe, based on Bugman’s Glow and Cadian Fleshtone. I wanted the ruins to contrast with the dark colours of the Skaven, so they were base coated in Grey Seer, shaded in Nuln Oil, then given a heavy drybrush of Ulthuan Grey and White Scar.
I wanted to create a real sense of desolation and decay, so I painted the base in my standard ‘Urban Ruins’ colour combo (detailed in this post), and added a few tufts of sickly grass and some fallen leaves. This is definitely a basing combination I will return to for future Skaven projects.
That’s all for today, I hope you enjoyed my foray into the underworld of the Skaven! Thanks very much for reading, and please remember you can also find me sharing my work on Instagram, Threads, Twitter/X, Bluesky and Mastodon.
Also, if you have time, please consider voting for me as ‘Best Mini Painter’ in the CRIT Awards!
