


This is my simple tutorial for placing LEDs inside plasma weapons. The photos show this technique applied to a MkIV Space Marine with plasma gun, but it can equally be applied to regular plasma guns, or indeed any other model that you feel would benefit from glowing power cells.
I strongly recommend reading through the entire tutorial before starting work, just to make sure you have the necessary skills and tools required and that you’re not going to run into an unexpected barrier halfway through. If you need to know where to buy tools and consumables for this type of project, I have recommendations here. In terms of special components, you will need the following as a minimum:
- 1 x Multicomp Battery Holder SMT, 20mm, CH7410-2032LF
- 1 x 3V CR2032 coin cell battery
- 1 x Blue Nano Chip LED
- 1 x resin plasma gun
I already have another LED plasma weapon tutorial here, but this tutorial that you are currently reading is version 2, the “simpler” version. I’ve tried to make it more accessible for people of all hobby abilities, so this new tutorial has less cutting, less drilling and offers alternatives to soldering and resin casting.
![]()
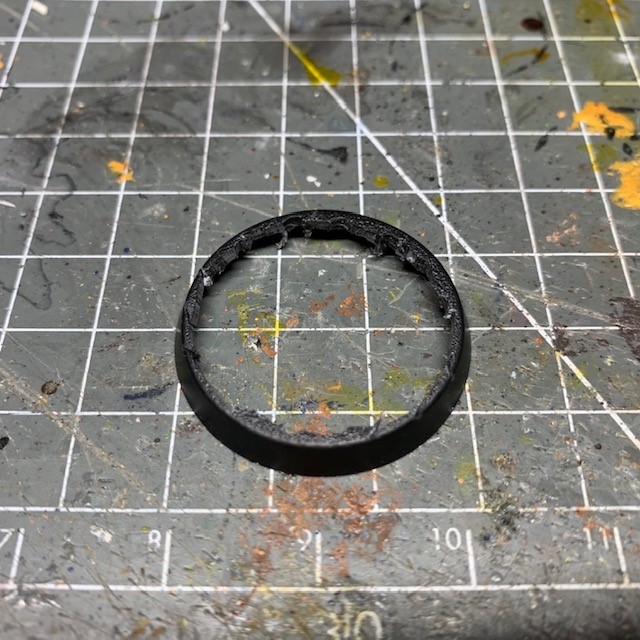
1. The first thing you’ll need to do is to remove the centre of the base. The base shown below is a 32mm round Games Workshop base, the sort that are supplied as standard with Space Marines. I find that the 25mm bases are too small to fit the battery holders (see step 2), but anything 32mm or larger is fine.
I find the best way to cut out the centre is to drill a series of holes around the circumference and then cut between the holes with a craft knife.
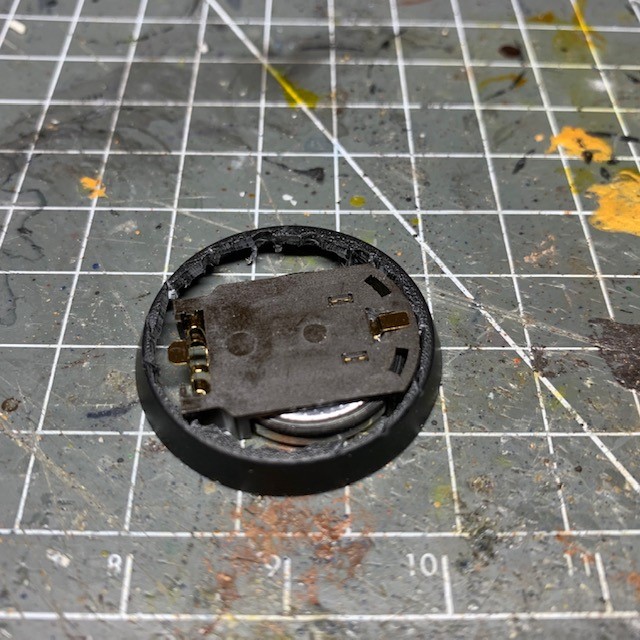
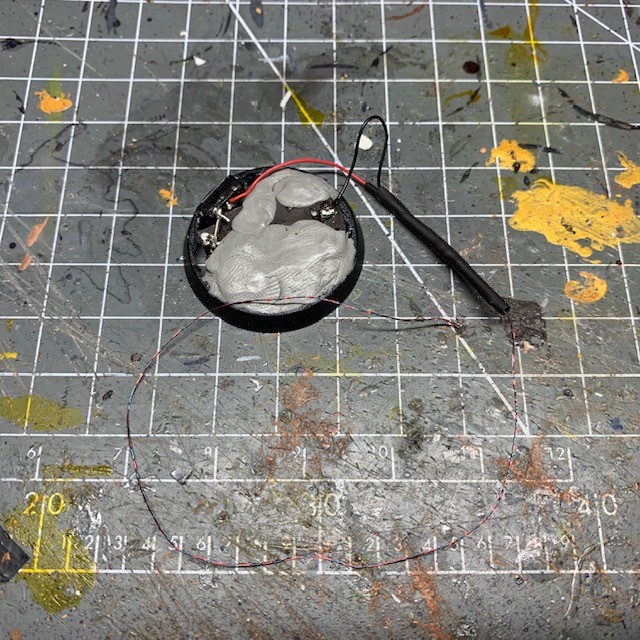
2. Insert a coin cell battery holder into the base. The battery holder pictured here is a Multicomp Battery Holder SMT, 20mm, CH7410-2032LF, but any battery holder that works with a 3V CR2032 coin cell and that fits inside the base will do. When you’re fitting it, make sure you have a battery inserted as the battery will overlap the sides of the holder, and you need to make sure you have the holder positioned in such a way that it will sit comfortably in the base with the battery installed.
The battery holder should be installed with the battery facing down, so that once the model is assembled the battery is still accessible and swappable from underneath.
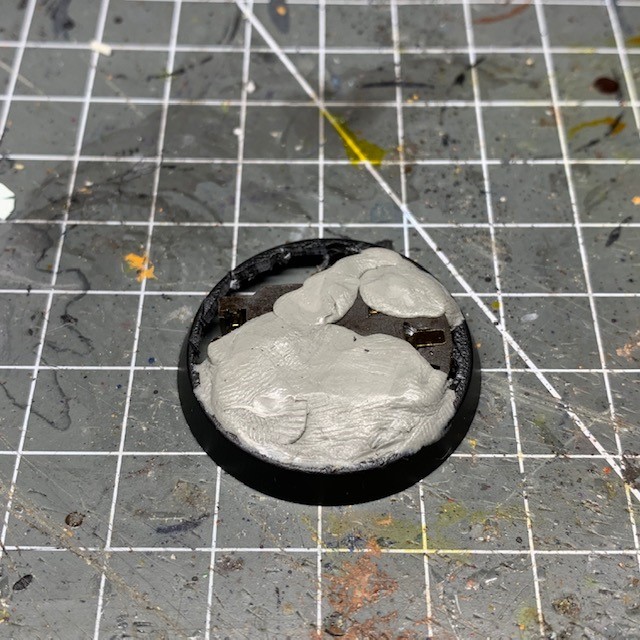
3. Fix the battery holder in position by applying a modelling putty, such as Green Stuff, Procreate, or Milliput, and allow the putty to dry. This is better than gluing the battery holder in as it avoids the risk of getting glue on the battery or any of the contacts, which will make your life difficult later on.
Make sure the putty doesn’t cover the metal contacts on either side of the battery holder, as you’ll need to connect the LED to the later.
4. Drill a hole through the legs to the waist, as shown in the images below. This will be used to pass the nano chip LED (more on that later) and wires from the base through to the torso. The LED chip is 1mm wide, so the whole requires at least a 1.5mm drill bit.
If you accidentally drill out of the legs at the wrong point, don’t worry, you can fill that in with putty later on.

5. Now do the same for the torso. If the torso is in two parts, it’s easier if you don’t glue it together first. In the image below, I’m simply pressing it together with my fingers so I can drill the hole in the centre of the torso. Again, the hole needs to be at least 1.5mm wide. It should pass from the waist to the point where the arm that is holding the plasma gun will join.

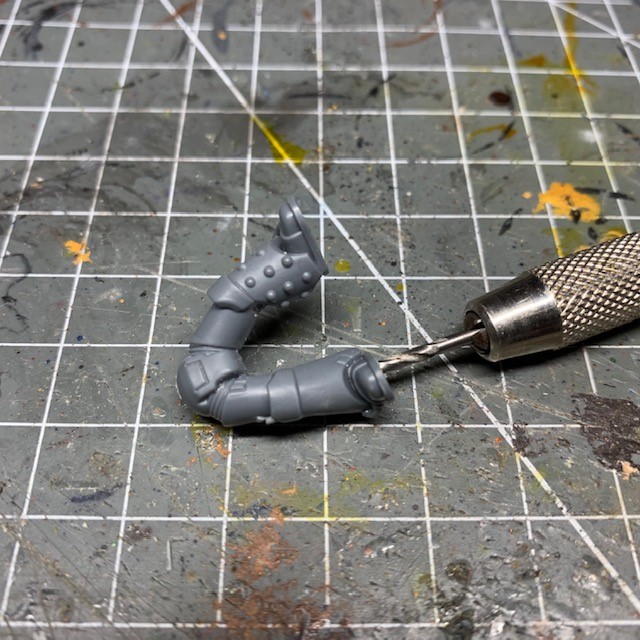
6. Now drill a hole through the arm, from the shoulder to the wrist. If the arm is bent at the elbow then you may find it useful to cut the arm into two parts, as shown below, and drill through each separately. The second image below shows the arm with the wires threaded through as an example, but don’t worry about doing that now, we’ll get to that later.
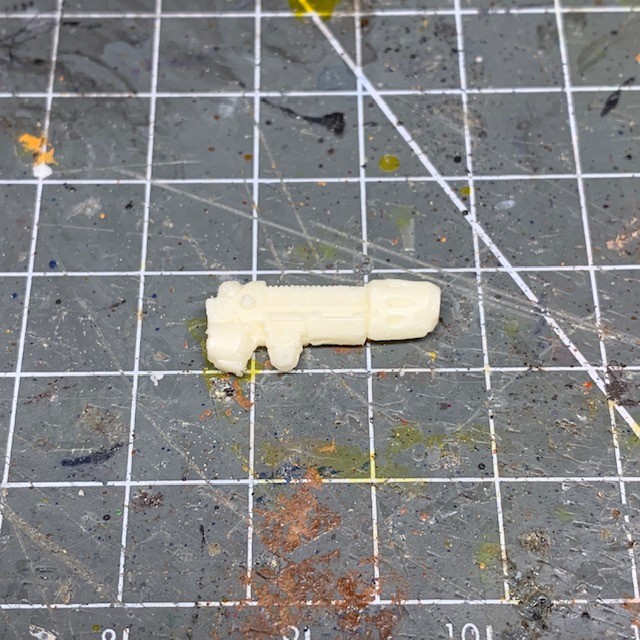
7. You will now need a resin plasma gun. I recommend using TOMPS Polyurethane Fast Cast Resin to make your own, as discussed in my resin casting tutorial. However, if you don’t want to do your own casting, have a look at the Designer’s Notes below concerning the use of other pre-made resin plasma guns. Please note, this tutorial will not work with a plastic plasma gun, as plastic is much too opaque.
Designer’s Notes: Forge World Resin – An Alternative to Casting
If you don’t want to do your own resin casting, can you simply use existing Forge World resin instead? Yes, but honestly it’s not as good for using with LEDs. See below for on/off photos of an LED in Forge World resin. As you can see, the Forge World resin is more opaque than the TOMPS resin, so the LED doesn’t shine through as brightly.


So yes, you can use it if you really don’t want to do your own casting, but the results aren’t as impressive.
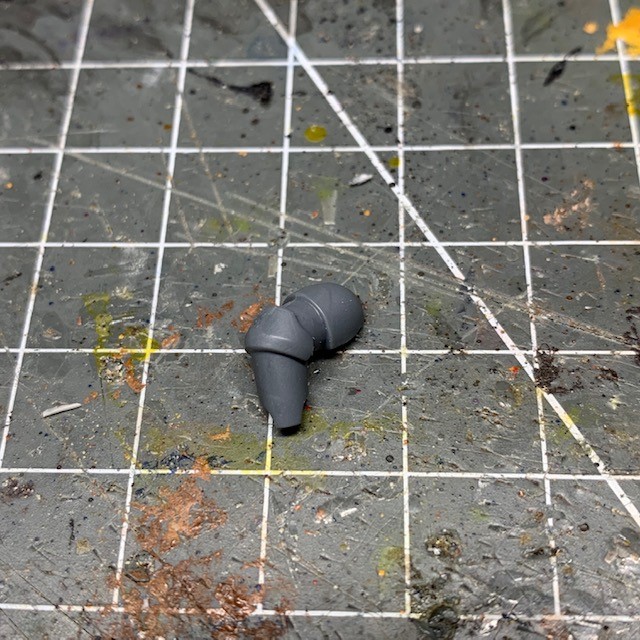
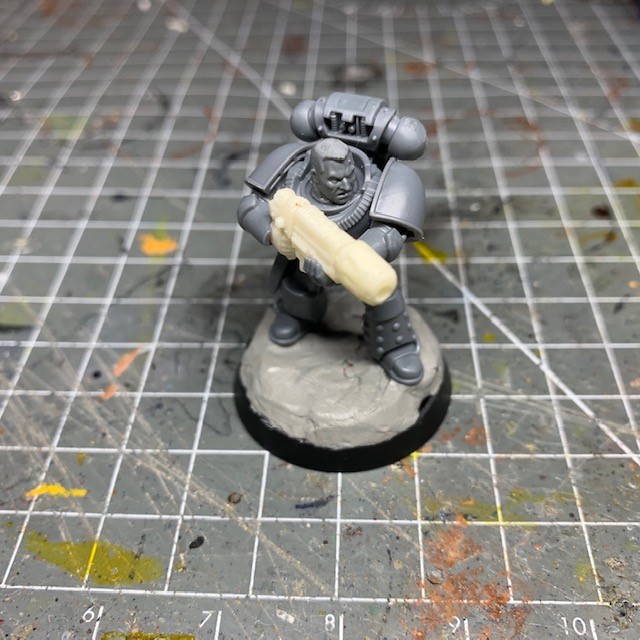
8. Cut the plasma gun into two pieces. Make the cut at the very back of the power coils (or whichever bit you want to glow).

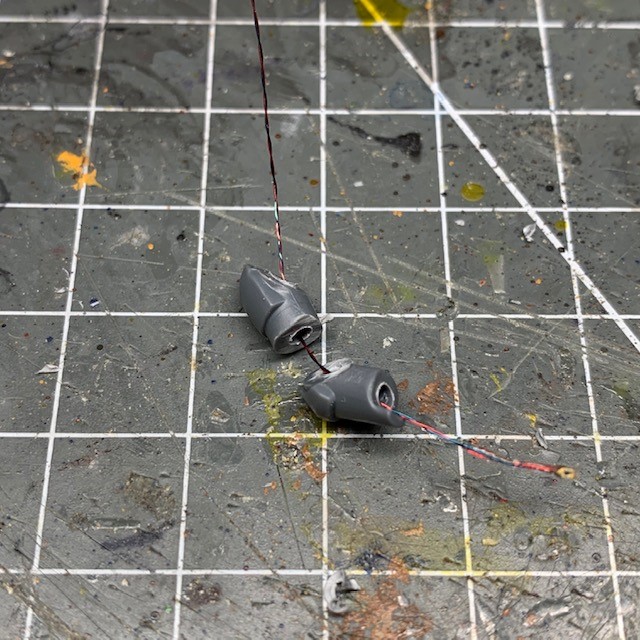
9. Drill out the inside of the plasma weapon, starting from barrel. I recommend starting from the barrel as that means the hole will definitely be in the right place. If you start from the other end then you might be slightly off-centre by the time you’re drilled all the way through.
The objective of drilling out the plasma weapon is two-fold; firstly it allows the LED light to shine out of the barrel, and secondly if you can get the LED inside the body of the weapon then you can make the coils glow (skip to the completed image at the bottom of this page if you’re not sure what I mean). To reiterate what I said earlier, if you want the coils to glow then you need to be working in a thin material like resin – the coil glow effect will not work in metal or plastic!
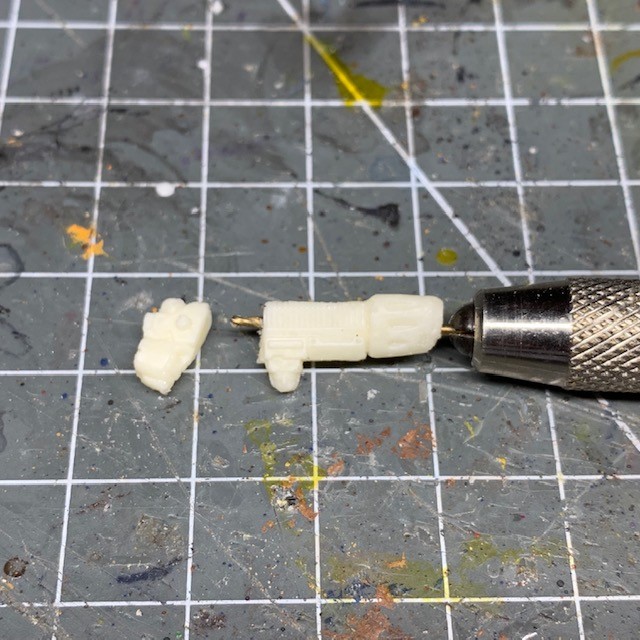
You will also need to drill a hole for the wires through the stock and out of the wrist of the hand, which will connect with the hole you drilled in the arm earlier. You may find cutting the hand from the stock makes this easier.
10. Now return to the base and solder the LED to the battery holder. The LED used in this project is a blue Nano Chip LED from Small Scale Lights. Make sure you solder the red wire to the positive terminal on the battery holder and the black wire to the negative terminal. It’s important to get this right, otherwise the LED won’t work! If you’re not confident soldering, see the Designer’s Notes section below for an alternative.
As you can see in the image below, the Nano Chip LED is connected to two very fine enamel wires, which are then connected to thicker red and black wires. If you’re confident working with electronics then you can desolder these thicker wires and just wire the enamel wires straight to the battery holder. I’ve done this in other projects, but won’t do that here though, as I’m trying to keep this tutorial simple.
If you do want to include a switch, then you’ll need something very small. PCB slide switches (available from RS here) will normally do the trick, but check the dimensions! A switch with a length of 5-10mm is ideal. These are sometimes called “sub-miniature” switches. Remember that if you don’t use a switch, you’ll simply have to remove the battery when you’re not using the miniature. In this case, I’ve soldered the switch between the positive battery terminal and the red wire on the LED (upper left of the base in the image below).
Designer’s Notes: Conductive Paint – An Alternative to Solder
If you don’t want to invest in a soldering iron an learn how to solder, you could always use conductive paint to make the joins between the LED wires and the battery holder. Green Stuff World will be releasing a conductive paint at the end of August 2019. All you need to do is to place the wires on the terminals of the battery holder and then apply a thick coat of conductive paint. It’s not as durable or strong as solder, but sealed inside the putty of the base it will be fine.
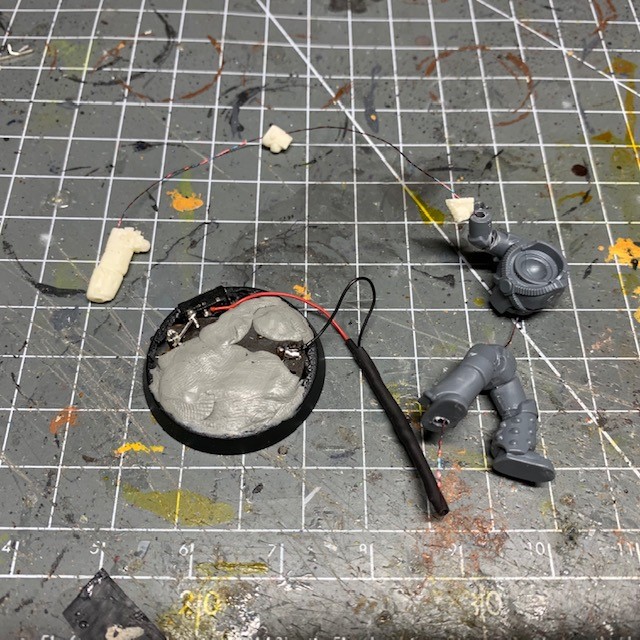
11. Now you need to thread the LED through all the holes you have drilled in all the model components! Start with the legs, then go through the torso, arm, hand, plasma gun stock and finally finish in the plasma gun itself, as shown in the image below.
Once the LED is inside the plasma gun, you need to make sure it is facing the correct way. Although it may look like the LED is equally bright from all directions, one side is actually “up” and will be brighter. Hold the wires, and twist the LED inside the plasma gun until you get the brightest output through the resin coils. You may also want to make sure it is centred in the middle of the coils for the best looking effect.
If you find the LED is not as bright as you’d hoped then you can use a circular file to carefully widen the hole from the inside. Unfortunately, if you breach the coil at this step then you can’t repair it without ruining the effect, so go carefully! If you do make any mistakes that break the surface of the coil then I’m afraid you’ll need another plasma gun and will have to start again…
Once you are happy with the position of the LED, hold it in place via the wires and then apply a very small dab of superglue to the wires. Hold the wires until the glue dries.
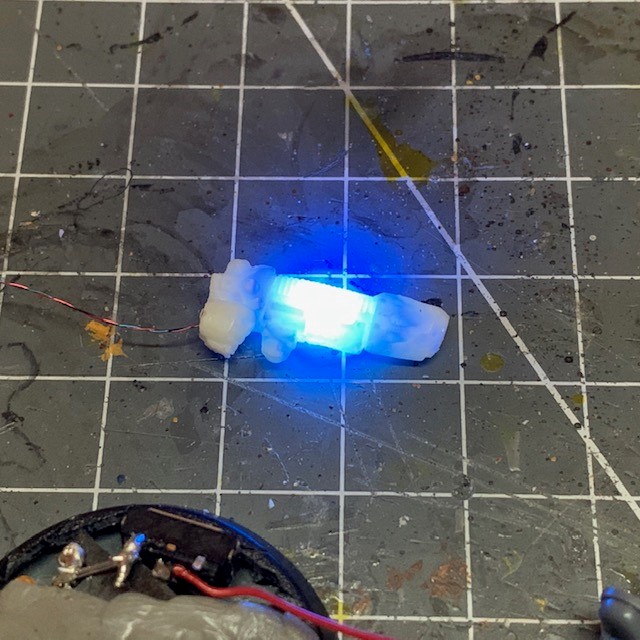
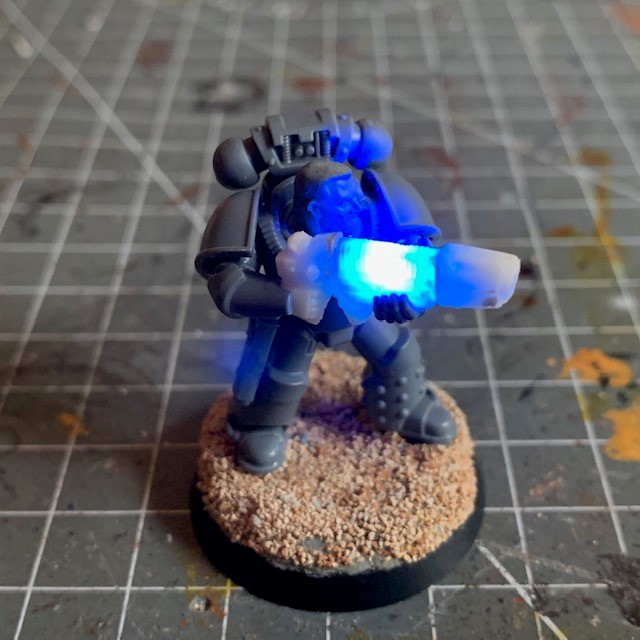
12. Now is a good time to check that the plasma gun LED is working properly and you’re definitely happy the LED is in the correct position.
Designer’s Notes: What colour for plasma?
In this case I’ve used blue to represent plasma, but the colour you use is only limited by your imagination…and the colours of Nano Chip LEDs that are actually available! In this case I went with blue, as plasma is blue in a lot of the artwork.
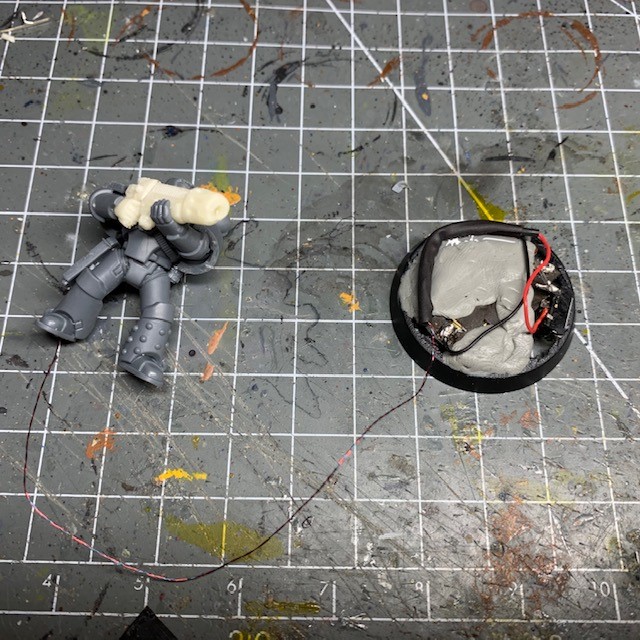
13. Carefully pull any slack from the wires out of the bottom of the model’s foot, then proceed to assemble the model as you normally would. When you are done your finished model should still be connected to the base via the wire, as shown below.
Designer’s Notes: LED eye lenses?
To keep things simple I’ve used a bare head for this model. But if you’d like to attempt to combine this method with a helmet and LED eye lenses, then please see step 4 of my original LED plasma weapon tutorial for some tips.
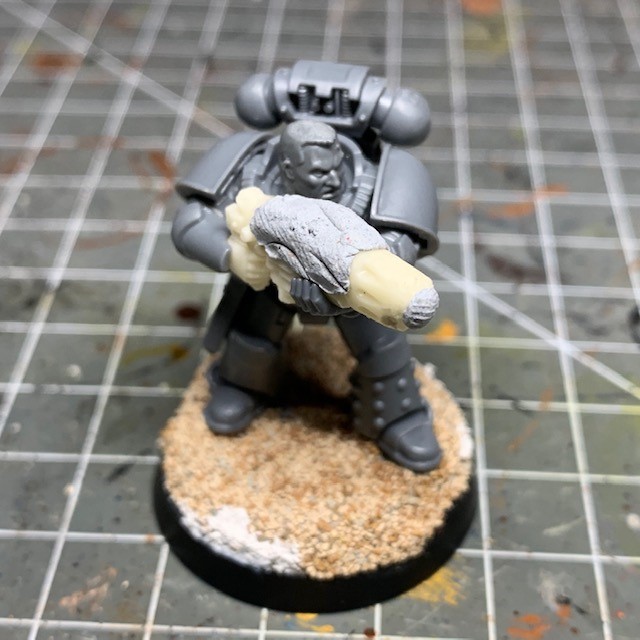
14. Coil up any slack wire on the base, and then disguise it with modelling putty, as shown in the image below. Once the putty is set, glue the model to the base.
15. If you have any gaps caused by cutting or drill accidents, such as around the plasma coil or on the model’s legs, then now is the time to repair them with putty.

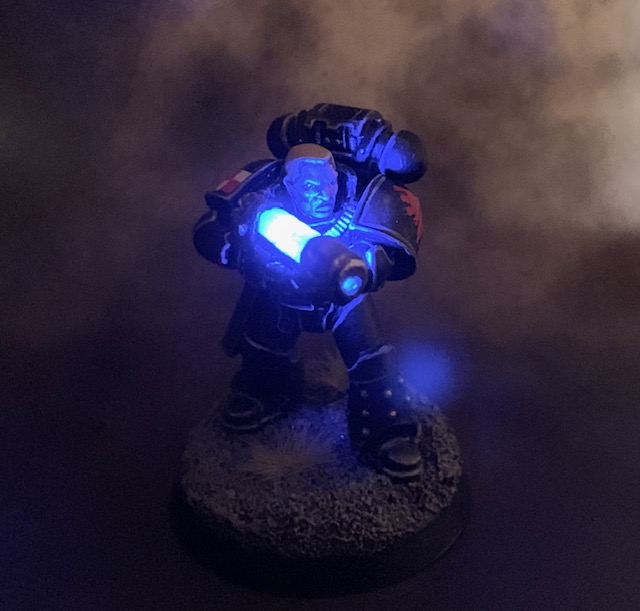
16. This is the end of the model building stage, so test LED again to make sure there are definitely no problems. There’s no going back after this stage!
17. And there we have it, one LED lit miniature! We’re almost there now. The next step is to undercoat the miniature for painting.
During spray undercoating, make sure you cover the the plasma coils, plasma cooling vents, muzzle and the top of the switch with blu tack (or similar) so that they don’t get spray paint on them! If you are spraying from underneath then you will also want to cover the battery itself during the spraying process.
18. Now apply paint, avoiding any parts of the plasma weapon that you want to glow, and that’s it! If you find the light is leaking through in any area it shouldn’t, especially around the edges of the plasma gun, then an extra coat of paint will normally sort that out. I hope this tutorial was helpful!
Donations
![]()
All these tutorials are entirely free; the only payment I really need is seeing everyone’s awesome LED armies on the battlefield! Having said that, if you found these tutorials useful and you’d like to buy me a coffee to say thank you (or help keep my supplied with LEDs and website fees so I can post even more tutorials) then please click the button above. Thanks very much in advance.
