
Welcome to my guide for working with LEDs and miniatures. In this tutorial I’m going to discuss basic soldering techniques for joining two electronics components – such as a LED and a length of wire – using solder. Solder is a metal alloy that can be melted to bond two metal surfaces together. If you need to buy soldering equipment and consumables, you can find my recommendations here. If you’re already an accomplished solderer then I’d suggest going directly to the Advanced Tutorials. This is the updated February 2024 version of this tutorial. If you would like to read the original version from July 2018, it is archived here.
1. Secure the LED
First you’ll need something to hold the LED steady. Purpose built clamps and armatures are available (left), or alternatively you could use a small piece of blu tack (right).


2. Prepare the Join
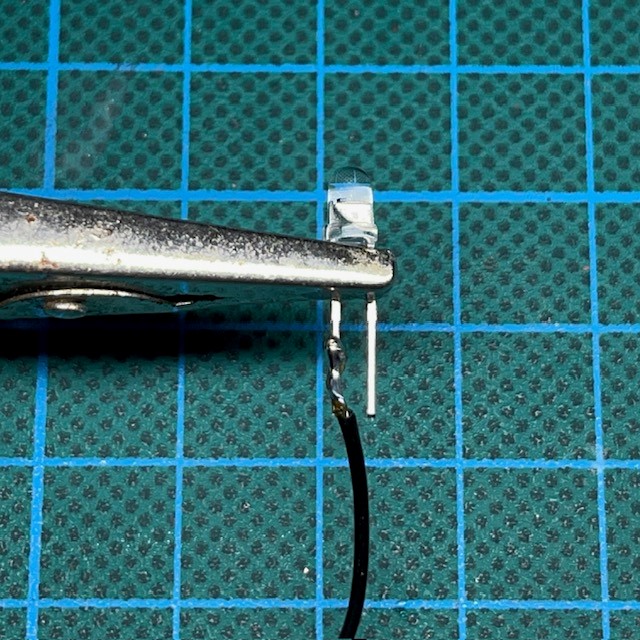
Strip approximately 0.5 cm of the plastic insulation from the end of the wire that you are using. The insulation can be stripped with wire strippers or a sharp craft knife. Twist the bare wire of the wire around the leg of the LED, as shown in the image below. You may need to use tweezers or needle-nosed pliers to help you with this. It’s much easier to solder together two components that are intertwined rather than simply resting on each other or lightly touching.
Depending on how the electronics are laid out in your model and how much space you have to work with, you may wish to bend the legs of the LED to different angles at this point or trim them so that they are shorter. Note that there are little ‘tags’ or ‘bulges’ at the top of each leg. Where possible, keep the legs straight above these points to reduce the risk of damage to the LED.

A Note On Safety
Using a soldering iron can be hazardous. The metal parts of the soldering iron can reach temperatures of over 300°C. Handle the soldering iron carefully and always return it to its stand when not in use. The fumes produced by soldering can also be hazardous if repeatedly inhaled. Solder in a well ventilated area or use a fume absorber.
3. Heat the Join
Apply your hot soldering iron to the leg of the LED for approximately five seconds, as shown below. Your solder will flow much better if both components are pre-heated. Again, do not solder above the tags as you may damage the LED. Additionally, most manufacturers will specify a heat tolerance for the LED during soldering (often on their websites or in the LED specifications). Do not set your soldering iron above this temperature. If no temperature is specified then set your soldering iron to around 300°C just to be safe. Having said that, heat damage to LEDs can only come from prolonged exposure, so as long as you’re fairly quick when soldering you shouldn’t have a problem.

4. Apply Solder
Apply your solder wire directly to the pre-heated leg of the LED. If the metal wire and the LED leg are sufficiently heated then the solder wire should melt and flow smoothly along the join, as shown below. Once the join is covered in a thin layer of solder remove your soldering iron and the remaining unmelted solder wire. After you have removed your soldering iron it will take a couple of seconds for the melted solder on the join to cool and harden. Do not move either of the components until you are sure the solder has hardened.

5. Trim Then Repeat
Trim any excess wire or extra length from the LED leg using wire cutters or a strong craft knife. Your soldered join is now complete. If you still need to solder another wire to the other leg of the LED, then return to step 2.
Further Information
If you are very new to soldering and you feel you need further information on using a soldering iron, then there are many excellent tutorials made by other people on YouTube, such as this one.
Enjoyed This Tutorial? Buy Me A Coffee!

All these tutorials are entirely free; the only payment I really need is seeing everyone’s awesome LED armies on the battlefield! Having said that, if you found these tutorials useful and you’d like to buy me a coffee to say thank you (or donate towards the website fees so I can continue to post tutorials on this ad-free website) then please click the button above. Thanks very much in advance!
